
Purin (Japanese Custard Pudding)
Topped with a deliciously bittersweet caramel sauce, Purin (Japanese Custard Pudding) is a popular homemade dessert. This recipe is Japan‘s take on crème caramel—also called flan or caramel pudding. Follow my tips for a foolproof caramel and a silky smooth custard.
Ingredients
For the Caramel Sauce
- 70 g sugar (about 5 Tbsp; use only granulated sugar)
- 1 Tbsp water (at room temperature)
- 1 Tbsp hot water
For the Custard
- 400 ml whole milk (1⅔ cups; I highly recommend whole milk for the best result)
- 100 ml heavy (whipping) cream (6 Tbsp plus 2 tsp; or use an equal amount of whole milk)
- ½ tsp pure vanilla extract (or 1 inch (2.5 cm) of vanilla bean: slice the pod lengthwise with a kitchen knife and scrape off the seeds with the tip of the knife)
- 3 large eggs (50 g each w/o shell)
- 70 g sugar (about 5 Tbsp)
For the Bain-Marie
- 3–4 cups hot water
Instructions
- Before You Start…Please note that this recipe requires 2+ hours of chilling time.
- One batch of the custard mixture makes a little less than 3 cups (720 ml), which can fill five 220-ml molds, six 150-ml molds, or seven 120-ml (4-oz) molds. If your molds are larger, use fewer of them for this recipe.
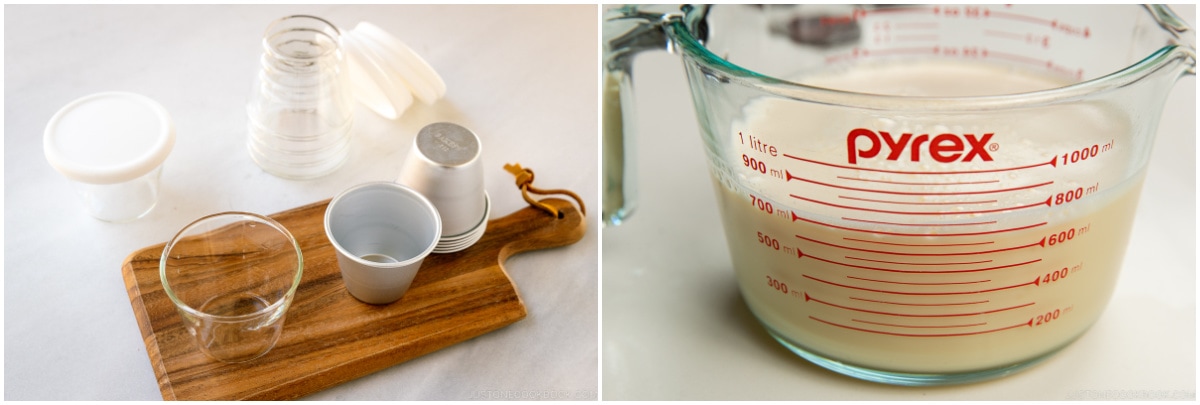
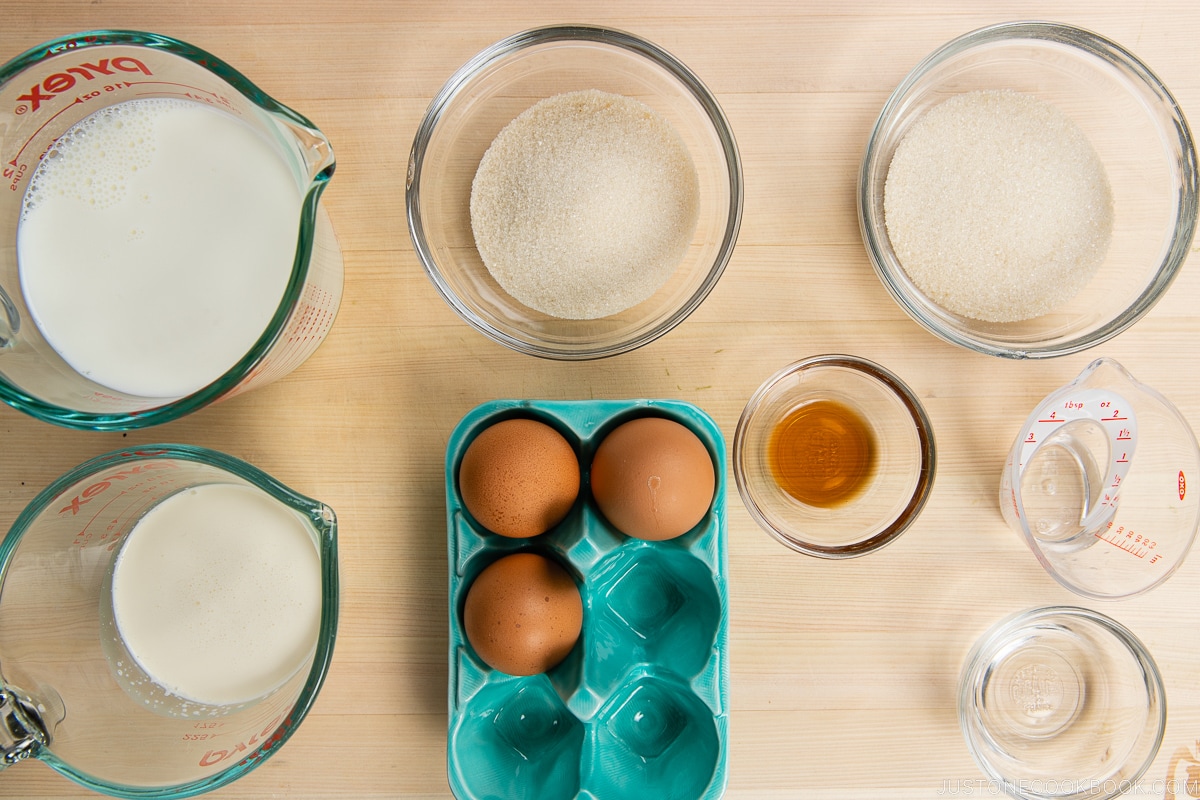
- Gather all the ingredients. Preheat the oven to 300ºF (150ºC). For a convection oven, reduce the cooking temperature by 25ºF (15ºC). Start boiling about 3–4 cups hot water of water in a kettle (or medium pot) and keep it hot. We‘ll use this hot water later for the caramel and bain-marie.
To Make the Caramel Sauce
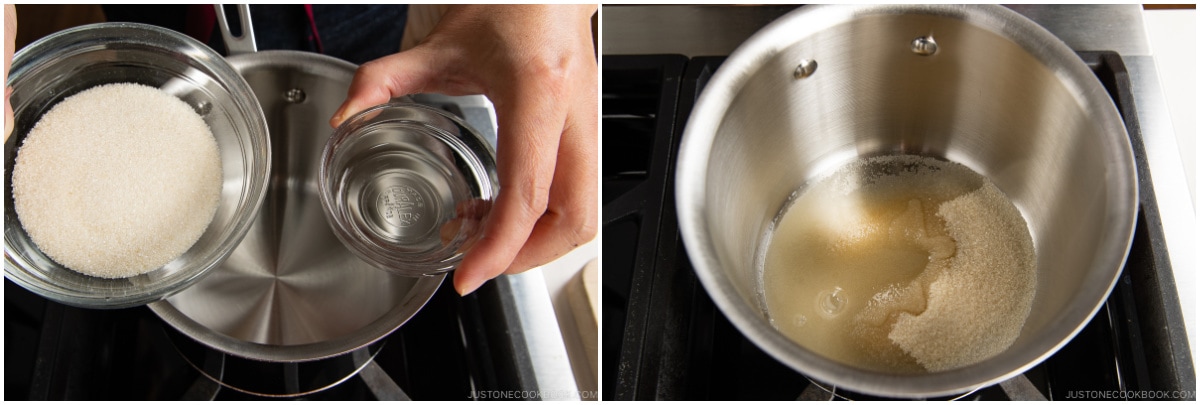
- In a heavy-bottomed small saucepan, combine 70 g sugar (about 5 Tbsp) and 1 Tbsp water at room temperature. Avoid a nonstick pot because it‘s too thin and the inner pot color makes it hard to see the caramel color. Turn on the heat to medium low and let the sugar dissolve completely, without stirring. You can tilt the pot occasionally, but otherwise don‘t touch it until the sugar turns liquid.
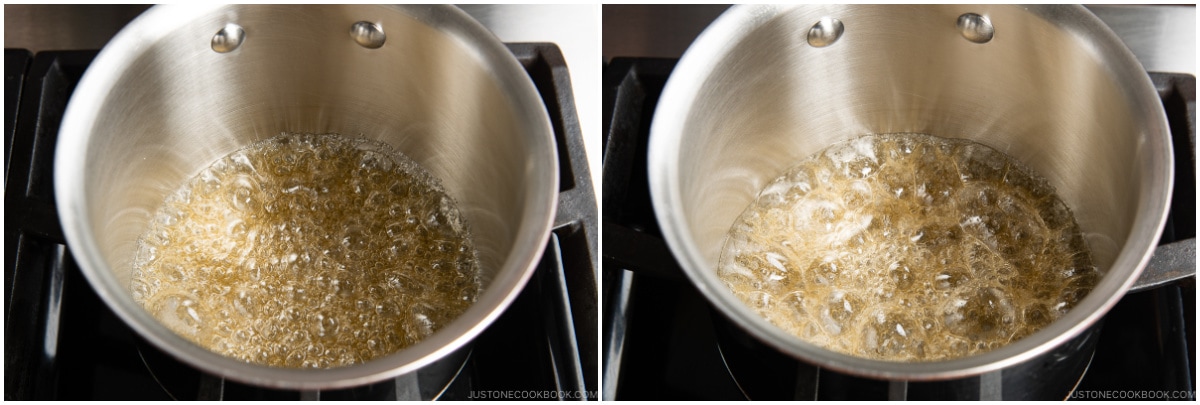
- When the sugar has dissolved, increase the heat to medium to medium high. Swirl the saucepan once in a while to mix the mixture, but do not use a utensil because it will cause the sugar to crystallize. Tip: This sauce will take about 5 minutes to make, so have the hot water ready to use at that time.
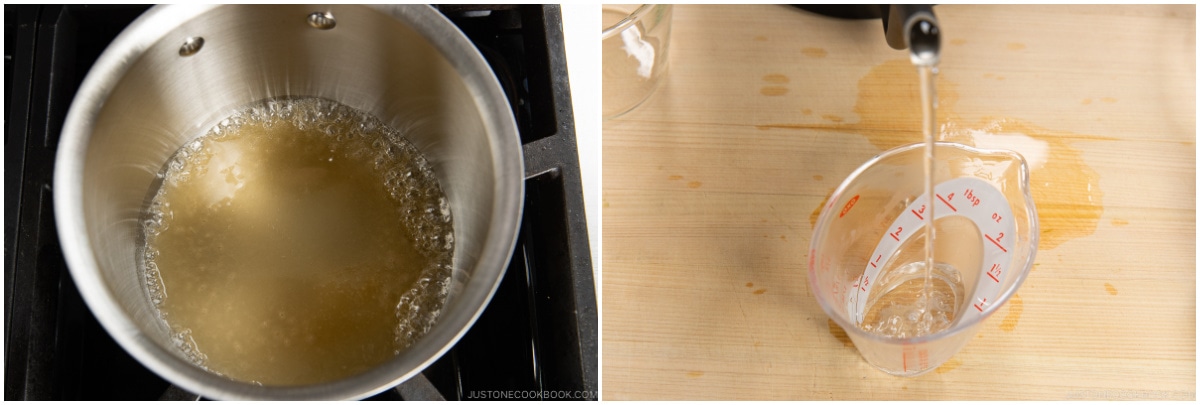
- When the sugar starts to caramelize, you will see lots of small bubbles. It will slowly turn brown on the edges of the pan. Swirl the pot to incorporate the dark-colored caramelized sugar into the light-colored sugar. Soon, the bubbles will become larger as the sugar mixture caramelizes more and turns an amber color.
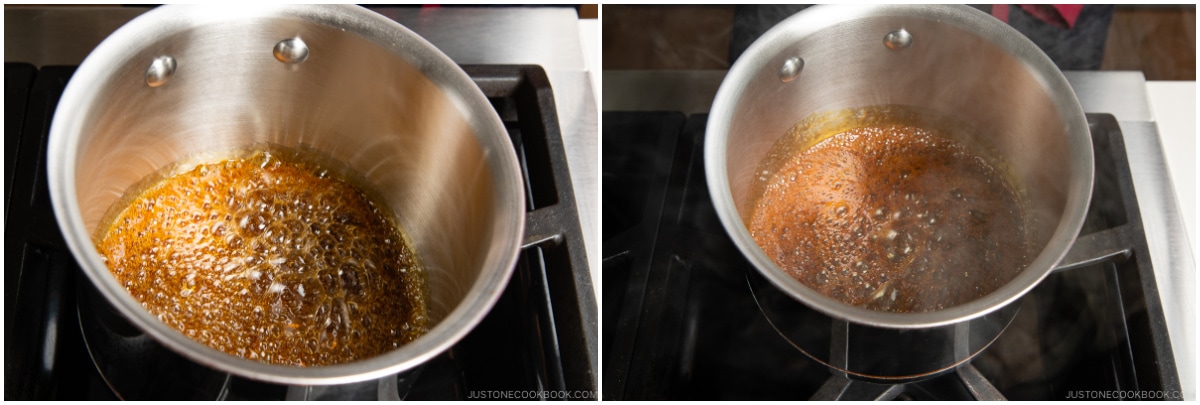
- The caramelized sugar will continue to turn darker and darker. Keep swirling the pot and watch it closely. After the caramel sauce starts smoking, wait a tiny bit longer until it reaches an optimal dark caramel color. Then, turn off the heat. Tip: I like my caramel sauce to have a dark brown color with a bittersweet taste to balance out the custard‘s sweetness.
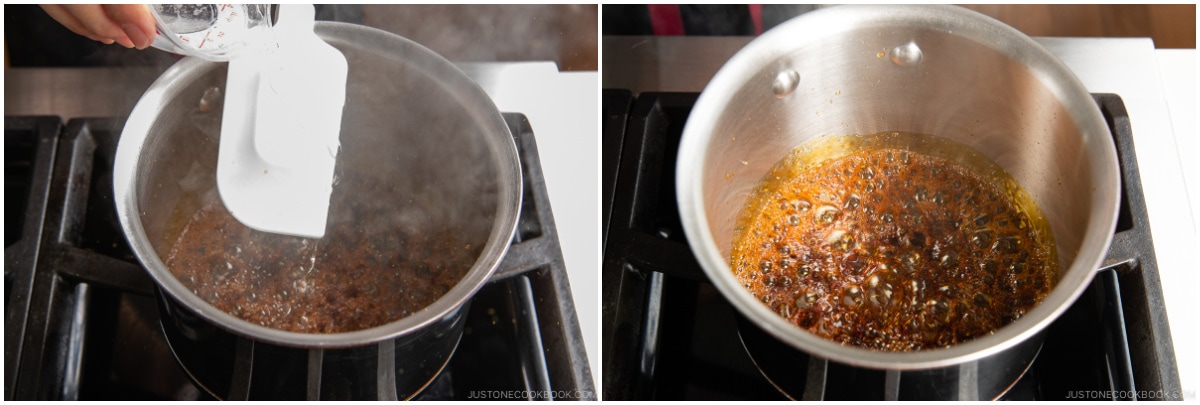
- Immediately pour a little bit of the 1 Tbsp hot water onto a spatula into the caramel pot (so your hand is not directly above the pot). The mixture will boil vigorously and sputter, so be careful not to let it splatter on you. Once this has subsided, slowly add the rest of the hot water. Swirl the saucepan to combine.
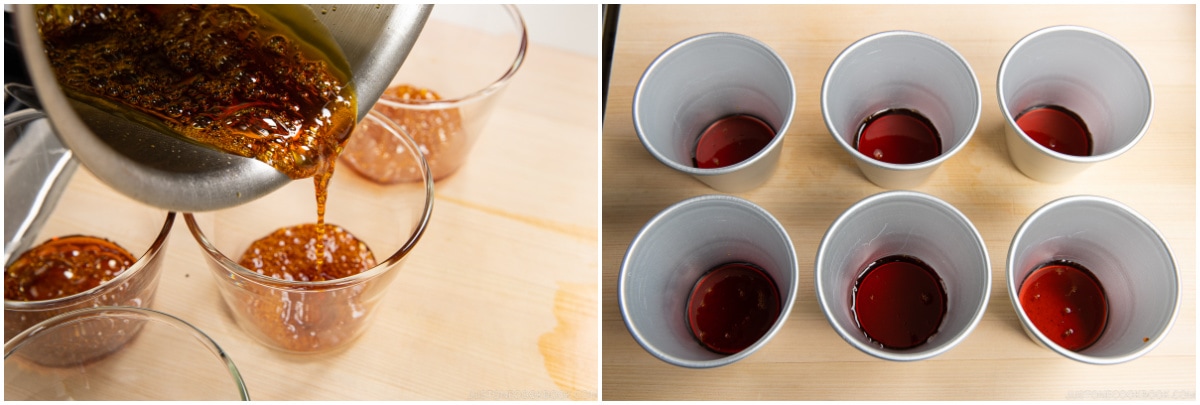
- As soon as the hot caramel sauce is done—and before it quickly cools and hardens—pour it directly from the pot into the molds. Divide the sauce equally among the molds and aim for a thin caramel layer of ⅛ inch (3 mm) or so. Set them aside. Don’t worry if your caramel hardens before it coats the entire surface. When you add the hot milk mixture later, the caramel will melt a bit and the moisture from the caramel will eventually coat the bottom of the mold. Tip: One batch of sauce is enough to cover the bottom of five 220-ml molds or six 150-ml molds. You may want to add less caramel sauce if your mold’s base is narrow, or more sauce if it’s wide (such as 120-ml/4-oz ceramic ramekins). You may have leftover sauce.
- Tip: Do you have some caramel stuck to the pot? Add milk and heat up while stirring. My kids enjoy caramel milk.
To Make the Custard
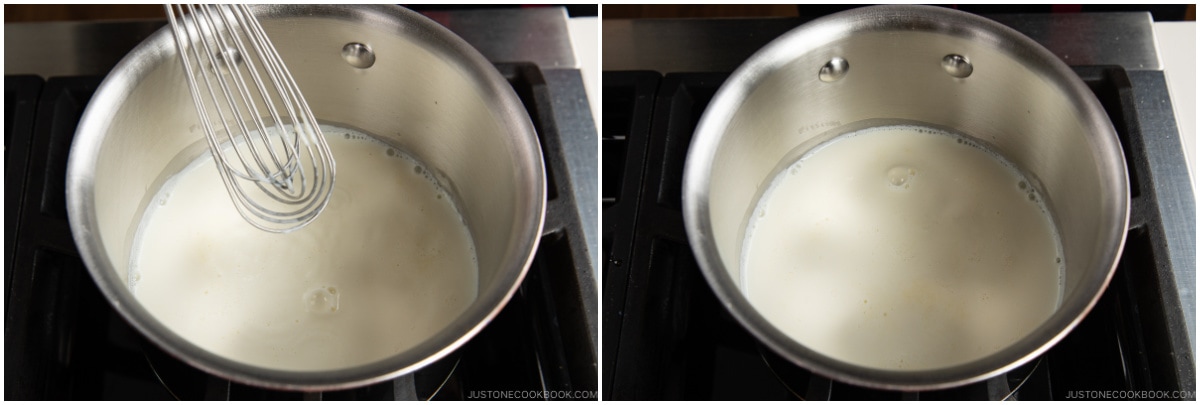
- Combine 400 ml whole milk (1⅔ cups), 100 ml heavy (whipping) cream (6 Tbsp plus 2 tsp), and ½ tsp pure vanilla extract (or the vanilla bean seeds and pod) in a small saucepan.
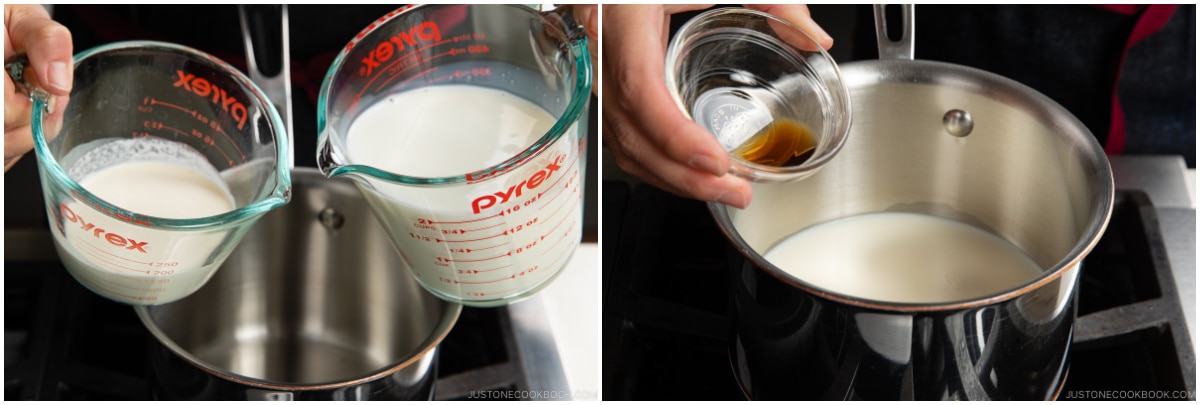
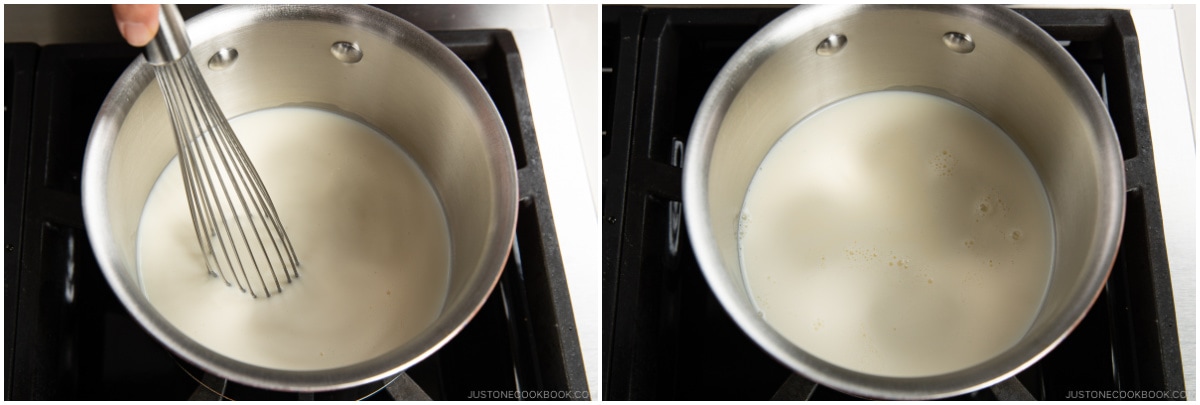
- Whisk it all together. Turn on the heat to medium low and bring the milk mixture to just a simmer.
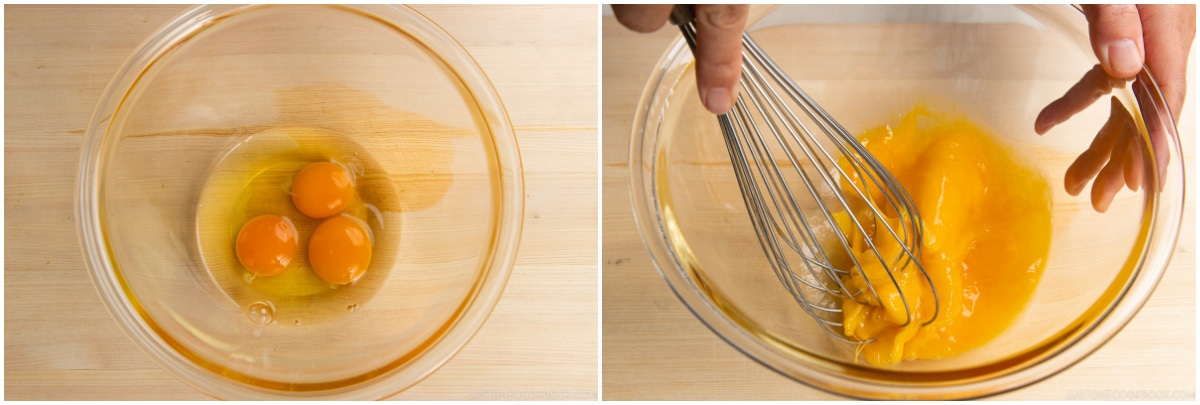
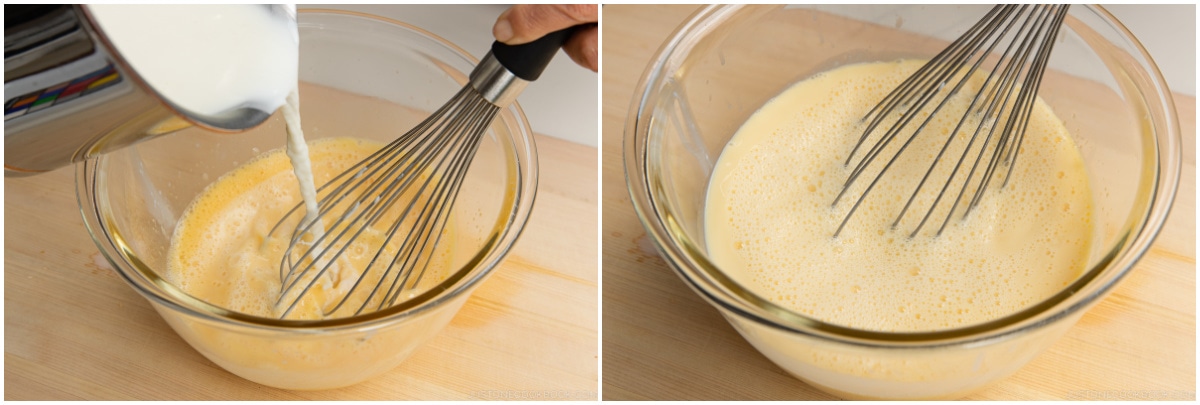
- Meanwhile, crack 3 large eggs (50 g each w/o shell) into a large bowl and beat with a whisk until smooth.
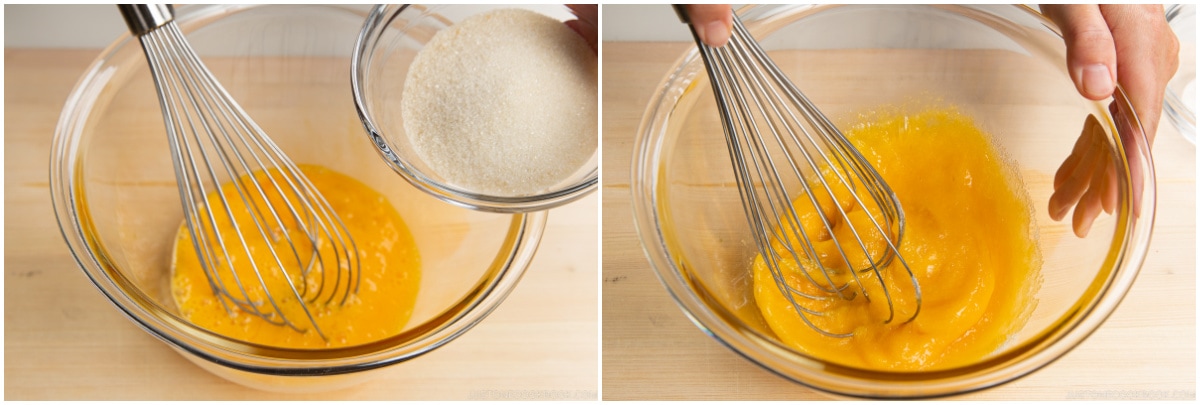
- Add 70 g sugar (about 5 Tbsp) to the eggs and mix until everything is combined.
- When small bubbles start to appear around the edges of the saucepan, turn off the heat.
- While whisking continuously, slowly add one-third of the hot milk mixture into the egg mixture. Then, continue to add the rest of the milk mixture slowly, again whisking continuously. Mix it all together. Tip: Add the hot milk mixture slowly to keep the eggs from curdling.
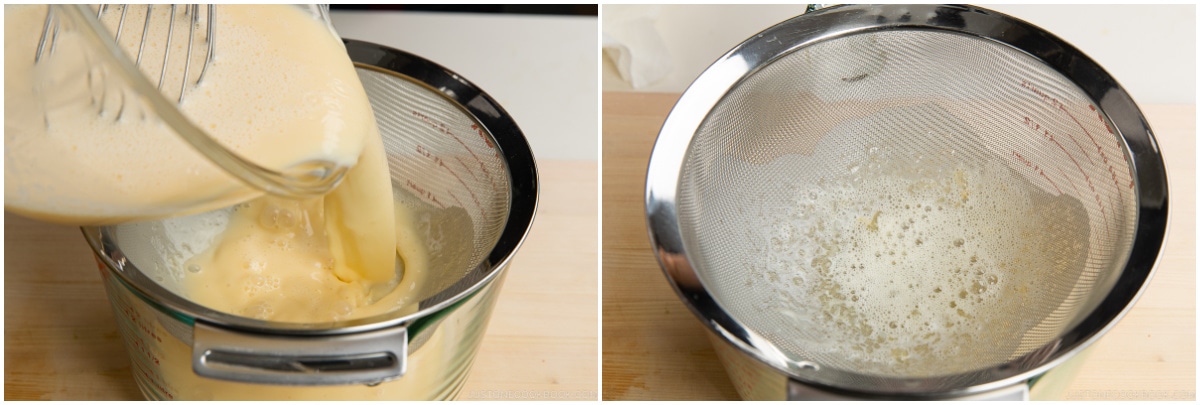
- Set a fine-mesh sieve over another bowl or liquid measuring cup with a spout. Then, strain the custard mixture through the sieve to remove any lumps.
To Fill the Molds
- Evenly divide the custard mixture among the molds with a ladle (or pour it using the measuring cup with spout).
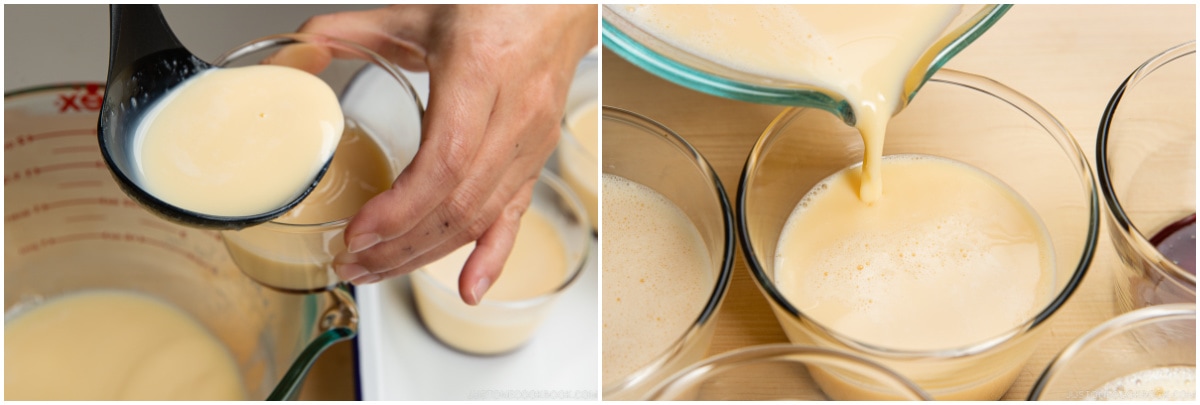
- Make sure all of your molds have an equal volume of custard so the cooking time will be the same.
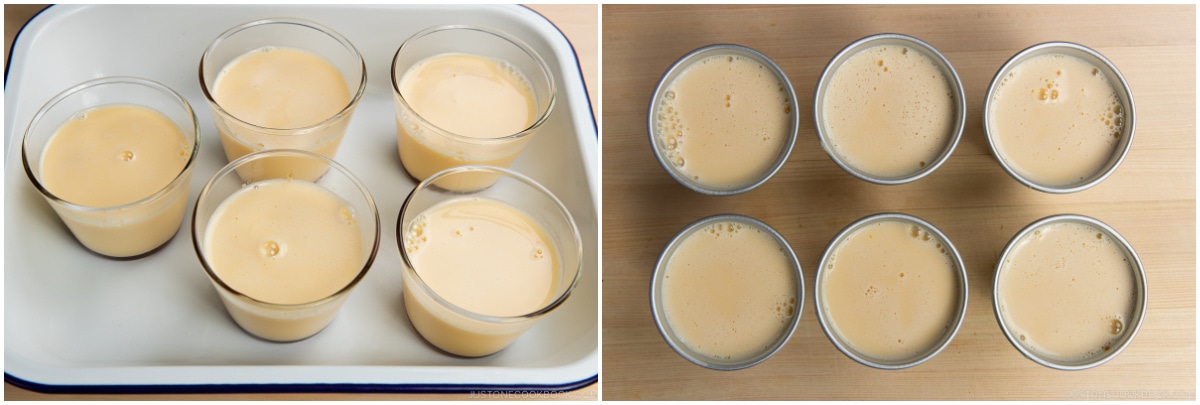
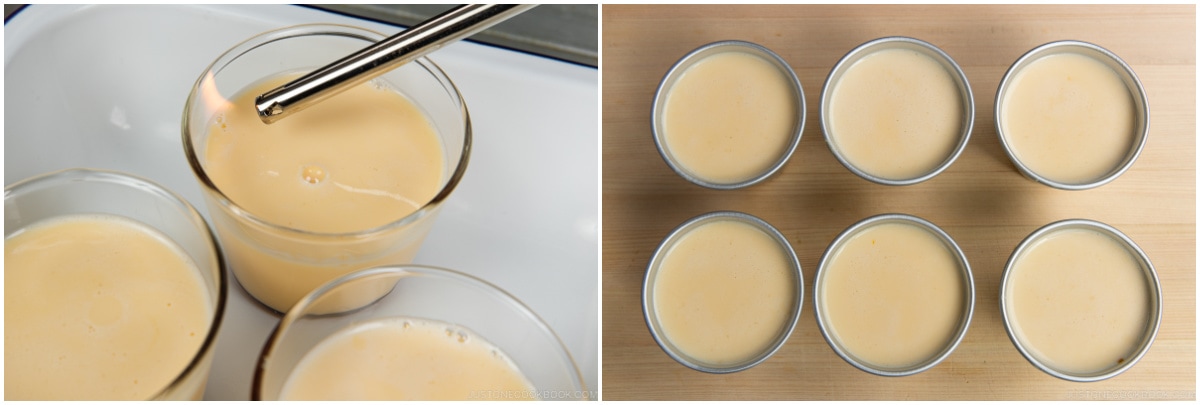
- Burn off the bubbles on the surface of the custard using a long-stemmed utility lighter (candle lighter) by quickly touching them with the flame. You could also pop them with a toothpick or scoop them off with a spoon, but those are both time-consuming methods. Compare the surface of the custard in the previous step with the surface after burning off the bubbles in the image on the right.
To Bake in the Oven (recommended)
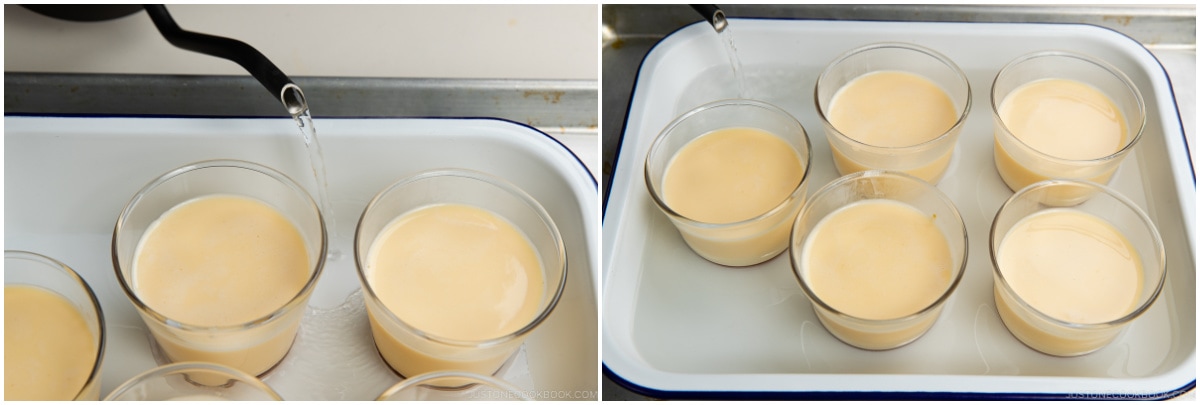
- Place the molds in a baking dish, roasting pan, or rimmed oven-safe container (I use an enamel bake pan) that's at least 2 inches (2.5 cm) deep so you can add hot water to it. Then, put the dish or pan on a baking sheet. This way, you won‘t burn your hands with the hot water as you transfer the pan to the oven. Now, make a bain-marie (hot water bath): Add hot water to the pan halfway up the sides of the molds. Tip: If the water temperature is not hot enough or you pour in too little hot water, the pudding will not set and it will take longer to cook.
- Place the baking dish or pan in the preheated oven. Bake the pudding at 300ºF (150ºC) for 35–45 minutes, or until the custard is set. Then, remove from the oven. How do you know it‘s cooked? See the next step. Tip: The baking time varies depending on the size and material of the molds. If you use larger and thicker molds than mine (like ceramic ramekins), they will need to cook for 45–60 minutes. It took 55 minutes for my seven 120-ml/4-oz ceramic ramekins.
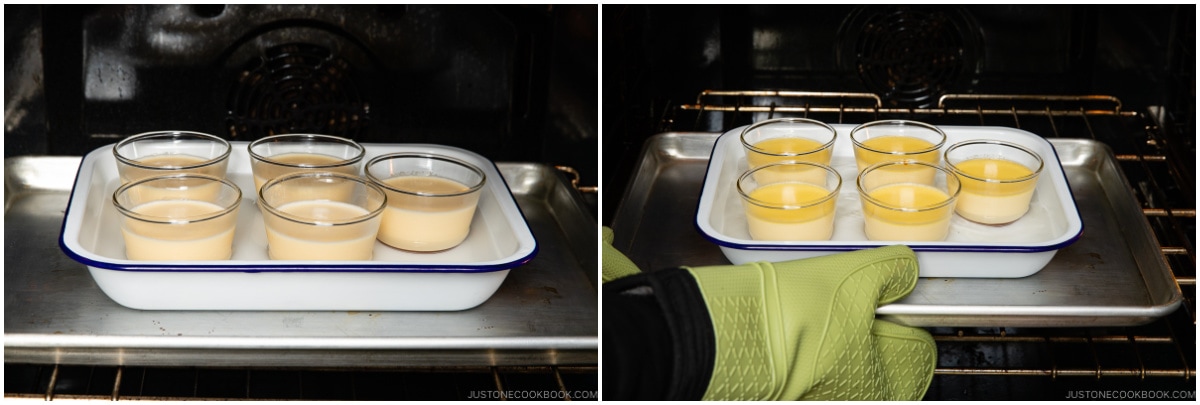
- Check for doneness by tilting the molds. It‘s done cooking if the surface of the pudding is slightly wobbly and jiggles, but is no longer liquid and does not move.
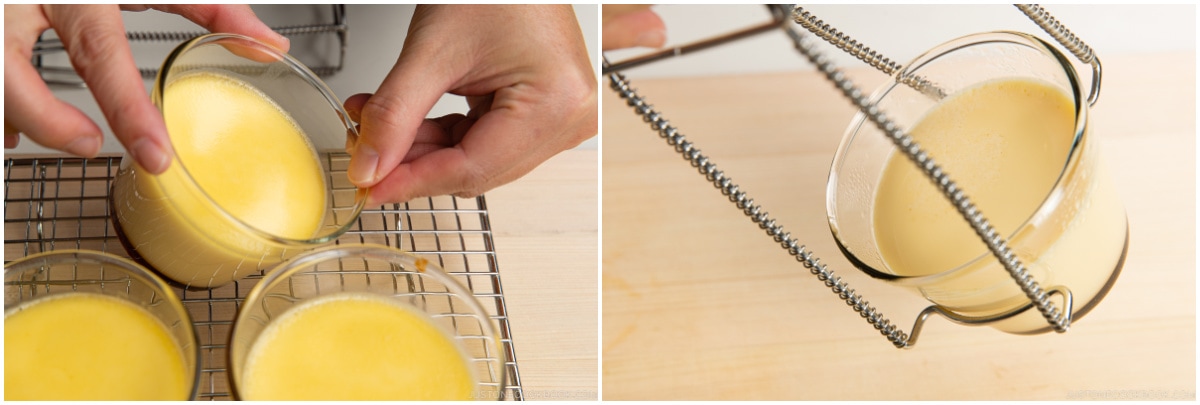
- Take out the molds from the water bath (I use a hot plate retriever). Let cool completely on a wire rack.

- Once cooled, cover the molds with plastic or aluminum foil and refrigerate for 2–3 hours.

To Cook in a Pot on the Stovetop (optional)
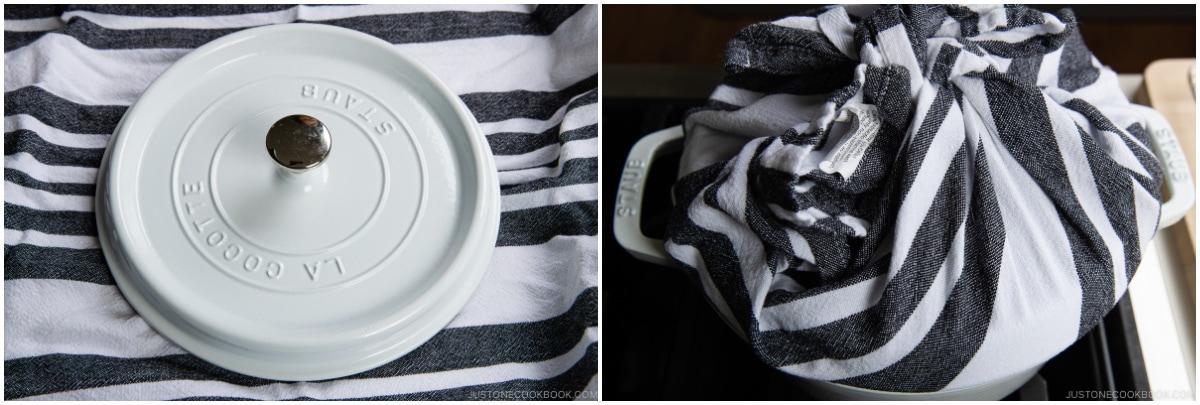
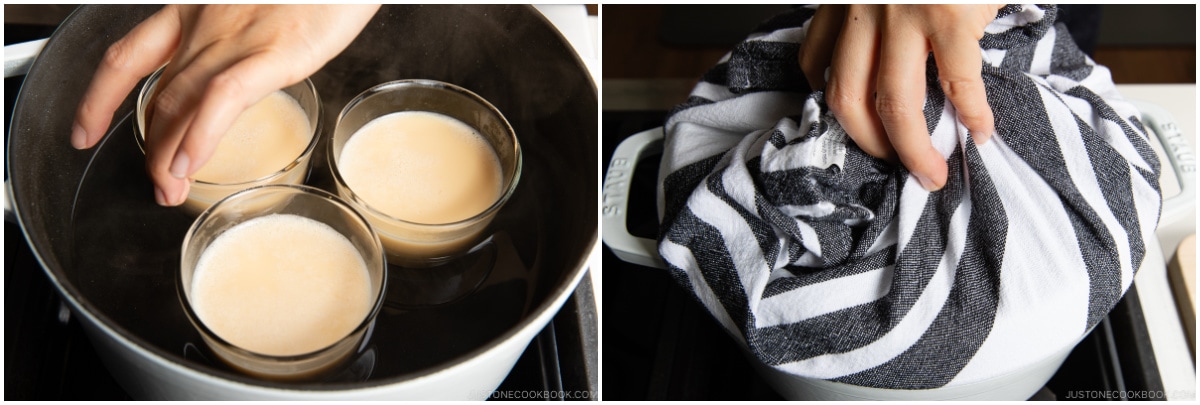
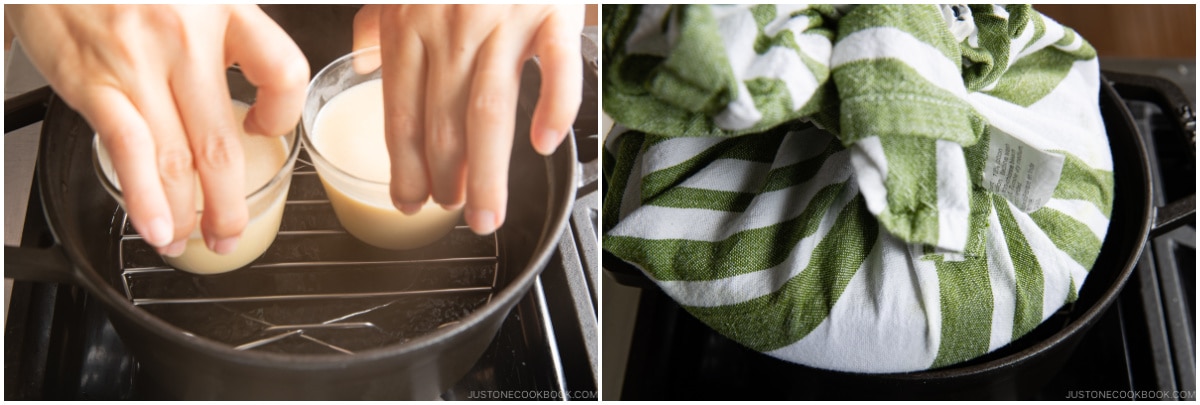
- Instead of baking in the oven, you can cook the custard in a pot on the stovetop. First, wrap the pot‘s lid with a tea towel to prevent condensation from dripping onto the custard. Next, fill the large pot with enough water to reach about halfway up the sides of the molds when you put them in later. Then, start boiling the water. Tip: Make sure there is no excess cloth hanging off the lid, which could catch on fire over the flame.
- Once the water is boiling, turn the heat to low and gently place the molds into the pot. Cover tightly with the lid and simmer gently for 10 minutes. Tip: When you cook on low heat, you will minimize any rattling sounds from the molds moving on the bottom of the pot.
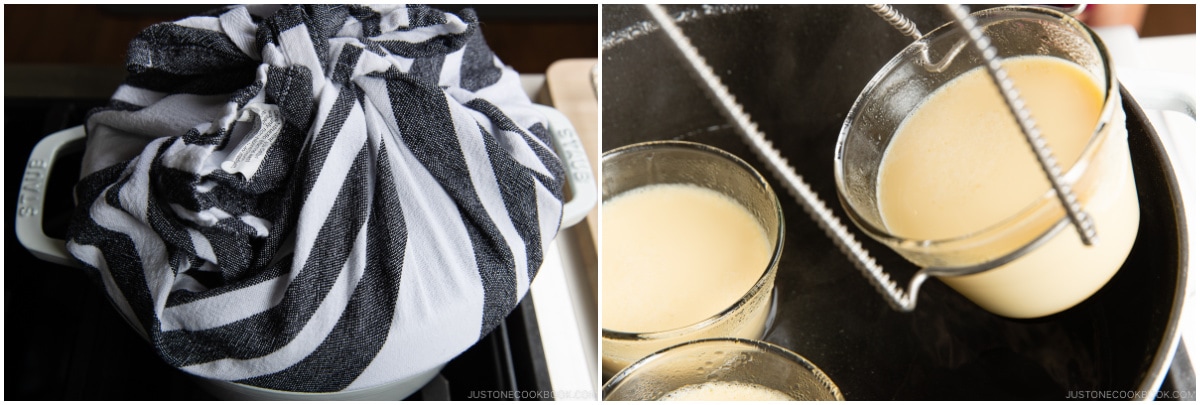
- Then, without opening the lid, turn off the heat. Use the remaining heat in the covered pot to continue cooking the pudding for another 10 minutes. Then, check for doneness by tilting the molds. If the custard doesn't move, it‘s done. If the custard looks slightly liquid and loose, cook for an additional 5 minutes. Let cool completely on a wire rack. Once cooled, cover the molds with plastic or aluminum foil and refrigerate for 2–3 hours.
To Cook in a Steamer on the Stovetop (advanced)
- Place the molds in a hot steamer, leaving the lid slightly ajar to let the hot steam escape. Steam on low heat for 15–20 minutes or until cooked through. Check for doneness by tilting the molds. If the custard doesn't move, it's done. Let cool completely on a wire rack. Once cooled, cover the molds with plastic or aluminum foil and refrigerate for 2–3 hours. Tip: It's not easy to control the temperature with this cooking method. If you‘re new to making Purin, I highly recommend cooking it in the oven or in a bain-marie in a pot on the stove.
To Serve
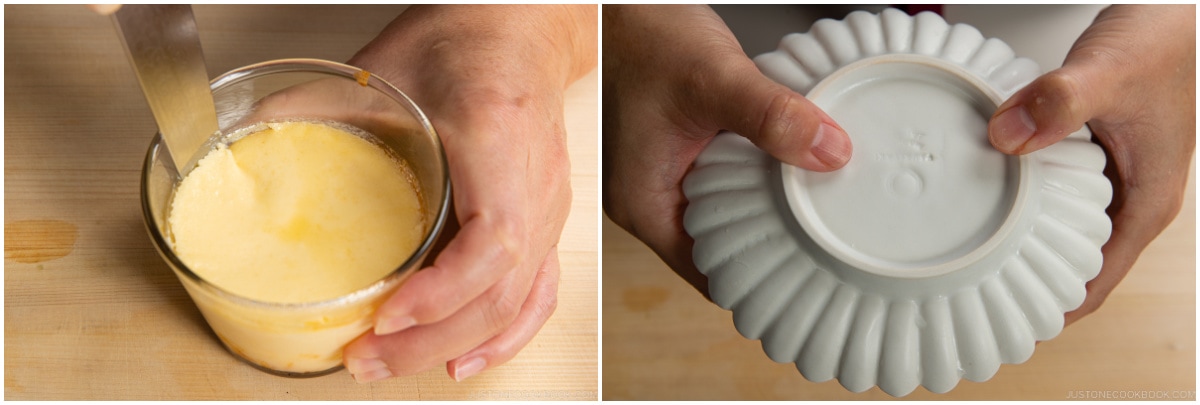
- Run a butter knife or offset spatula around the edge of the molds. Alternatively, use a spoon or finger to gently push down the edge of the purin. Place a serving plate face down on top of a mold.
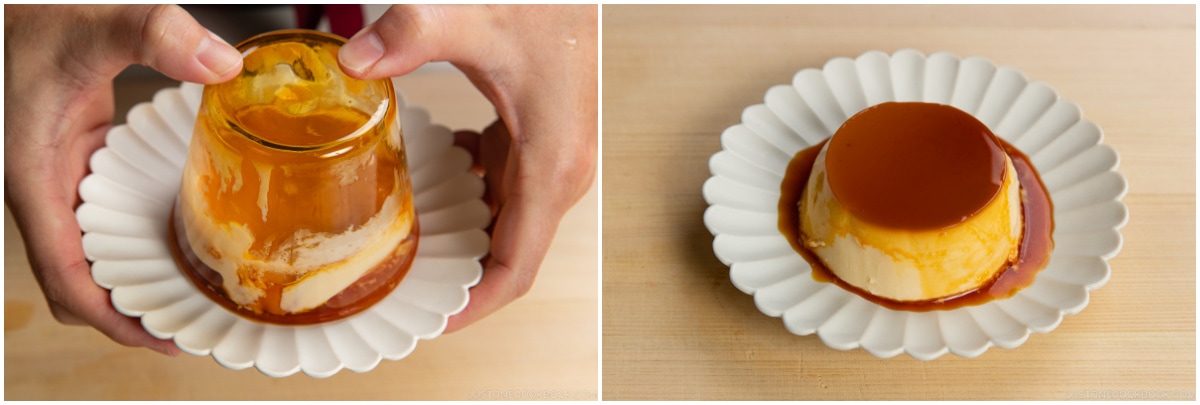
- Flip to release the purin and caramel sauce from its mold and onto the plate. If it doesn‘t unmold, shake it once to see if that helps. If not, try one more time, but this time a bit vigorously. Carefully remove the mold. Repeat with the other molds.
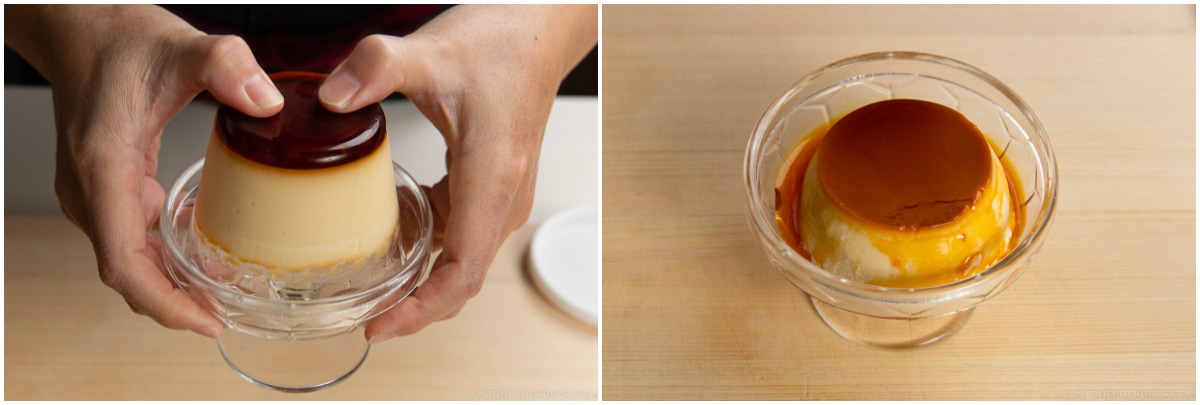
- You can also serve it in a small bowl.
To Store
- Keep the purin in their molds and store in the refrigerator for up to 3–4 days. Remove from the mold right before serving. I recommend consuming it sooner than later for the best taste.
Nutrition
Calories: 268kcal, Carbohydrates: 32g, Protein: 7g, Fat: 13g, Saturated Fat: 7g, Polyunsaturated Fat: 1g, Monounsaturated Fat: 3g, Trans Fat: 0.01g, Cholesterol: 144mg, Sodium: 79mg, Potassium: 181mg, Sugar: 33g, Vitamin A: 585IU, Vitamin C: 0.1mg, Calcium: 129mg, Iron: 1mg
