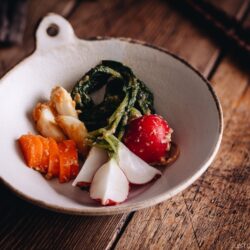
Tsukemono - Misozuke (Miso Pickling)
Did you know that you can pickle fresh seasonal vegetables with miso? Known as Misozuke, these Japanese tsukemono pickles are among the easiest to make at home. The result is unmistakable umami that‘s so good with plain steamed rice!
Ingredients
For the Misodoko Pickling "Marinade" (make one batch per ingredient)
For the Add-in Options
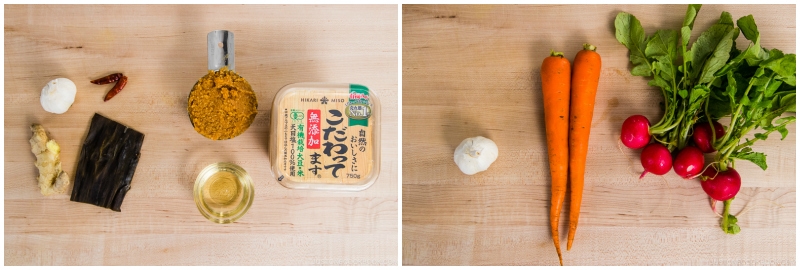
- 1 piece kombu (dried kelp) (4 inches, 10 cm per piece)
- 8 cloves garlic
- 1 red chili peppers
- ¼ tsp ginger (grated, with juice; from a 1-inch, 2.5-cm knob)
For the Ingredients to Pickle (read the blog post for more suggestions)
- 2 carrots (6 oz, 170 g)
- 5 red radishes (8.8 oz, 250 g)
Instructions
- Gather all the ingredients.
To Make the Misodoko (Pickling "Marinade")
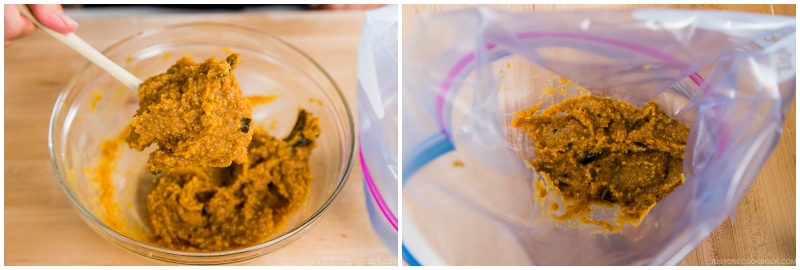
- We make one batch of misodoko for each ingredient. For radish misozuke, we make a plain misodoko. In a medium bowl, combine 1 cup miso, 2 Tbsp mirin, and sugar (optional). Mix well.
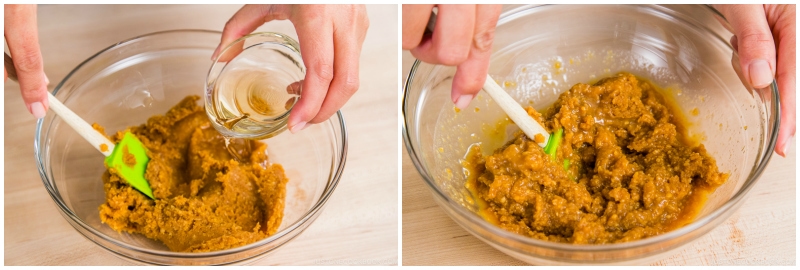
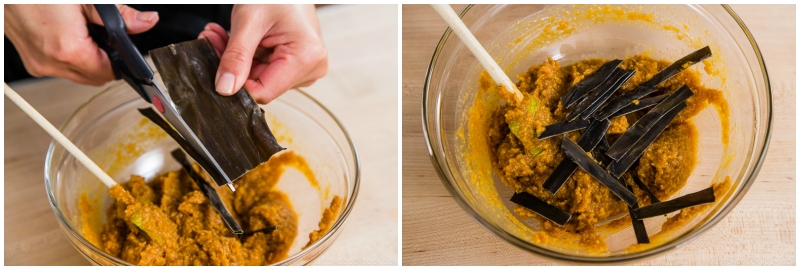
- For carrot misozuke, I add kombu and garlic cloves for additional flavor. Cut 1 piece kombu (dried kelp) into thin strips and mix it together with the misodoko. Other optional add-ins include 1 red chili peppers and ¼ tsp ginger (grated).
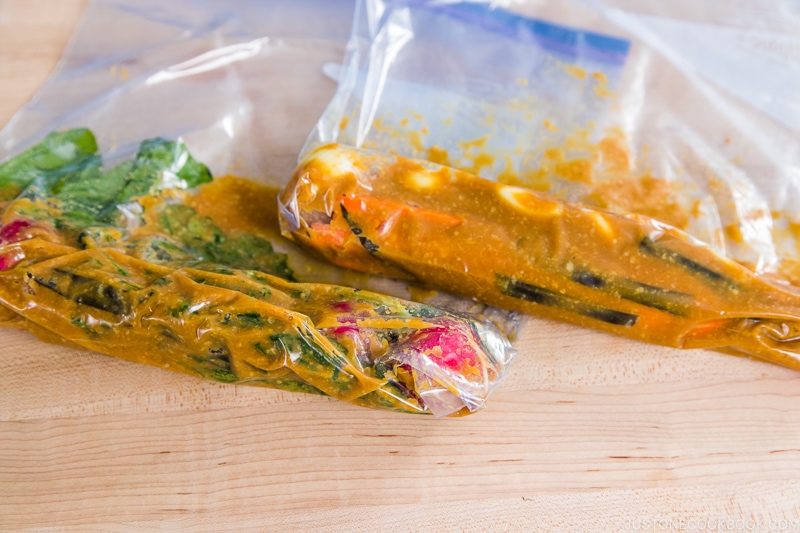
- Transfer each misodoko into a resealable bag or glass container with a lid.
To Prepare the Vegetables
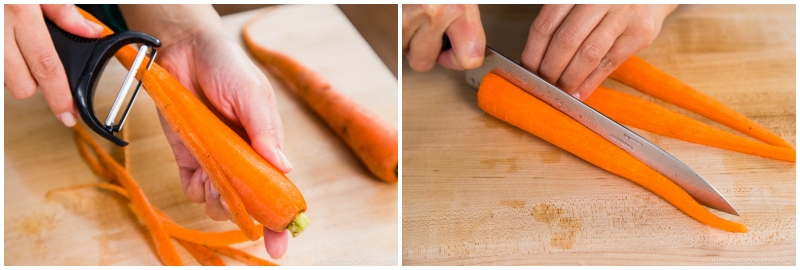
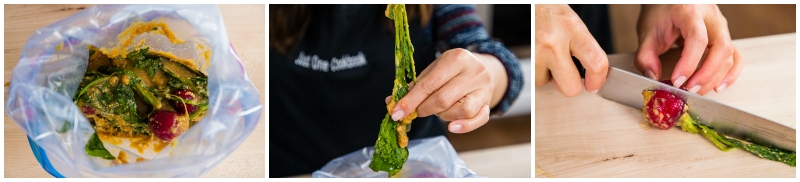
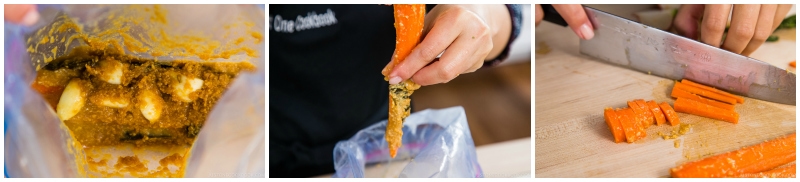
- Rinse 5 red radishes well under water. Peel 2 carrots and cut them in half lengthwise.
To Pickle the Vegetables
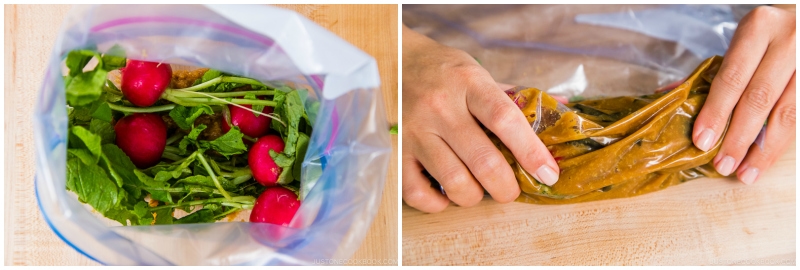
- For the radish misozuke, add the radishes to the plain misodoko in the resealable bag. Remove the air and seal the bag. Rub the radishes with the misodoko through the bag.
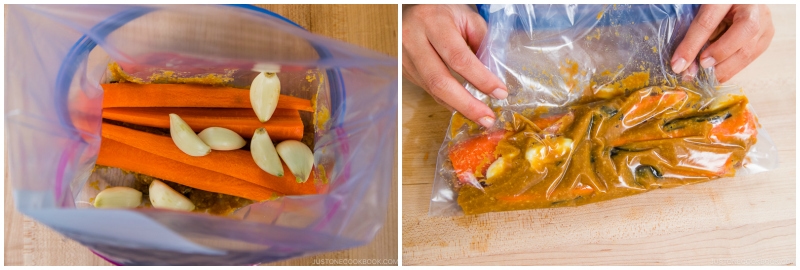
- For the carrot misozuke, add the carrots and 8 cloves garlic (peeled) to the bag with the kombu strips in it. Remove the air and seal the bag. Rub the carrots with the misodoko from outside the bag.
- Store in the refrigerator. Depending on the ingredients, the misozuke is ready in 2–3 hours to 2–3 days.
To Serve
- Remove the radishes from the misodoko, wiping off any excess miso. Cut the radishes in half and serve.
- Remove the carrots from the misodoko, wiping off any excess miso. Cut them into smaller pieces and serve.
To Reuse the Misodoko
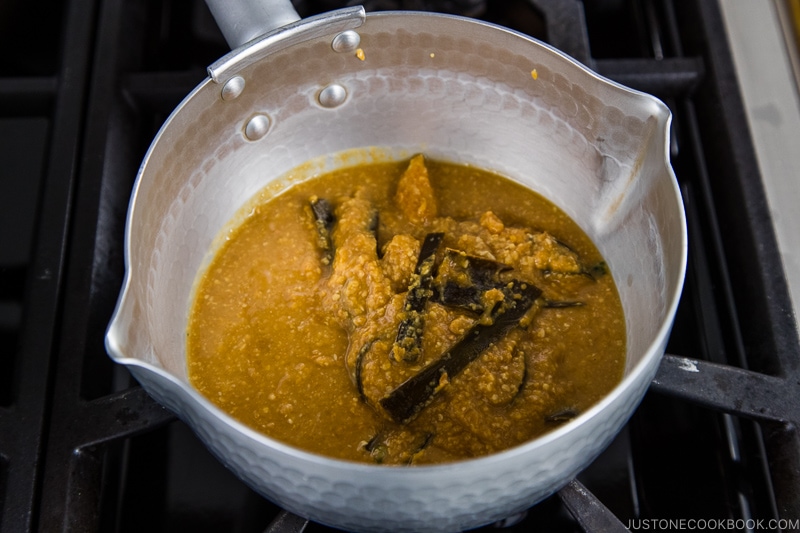
- When you find your misodoko has some liquid in it, transfer it to a saucepan. Cook it on a low heat and let the liquid evaporate. You can reuse misodoko for up to a month. Please read the blog post for more details.
Nutrition
Calories: 44kcal, Carbohydrates: 8g, Protein: 2g, Fat: 1g, Saturated Fat: 1g, Sodium: 310mg, Potassium: 302mg, Fiber: 3g, Sugar: 4g, Vitamin A: 7125IU, Vitamin C: 14mg, Calcium: 35mg, Iron: 1mg
