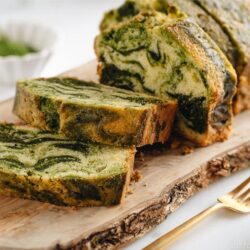
Matcha Marble Pound Cake
With rich green tea swirls, my light and tender Matcha Marble Pound Cake is a delectable snack that pairs perfectly with your afternoon coffee or tea. This Japanese-style pound cake tastes even better the next day, so it‘s an ideal make-ahead recipe.
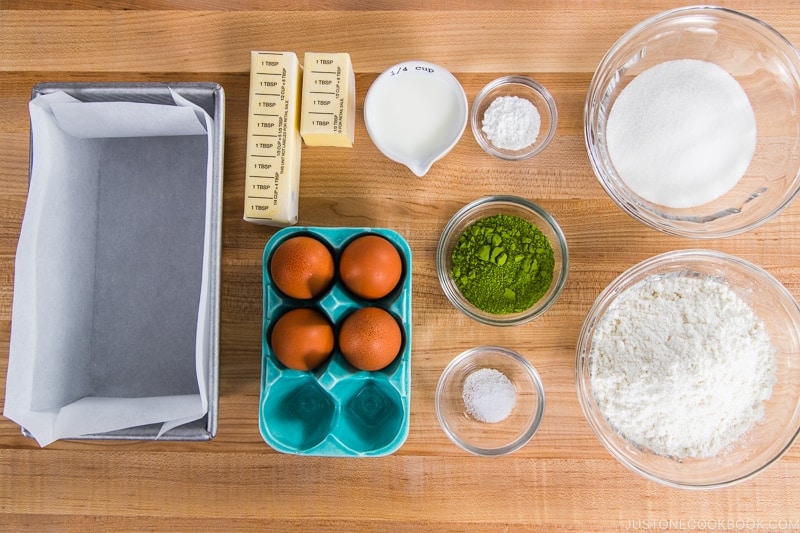
Ingredients
- 5.6 oz unsalted butter (1½ sticks, 12 Tbsp; at room temperature)
- 160 g sugar (¾ cup + 2 tsp)
- 4 large eggs (50 g each w/o shell)
- 200 g cake flour (1⅔ cups; weigh your flour or use the “fluff and sprinkle“ method and level it off)
- 1 tsp baking powder
- ¼ tsp Diamond Crystal kosher salt
- ¼ cup milk
- 3 Tbsp matcha (green tea powder) (1 Tbsp matcha is 6 g)
Instructions
Before You Start...
- While you can serve this pound cake the same day you bake it, I strongly recommend that you serve it 1–3 days after baking. The cake will become moister and the flavors will improve. See To Serve below for details.
- Gather all the ingredients. It‘s important that the butter, eggs, and milk are all at room temperature. I highly encourage you to weigh your ingredients using a kitchen scale for this recipe. Click on the “Metric“ button at the top of the recipe to convert the ingredient measurements to metric. If you‘re using a cup measurement, please follow the “fluff and sprinkle“ method: Fluff your flour with a spoon, sprinkle the flour into your measuring cup, and level it off. Otherwise, you may scoop more flour than you need.
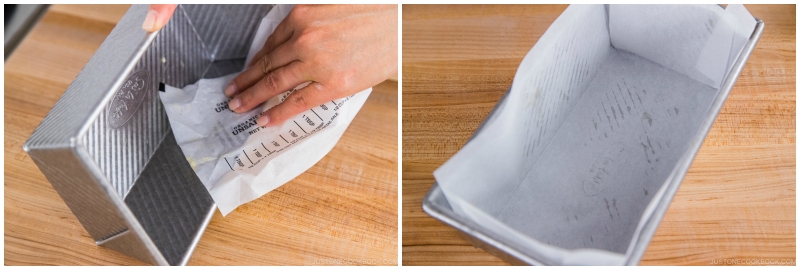
- Center a rack in the oven. Turn on the oven to 350ºF (180ºC) and preheat it well; when the cake pan goes in the oven later, you will lower the temperature to 340ºF (170ºC). For a convection oven, reduce the cooking temperature by 25ºF (15ºC). Tip: I strongly encourage you to check your oven‘s temperature with an oven thermometer, as the actual temperature inside may differ from the display setting.Use the residual butter on the butter wrapper to grease the pan (8½ x 4½ x 2¾ inches). Then, place the parchment paper inside the pan (the paper will stick to the butter). Tip: I recommend using a light-colored pan for this recipe; your cake may bake faster if you use a dark-colored pan.
To Make the Batter
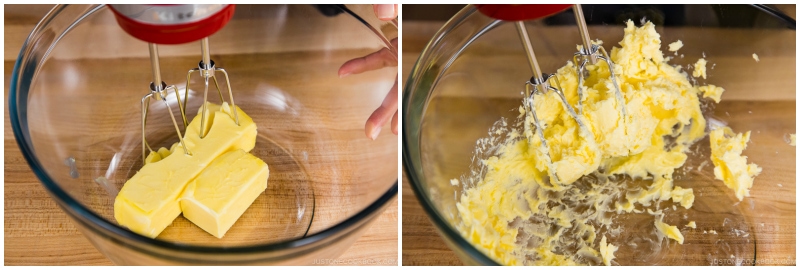
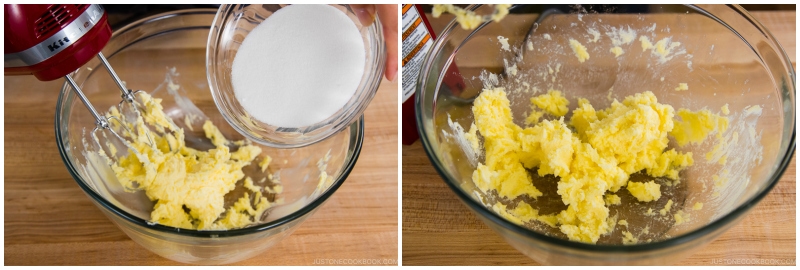
- Put the 5.6 oz unsalted butter (12 Tbsp; at room temperature) in a large bowl. Use an electric hand mixer (or stand mixer) to beat it on medium speed until it is light and fluffy, about 1–2 minutes. The butter will be pale in color and have lots of little tails forming around the beaters. Tip: This process adds air to the mixture and is crucial for a light and delicate cake texture.
- Add 160 g sugar (¾ cup + 2 tsp) to the whipped butter. Cream the butter and sugar thoroughly on medium (not high) speed, about 5 minutes, until it is light and fluffy. The color is pale and the sugar is completely dissolved. Tip: The sharp sugar grains cut through the butter and create the tiny air pockets that aerate the batter and cause leavening. This process is very important for the light and delicate texture of the pound cake.
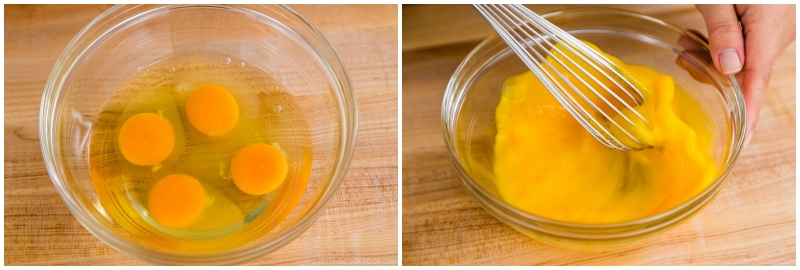
- Crack 4 large eggs (50 g each w/o shell) in a small bowl and whisk well.
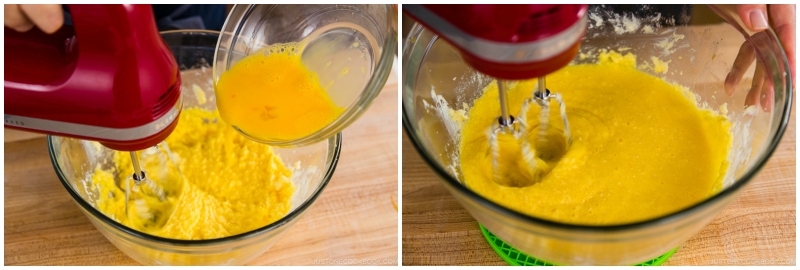
- Add the beaten eggs, 1 Tbsp at a time, to the butter mixture and beat well after each addition. Repeat until all the egg is incorporated. IMPORTANT: You must add and blend only a very small amount of egg at a time to achieve a smooth mixture (not a curdled mixture). Tip: The eggs contain water, while the yolks and the butter contain fats. Remember, oil and water will not mix without an emulsifier (in this case, the yolks) that suspends fat molecules in water to make a smooth mixture.
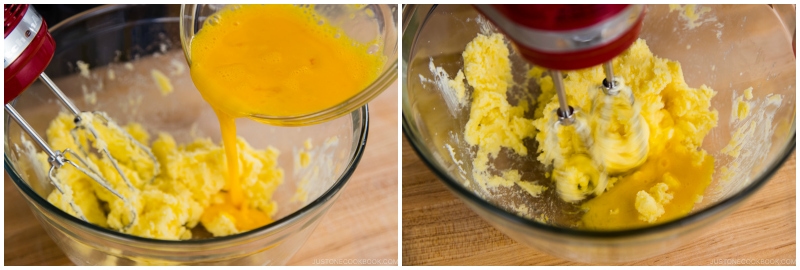
- If there is a slightly curdled appearance to the batter after adding the eggs, don’t worry. The emulsification is usually complete enough that the batter will become smooth when you add the flour. The flour helps to absorb some of the excess water, too.
- Next, add the dry ingredients in three stages. Put 200 g cake flour (1⅔ cups), 1 tsp baking powder, and ¼ tsp Diamond Crystal kosher salt in a fine-mesh sieve. Sift one-third of these dry ingredients into the bowl of the egg mixture. Switch to a silicone spatula (or use a mixer on the lowest speed) and fold the mixture by hand so you can scrape the bottom of the bowl to get any dry pockets of flour.
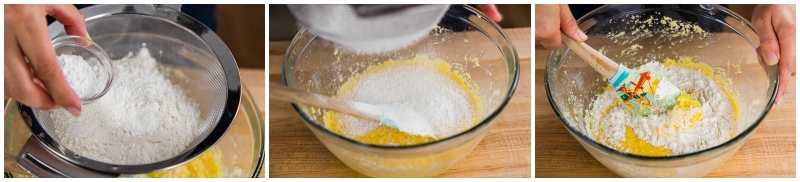
- Now, add another one-third of the dry ingredients and fold again.
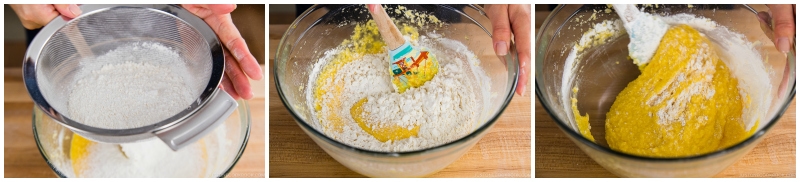
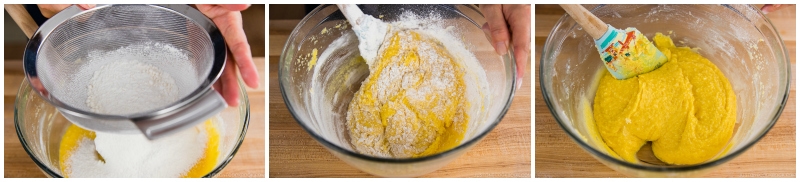
- Finally, stir in the remaining dry ingredients. Fold it just until the batter is smooth. Tip: Even though we are using a low-protein cake flour, excess mixing will develop the gluten and the cake will rise nicely in the oven, then sink as soon as you pull it out. A sunken cake has a tougher crumb with dense, moist, and gluey streaks.
To Incorporate the Matcha
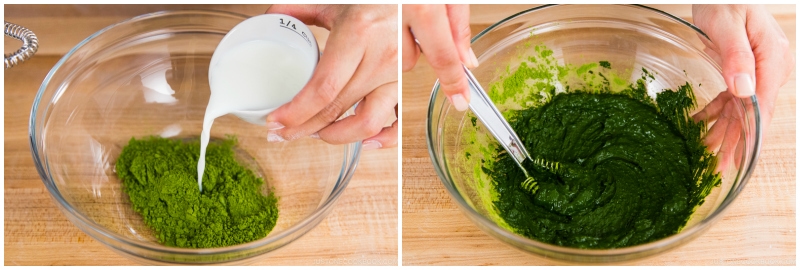
- Next, make a paste with the matcha: Heat ¼ cup milk in a microwave or saucepan until warm (roughly body temperature). Gradually add the milk, 1 Tbsp at a time, to 3 Tbsp matcha (green tea powder) in a medium bowl. Whisk well until combined. Optionally, you can sift the matcha in a fine-mesh sieve first before mixing with the warm milk. Tip: Warm liquid is easier to blend with matcha.
- Add one-third of the batter to the bowl with the matcha paste.
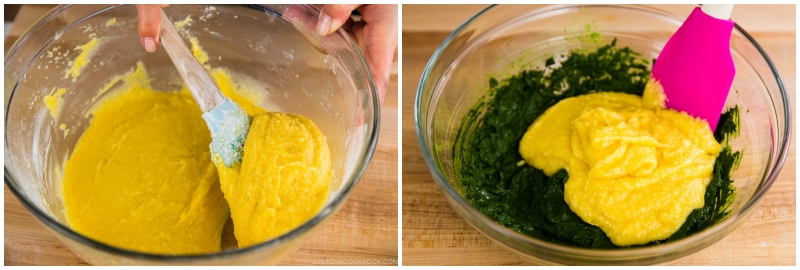
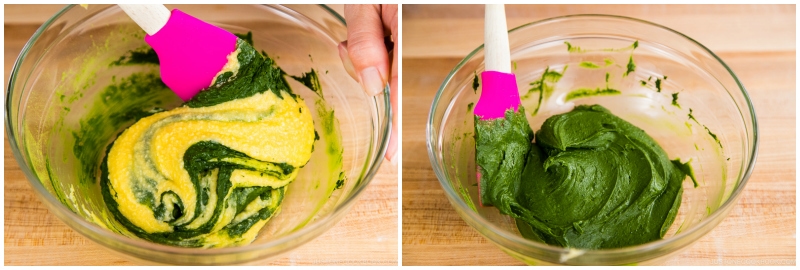
- Use a silicone spatula to fold the batter into the matcha paste just until the it's smooth and homogenous. Do not overmix.
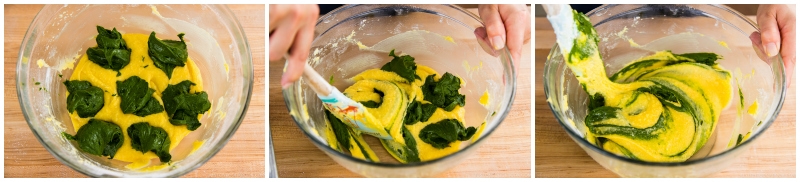
- Now, combine the green and yellow batters to create a marbled pattern. Add the matcha batter to the original yellow batter in 6–8 separate dollops scattered around the bowl. To swirl the two batters, use a silicone spatula to scoop the batter from the bottom of the bowl and fold it onto itself while rotating the bowl a quarter turn. Repeat this two more times only.
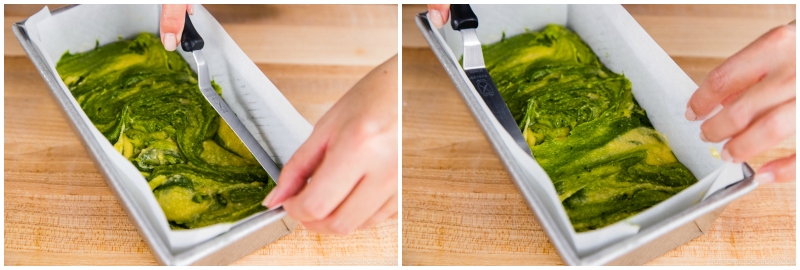
- Pour the batter into the cake pan without mixing to keep the swirl effect. Tap the pan on the countertop once to release any air pockets.
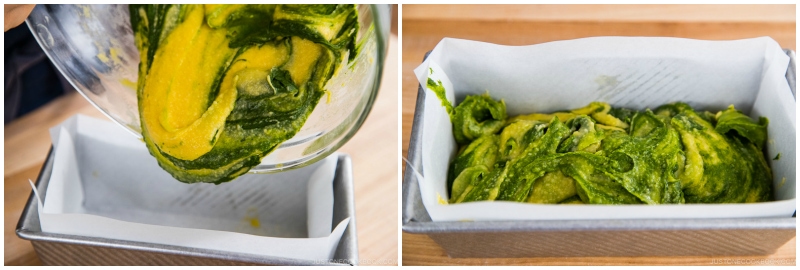
- Using an offset spatula, lightly smooth out the surface of the batter without mixing too much.
To Bake
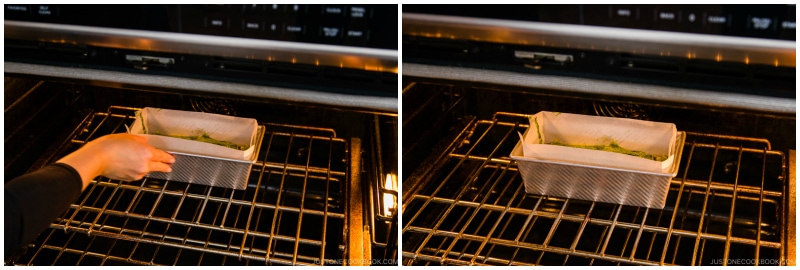
- Put the cake pan in the oven. Lower the oven temperature to 340ºF (170ºC) and bake for 50–60 minutes. Tip: Every oven is different, and your cake may be done in less than 50 minutes, so I recommend that you start testing for doneness several minutes before the baking time is up. If you‘re using a dark-colored pan, the cake may bake faster and your baking time could be shorter by 5–10 minutes or more.
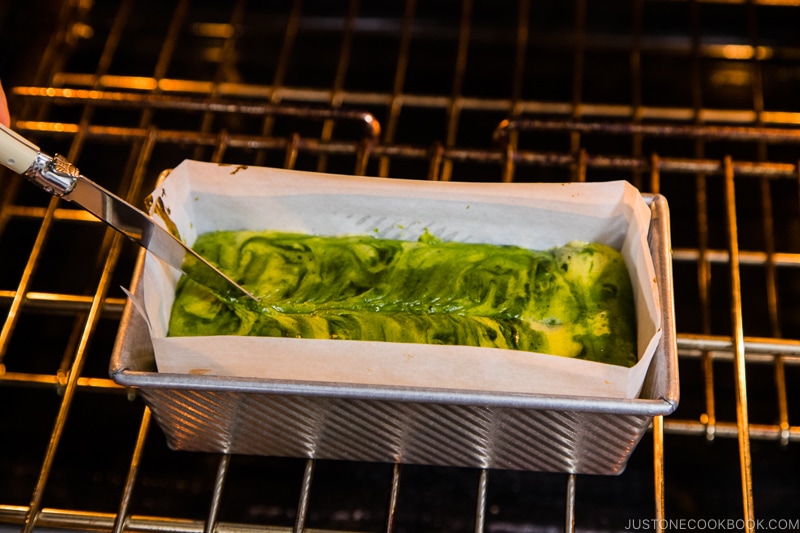
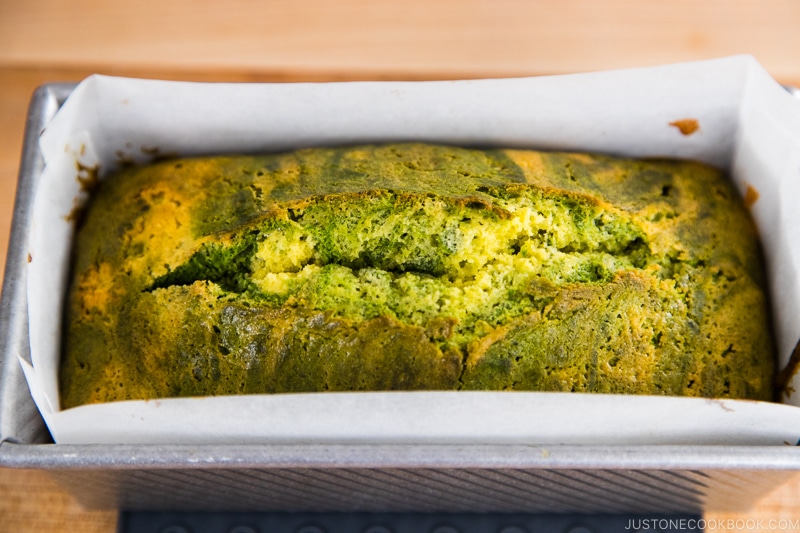
- After 15 minutes of baking, open the oven and quickly score the top of the cake with a sharp knife. (Please read the blog post about why we do this). Continue to bake, monitoring the oven to maintain a temperature of 340ºF (170ºC).
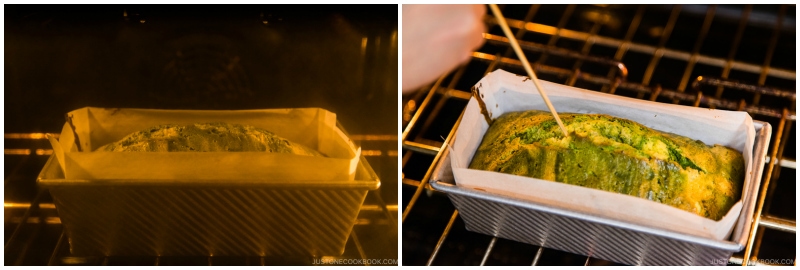
- The cake is done when a wooden skewer pulls out moist crumbs (not wet batter) when inserted near the center of the cake. Tip: To prevent overbaking, start checking for doneness several minutes before the baking time is complete.
- Remove from the oven and allow the cake to rest in the pan for 15 minutes on a wire rack. Then, take the cake out of the pan to cool completely.
To Serve
- Once it’s cool, you can slice and serve the Matcha Marble Pound Cake, if you wish. However, I strongly recommend serving it the next day (and up to 3 days after baking). This gives the butter time to oxidize and blend into the cake, resulting in a moister texture and allowing the flavors to meld and improve for a deeper matcha taste. Tightly wrap the cake and keep it in an airtight container at room temperature until ready to serve.
- You‘ll notice some differences between this Japanese-style pound cake and a typical American pound cake. The Japanese version is lighter and less buttery than its heavier and richer American counterpart. Also, a Japanese pound cake will have a tighter crumb and firmer structure. Finally, the Japanese version will slice cleanly and hold its shape well, whereas an American pound cake is softer and will crumble and break apart more easily.
To Store
- Store the pound cake at room temperature and consume it within 3–4 days. In a hot and humid environment, store it in the refrigerator for up to 1 week or in the freezer for 1 month.
Nutrition
Serving: 1loaf, Calories: 2949kcal, Carbohydrates: 311g, Protein: 75g, Fat: 154g, Saturated Fat: 90g, Trans Fat: 5g, Cholesterol: 1094mg, Sodium: 1037mg, Potassium: 599mg, Fiber: 5g, Sugar: 164g, Vitamin A: 7431IU, Calcium: 486mg, Iron: 14mg
