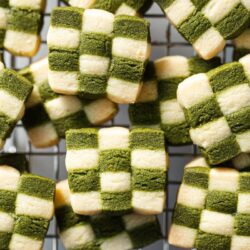
Matcha Checkerboard Cookies
Get in a festive mood with these stunning Matcha Checkerboard Cookies. Crisp and light with a subtle green tea powder flavor, these beautiful shortbread cookies practically melt in your mouth. Anyone can make them! They're perfect to share at a cookie swap or party.
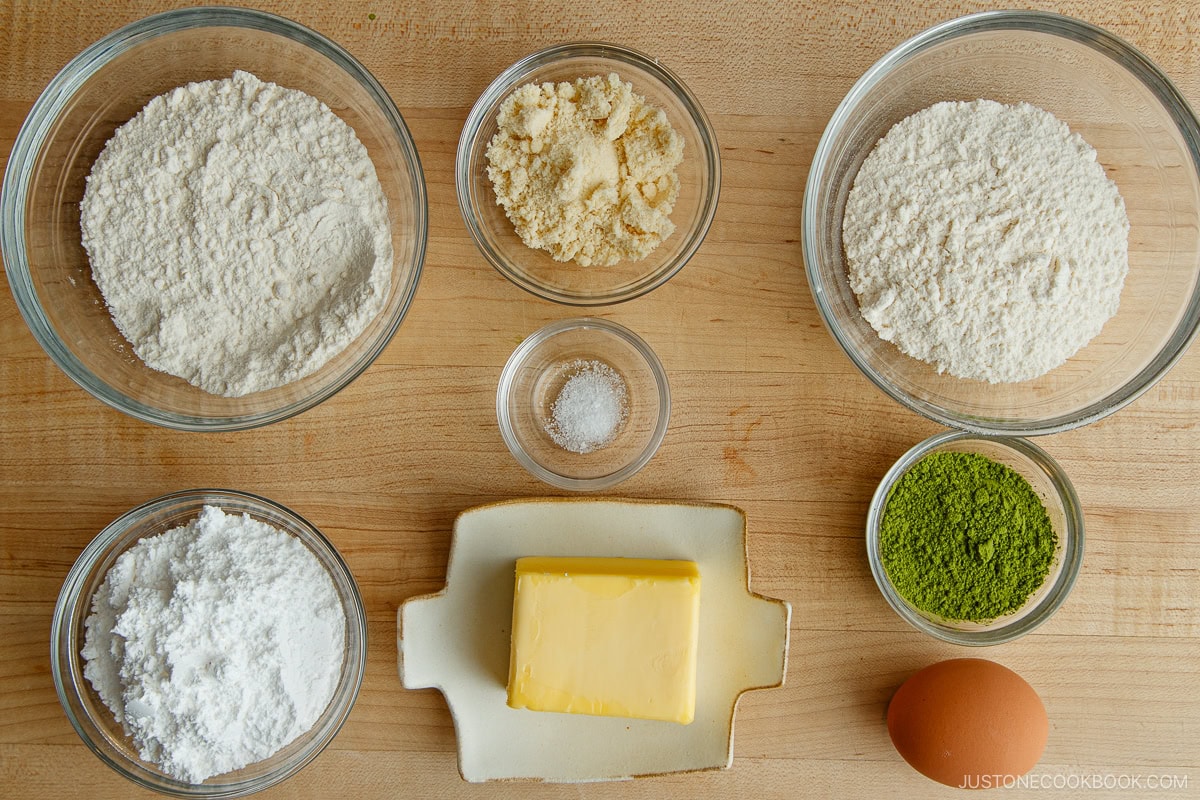
Ingredients
Servings: checkered cookies (plus more from leftover dough)
- 7 Tbsp unsalted butter (at room temperature)
- ½ cup confectioners’ sugar
- ⅛ tsp Diamond Crystal kosher salt
- ½ large egg yolk (measure its weight, then divide in half; at room temperature)
- 2 Tbsp almond flour (I use King Arthur Almond Flour)
- ½ heaping cup cake flour (for the plain dough; please weigh your flour; click the Metric button for weights; or learn how to measure flour with a measuring cup; I use King Arthur Unbleached Cake Flour; click the ingredient link for how to make cake flour at home)
- 5 tsp matcha (ceremonial or culinary grade) (for the green dough)
- ½ cup cake flour (for the green dough; please weigh your flour)
- egg white (from separating the egg yolk)
Instructions
Before You Start...
- This recipe needs at least 2 hours of chilling—split it into morning and afternoon, or chill overnight over two days. Gather all the ingredients. Soften the butter at room temperature for 1 hour or more. Weigh your ingredients with a kitchen scale (tap "Metric" above for grams). Using cups instead? Fluff and sprinkle the flour into the cup and level it off—don't scoop, or you'll add too much.method.
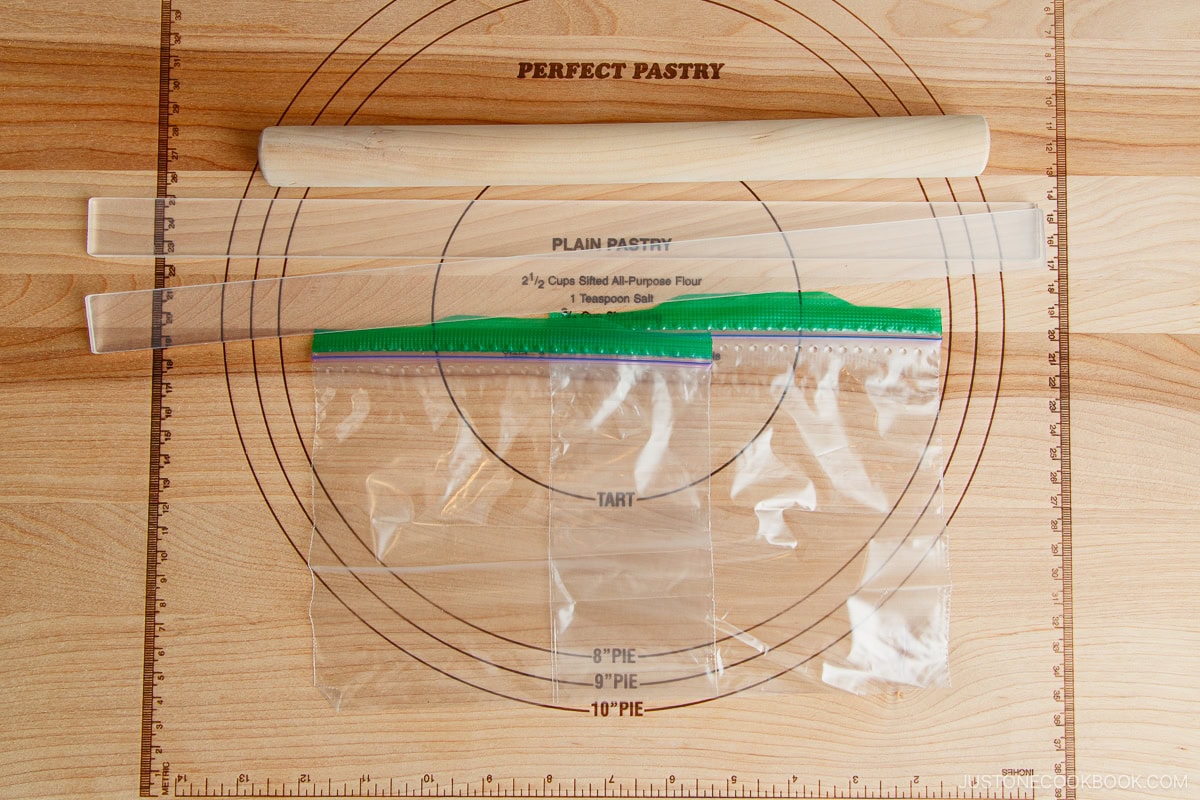
- You'll need: a hand or stand mixer with whisk (and paddle) attachments, or a food processor; an aluminum baking sheet; 2 resealable sandwich bags (about 6 x 6.5 in / 15 x 16.5 cm); a rolling pin; and rolling pin guides (optional—I use these acrylic guides).
To Mix the Cookie Dough
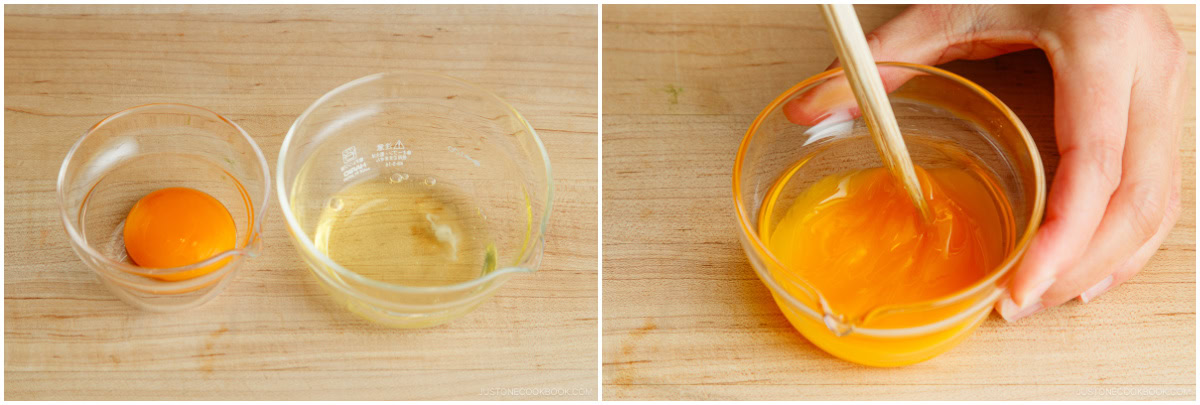
- Separate the egg yolk from the egg white.
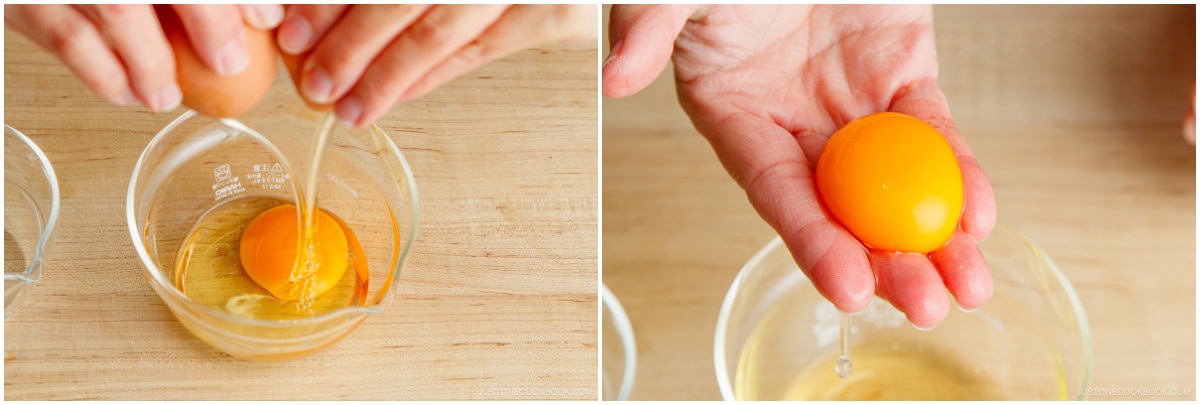
- Place the egg white in a small bowl, cover with plastic, and refrigerate it. Mix ½ large egg yolk in a small bowl until smooth.Nami's Tip: Weigh the whole yolk on a digital scale and calculate half for accuracy).
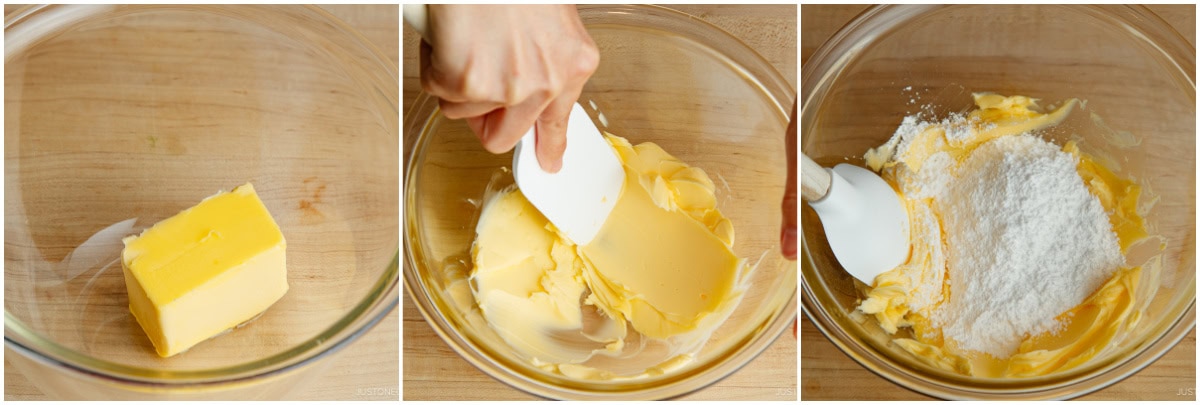
- In a separate bowl, press 7 Tbsp unsalted butter (at room temperature) with a silicone spatula until smooth, then add ½ cup confectioners’ sugar.
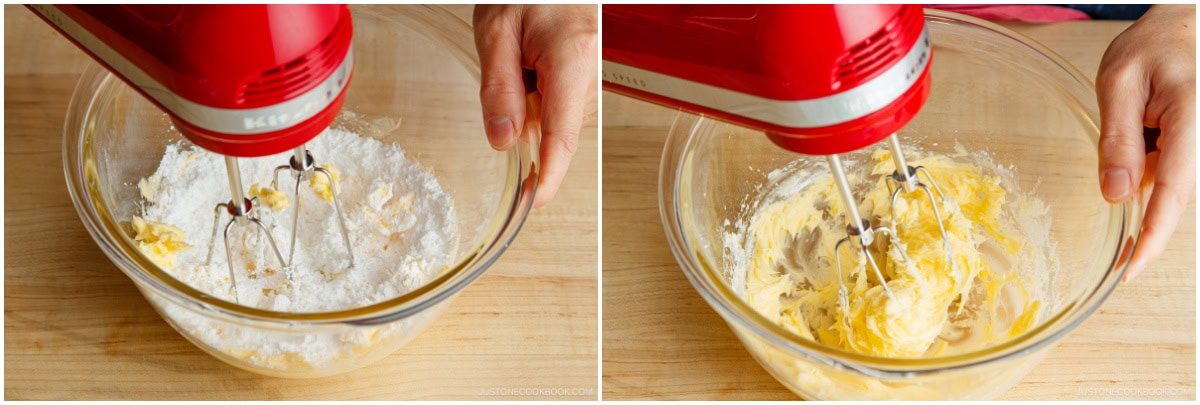
- Blend with an electric mixer until fluffy and pale.Nami's Tip: Whipping in air makes the cookies crispier.
- Add ⅛ tsp Diamond Crystal kosher salt and blend until incorporated.
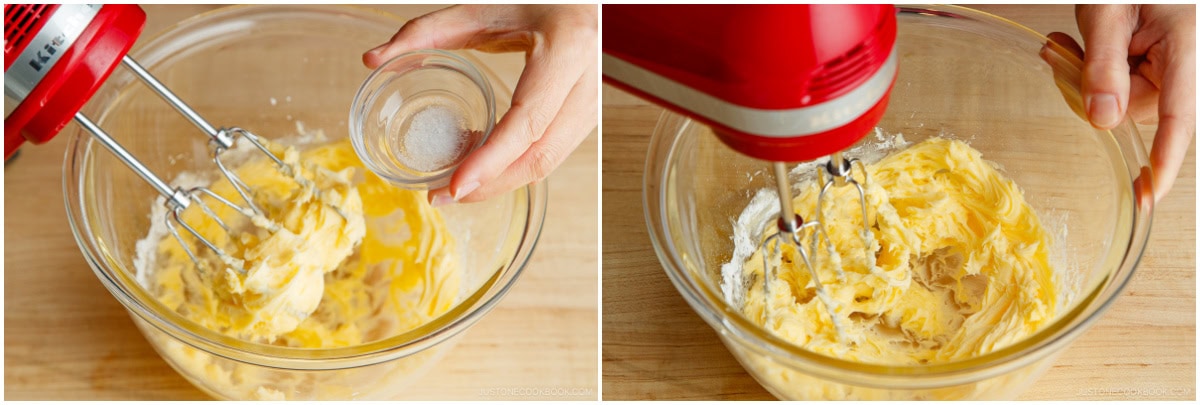
- Add ½ large egg yolk and mix until smooth.
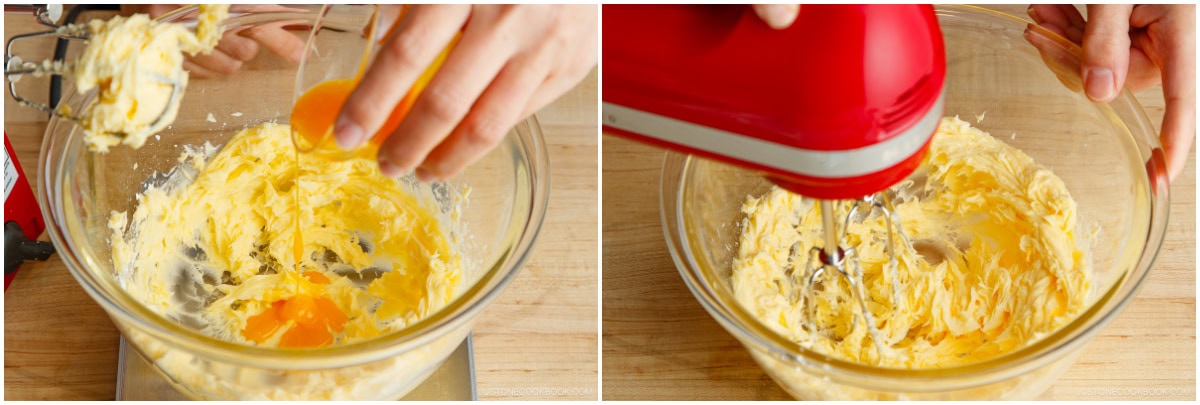
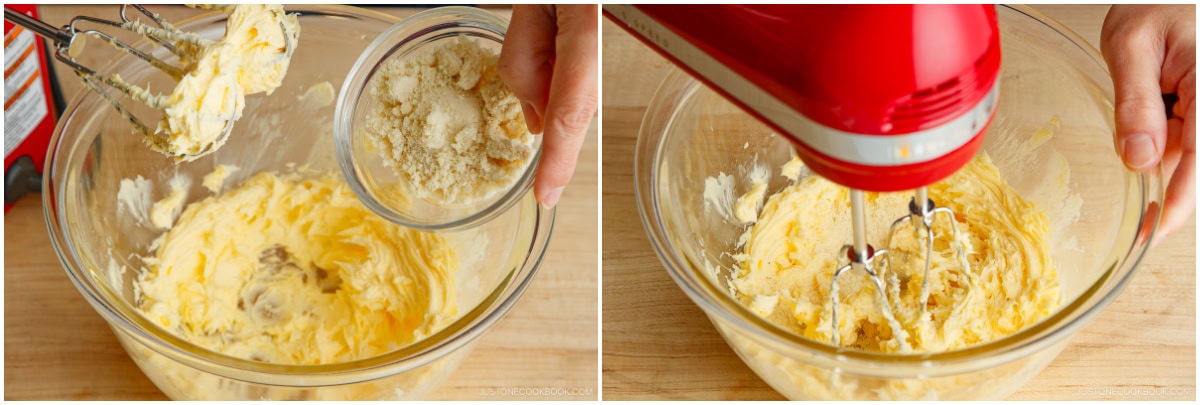
- Add 2 Tbsp almond flour and blend until fully incorporated and smooth.
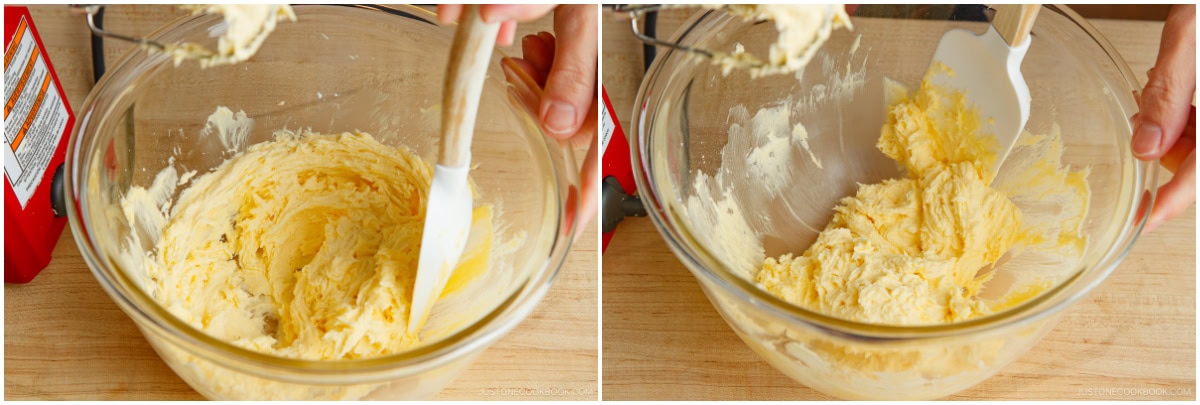
- With the silicone spatula, scrape down the bowl to collect the dough.
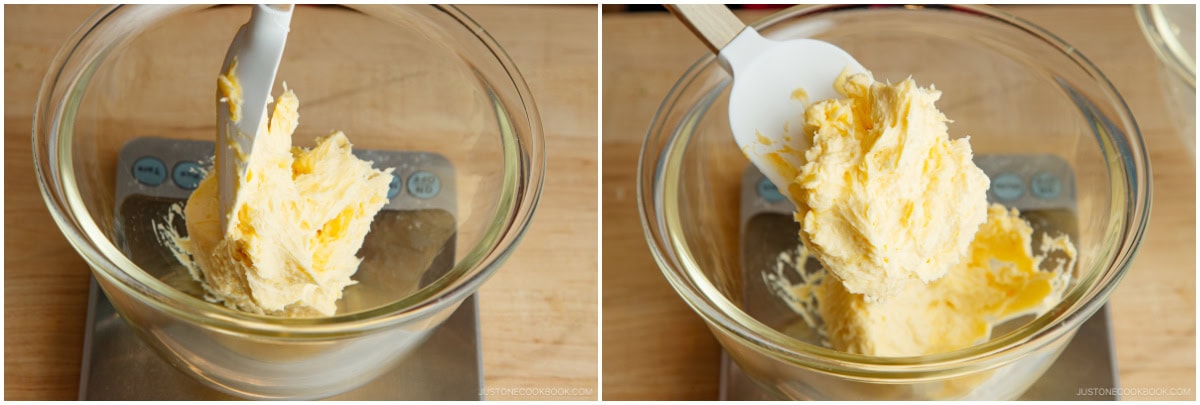
- Weigh the dough on a kitchen scale and divide it in half (mine was about 180 g total, so 90 g per half). Split into two bowls—one for plain dough, one for matcha dough.
To Make the Plain Dough
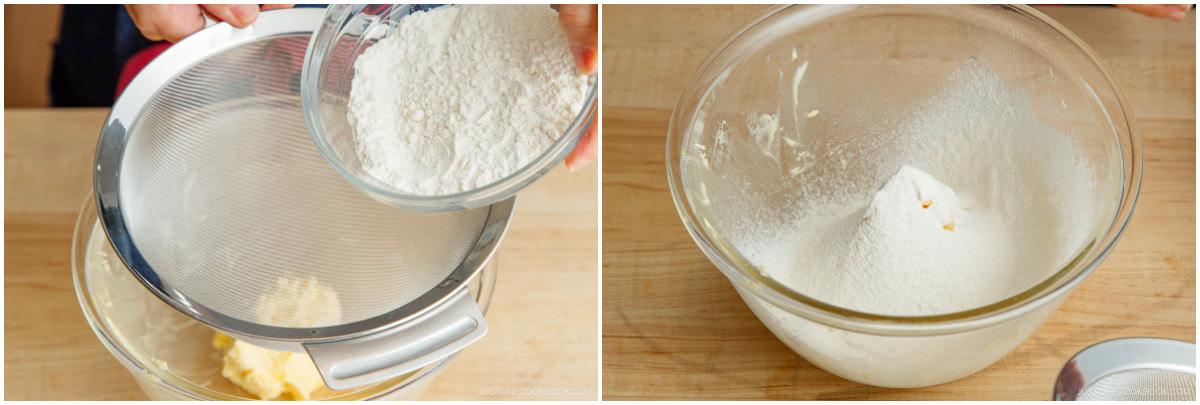
- Sift ½ heaping cup cake flour into the plain dough bowl.
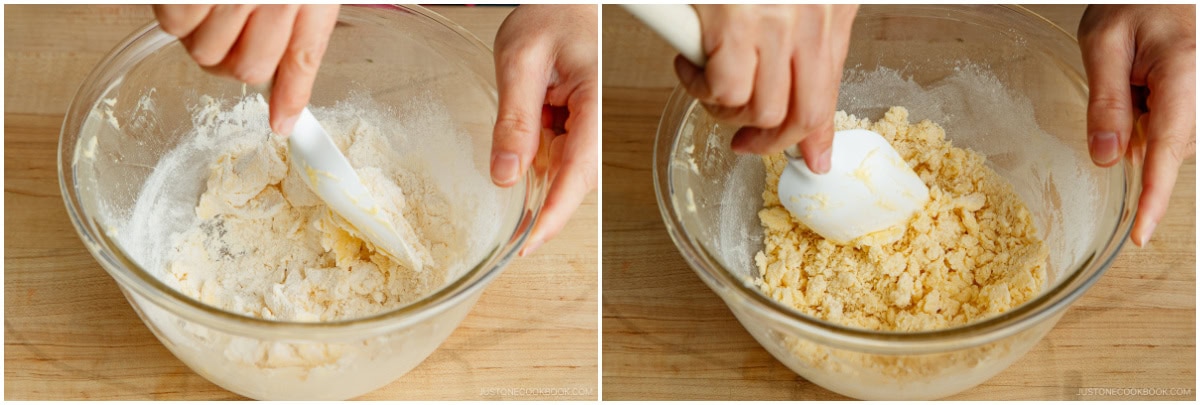
- Fold in the flour with the spatula until just incorporated—don't overmix.
- Once crumbly, press the dough together, shaping it into a ball and scraping the sides.
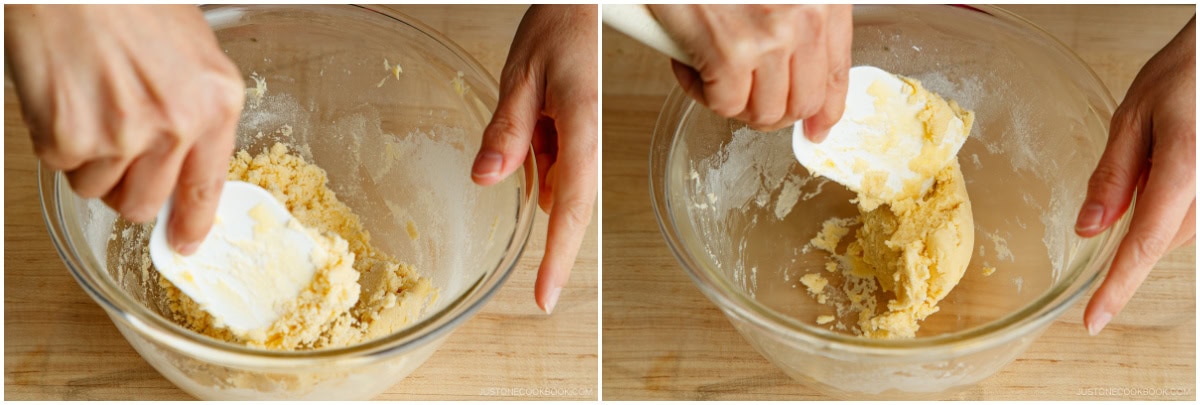
- Once crumbly, press the dough into a ball, scraping down the sides.
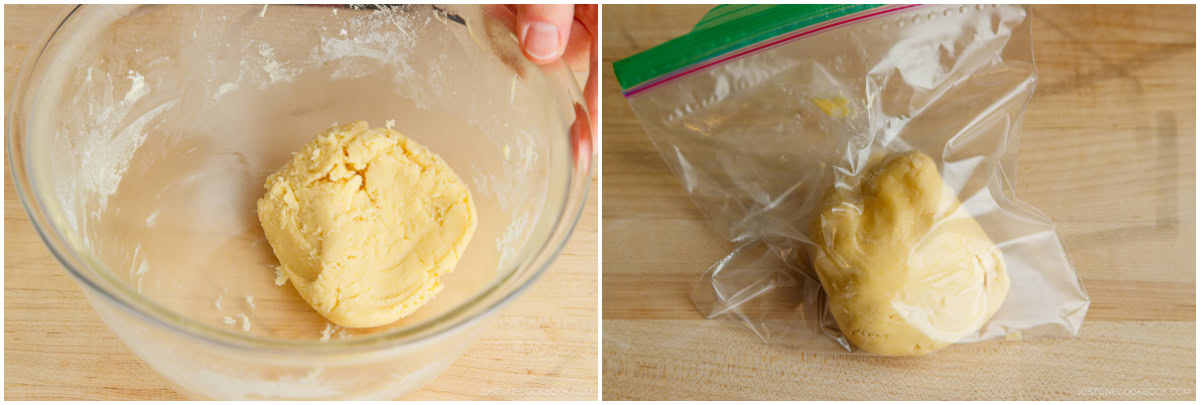
To Make the Matcha Dough
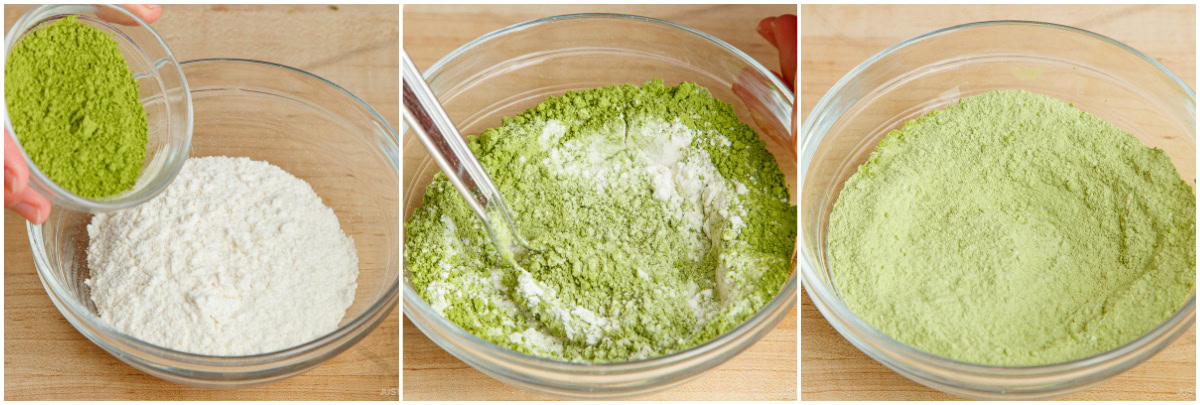
- Whisk 5 tsp matcha (ceremonial or culinary grade) into ½ cup cake flour until combinedNami's Tip: Pre-mixing makes it easier to blend in.
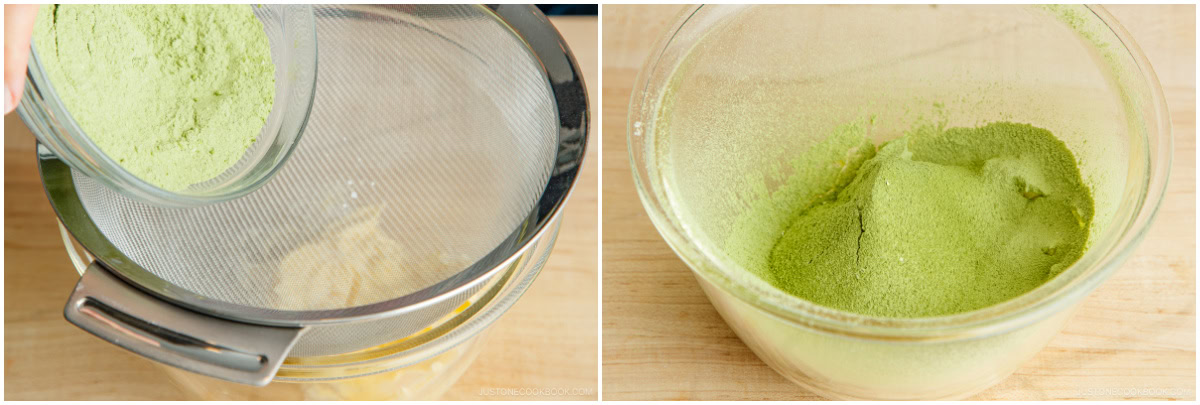
- Sift the matcha-flour mixture into the other dough half.
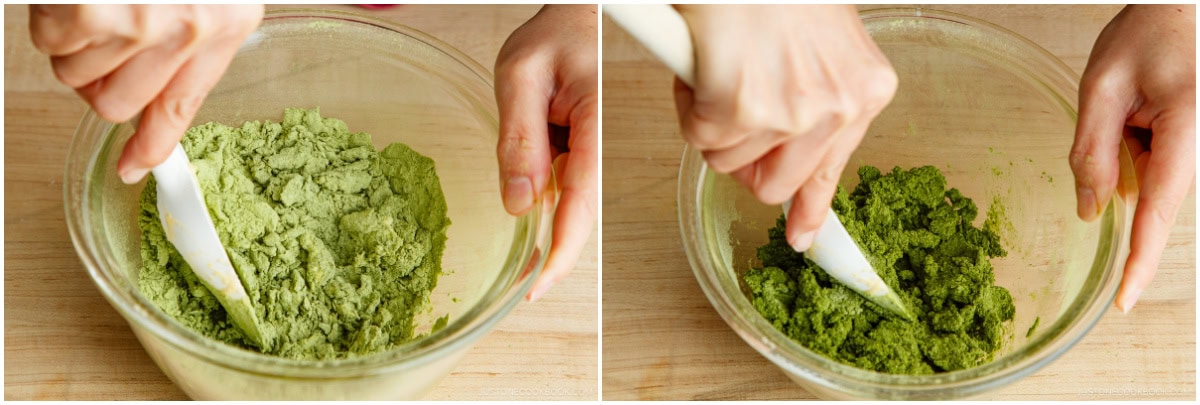
- Fold in with the spatula until just incorporated—don't overmix.
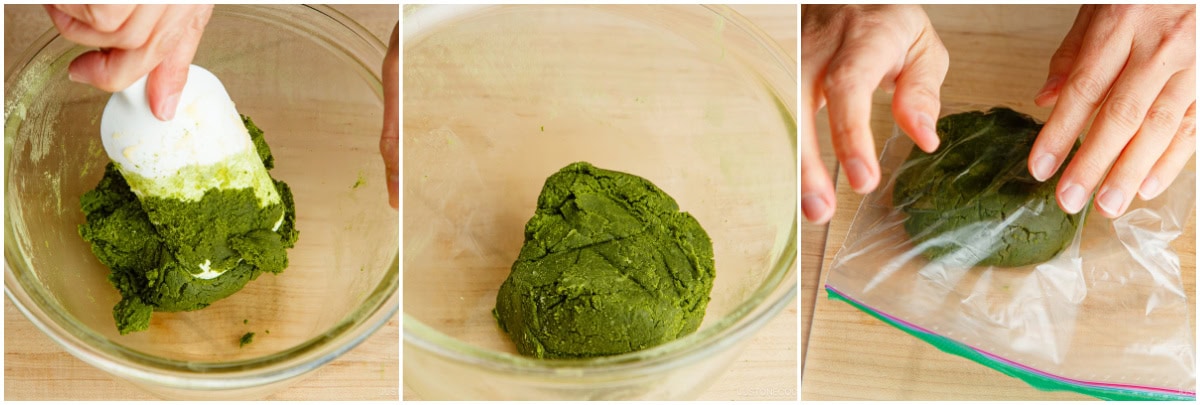
- Once crumbly, press into a dough ball and place in a resealable sandwich bag.
To Roll Out the Dough
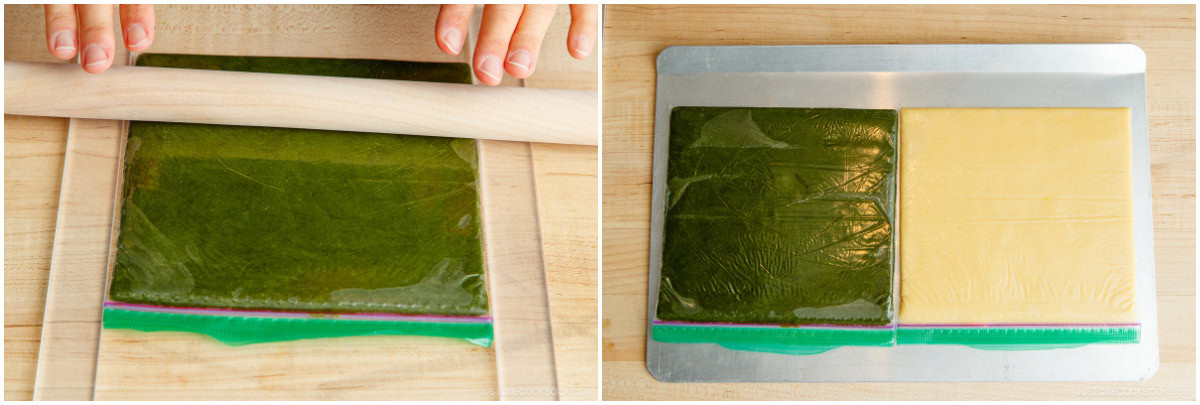
- Release the air from the bag, seal it, and roll the dough flat with a rolling pin.
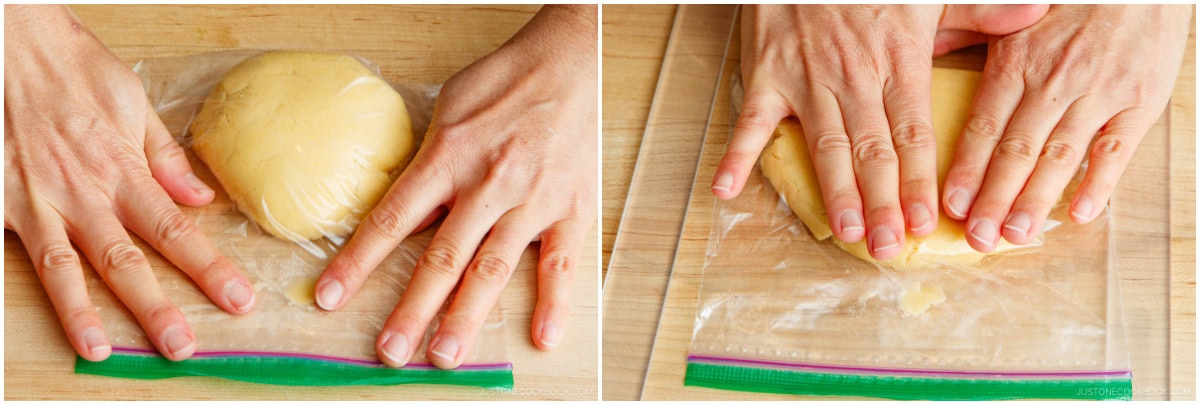
- Using rolling guides? Place them on either side of the bag and roll flat (stacked chopsticks work too). Without guides, roll until the dough fills the bag to a 5-mm thickness.
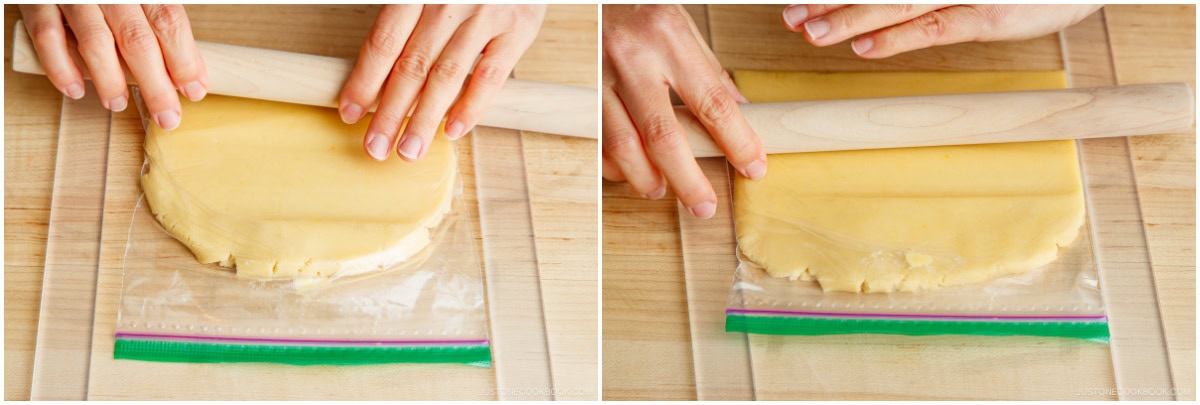
- Flatten the dough to 5 mm thick, about 6 x 6½ in (15 x 16.5 cm).
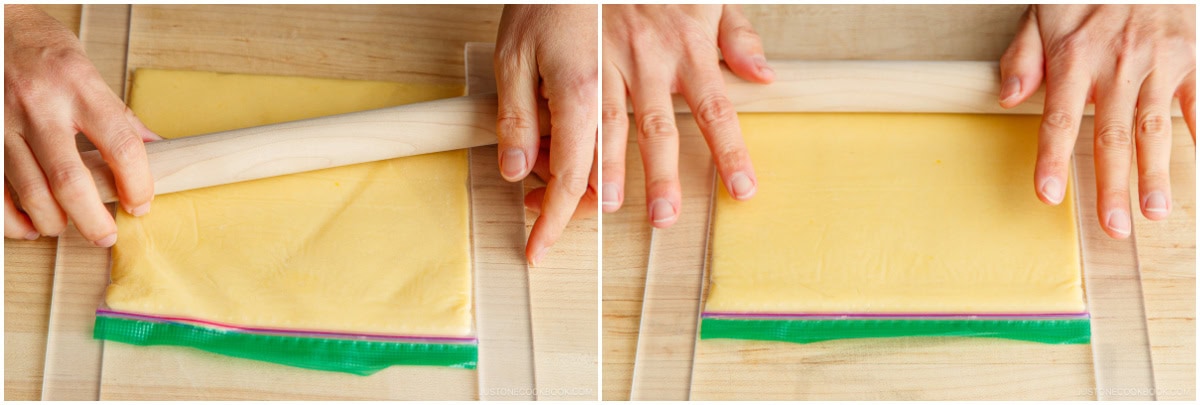
- Repeat with the matcha dough. Place the rolling guides on either side of the bag and roll flat.
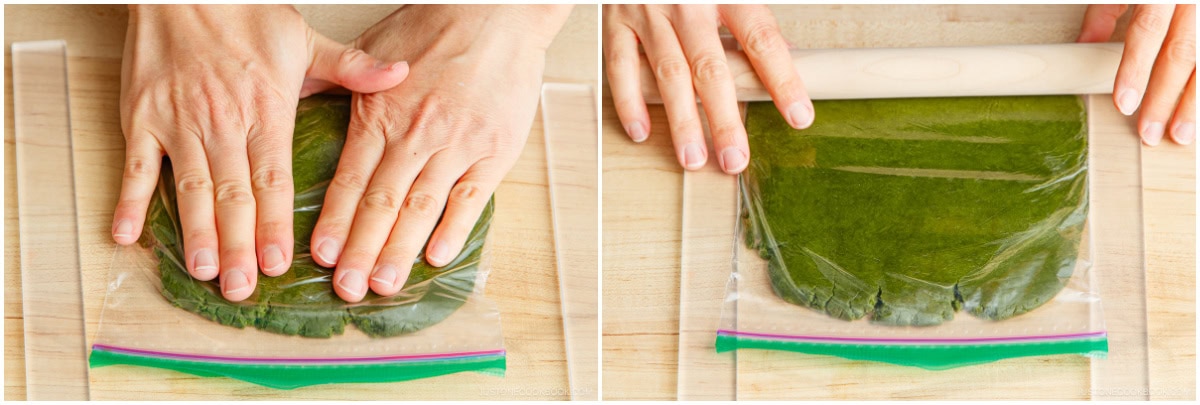
- Roll gently so the dough doesn't push out of the sealed bag. Refrigerate both bags for at least 1 hour.
To Assemble the Checkered Logs
- Remove the chilled and firm dough from the fridge. Cut open the left and right sides of each sandwich bag with a sharp knife.Nami's Tip: The dough should feel solid—if it softens too much, wrap in plastic and re-chill before continuing.
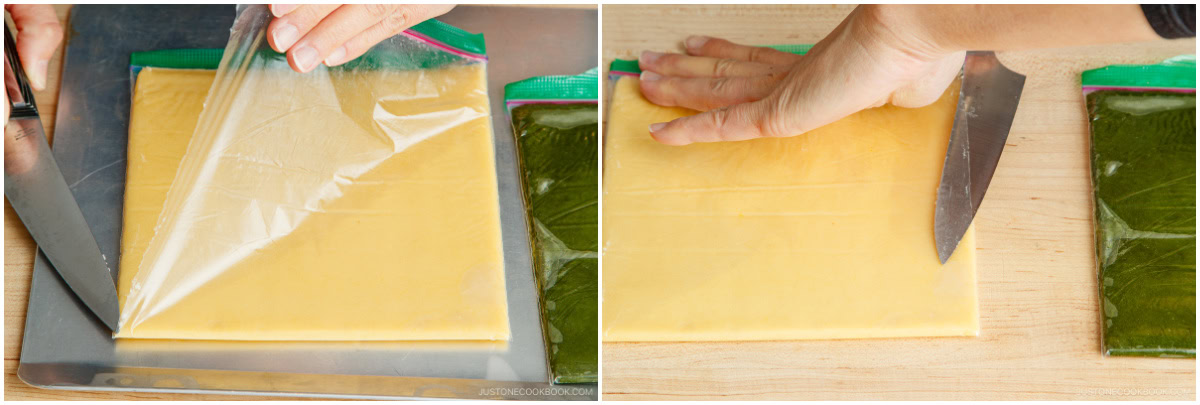
- Peel back the tops of the bags to expose the dough, leaving the bottom bag in place.
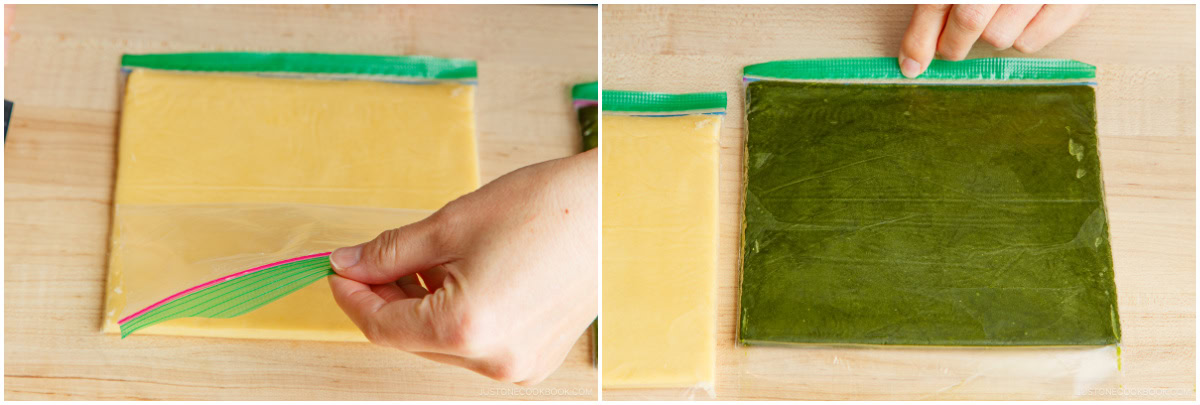
- Brush the matcha dough with beaten egg white. Flip the plain dough—still in its bag—on top. Press to adhere, then peel off the bag.
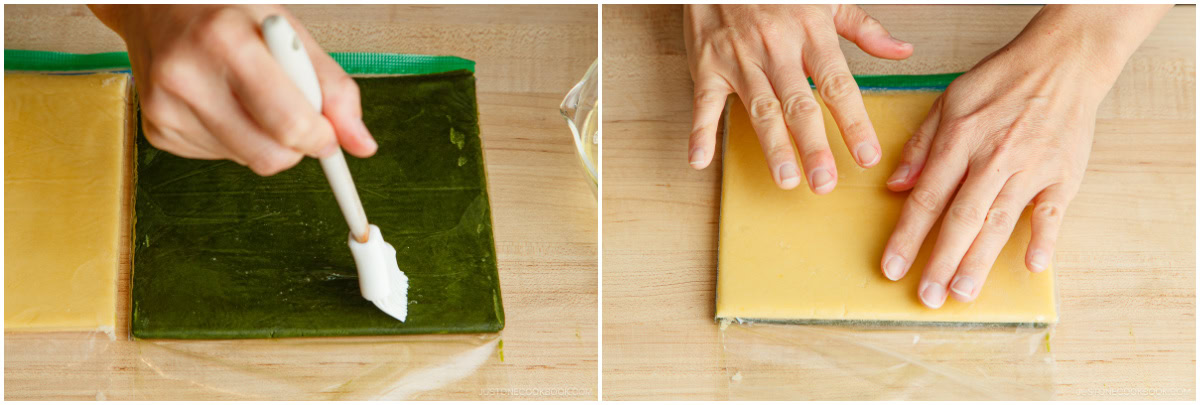
- Cut the layered dough in half and brush one half with egg white. Stack the other half on top, matching the cut sides, to form four alternating layers. Press to adhere.
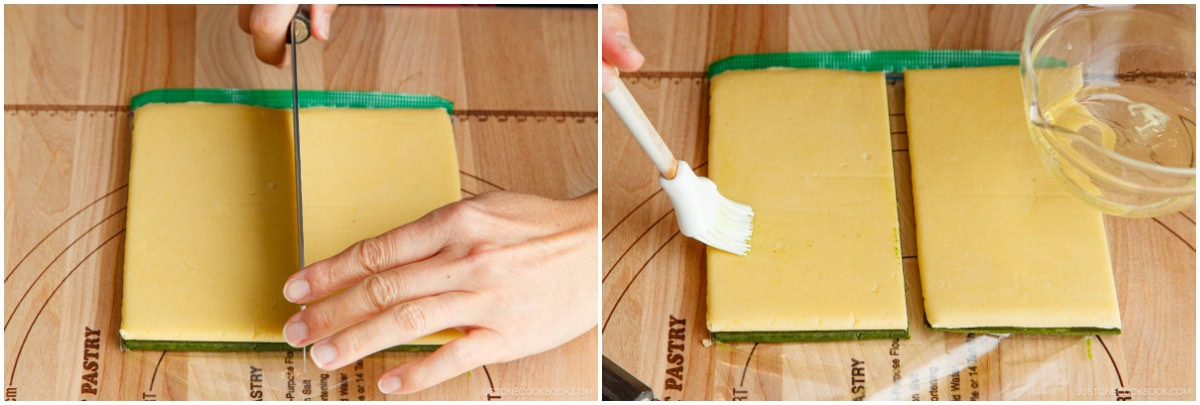
- Stack the other half on top, matching the cut sides, to form four alternating layers. Press gently to adhere.
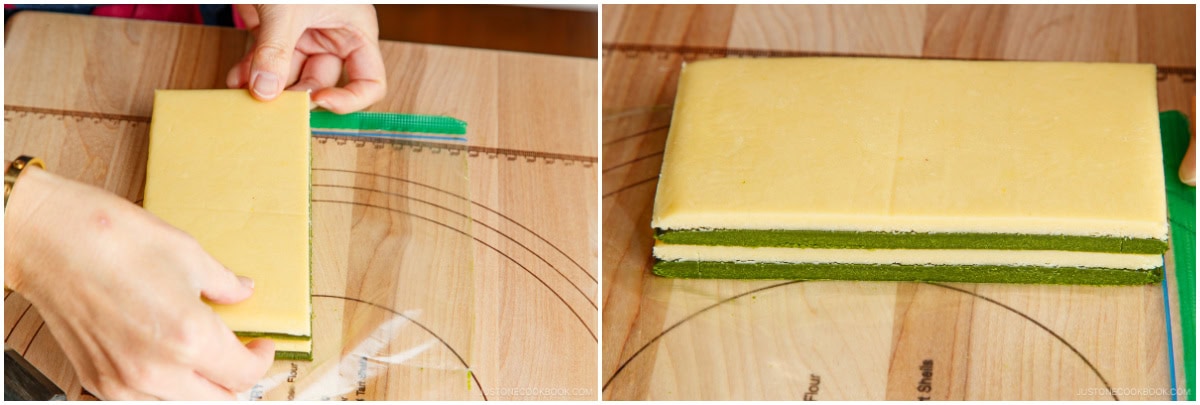
- Mark 1-cm (just over ⅜ in) intervals along the top and bottom edges with the tip of a knife—a ruler helps here.
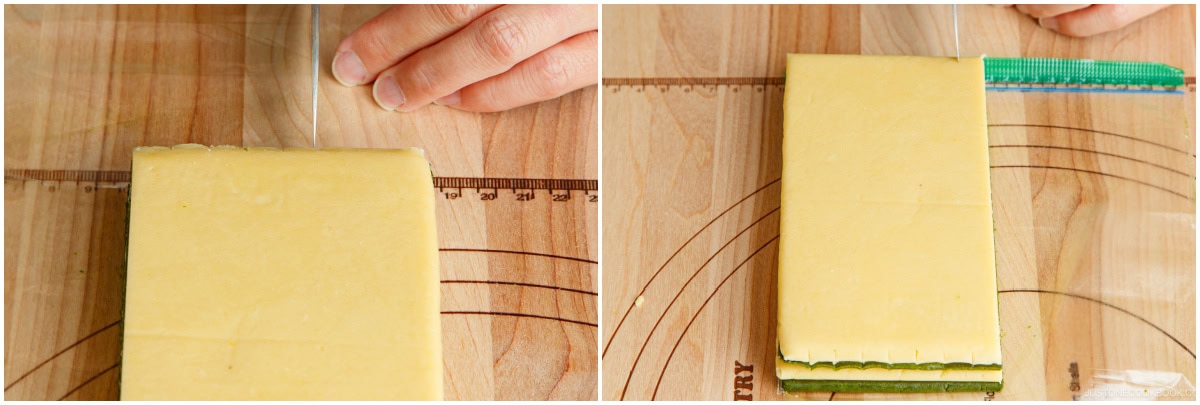
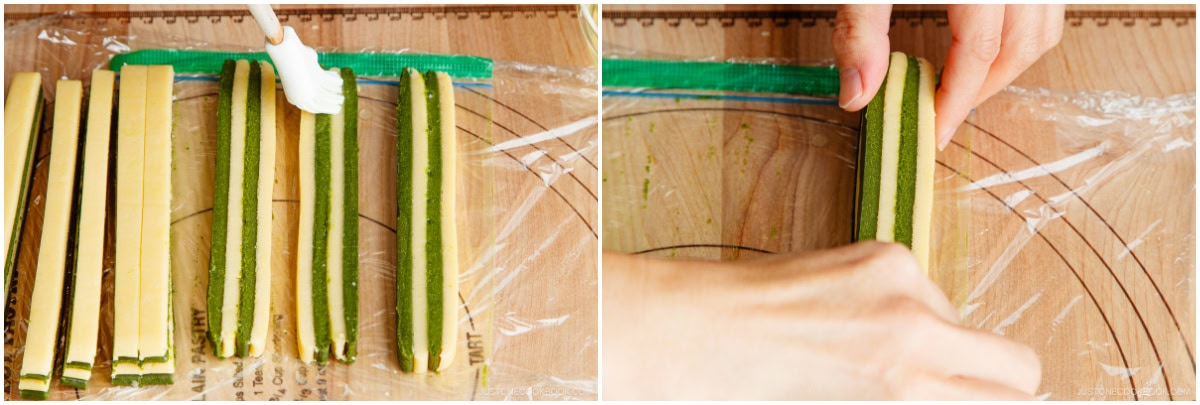
- Using the marks as a guide, slice straight down into 1-cm-thick strips (about 8 total).Nami's Tip: if the strips soften, wrap and re-chill before continuing.
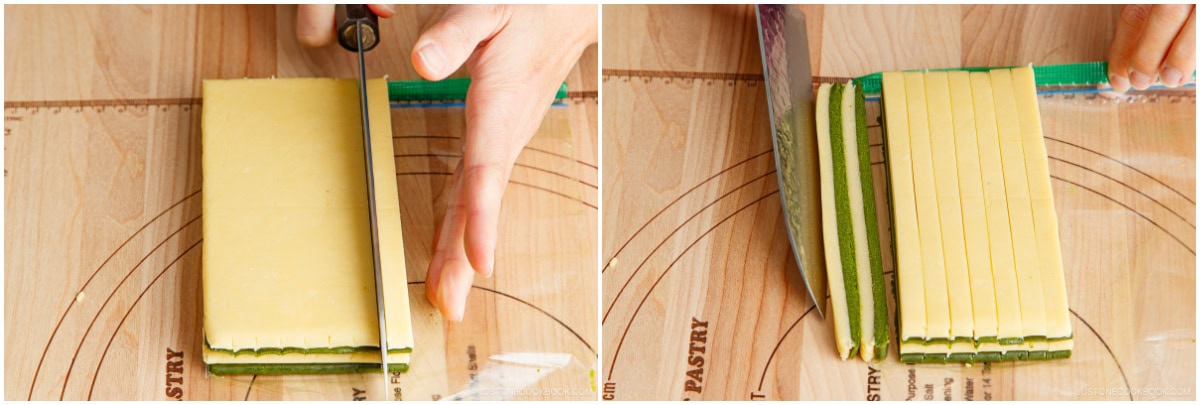
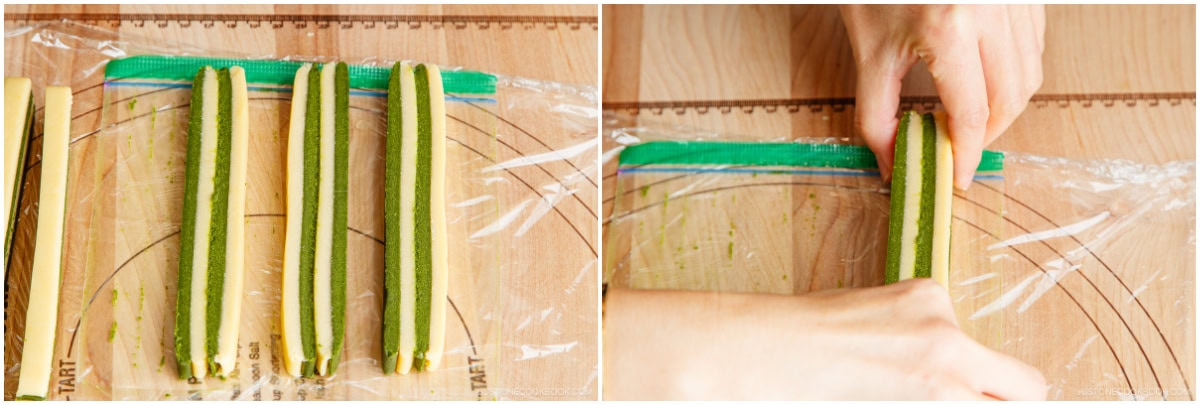
- Lay three strips flat and flip the middle one so its colors are reversed from the outer two (see image). Brush egg white on top of the bottom and middle strips (skip the top strip), then stack into a log. Check the end for a checkered pattern and press gently to adhere without misshaping.
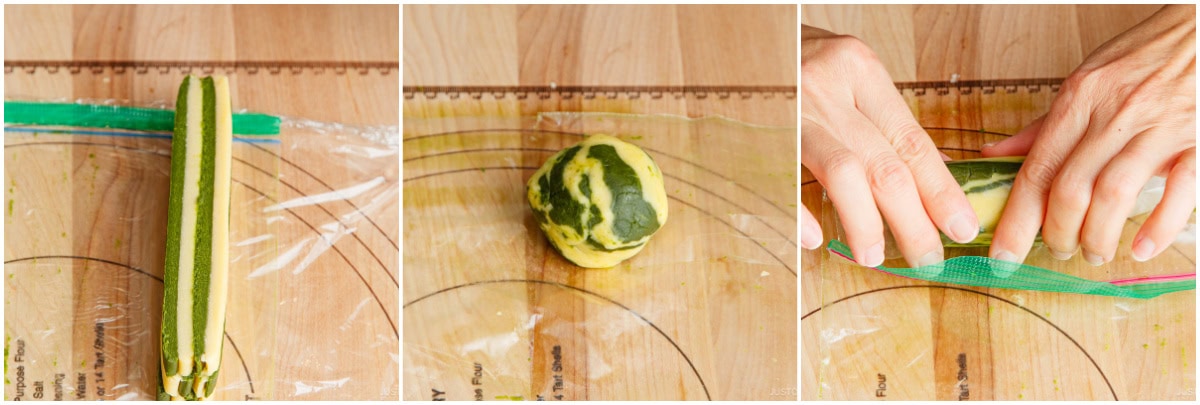
- Stack the remaining three strips into a second log. Wrap in plastic and chill at least 1 hour. Nami's Tip: To freeze the logs for later, see the To Store section.
- For the last two strips, roll into a ball, then into a log—or cut in half crosswise and stack for a short checkered log. Wrap and chill.
To Bake
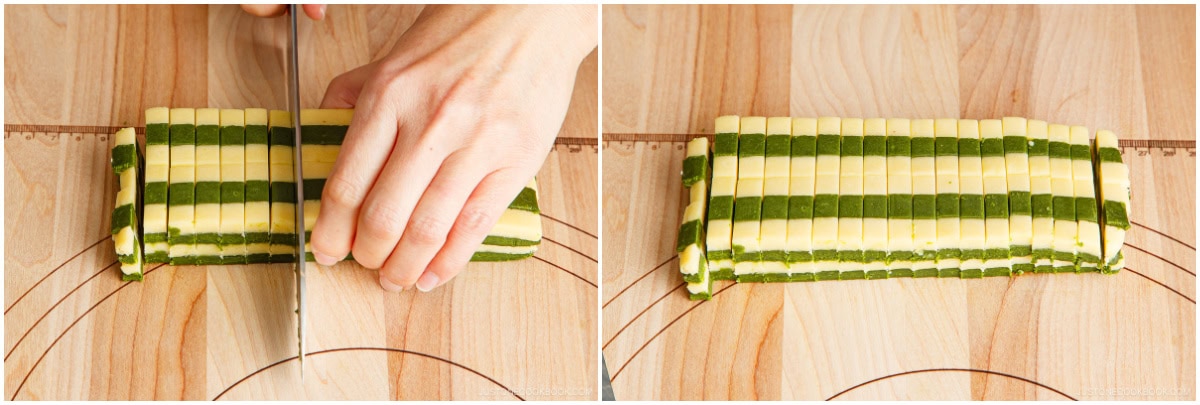
- Preheat the oven to 350°F (175°C). Slice the chilled dough logs into ¼-in (7 mm) thick cookies.
- Place on a parchment-lined baking sheet and bake 13–15 minutes, until slightly browned on the bottom.
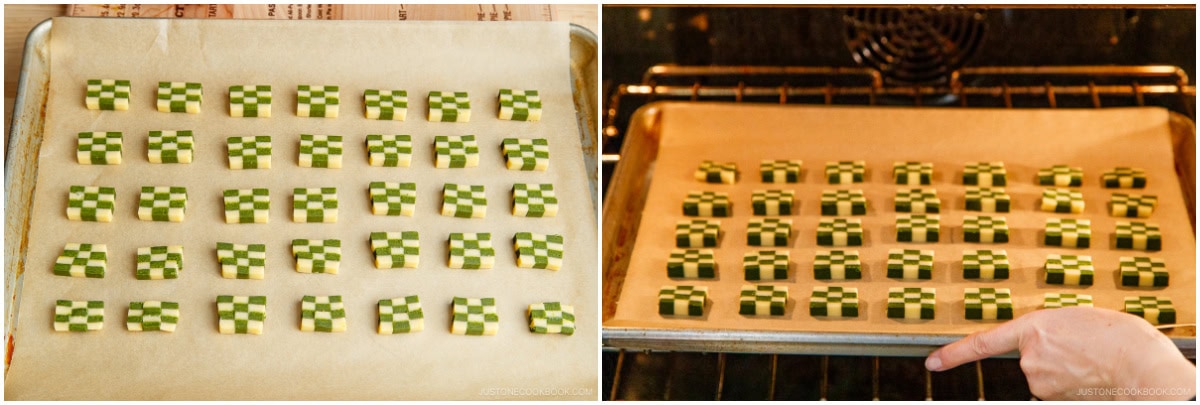
- Remove from the oven when just slightly golden—residual heat will brown them further. Cool 5–10 minutes on the sheet, then transfer to a wire rack.
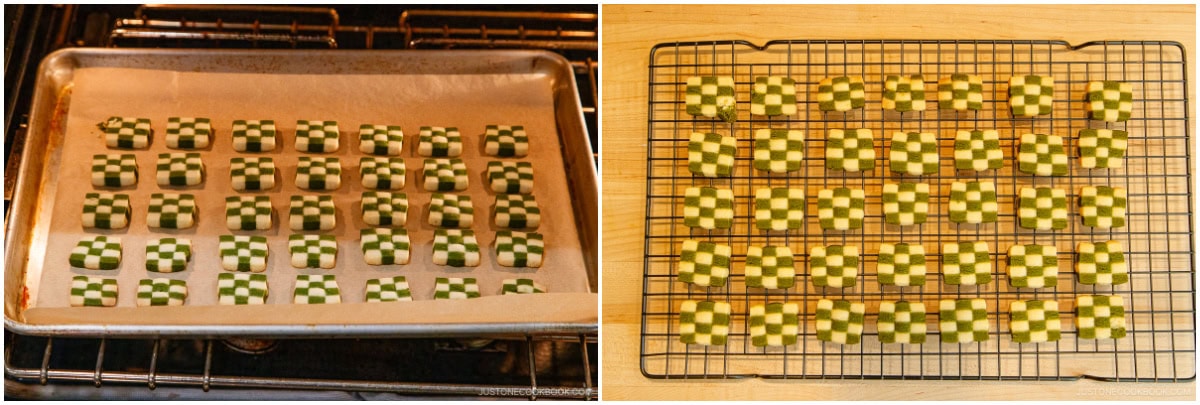
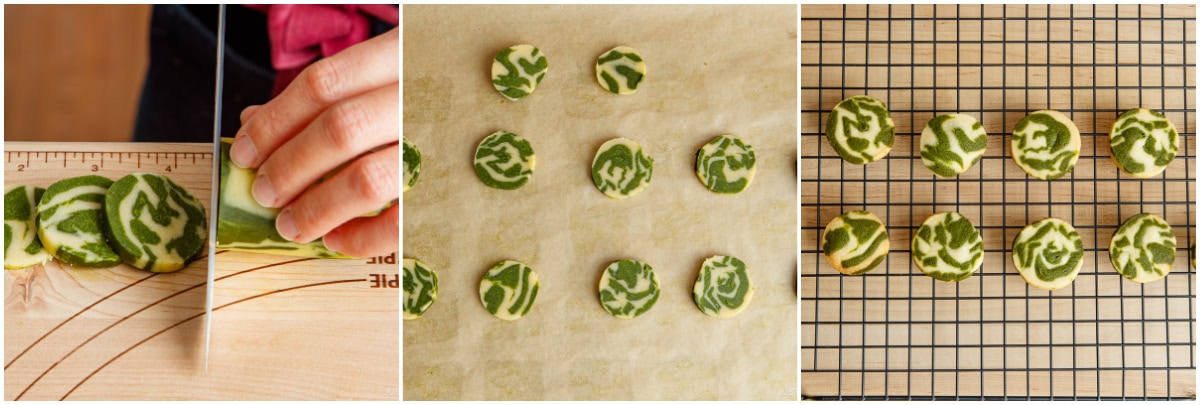
- Continue slicing and baking the remaining dough.Nami's Tip: Rotate the log as you slice to keep its round shape.
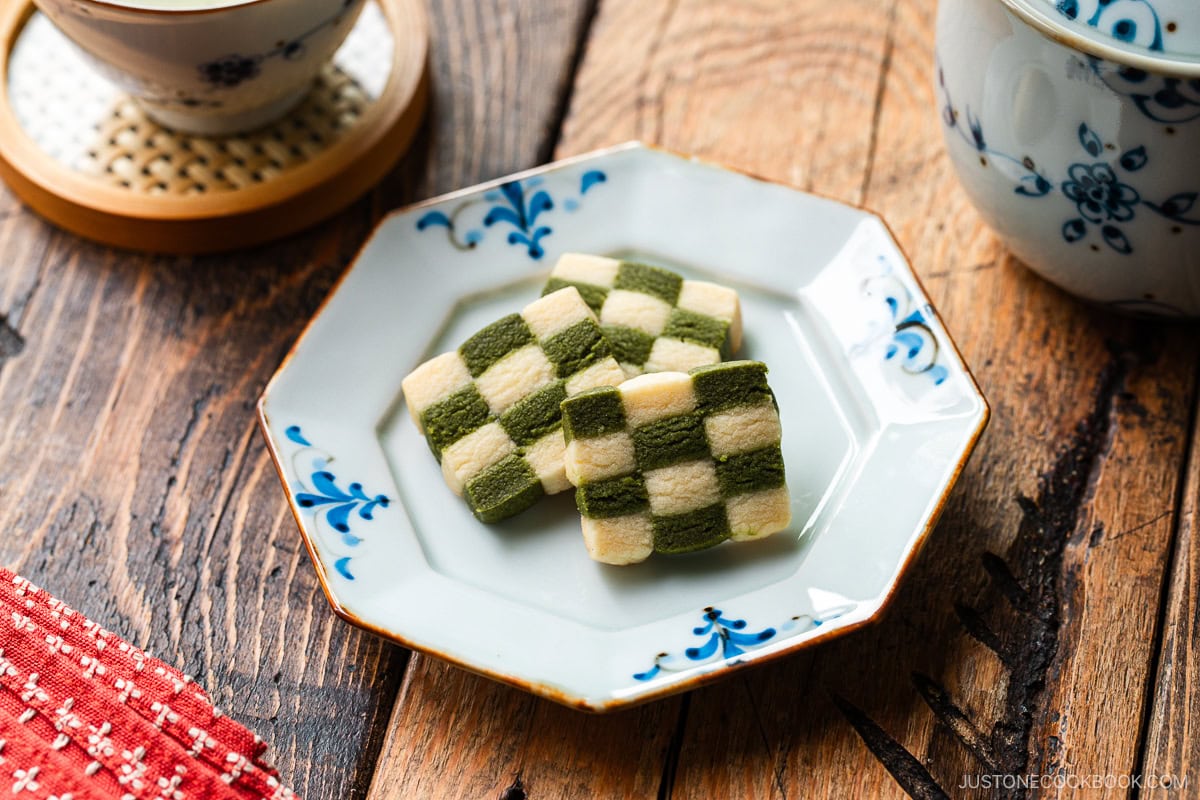
- Serve with your favorite drink and enjoy!
To Store
- Once fully cool, store cookies in an airtight container at room temperature up to 1 week (I add a silica gel packet). To freeze baked cookies, transfer to a freezer-safe container or bag and freeze up to 3 months; thaw overnight in the fridge. To freeze the dough, wrap the logs tightly in plastic, place in freezer bags, and freeze up to 3 months; thaw in the fridge 2 hours before slicing and baking.
Notes
- Baking Sheets: Use a light-colored aluminum or aluminized steel baking sheet for even browning. Avoid dark-colored pans like carbon steel—they can burn the bottoms.
- Ovens: Check your actual temperature with an oven thermometer and adjust as needed—display settings can be off. This recipe was tested in the full-sized oven; countertop ovens may bake faster, so watch closely and adjust the time.
Nutrition
Calories: 46kcal, Carbohydrates: 5g, Protein: 1g, Fat: 3g, Saturated Fat: 2g, Polyunsaturated Fat: 0.1g, Monounsaturated Fat: 1g, Trans Fat: 0.1g, Cholesterol: 9mg, Sodium: 6mg, Potassium: 7mg, Fiber: 0.1g, Sugar: 2g, Vitamin A: 89IU, Calcium: 3mg, Iron: 0.1mg
The nutrition facts shown are generated by an online calculator and are estimates only. Please consult a professional nutritionist for specific dietary needs.
