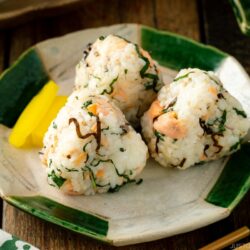
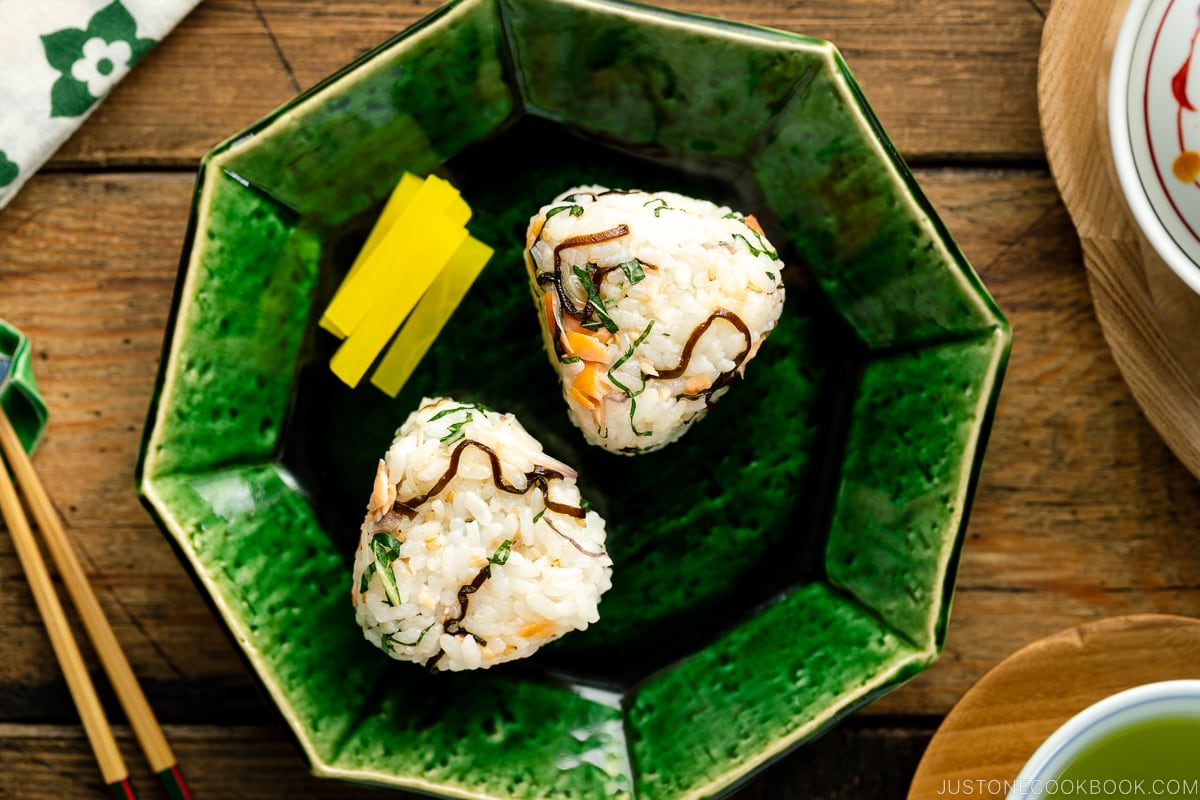
Salmon and Shio Kombu Onigiri
Our family‘s favorite rice ball combination is Salmon and Shio Kombu Onigiri. For this Japanese bento classic, I use salmon flakes for savory protein and salted kelp strips for their deep briny flavor. I also mix in refreshing shiso and myoga ginger along with crunchy toasted sesame seeds. It‘s a delicious umami flavor bomb that‘s perfect for lunch at home, work, school, or a picnic.
Ingredients
- 3 cups cooked Japanese short-grain rice (hot, either freshly cooked or previously frozen; 1⅛ cups of uncooked rice are 1½ rice cooker cups (8 oz, 270 ml) and yield roughly 3 US cups (2⅝ cups, 495 g) of cooked rice or 6 medium-sized rice balls)
- 4 oz cooked salmon (roughly ½ cup; leftover Salted Salmon, Miso Salmon, and Salmon Flakes will work here)
- 5 shiso leaves (perilla/ooba)
- 3 myoga ginger (optional; skip if you can‘t find it; typically available during summer months or sold frozen at Japanese grocery stores)
- 1½ Tbsp shio kombu
- 2 tsp toasted white sesame seeds
- 2 tsp Diamond Crystal kosher salt (for shaping the rice balls)
Instructions
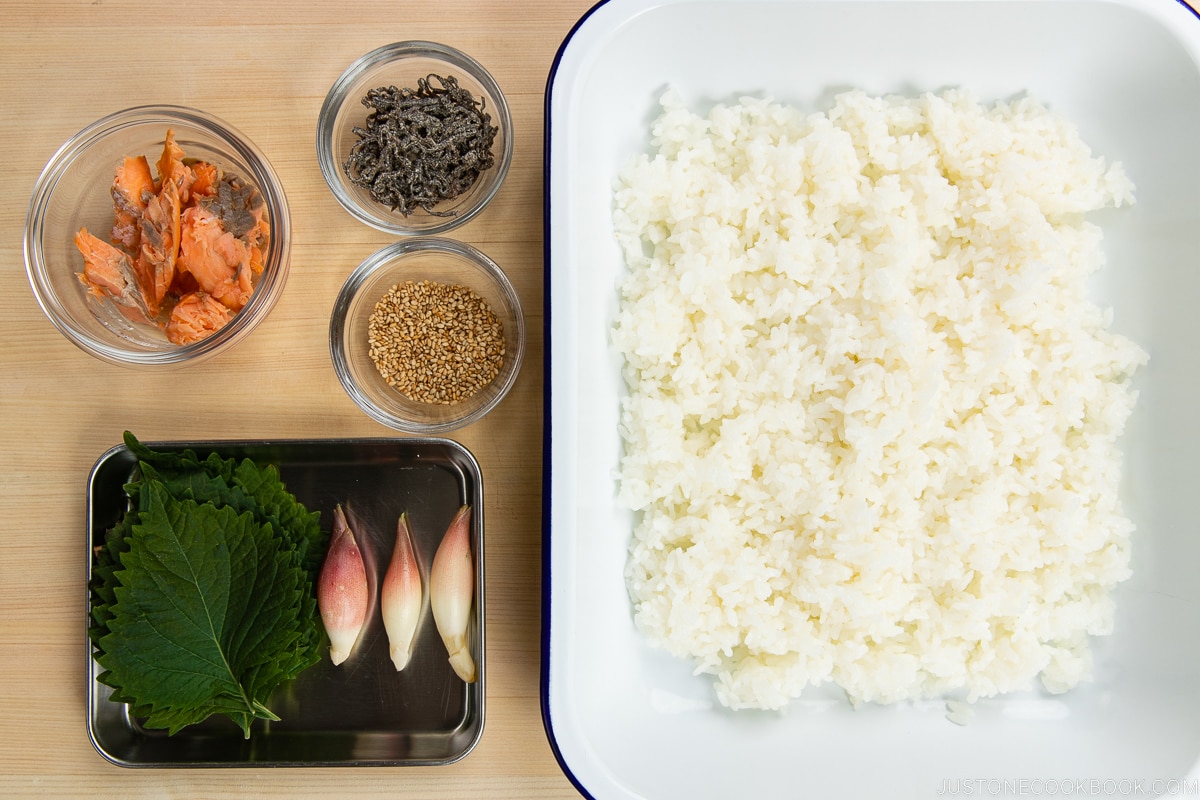
- Gather all the ingredients. Break 4 oz cooked salmon into smaller pieces with chopsticks or a fork. Transfer 3 cups cooked Japanese short-grain rice (hot) to a large tray or bowl so that you have plenty of room to easily and thoroughly mix it with the other ingredients. Allow the rice to cool slightly as you prepare the other ingredients; you don‘t want to burn your hands when shaping the onigiri.
To Prepare the Ingredients
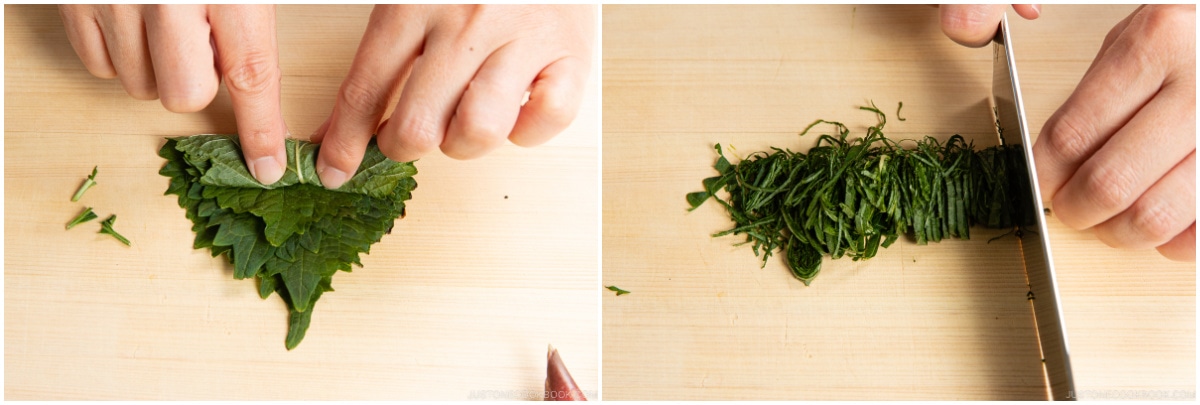
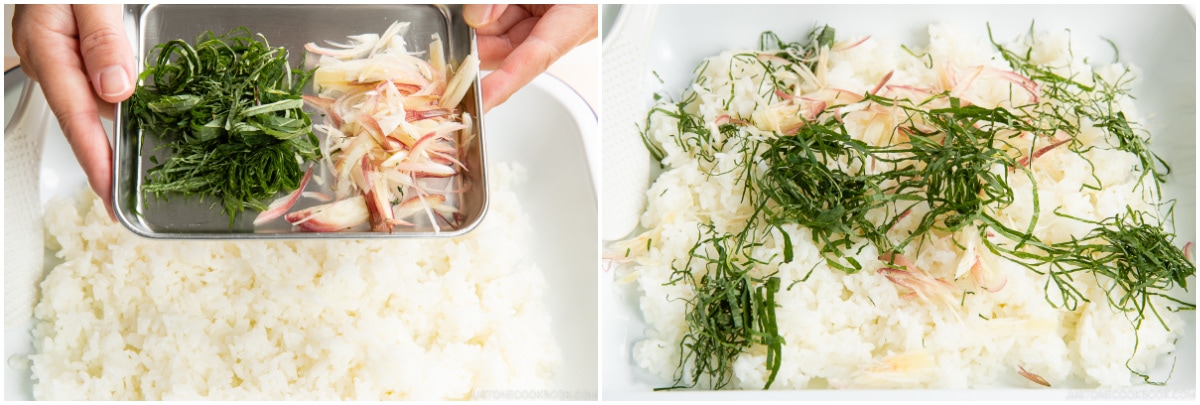
- Cut off the stems of 5 shiso leaves (perilla/ooba) and roll them up from the stem side. Cut into julienned strips. Loosen them up with your hands and set aside.
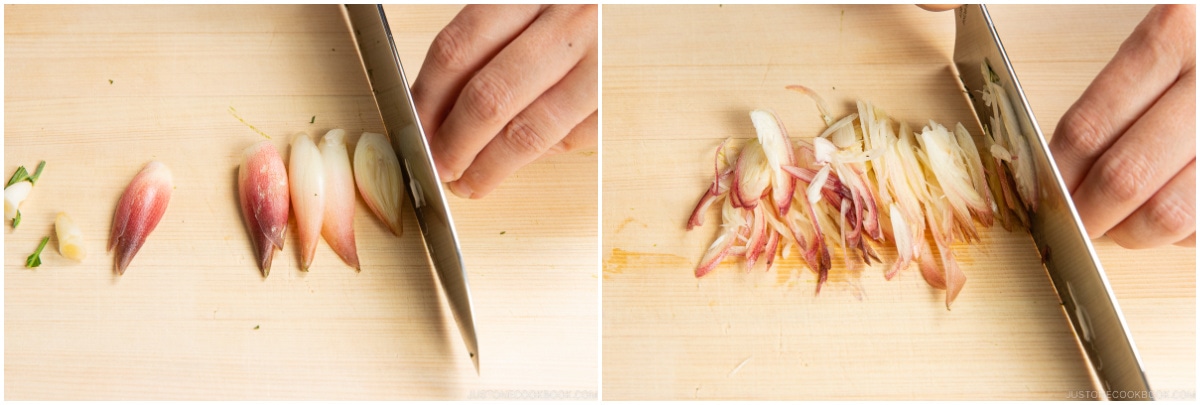
- Cut 3 myoga ginger (optional) in half lengthwise and then cut it into thin slices.
- Distribute the shiso and myoga ginger over the hot steamed rice.
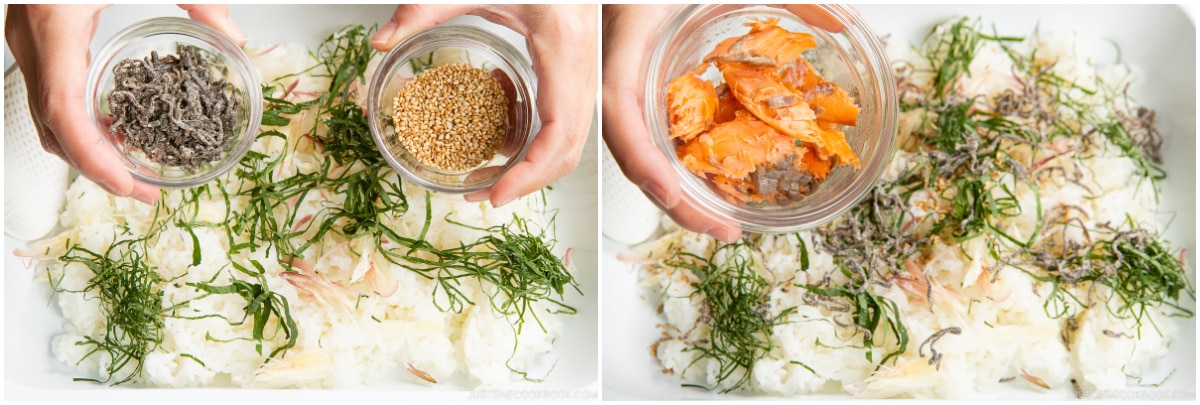
- Distribute 1½ Tbsp shio kombu, 2 tsp toasted white sesame seeds, and the cooked salmon over the rice.
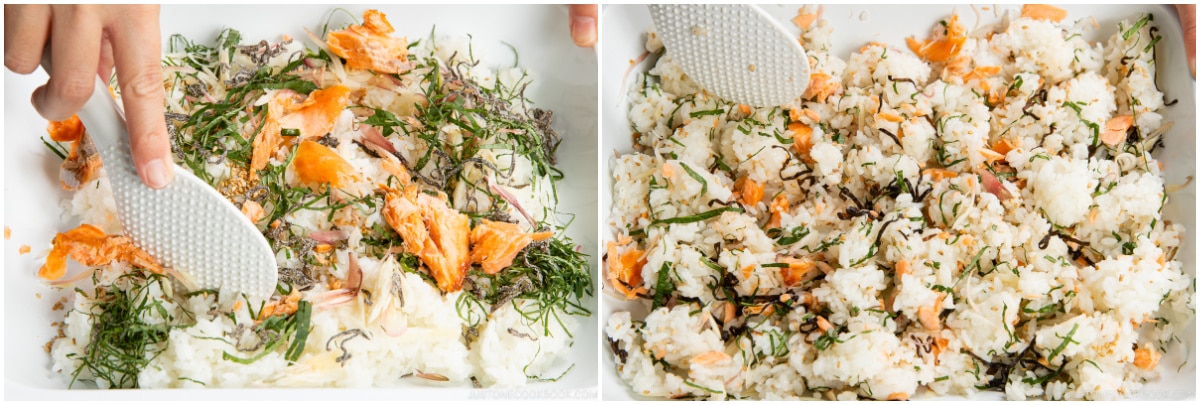
- Using a rice paddle, use a slicing motion to gently mix all the ingredients into the rice. Take care not to mash the rice grains.
To Shape the Rice Balls with Your Hands
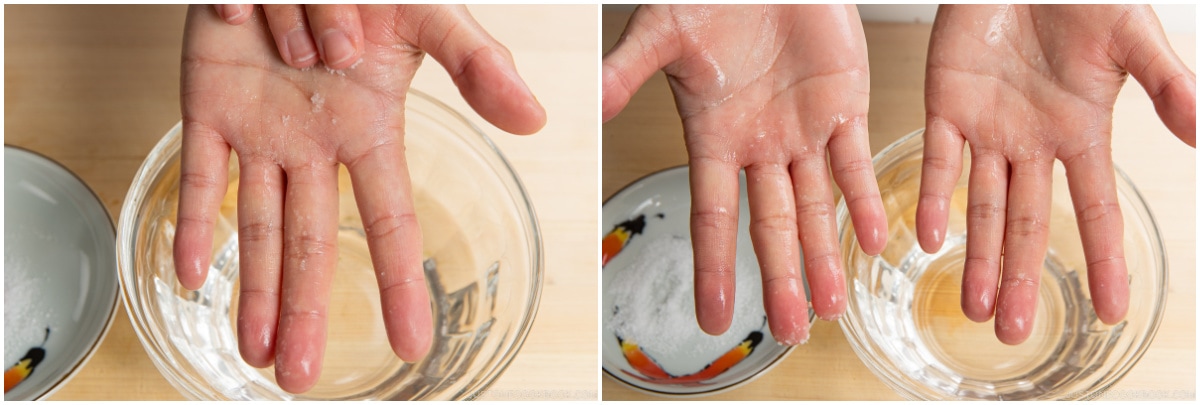
- First, wet both of your palms with a bit of water to prevent the rice from sticking to your hands.
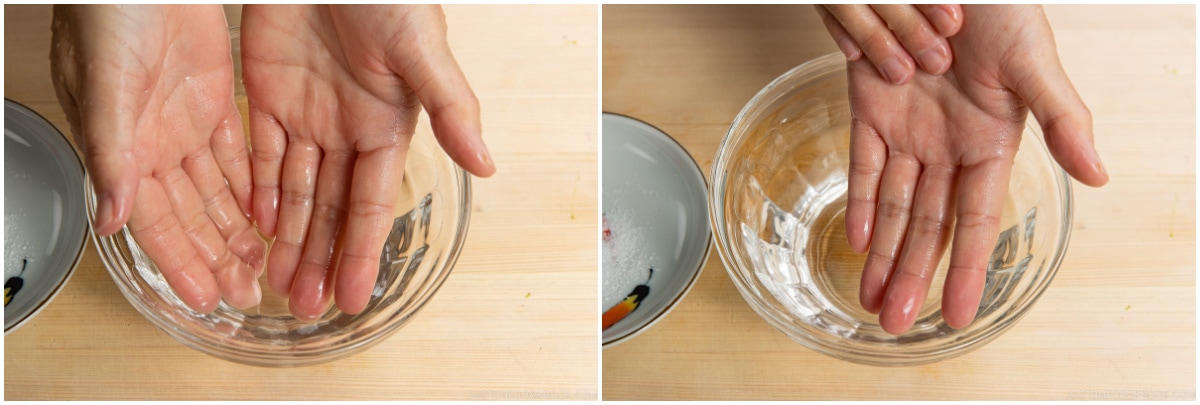
- Dip 2–3 fingertips into 2 tsp Diamond Crystal kosher salt. If you are using table salt, use half the amount as it’s saltier than kosher salt.
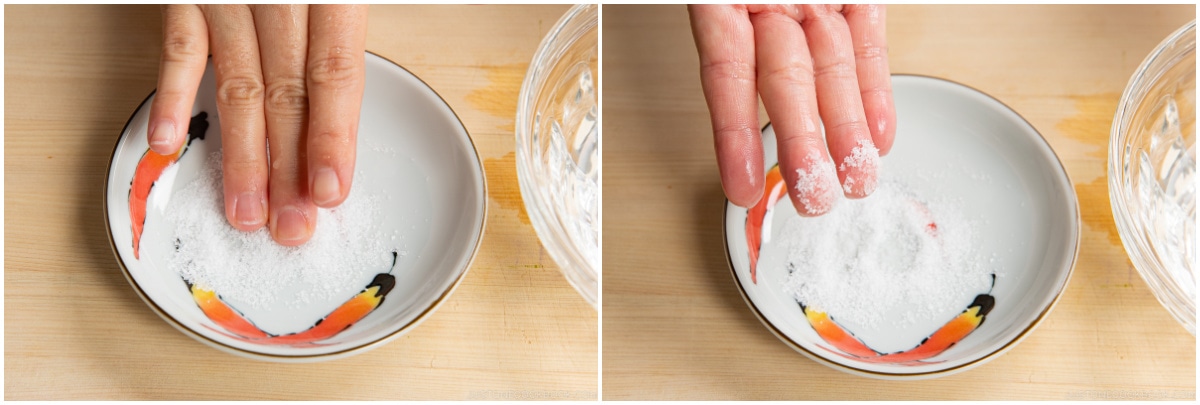
- Then, rub and spread the salt onto your palms.
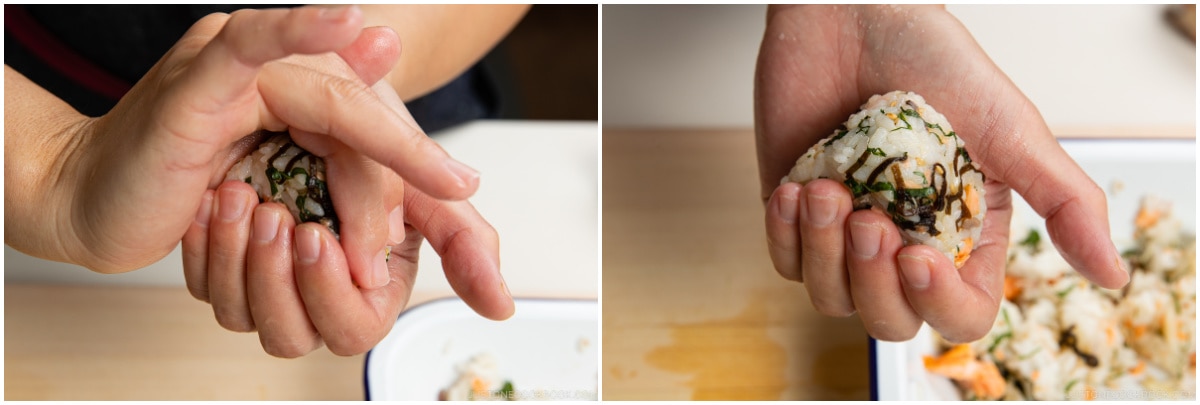
- Scoop a handful (about ½ cup) of the slightly cooled but still hot rice mixture into one hand. Bend your other hand slightly to form a “mountain“ shape and place it on top of the rice. Gently press the rice with your hands to form it into a triangle.
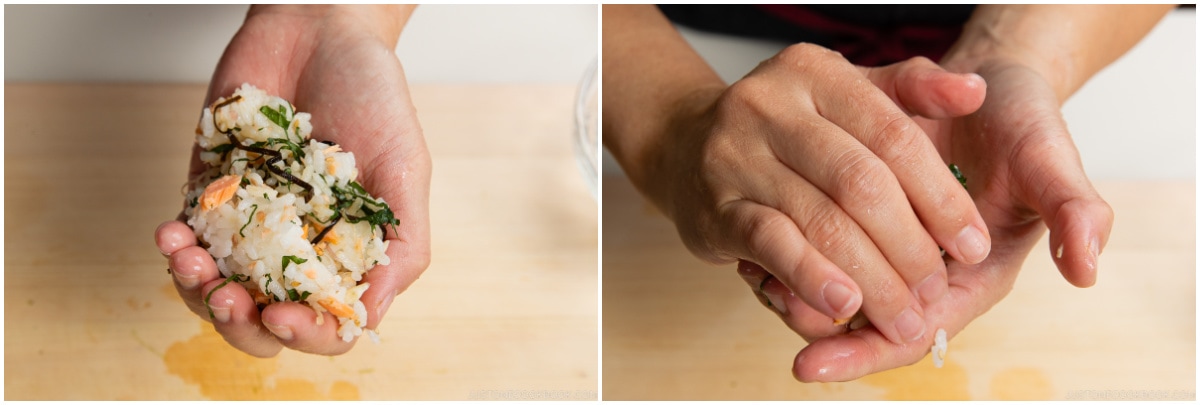
- I use three fingers (thumb, index finger, and middle finger) to make a triangle corner. Rotate the rice ball a few times in your bottom hand to gently press and form each triangle corner. Then, turn the rice ball on its side and press it gently to flatten it; repeat on the other side.
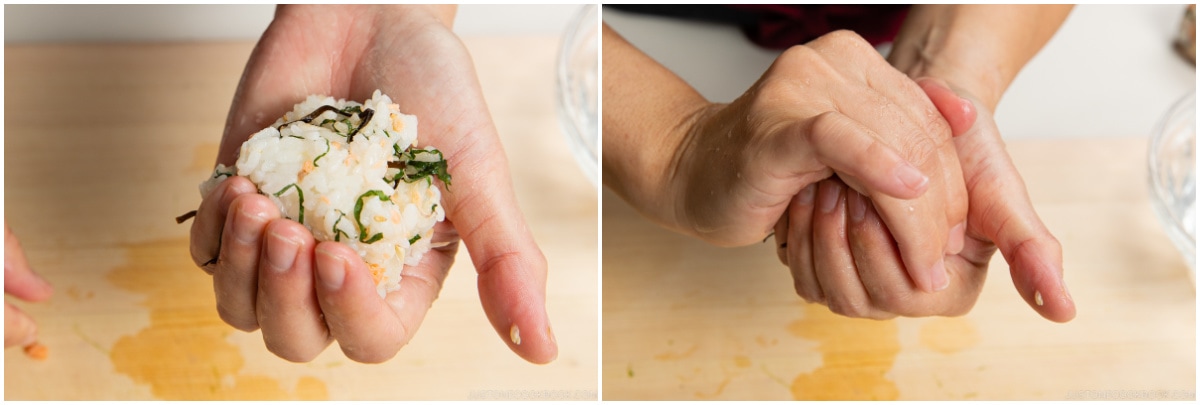
- Your hands should be just firm enough so the onigiri doesn‘t fall apart. Try to keep the density of the rice ball as airy as possible. You don‘t want to squeeze the rice too tightly.
To Shape the Rice Balls with Plastic
- Use this method when you are serving onigiri for later or packing it for lunch.
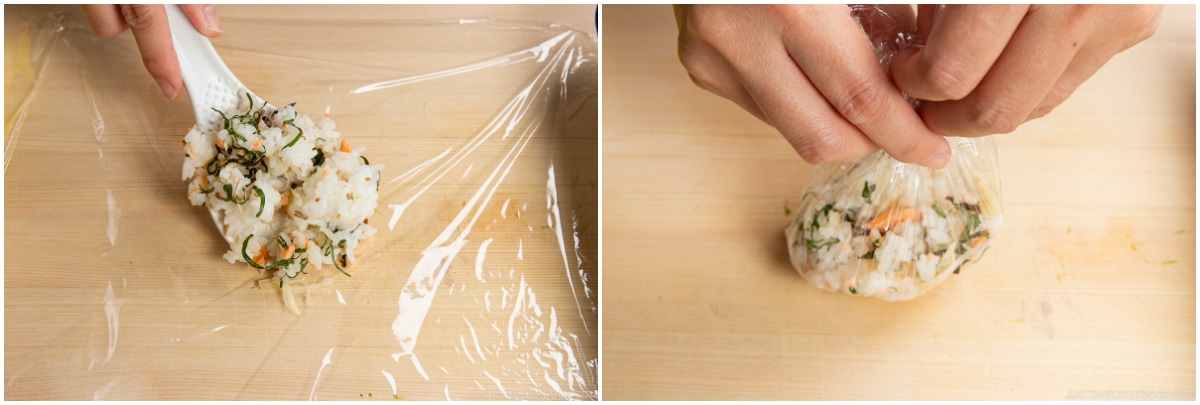
- Prepare a sheet of plastic, about 10 x 12 inches. Sprinkle some kosher salt (remember, salt is used here to preserve the rice for a long time) in the middle of the plastic. Scoop the rice mixture and place it in the center of the plastic wrap on top of the salt. Gather the corners of the plastic wrap and twist the plastic a few times to tighten it around the rice. Tip: Onigiri should weigh about 3–4 oz (85–113 g) each. I usually make three 3 oz (85 g) rice balls to fit into my kids‘ lunch boxes.
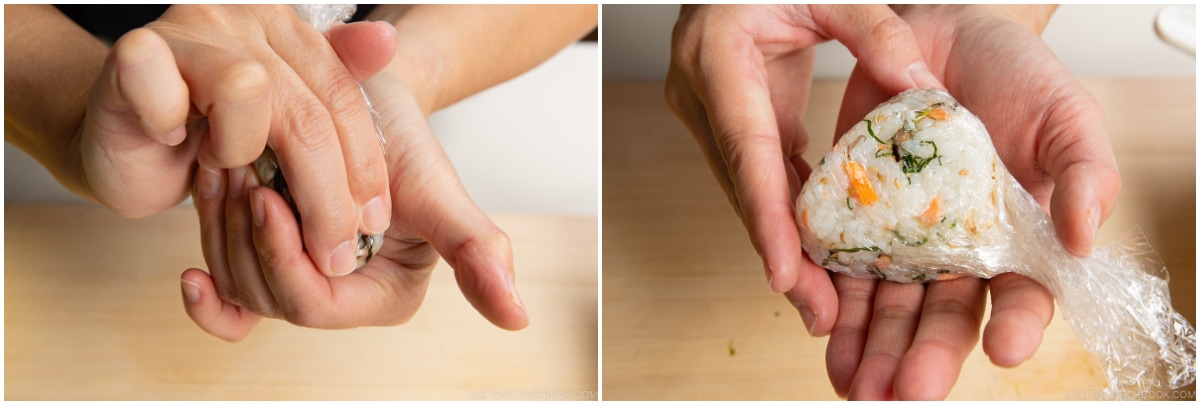
- Form the rice into a triangle shape in the same manner that I described above.
To Serve
- Serve the onigiri warm or at room temperature.
To Store
- If you‘d like to pack the onigiri for your lunch, keep it cool and consume it within 6 hours. Onigiri (or any rice dish) gets hard when you refrigerate it. The cold air makes the rice dry and hard, which is perfect for fried rice. I don‘t recommend making onigiri ahead of time. If you really need to, my trick is to wrap the onigiri with thick kitchen towels and store it in the fridge. The onigiri will be cool and safe but should not get cold.
Notes
Nutrition
Calories: 152kcal, Carbohydrates: 27g, Protein: 6g, Fat: 2g, Saturated Fat: 0.3g, Polyunsaturated Fat: 1g, Monounsaturated Fat: 1g, Cholesterol: 10mg, Sodium: 247mg, Potassium: 126mg, Fiber: 0.1g, Sugar: 0.002g, Vitamin A: 8IU, Vitamin C: 0.05mg, Calcium: 10mg, Iron: 2mg
