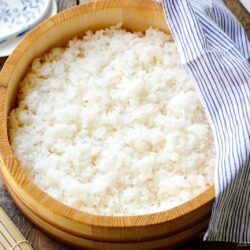
Authentic Sushi Rice Recipe
Learn how to make sushi rice with this step-by-step sushi rice recipe. It includes ideal rice-to-water ratios and homemade sushi seasoning.
Ingredients
Servings:
★ For 3–4 Servings (Makes 4 Medium Sushi Rolls)
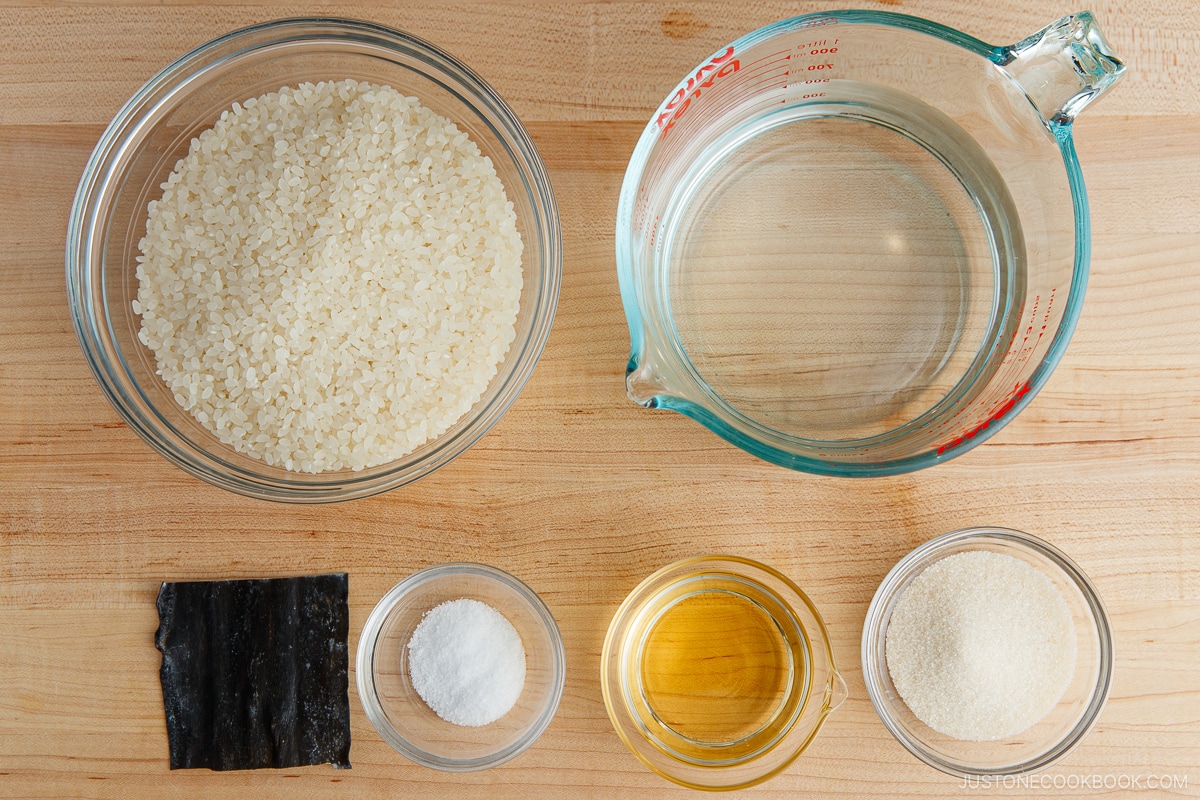
- 1½ cups uncooked Japanese short-grain white rice (1½ US cups = 2 rice cooker cups = 360 ml; yields 4⅓ cups or 660 g of cooked rice)
- 1½ cups water (360 ml)
- 1 piece kombu (dried kelp) (5 g per piece; 2 x 2 inches, 5 x 5 cm; optional, for a nice aroma!)
- 4 Tbsp rice vinegar (unseasoned) (or use the same amount of bottled seasoned rice vinegar and skip the sugar and salt)
- 2 Tbsp sugar (skip if using bottled seasoned rice vinegar)
- 1 tsp Diamond Crystal kosher salt (skip if using bottled seasoned rice vinegar)
★ For 5–6 Servings (Makes 6 Medium Sushi Rolls)
- 2¼ cups uncooked Japanese short-grain white rice (2¼ US cups = 3 rice cooker cups = 540 ml; yields 6⅔ cups or 990 g of cooked rice)
- 2¼ cups water (540 ml)
- 1 piece kombu (dried kelp) (5 g per piece; 2 x 2 inches, 5 x 5 cm; optional, for a nice aroma!)
- ⅓ cup rice vinegar (unseasoned) (or use the same amount of bottled seasoned rice vinegar and skip the sugar and salt)
- 3 Tbsp sugar (skip if using seasoned rice vinegar)
- 1½ tsp Diamond Crystal kosher salt (skip if using seasoned rice vinegar)
Instructions
Before You Start...
- Don't use the 2x or 3x scaling buttons for this recipe. For how much rice to make for your sushi, see the Notes at the end.
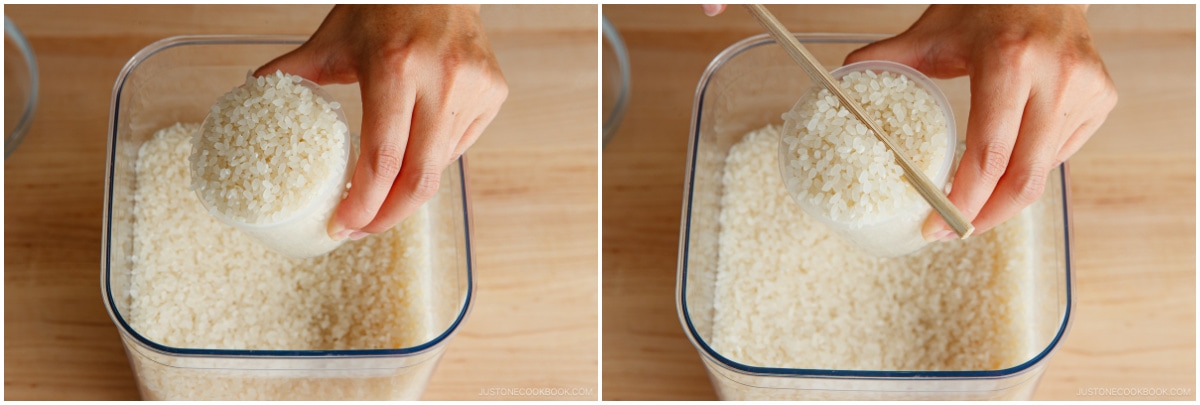
- How to Measure Rice: Overfill uncooked short-grain white rice in a rice cooker cup or a ¾ cup (180-ml) measuring cup and level it off. Pour the rice in a large bowl. Repeat until you have the amount you need. Nami's Tip: Use Japanese short-grain white rice. Long-grain, jasmine, and brown rice won't hold together, and the sushi falls apart.
- Gather all the ingredients.
To Wash the Rice
- Quick Rinse: Add just enough water to the bowl to submerge the rice, then pour it off immediately. Nami's Tip: Rice absorbs water quickly at first, so discard this water right away. This helps rinse off impurities and reduce absorption of the milky water.
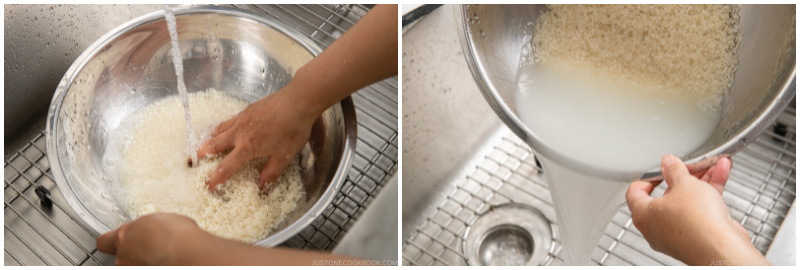
- Wash: Gently agitate the wet grains in a circular motion with your fingers for 10–15 seconds. Nami's Tip: Using very little water allows the grains to rub against each other and reduces the absorption of impurities.
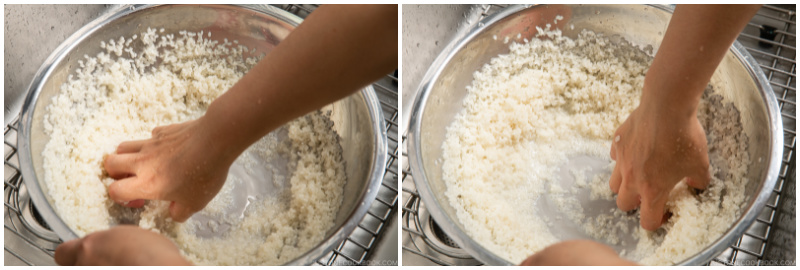
- Rinse: Add water to cover the grains and immediately discard the cloudy water. Repeat the wash and rinse two more times.
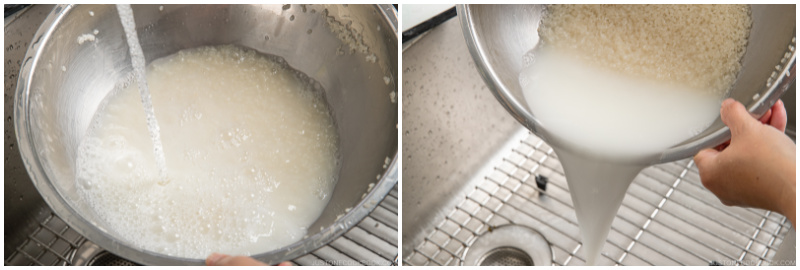
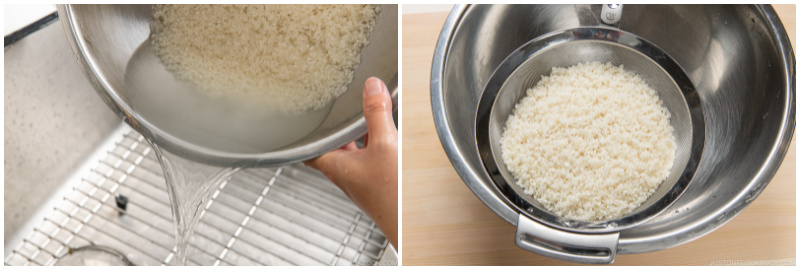
- Drain Well: When the water is almost clear, drain the rice thoroughly in a fine-mesh sieve. Shake off any excess water.
To Soak and Cook the Rice
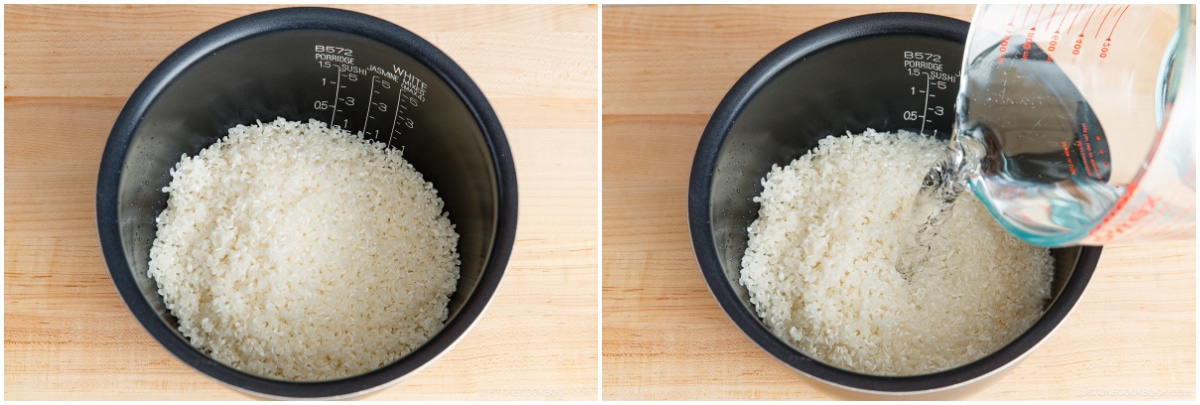
- Put the well-drained rice in the rice cooker's inner pot and add the measured water. If your rice cooker has a Sushi Rice mode, fill to that line instead; on White Rice mode, fill to just under the line.Nami's Tip: Sushi rice uses 1 part rice to 1 part water, less than regular steamed rice, because the grains still have to absorb the sushi seasoning.
- Wipe any dirt off the kombu with a damp cloth and lay it on top of the rice. Leave the white powder on the surface; it carries umami.Nami's Tip: Never rinse kombu. The flavor sits on that surface and washes away. Kombu is fairly clean these days, so you don't have to do anything.
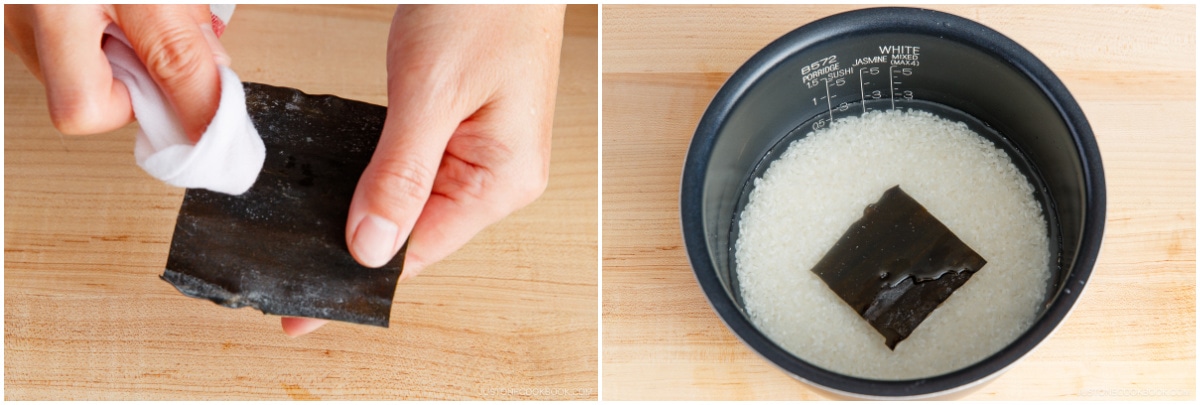
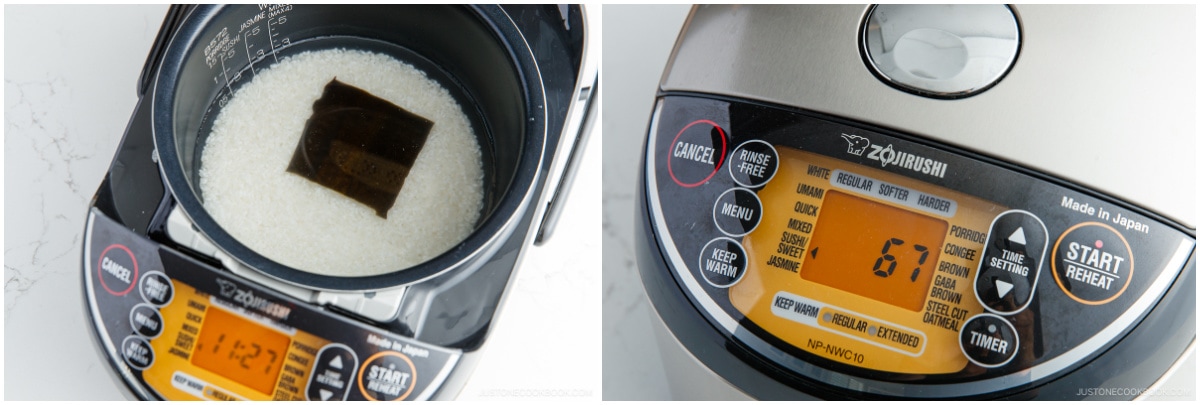
- Soak the rice and kombu for 20–30 minutes, then start cooking. A pot over the stove, an Instant Pot, or a donabe all work with the same amount of water.
To Make the Homemade Sushi Seasoning (Optional)
- Skip this section if you're using bottled sushi seasoning (seasoned rice vinegar). Otherwise, combine the rice vinegar, sugar, and salt in a small saucepan.
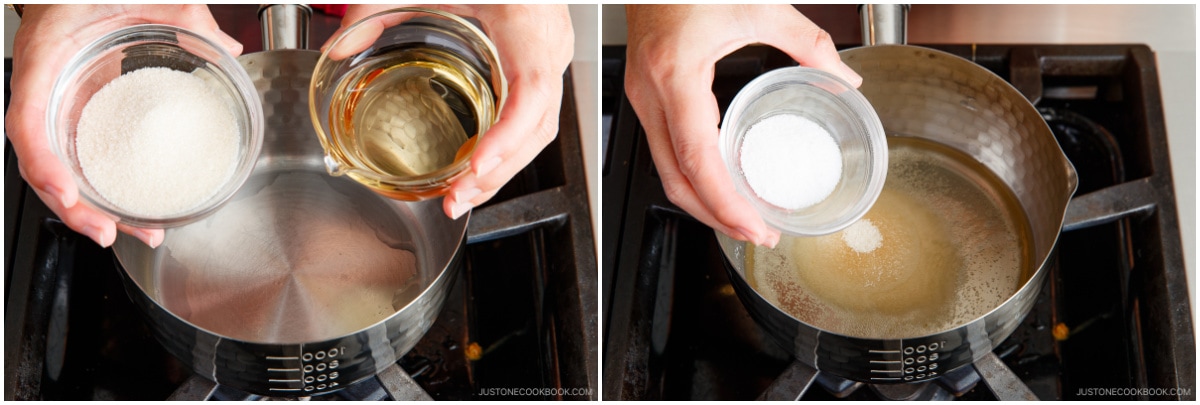
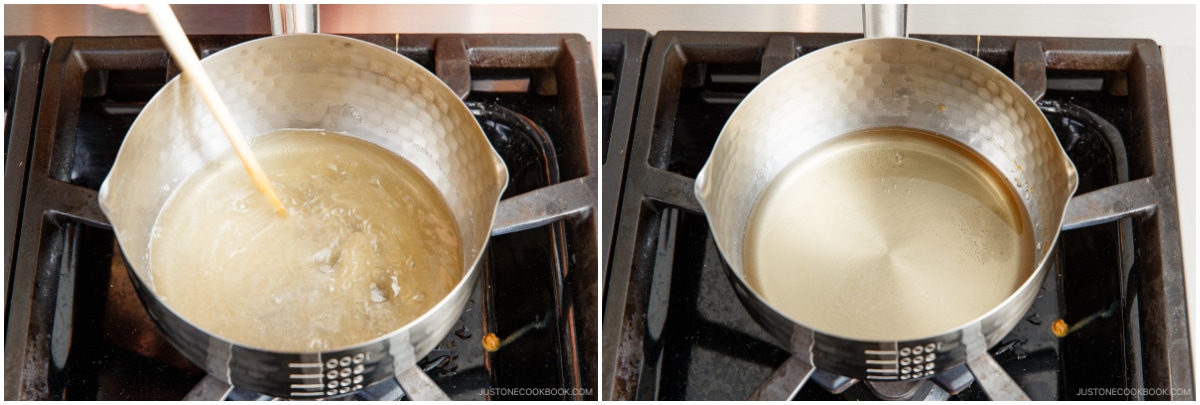
- Heat it over medium heat, whisking, until the sugar dissolves and it's nearly simmering. Remove from the heat and set aside.In the microwave, 1 minute is usually enough.
To Season the Rice
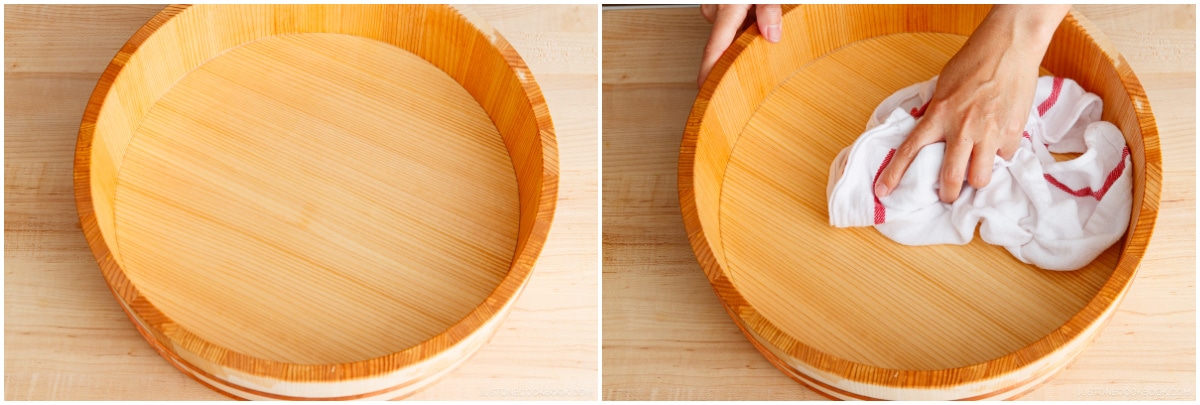
- Moisten a wooden sushi oke (hangiri) with running water, drain, and dry it with a clean towel. A baking sheet moistened with water works too.Nami's Tip: This wooden tub helps absorb excess moisture, whereas a baking sheet does not.
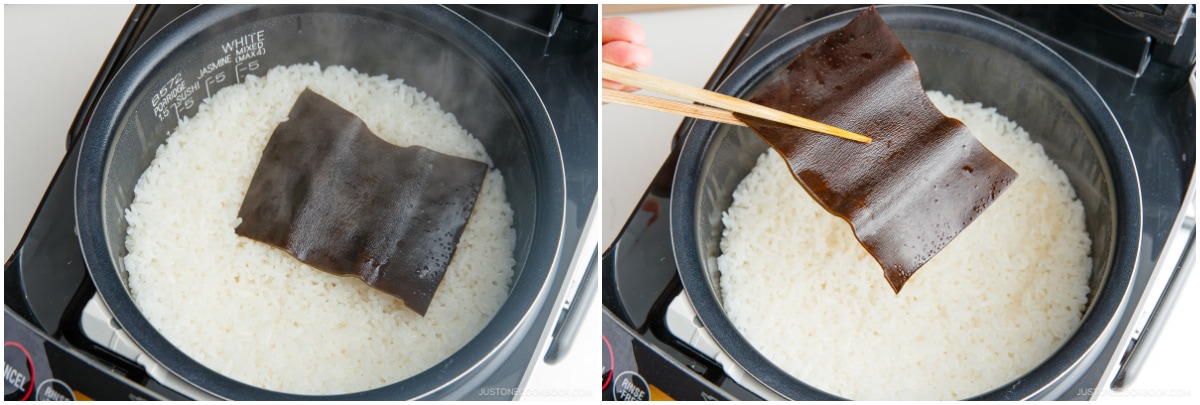
- When the rice is done cooking, discard the used kombu (or repurpose it to make Kombu Tsukudani (simmered kombu)).
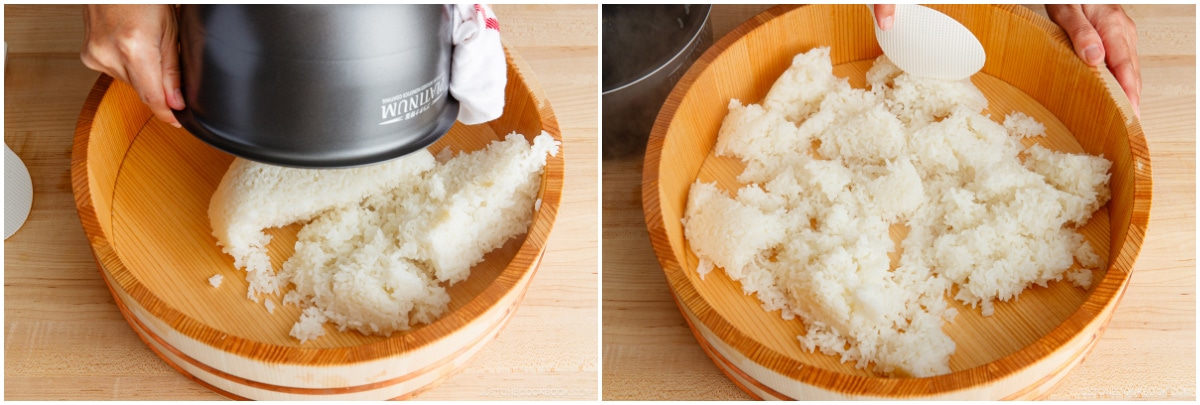
- Transfer the hot cooked rice to the sushi oke. Spread out the rice evenly with a rice paddle so it will cool faster.
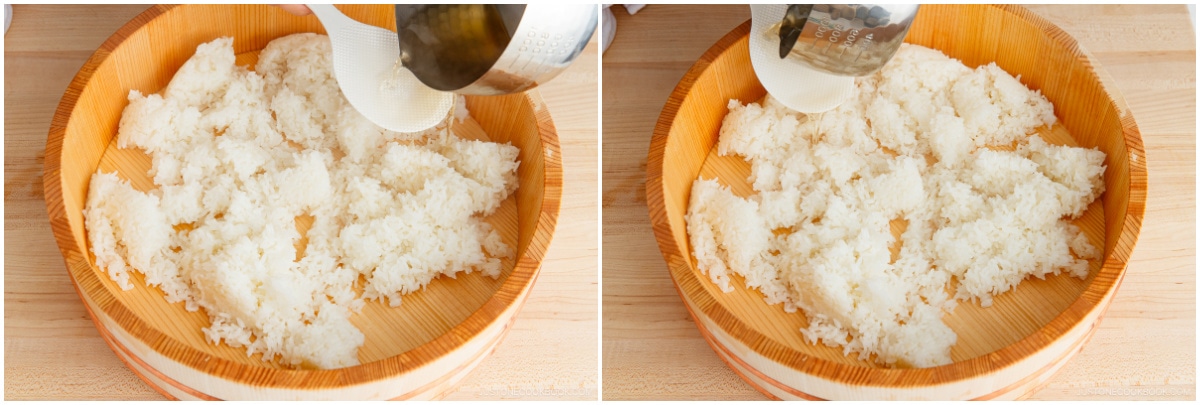
- While the rice is hot, pour the sushi seasoning over it. Nami's Tip: Sushi seasoning should be warm or room temperature. If you use a bottled seasoned rice vinegar from the fridge, warm to room temperature Seasoning straight from the fridge doesn't soak into hot rice evenly.
- Don't stir the rice; stirring breaks the grains and turns it mushy. Instead, hold the rice paddle at a 45-degree angle and slice through the rice to spread the seasoning and separate the clumps, fanning it vigorously as you go.Nami's Tip: Fanning wicks away the excess moisture and makes the rice shine.
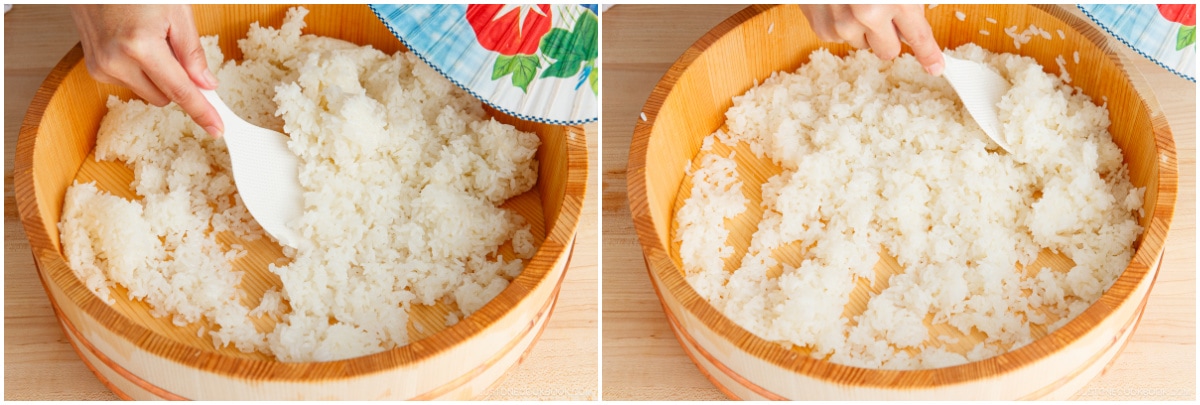
- Gently flip a scoop of rice after every few slices.
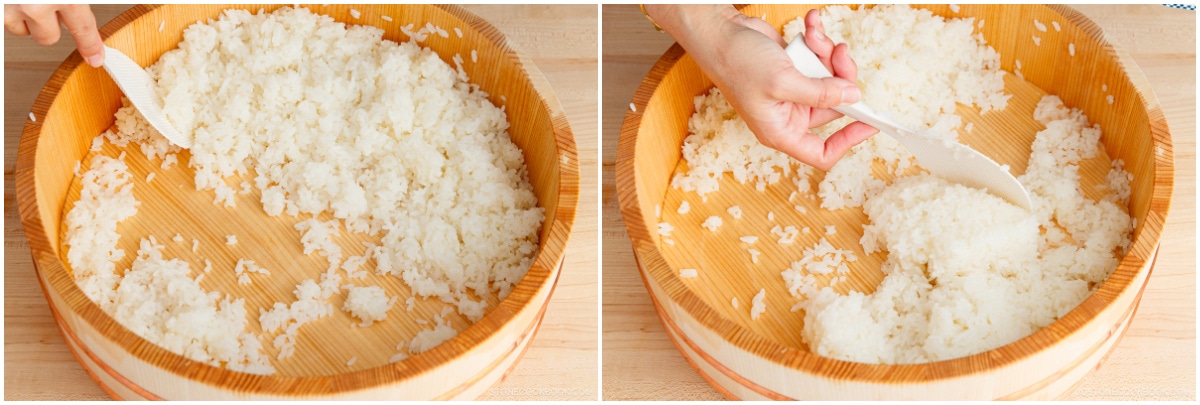
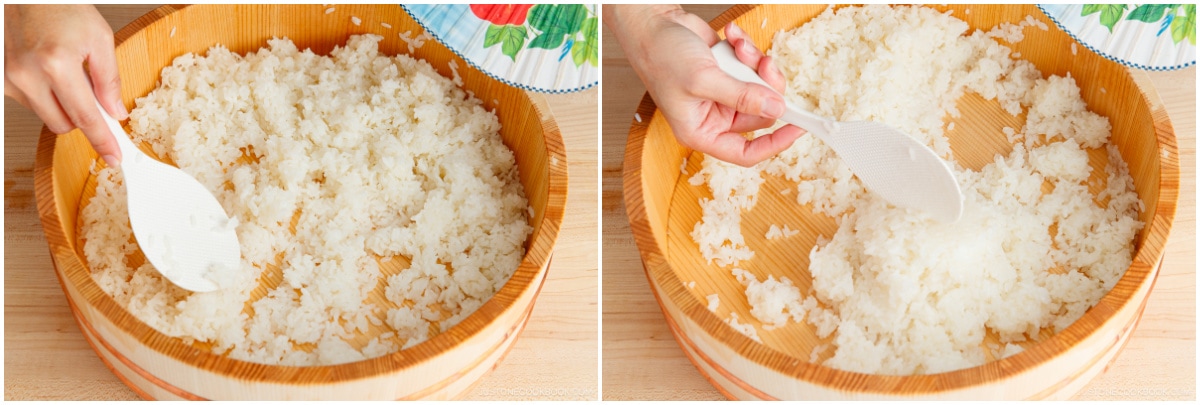
- Continue until the rice is barely warm, about body temperature. Your sushi rice is now ready to use in your favorite sushi recipes.
To Keep
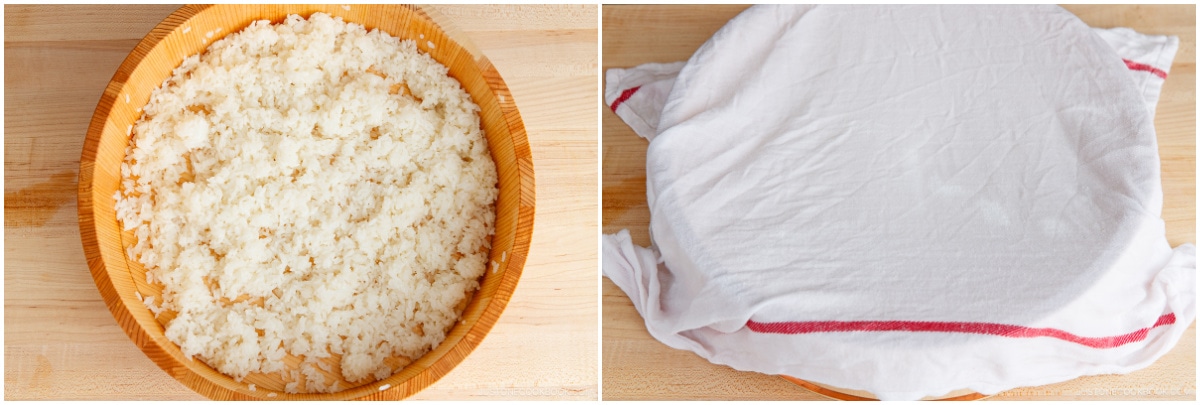
- Cover the sushi rice with a damp towel (or paper towel) and keep it at room temperature for up to a few hours. To store it longer, see below.
To Store
- Freeze the leftovers in an airtight container for up to 1 month. To use, defrost it overnight in the fridge, then bring it back to room temperature in the microwave, warm but never hot.Nami's Tip: The refrigerator's cold air makes rice hard and dry, so I don't store it there. If you must, wrap the container in a thick kitchen towel so the rice stays cool without going cold.
Notes
What's the measurement for 1 rice cooker cup?
- The plastic rice cooker cup that comes with the rice cooker is ¾ cup (180 ml). In Japan, this amount is called ichi go (一合).
- One rice cooker cup of uncooked short-grain Japanese rice is 150 grams.
How much rice do you need to make?
- 1 rice cooker cup (= 180 ml = ¾ US cup = 150 g) of uncooked rice makes 2¼ US cups (330 g) of cooked rice.
- 1 thick sushi roll
- 2 medium sushi rolls
- 4 thin sushi rolls
- 3 inside-out rolls
- 2 rice cooker cups (= 360 ml = 1½ cups = 300 g) of uncooked rice make 4⅓ US cups (660 g) of cooked rice.
- 2 thick sushi rolls
- 4 medium sushi rolls
- 8 thin sushi rolls
- 6 inside-out sushi rolls
- 3 rice cooker cups (= 540 ml = 2¼ cups = 450 g) of uncooked rice make 6⅔ US cups (990 g) of cooked rice.
- 4 thick sushi rolls
- 6 medium sushi rolls
- 12 thin sushi rolls
- 9 inside-out sushi rolls
- 4 rice cooker cups (720 ml = 3 cups = 600 g) of uncooked rice make 8¾ US cups (1320 g) of cooked rice.
- 5 thick sushi rolls
- 8 medium sushi rolls
- 16 thin sushi rolls
- 12 inside-out sushi rolls
- 5 rice cooker cups (= 900 ml = 3¾ cups = 750 g) of uncooked rice make 11 US cups (1650 g) of cooked rice.
- 6 thick sushi rolls
- 11 medium sushi rolls
- 20 thin sushi rolls
- 15 inside-out sushi rolls
How much prepared sushi rice do you need for one sushi roll?
- One thick sushi roll (Futomaki) requires 1⅔ US cups (250 g) of prepared sushi rice.
- One medium sushi roll (Chumaki), like Vegetarian Sushi Roll, requires 1 US cup (150 g) of sushi rice.
- One thin sushi roll (Hosomaki) requires ½ US cup (80 g) of sushi rice.
- One inside-out sushi roll (Uramaki), like California Roll, requires ¾ US cup (110 g) of sushi rice.
- One nigiri sushi requires 20 g of sushi rice.
Nutrition
Calories: 353kcal, Carbohydrates: 79g, Protein: 6g, Fat: 1g, Saturated Fat: 1g, Polyunsaturated Fat: 1g, Monounsaturated Fat: 1g, Sodium: 344mg, Potassium: 75mg, Fiber: 3g, Sugar: 7g, Calcium: 20mg, Iron: 4mg
