My homemade Cherry Ice Cream features vanilla beans and fresh summer cherries picked from our local cherry farm. It’s so good and rewarding!
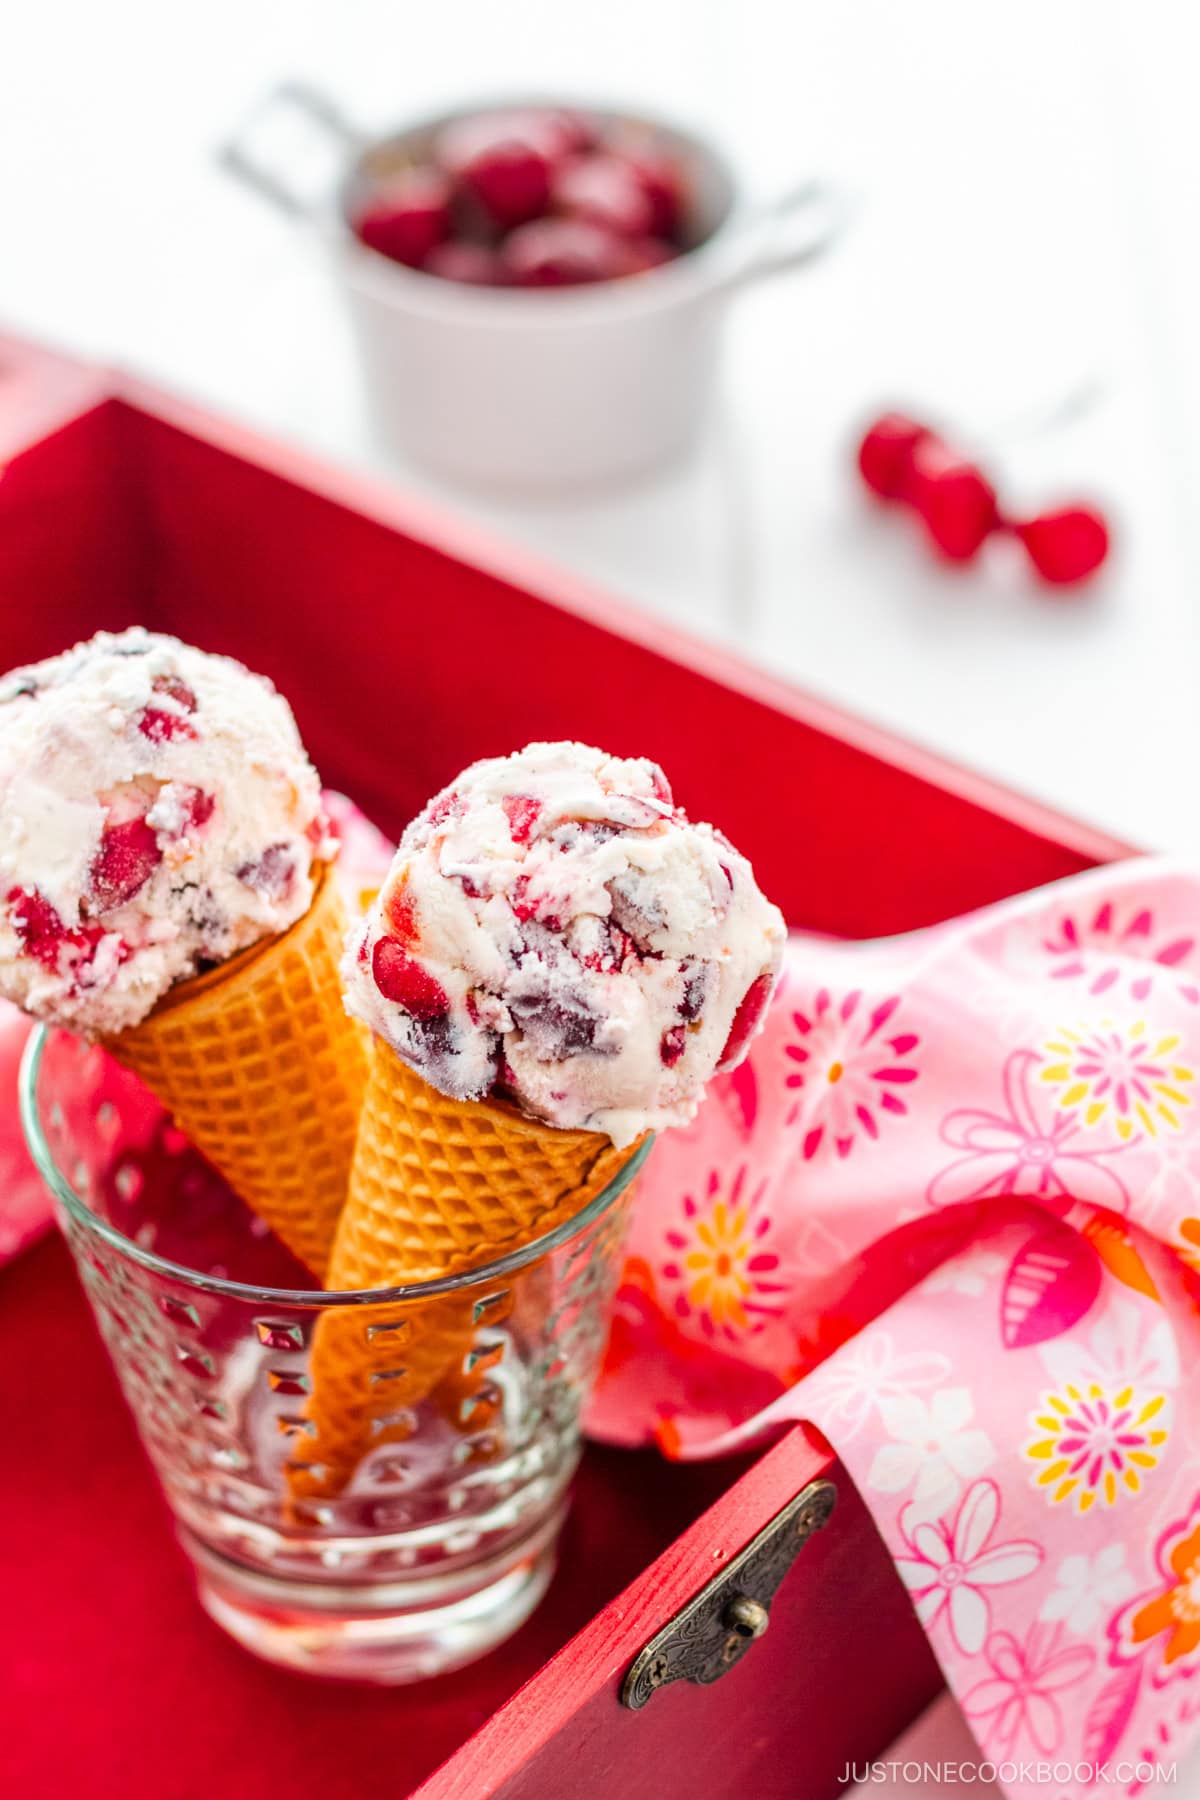
July is National Ice Cream Month, and I have decided to feature a few outstanding ice cream recipes. Even though it has been a mild start to our summer in the Bay Area, I have been testing out quite a few ice cream flavors. Nothing makes me happier than seeing the smiles on my children’s faces, happily devouring our homemade ice cream. This Cherry Ice Cream is no exception, providing a scrumptious treat, big smiles, and sweet memories.
Table of Contents

Fresh, Juicy Cherries Make This Recipe Special
Two weeks ago our family went cherry picking in Brentwood, California. It’s about 1-hour drive from San Francisco, and there are many orchards and farm fields in the area. This was the 2nd year we went cherry picking with our friends and their children and we all had a great time.
The joy of gathering the essential ingredient for this recipe — ripe, juicy cherries — was a shared experience that made this treat even more special.
Making Memories While Supporting Local Farms
The cherry season usually falls in May and June, so we were late this year, picking in the last week of June. Several cherry farms had already closed for the season, but we were able to find a few that were still open. It gets hot in this area, so you might want to start picking fruits earlier in the day (we started around 9:30 AM), especially if you have small children. Our cherries were $3 per pound, and we also went peach picking right after — they were $1 per pound. It’s the best way to get the freshest produce and also a great way to support local farmers.
It was hard to stop ourselves from gobbling up all the sweet black cherries, but I made sure to save some for this recipe. Unfortunately, we did not have enough extra cherries for baked goods, like the to-die-for Cherry Clafoutis I made last year.

My Favorite Things About This Recipe
- Collecting cherries, pitting them, and whipping up the recipe means fun for my whole family.
- Simplified ingredients mean this recipe is a snap to make. You won’t even need eggs, as this recipe does not have a custard base.
- This recipe’s base is vanilla ice cream, and the heavy cream combined with the fresh vanilla bean makes it oh-so-creamy and rich.
- This version of cherry ice cream requires only a half hour of prep and cooking time and sets up nicely in just one day.
Ingredients You’ll Need
- Heavy (whipping) cream
- Whole milk
- Sugar
- Diamond Crystal kosher salt
- Vanilla bean
- Pure vanilla extract
- Cherries (pitted and quartered)
How to Make Cherry Ice Cream
Here’s a quick overview, but you’ll find my step-by-step tutorial in the Recipe Card.
- Freeze the ice cream maker’s bowl for 24 hours.
- Heat half of the heavy cream, sugar, and salt in a saucepan.
- Place vanilla seeds and pod in the pan.
- Stir the mixture until sugar completely dissolves.
- Remove the saucepan from the heat and add the vanilla extract, the rest of the heavy cream, and milk. Mix well. Chill the mixture in the refrigerator for several hours (or overnight) until completely cold.
- Pit the cherries and cut them into quarters.
- Now, it’s time to churn the cream mixture. Before churning, remove the vanilla bean pod. Process the mixture in your ice cream maker for about 25 minutes.
- Add the cherries in the last 5 minutes.
- Put the ice cream in an airtight container and let it firm by freezing it for several hours.

Tips That Will Save You Some Work
- A cherry pitter is a great investment; they are not expensive, will last a lifetime, and make short work of an otherwise tedious job.
- An ice cream machine makes short work of churning up this delicious treat. Theoretically, you could adapt this recipe to churn it by hand (you would need to lower the sugar and switch to sweetened condensed milk instead of heavy cream). An ice cream machine is so much faster.
- Before tackling this recipe, make sure that the bowl for your ice cream maker has been in the freezer for at least one day.
- Freezing this ice cream in two smaller airtight containers (rather than one large container) means the ice cream will set up even faster—if you cannot wait a full 24 hours.
More Summer Desserts to Enjoy
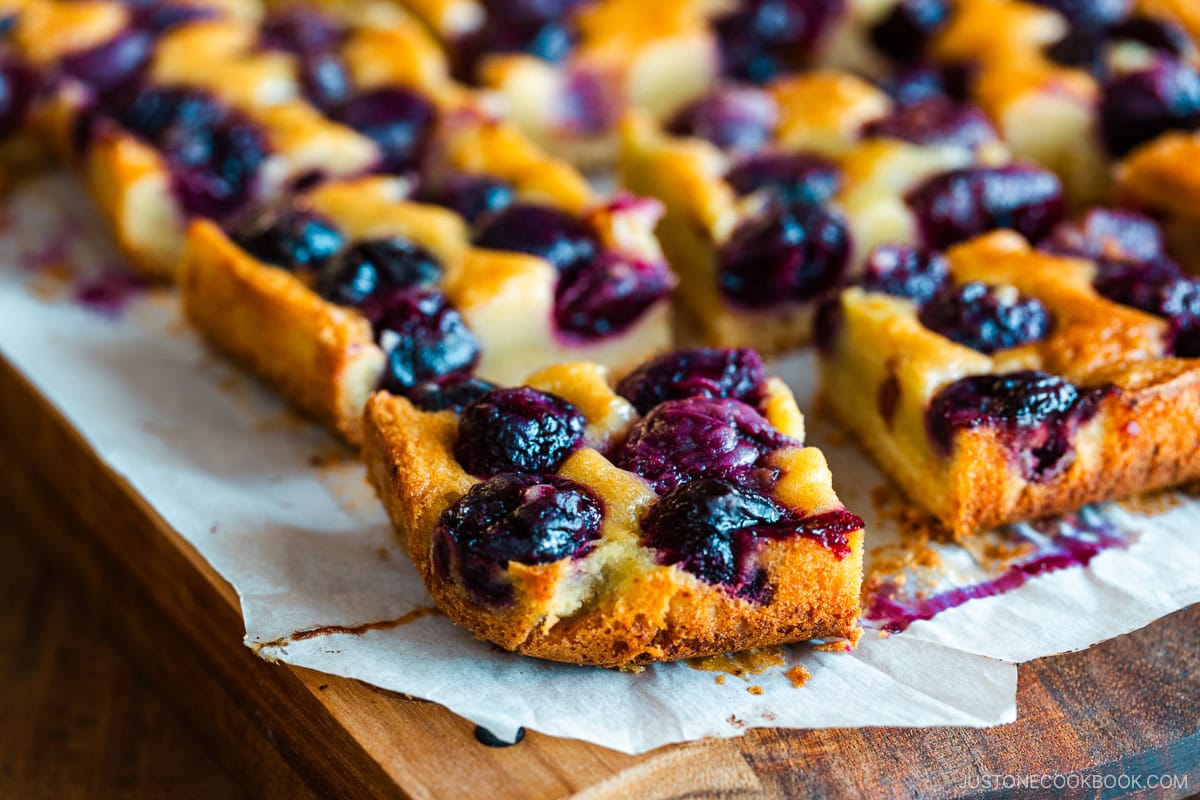
- Best Cherry Bars with Brown Butter
- Strawberry Cheesecake Ice Cream
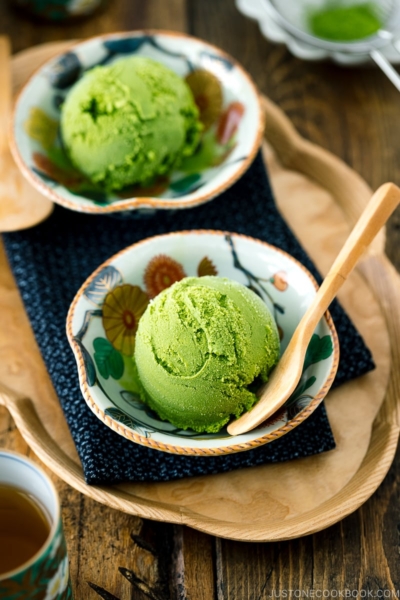
- Green Tea Ice Cream
- Japanese Strawberry Milk
Wish to learn more about Japanese cooking? Sign up for our free newsletter to receive cooking tips & recipe updates! And stay in touch with me on Facebook, Pinterest, YouTube, and Instagram.

Cherry Ice Cream
Ingredients
- 2 cups heavy (whipping) cream
- 1 cup whole milk
- ¾ cup sugar
- ⅛ tsp Diamond Crystal kosher salt
- 1 vanilla bean
- 1 tsp pure vanilla extract
- 2½ cups cherries (2 cups after pitted and quartered)
Instructions
- Before You Start…Please note that this recipe requires 8+ hours of chilling, churning, and freezing time.
- Gather all the ingredients. Freeze the ice cream maker's bowl for 24 hours. If you don't have an ice cream maker, check out here.
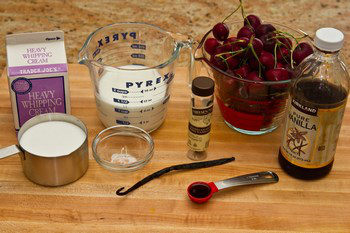
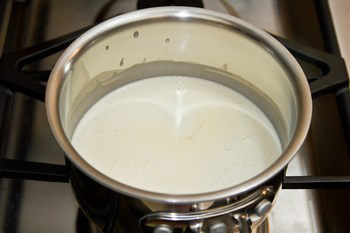
- In a medium saucepan, heat half of the heavy cream (1 cup), sugar, and salt.
- Split the vanilla bean in half lengthwise with a knife and scrape the seeds with a spoon.

- Put both seeds and pod in the pan.
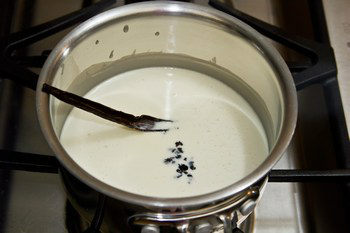
- Stir the mixture over medium heat until sugar completely dissolves.
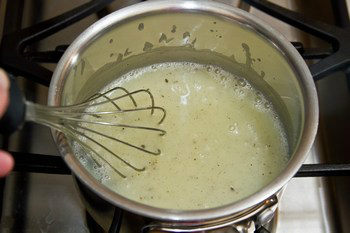
- Remove from the heat and add the vanilla extract, the rest of the heavy cream (1 cup) and milk. Mix well. Chill the mixture in the refrigerator for several hours (or overnight) until completely cold.

- Pit cherries. By the way, a cherry pitter is a great investment if you have small children who love cherries or you enjoy making cherry desserts every year – it's super quick to pit cherries!
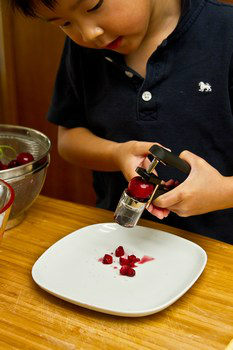
- Cut cherries into quarters.

- Take out the vanilla bean pod before churning. Process the mixture in your ice cream maker according to the manufacturer’s instructions (about 25 minutes).

- In the last 5 minutes add in the cherries. My ice cream maker bowl is 1.5 QT so I had to stop churning and add cherries. Combine ice cream and cherries well.
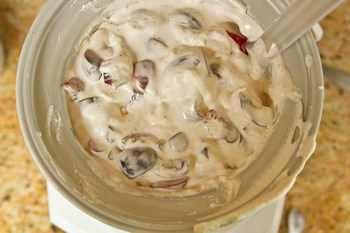
- Put the ice cream in an airtight container and let it firm by freezing it for several hours.
