


This post may contain affiliate links. Please read my disclosure policy.
Before you bake your first loaf of Shokupan (Japanese Milk Bread), your loaf pan needs to be seasoned. This guide walks you through the process and how to keep it in great shape for every bake after that.


Shokupan Loaf Pan I’m Using
A shokupan loaf pan is a rectangular pan with a sliding lid—typically made of carbon steel, tin, or altite (aluminum-plated steel). Bake with the lid for a flat-topped loaf, or without it for a round-topped loaf.
Most pans available in the US are too small for authentic Japanese milk bread or sandwiches. For years, the only option was importing one from Japan—and that always bothered me. So we created our own: the JOC Goods Japanese Shokupan Loaf Pan is the authentic bakery size, now shipping from the US.
I also updated my Shokupan recipe, specifically for this loaf pan—so you get consistent results from the very first bake.
Equipment for Seasoning a Shokupan Loaf Pan
- High-smoke point oil (such as grapeseed)
- Paper towel
- Oven
How to Season a Shokupan Loaf Pan
Seasoning creates a thin layer of polymerized oil that protects the surface, prevents sticking, and builds a natural non-stick coating that improves with every bake—much like a cast iron pan.
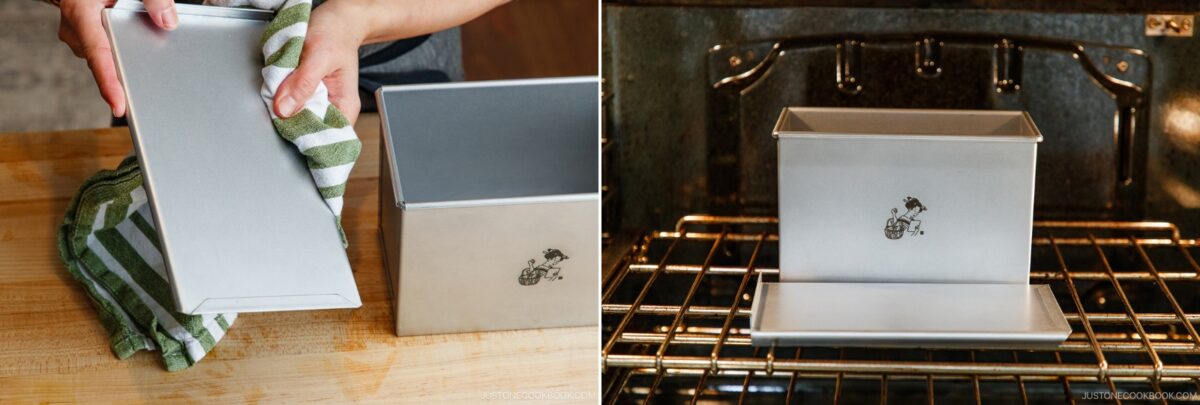
- Wash and dry: Wash with warm soapy water to remove factory residue. This is the only time you’ll use soap. Dry thoroughly, then oven-dry at 350°F (180°C) to remove all moisture.
- Oil and bake: Apply a thin, even layer of neutral oil to all interior surfaces. Wipe away any excess—the surface should look almost dry. Bake at 430°F (220°C) for 20 minutes, then let cool completely.
- Repeat: Complete four rounds total for a well-seasoned surface.
For full step-by-step instructions, see the guide below.
Jump to TutORIALStorage
- Store the pan and lid in a dry cabinet with the lid slightly ajar for airflow. For long-term storage, spread a tiny drop of neutral oil over the interior and wipe away any excess.
Everyday Care
- Routine Cleaning: Let the pan cool completely, then wipe it clean with a dry paper towel. Do not use soap.
- Stubborn Residue: Rinse briefly with warm water without soap or abrasive sponges. Towel-dry immediately, then bake at 350°F (180°C) for 5 minutes to remove any remaining moisture. Apply a thin coat of oil before storing.
- Rust: Gently scrub the affected area with a dry cloth or fine scrubber. Re-season the pan completely before using it again.
First Bake Tips
The first few times you use a new loaf pan, the dough may stick slightly as the seasoning builds. If that happens:
- Lightly brush with oil. Apply a thin layer of neutral oil to the interior before each of the first few bakes. This helps prevent sticking and builds the seasoning layer.
- Keep mix-ins and egg wash off the pan. Avoid getting them on the interior surfaces, as they can burn and stick.
- Never scrape with metal. Avoid metal spatulas or knives, as they can scratch and damage the surface.
- Re-season if needed. If sticking continues, season the pan a few more times before your next bake.
FAQ
Do I need to season a shokupan loaf pan before every bake?
No. Once well-seasoned, the loaf pan doesn’t need oiling before each bake. For the first few bakes while seasoning is still building, a light brush of neutral oil helps with release.
Can I put the loaf pan in the dishwasher?
No. The dishwasher strips the seasoning and causes rust. Always clean with a dry paper towel by hand.
How do I know when it needs re-seasoning?
If the surface looks dull, dry, or patchy—or your bread starts to stick—it’s time to re-season.
What if my shokupan is sticking?
Sticking usually means the seasoning needs more time to build, or it was stripped by washing. Stop using soap. Re-season and give it a few more bakes.
What if rust appears?
Light rust can be fixed. Scrub the affected area gently with a dry cloth or fine scrubber—never steel wool or abrasive cleaners, as these can damage the surface. Once the rust is removed, re-season the loaf pan fully before using again.
If the rust is deep or covers a large area, you may need to strip and re-season from scratch.
Why is my seasoning sticky or splotchy?
This happens when too much oil was applied during seasoning—the excess pooled rather than polymerized, leaving a tacky surface. Don’t worry—this is cosmetic and won’t affect your bread.
If you catch it before baking, wipe off the excess with a clean paper towel and start again with a thinner layer. If the sticky layer has already set, start over: wash with warm soapy water to strip it back, dry completely, and re-season from scratch.
I’d love to hear how yours turned out! 💛 Please leave a star rating and comment below to share your experience. Your feedback not only supports Just One Cookbook but also helps other home cooks find content they can trust.
How to Season and Maintain a Japanese Shokupan Loaf Pan
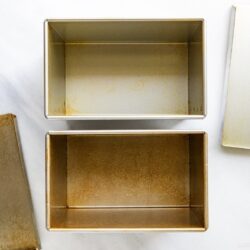
Equipment
Instructions
To Season the Loaf Pan
- Preheat: Set the oven to 350°F (180°C) for oven-drying. Wash: Wash the loaf pan and lid with warm soapy water to remove any factory residue. Note: This is the only time you’ll use soap on the loaf pan.
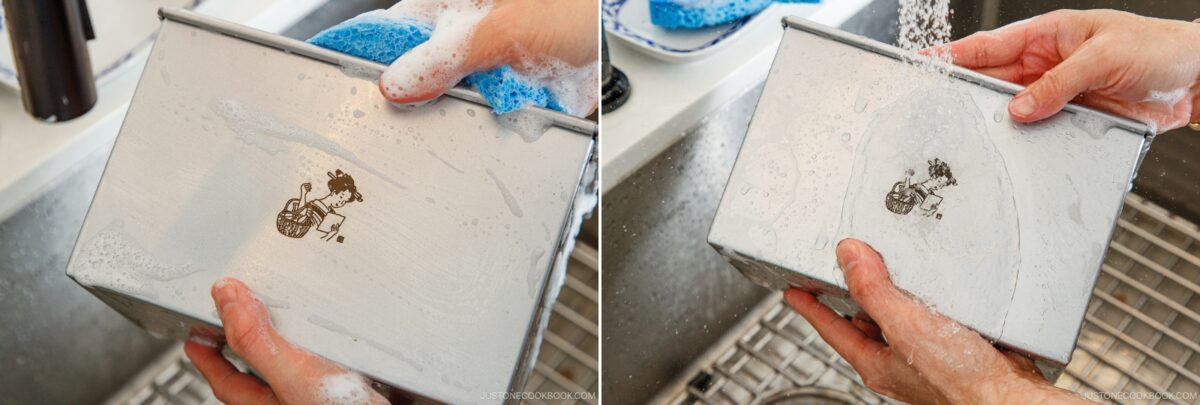
- Oven-Dry: Dry both pieces thoroughly with a clean towel, then bake at 350°F (180°C) for 20 minutes to eliminate hidden moisture. Cool: Allow to cool until safe to touch.Preheat: Increase the oven temperature to 430°F (220°C) for seasoning.
- Oil: Using a paper towel, apply a thin, even layer of neutral oil to all interior surfaces of the pan and lid (including corners and edges). Wipe away all excess—the metal should look almost dry. Nami's Tip: Too much oil creates a sticky, splotchy coating.
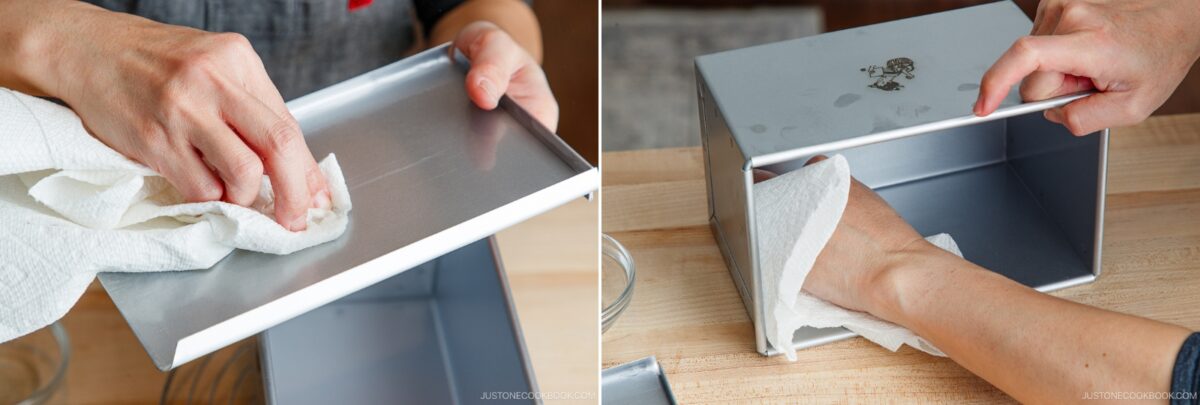
- Bake & Cool: Bake the pan and lid separately at 430°F (220°C) for 20 minutes. Allow to cool completely.Note: Turn on your kitchen exhaust vent, as light smoking is normal.
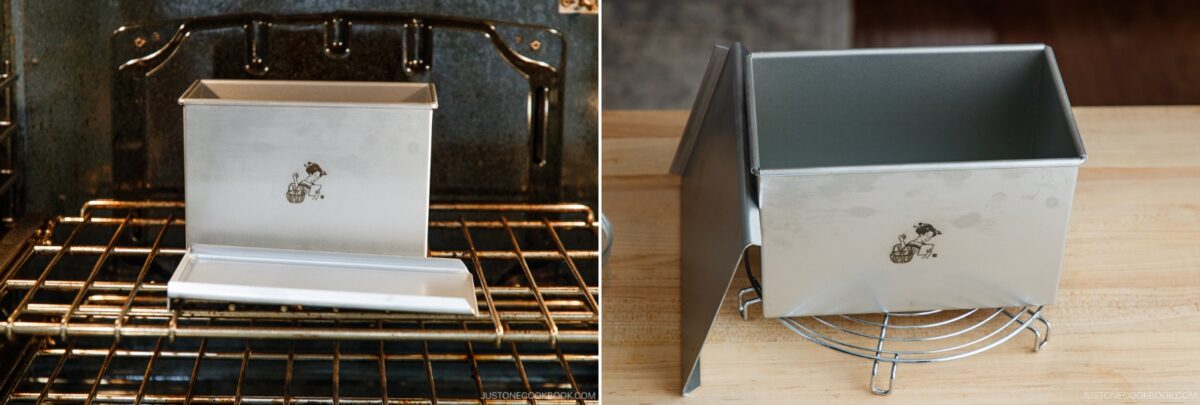
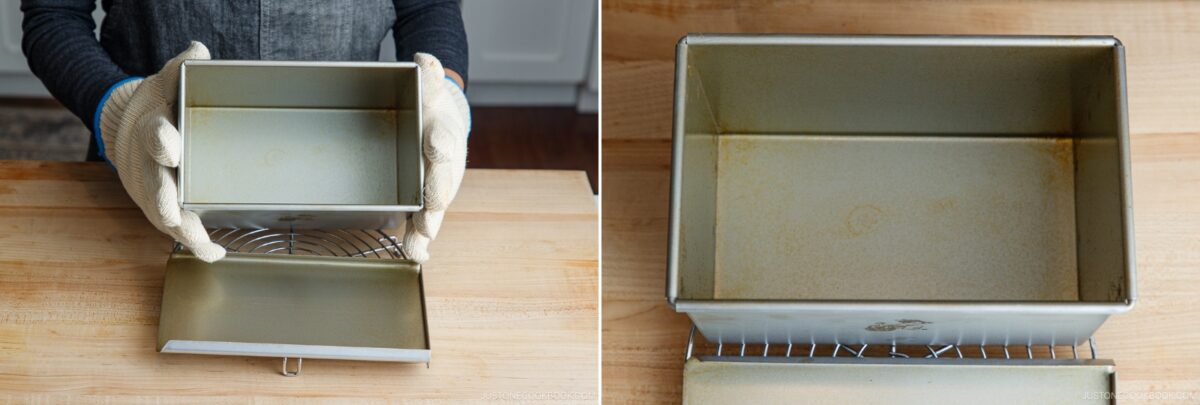
- Repeat: Repeat the oiling and baking process 3 more times (4 total rounds) to build a smooth, dark protective layer.
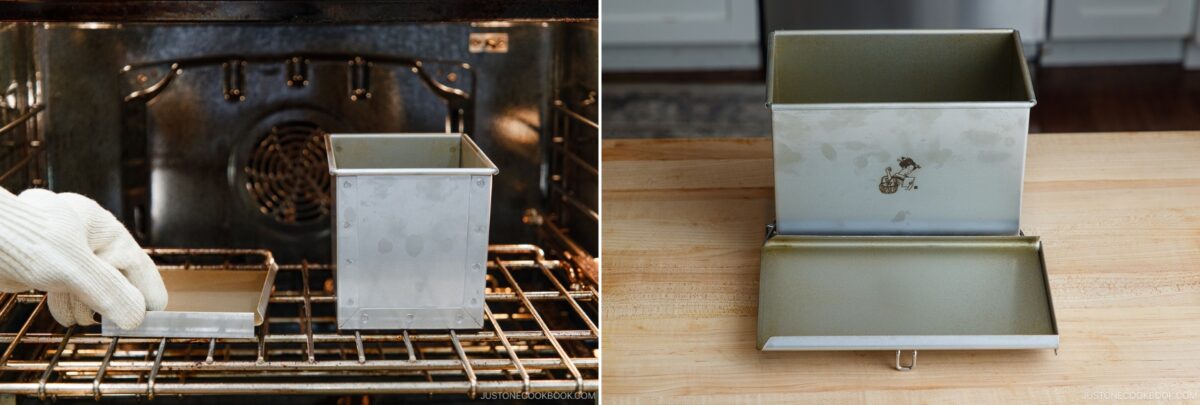
- Ready to Use: Your pan is now ready! Regular baking with a small amount of fat will continue to enhance the non-stick coating over time.
To Store
- Store the pan and lid in a dry cabinet with the lid slightly ajar for airflow. For long-term storage, wipe a tiny drop of neutral oil over the interior before storing.
Everyday Care
- Routine Cleaning: Let the pan cool completely. Wipe clean with a dry paper towel. Never use soap.Stubborn Residue: Rinse briefly with warm water (no soap or abrasive sponges). Towel-dry immediately, then bake at 350°F (180°C) for 5 minutes to remove moisture. Re-season with a thin coat of oil before storing.Rust: Gently scrub affected spots with a dry cloth or fine scrubber. Fully re-season the pan before baking again.First Bake Tips: If dough sticks during your initial bakes, avoid metal utensils. Simply brush a light coat of neutral oil onto the interior before baking until the seasoning builds up.See the FAQ in the blog post for troubleshooting.
Did you make this recipe?
Tag @justonecookbook on Instagram so we can see your delicious creation!
Editor’s Note: This post was originally published on June 1, 2022, and republished on May 17, 2026 with more helpful information.