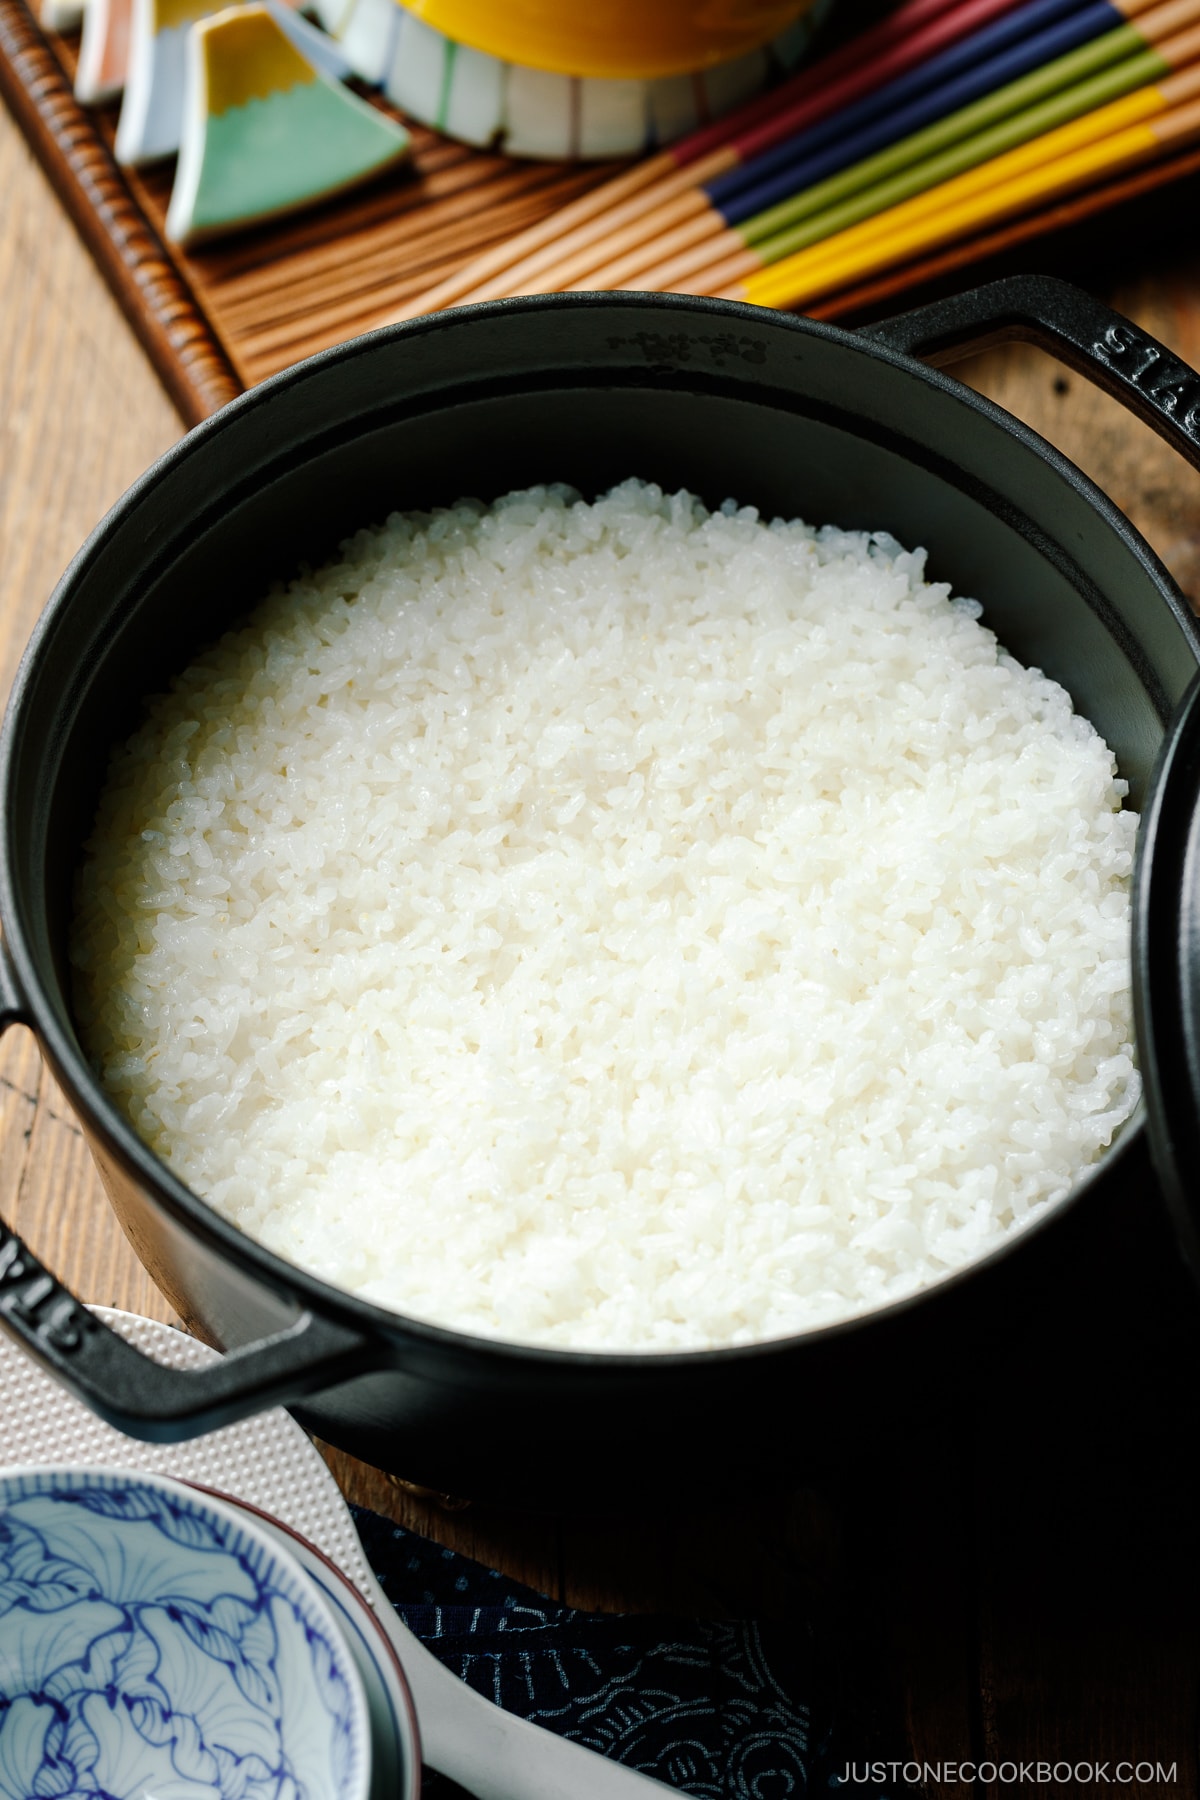
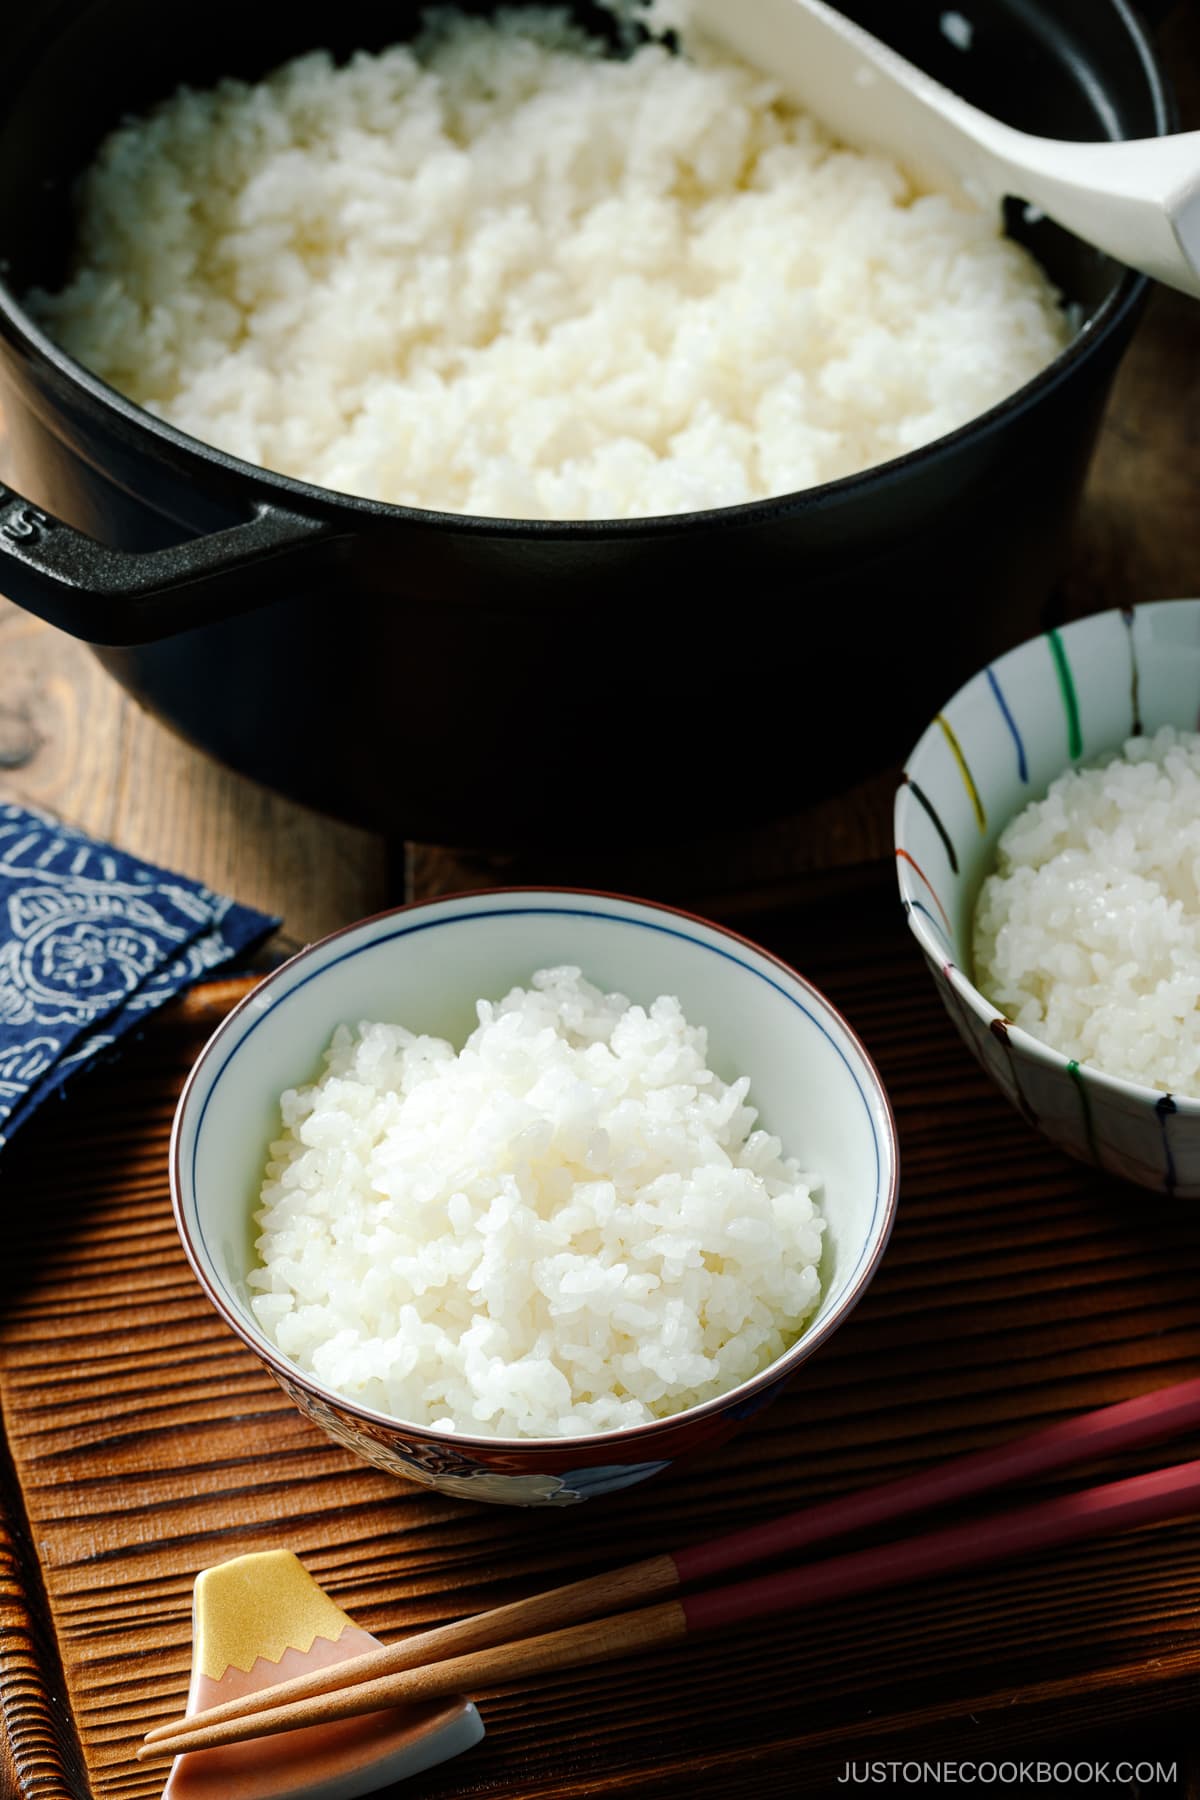
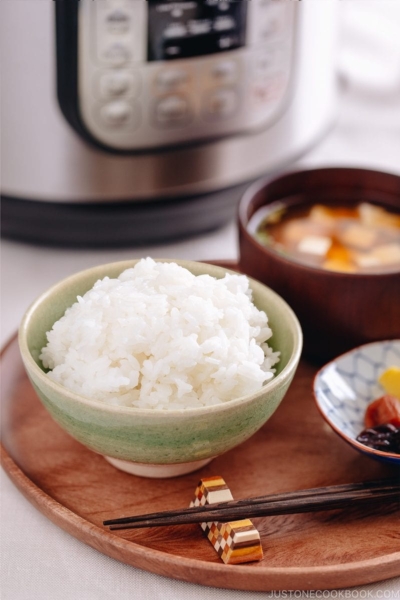
No rice cooker? No problem! Learn how to make a pot of Japanese white rice on the stove. My simple tips and tricks will ensure that your steamed rice comes out perfectly every time.
Growing up in Japan, where rice is a staple food and the primary source of protein, cooking rice is not only a basic kitchen task but also an extremely important one. While an electric rice cooker with all the bells and whistles seems to be an essential kitchen gadget in most Asian kitchens, I understand that not everyone eats rice daily and may not own a rice cooker. It’s also handy to know how to make rice on the stove in case your rice cooker breaks unexpectedly or you’re craving rice while camping.
In this post, let’s get back to basics, and I’ll show you how to measure rice accurately, wash it properly, and finally cook Japanese rice in a pot on the stove.
Table of Contents
What is Japanese Short-Grain Rice?
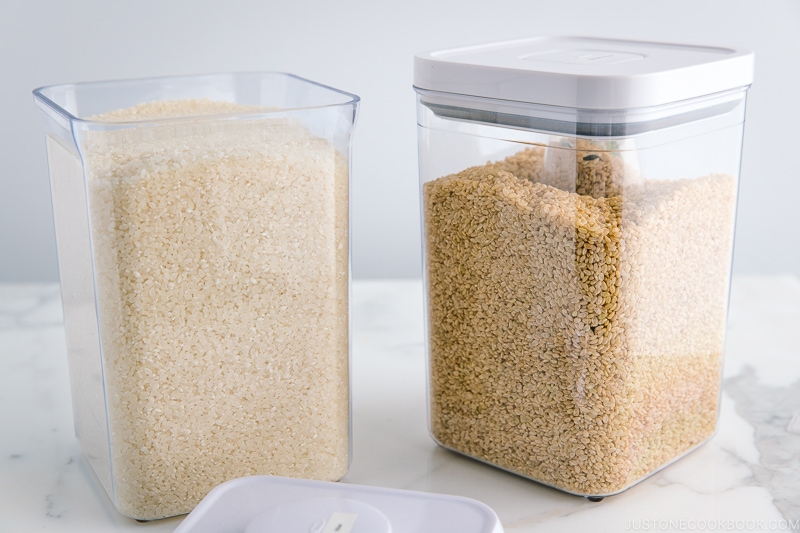
Japanese rice is a type of Japonica short-grain rice that is short, plump, and rounded oval. It’s worth noting that outside of Japan, Japanese rice is often labeled as ‘sushi rice’ for marketing purposes. However, rice is used not just for making sushi, but also for everyday Japanese dishes.
What sets Japanese rice apart from long-grain rice varieties such as basmati or jasmine rice is its high water content, which means the texture is more tender and moist. The grains contain less amylose—a type of starch that separates rice grains— than the long grains, giving them a more sticky, chewy texture.
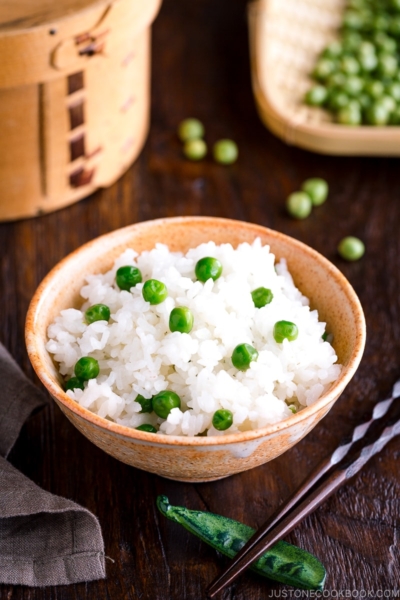
When cooked properly, the rice grains cling to each other without becoming mushy, allowing you to easily pick up the rice with chopsticks. You’ll also notice a beautiful glossy sheen on the surface of the rice. These unique characteristics of Japanese short-grain rice are essential because they allow us to make dishes like rice balls (onigiri) and sushi that need to stay in one piece.
Sometimes I hear people calling Japanese rice “sticky rice” due to its sticky texture, but please know that ‘sticky rice’ is technically a different type of rice known as sweet rice or glutinous rice, which we use for making mochi (rice cakes).
👉🏼 To brush up your knowledge, I highly recommend reading Everything You Need to Know about Japanese Rice and Types of Japanese Rice.
Best Japanese Rice Brands
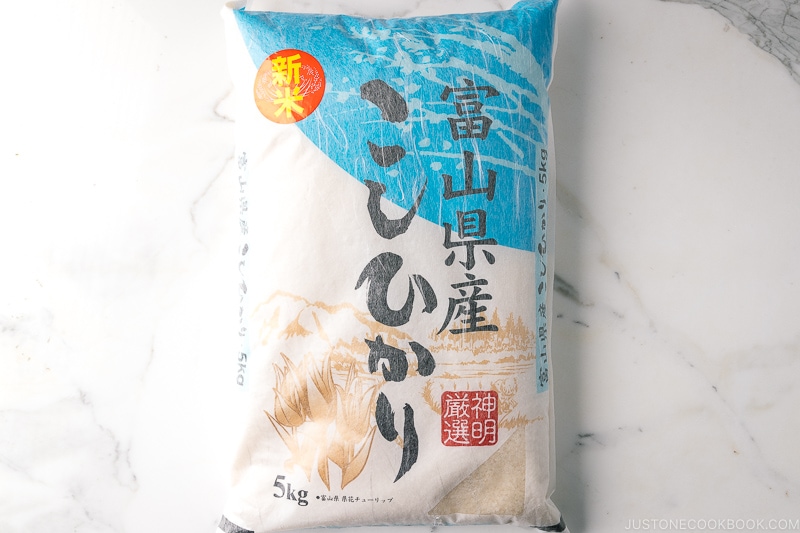
When it comes to high-quality Japanese rice, I recommend the Koshihikari variety, which is available in various brands at Japanese grocery stores. Known for its sweet taste and fragrance, Koshihikari is the most popular variety in Japan. I personally prefer the Toyama-grown Koshihikari imported from Japan, which is available at Japanese grocery stores (I purchase mine at Nijiya Market in San Mateo).
For US-grown koshihikari rice, look for Shirakiku Rice, Tamaki Gold, and Tamanishiki Super Premium Short Grain Rice. For brown rice, we enjoy Genmai Sukoyaka Brown Rice and Koshihikari Premium Sprouted Brown Gaba Rice.
There are also other new cultivars such as Hitomebore, Akitakomachi, Tamanishiki, Tsuyahime, and so on. Each of them has unique characteristics that are different from Koshihikari.

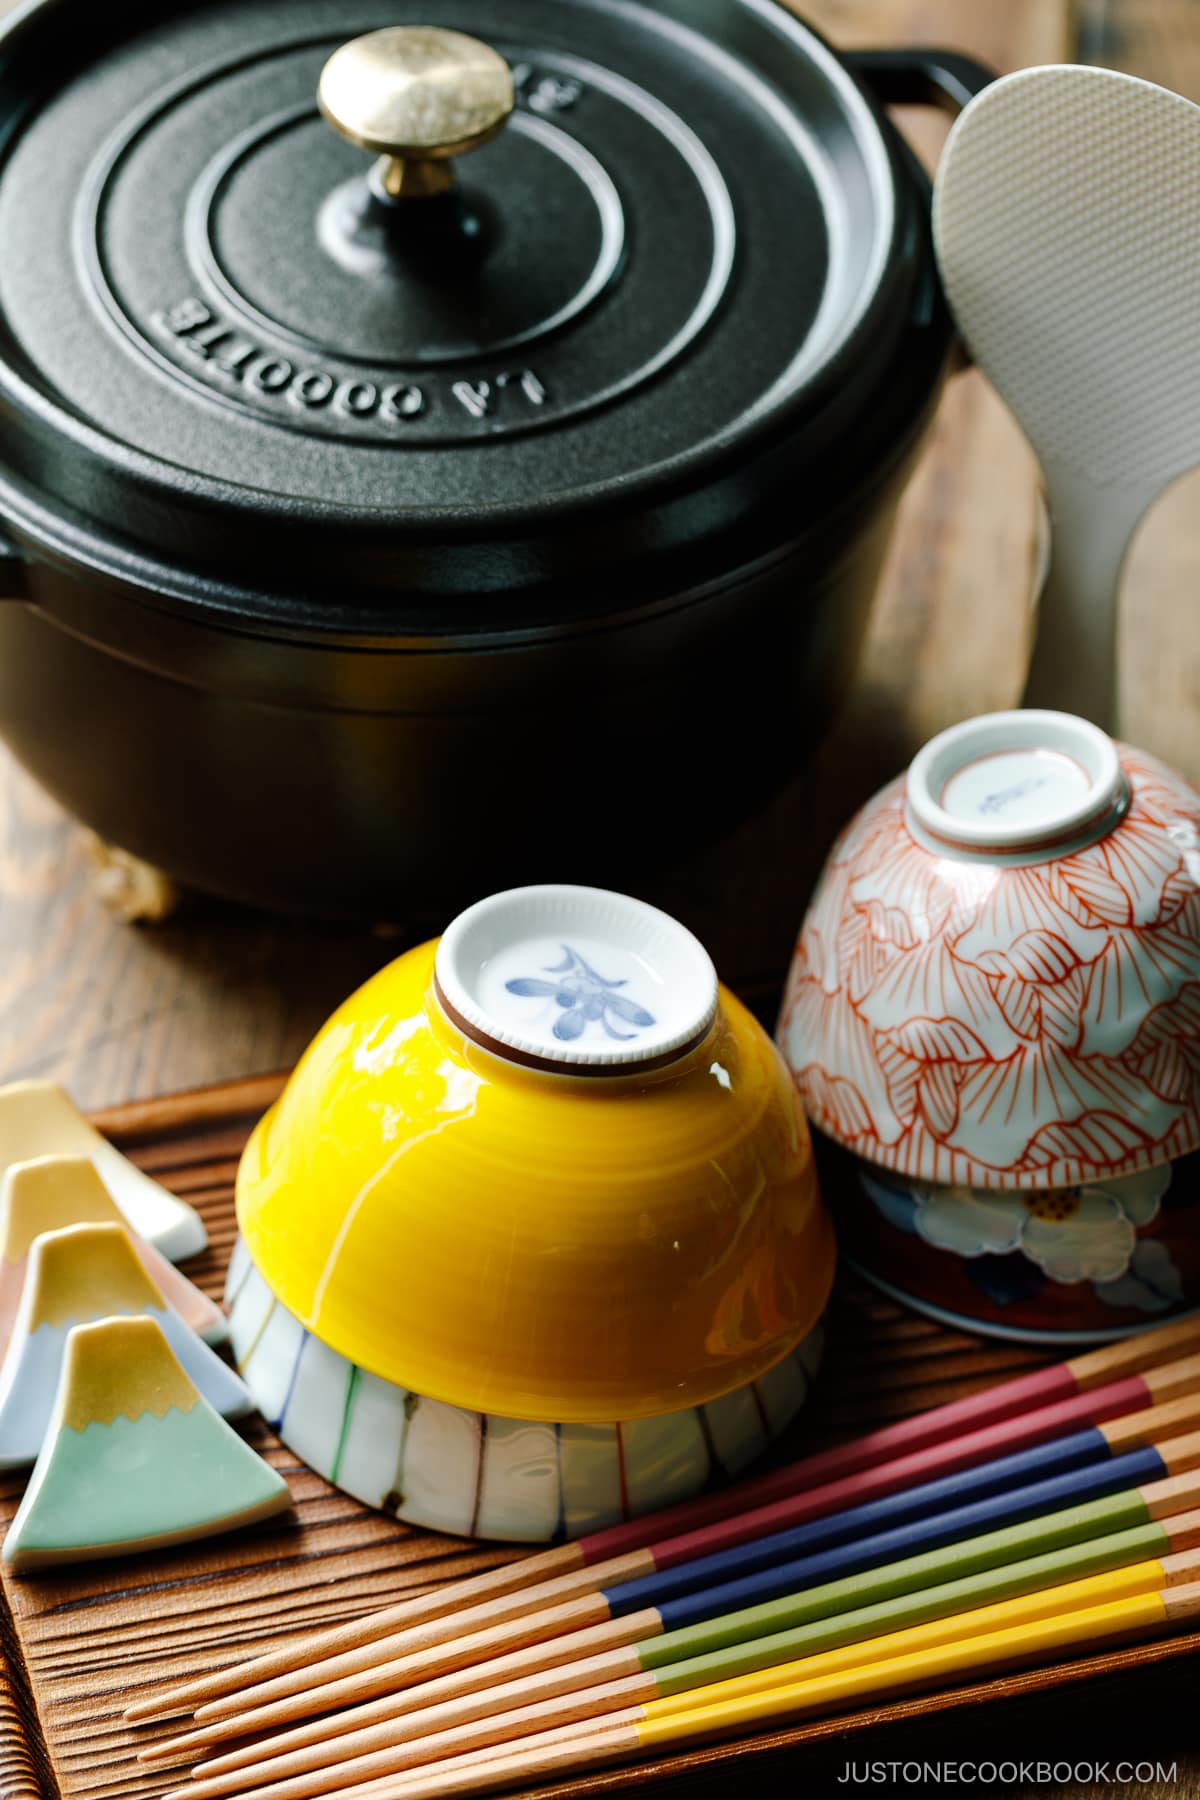
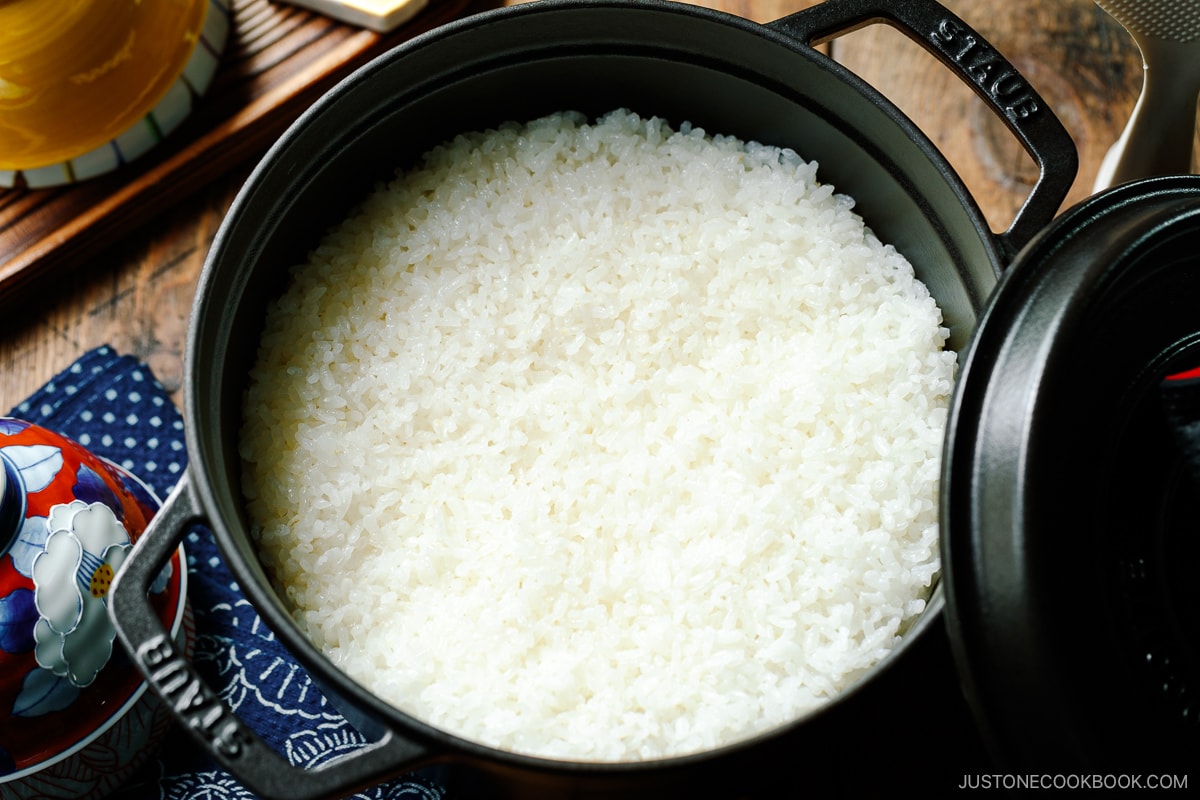
What Kind of Pot to Use
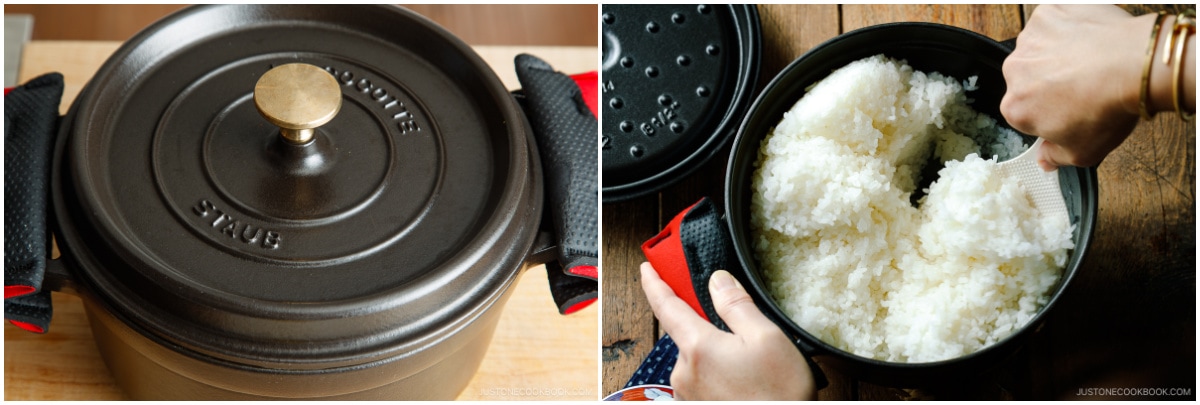
Use a heavy-bottomed pot when cooking rice. The even heat distribution prevents the bottom of your rice from easily getting burnt. Personally, I love using Staub, especially for cooking rice. Compared to other popular Dutch oven brands, Staub features a better, tight-fitting lid that traps all the steam inside.
An alternative option I recommend is a donabe—a Japanese earthenware clay pot. If you plan to use a donabe, I have a separate post on How to Cook Japanese Rice in a Donabe.
How to Measure Rice and Water
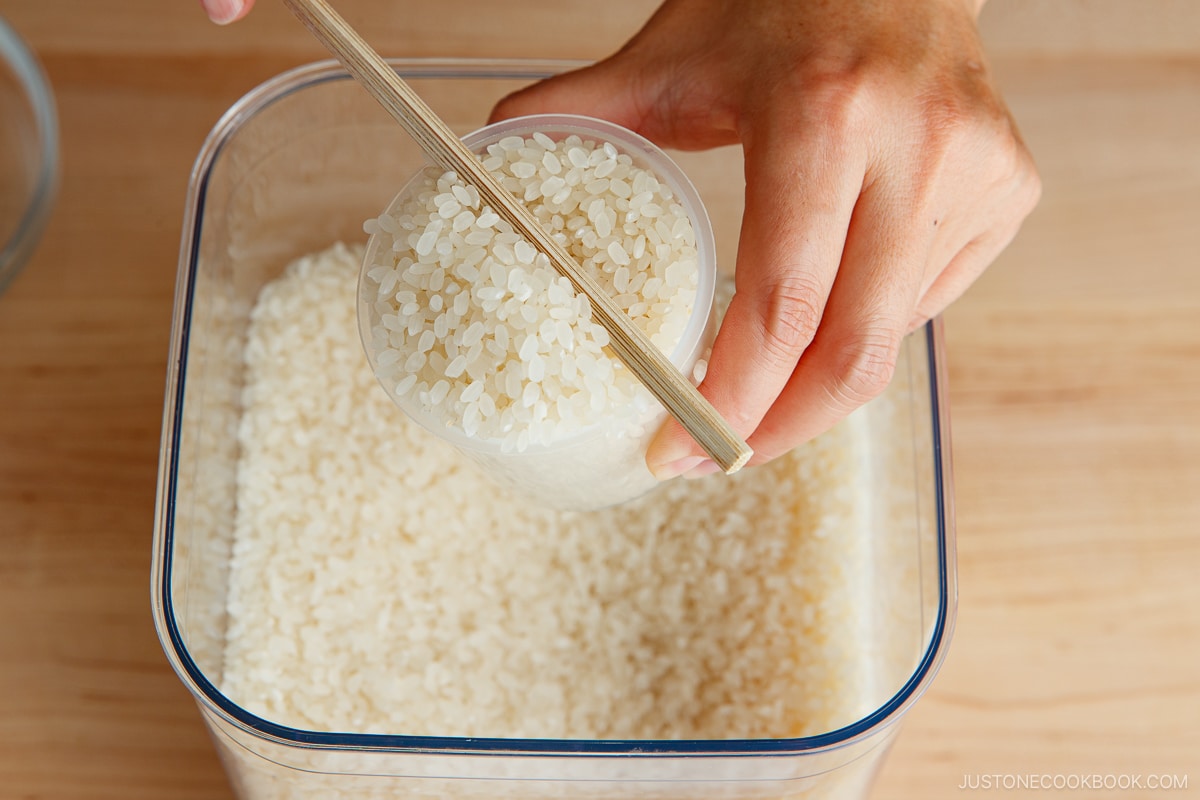
In Japan, rice is always measured with a rice cooker cup, which is 180 ml or American ¾ cup. To measure correctly, overfill a rice cooker cup (or a ¾-cup measure works well for this) with rice and level it off. Failing to level it off may result in your rice not having enough water to cook properly.
Rice-to-Water Ratio
One of the reasons people often struggle to make Japanese rice is due to using the wrong amount of water. There is a lot of misinformation online. To cook Japanese short-grain white rice, the correct rice-to-water ratio is as follows:
The golden rule for the rice-to-water ratio [volume] is 1:1.1 (or 1.2).
This means:
- This means you will need 10–20% more water than rice.
- 1 rice cooker cup (180 ml) of rice – 200 ml of water
- 1 US cup (240 ml) of rice – 1⅛ cups of water (or 264 ml since the rounded-up cup measurement is not accurate)
I recommend getting a rice cooker cup (you can get it on Amazon) and using metrics to measure your water.
How to Wash the Rice
The technique of washing rice is often discussed, and each culture likely follows a different approach.
Here are the quick key points:
- Wash rice in cold running tap water; never use warm/hot water.
- Do not use a metal strainer to wash rice because it can break the rice.
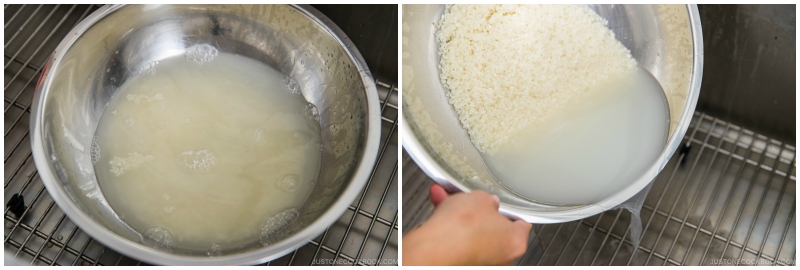
- Discard the first rinsing water immediately before the rice starts absorbing impurities.
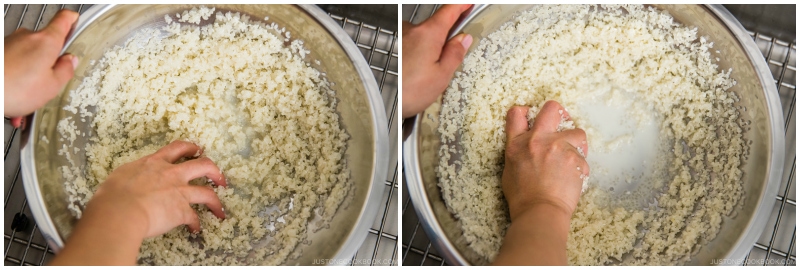
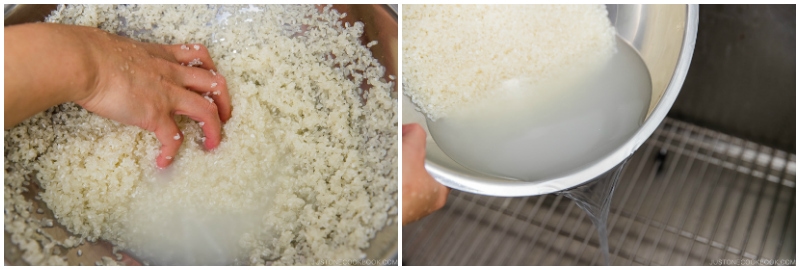
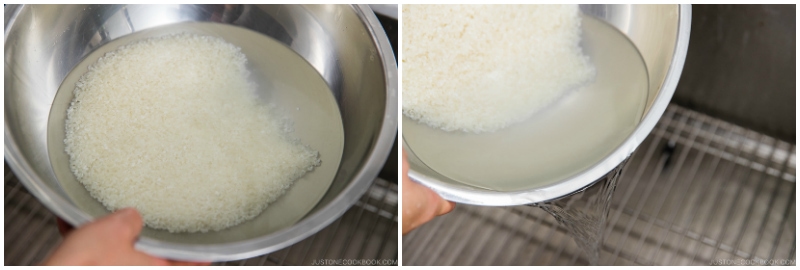
- Use your fingers to gently agitate the wet rice grains in a circular motion for 10–15 seconds. The bowl should have very little water, which allows the grains to rub against each other. Rinse and wash one to two more times until the water is almost clear.
Why Do We Soak the Rice?
Aside from using the incorrect amount of water for rice, another reason people struggle to make perfect Japanese rice is not soaking the rice.
Since soaking isn’t necessary for other types of rice, you might assume it’s a waste of time or unnecessary. However, this results in rice that isn’t cooked through because the core remains hard.
Consider the Japanese short-grain rice kernel: it has a plump body and requires a longer time to absorb moisture to the core. That’s why we give it a headstart by soaking the rice for at least 20-30 minutes.
How to Cook the Japanese Rice on the Stove
After 20-30 minutes of soaking, we’re now ready to cook the rice!
- Cover the pot with the lid, leaving a small gap, and bring it to a boil over medium heat. Take a quick peek to see if the water is boiling.
- Once the water is boiling, turn the heat to low and cook, covered, for 12–13 minutes.
- When it’s done cooking, open the lid and take a quick peek to check if the water is completely absorbed. If there‘s water left, close the lid and cook for a little longer.
- Remove from the stove and let it steam with the lid on for another 10 minutes.
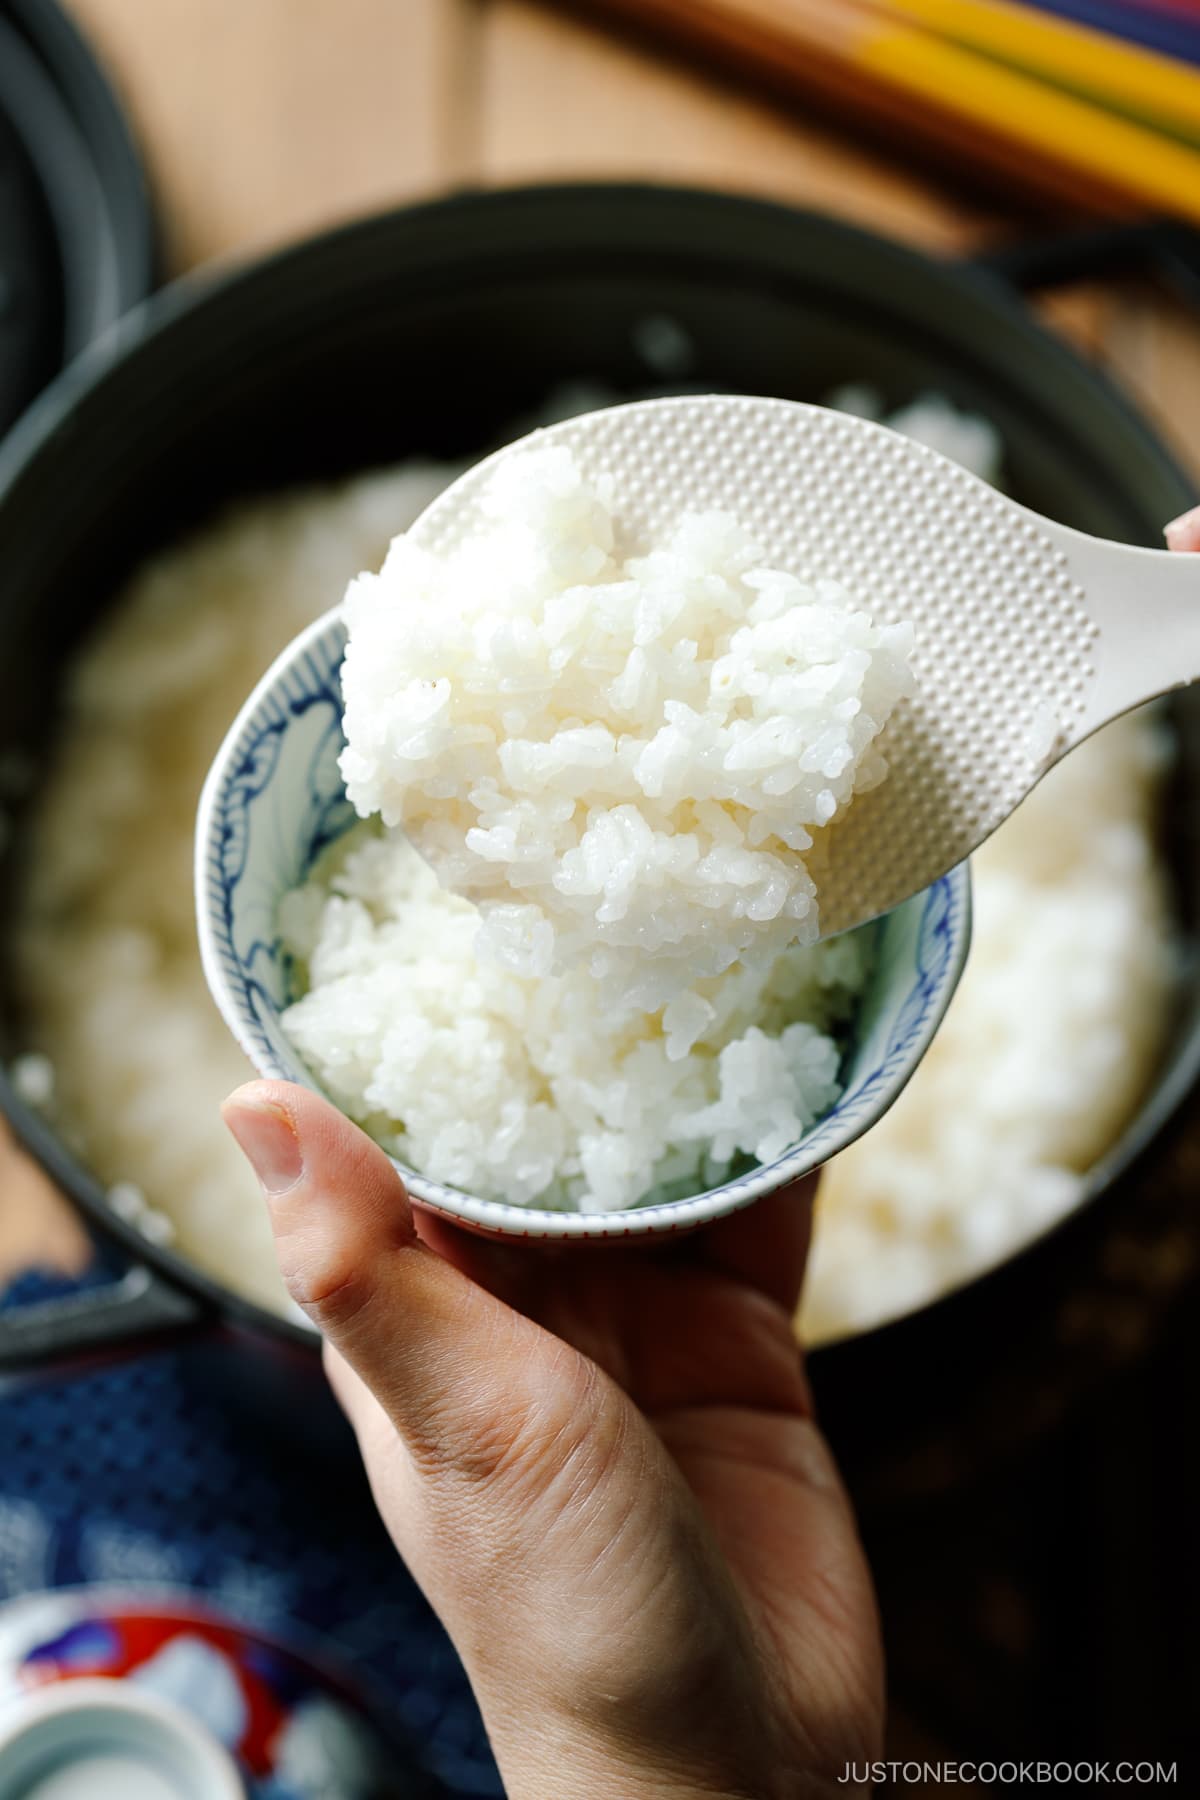
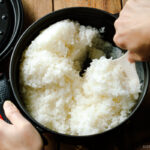
- After 10 minutes, uncover the pot and fluff the rice with a rice paddle. It‘s now ready to serve.
Cooking Tips
Here are 5 main tips to cook a perfect pot of glossy and tender Japanese rice:
- Wash and rinse the rice. Always start by quickly rinsing and washing the rice a few times to help remove the natural occurrence of arsenic and impurities.
- Use a heavy-bottom pot with a tight-fitting lid. If your lid fits loosely, put a clean kitchen cloth between the lid and the pot to keep the steam in.
- Always soak the rice in water for 30 minutes. Rice has been sitting in the bag dried after milling, so it needs moisture to revive the texture. You must give it enough time for the rice to absorb water so that it has a perfect texture after cooking.
- DO NOT open the lid while cooking! This is a big no-no when it comes to cooking Japanese rice. I learned from my experience to catch the indication of “boiling” by sound. However, until you do, it’s okay to “quickly peek” inside to see if it’s boiling.
- Rest and fluff. Once the rice is cooked, let it rest for 10 minutes to steam fully, and then fluff to help evaporate the excess moisture.
Best Way to Store Cooked Rice
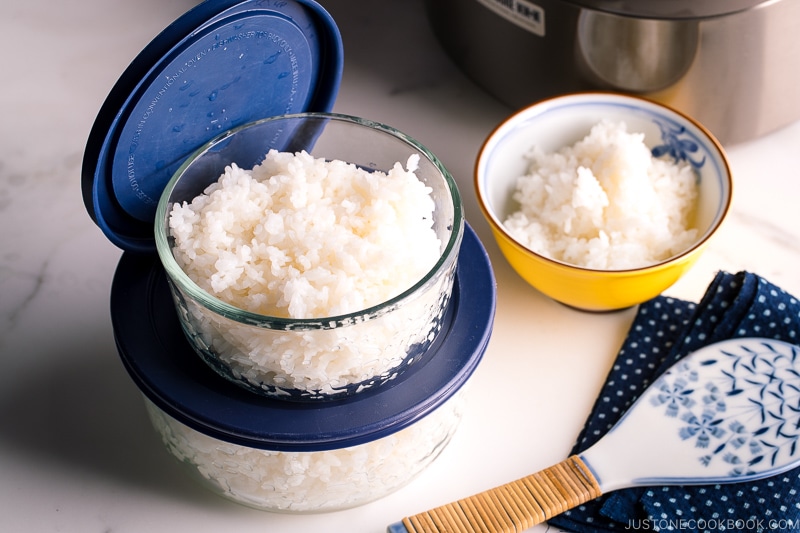
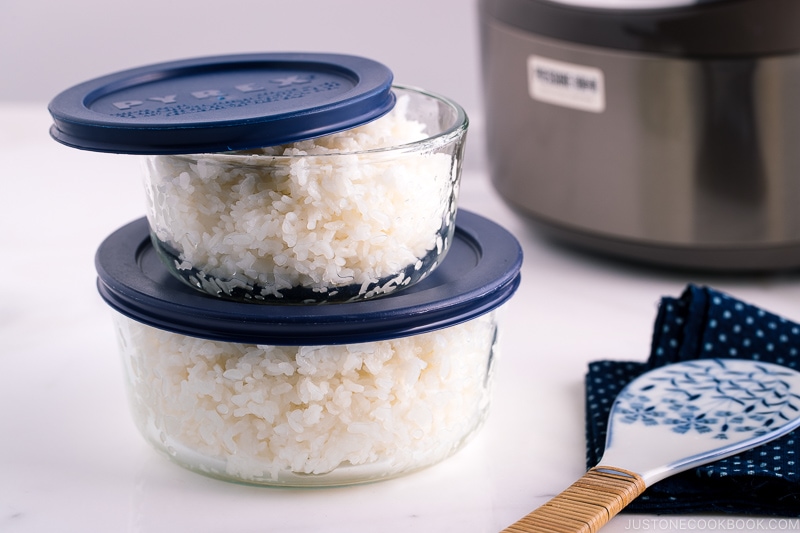
What’s the best way to store the leftover rice? Japanese people always freeze the rice! We never refrigerate the rice because it gets hard.
I use a glass container with a lid. If you already know how much rice you will be using, pack away the freshly made rice immediately to seal in the moisture. Be sure to let it cool before putting it in the freezer.
To reheat the rice, open the lid, place a wet paper towel over the glass container, and microwave. It’s just like freshly made rice.
Pro Tip: I always pack different portions (one serving and two servings) so we can defrost the right amount.
Other Ways to Cook Japanese Rice
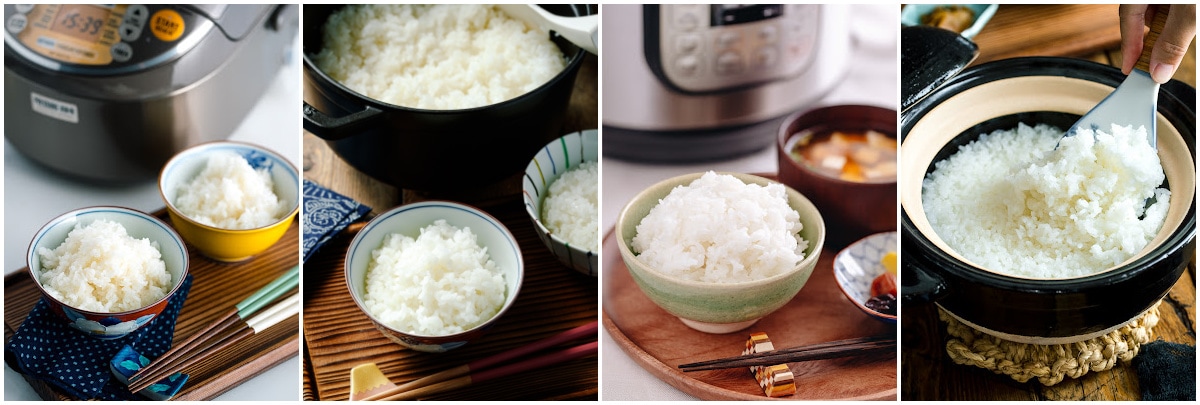
There are different methods to cook Japanese rice at home. Each method has its advantages, and Japanese households often own a few cooking pots/gadgets for different occasions and needs.
- How to Cook Japanese Rice in a Rice Cooker
- How to Cook Japanese Rice in a Pot on the Stove
- How to Cook Japanese Rice in an Instant Pot
- How to Cook Japanese Rice in a Donabe on the Stove
- How to Cook Short-Grain Brown Rice in a Rice Cooker
- How to Cook Short-Grain Brown Rice in an Instant Pot
How to Cook Japanese Rice in a Pot on the Stove
Video
Ingredients
For 4 Rice Bowls (4⅓ cups, 660 g)
- 1½ cups uncooked Japanese short-grain white rice (2 rice cooker cups, 360 ml)
- 1⅔ cups water (400 ml)
For 6 Rice Bowls (6⅔ cups, 990 g)
- 2¼ cups uncooked Japanese short-grain white rice (3 rice cooker cups, 540 ml)
- 2½ cups water (600 ml)
For 8 Rice Bowls (8¾ cups, 1320 g)
- 3 cups uncooked Japanese short-grain white rice (4 rice cooker cups, 720 ml)
- 3⅜ cups water (800 ml)
For 10 Rice Bowls (11 cups, 1650 g)
- 3¾ cups uncooked Japanese short-grain white rice (5 rice cooker cups, 900 ml)
- 4⅛ cups water (1000 ml)
Instructions
- DO NOT use scaling (x 2 or x 3) for this recipe.
- Before You Start: Please note that Japanese short-grain white rice requires a soaking time of 20–30 minutes. The rice-to-water ratio is 1 to 1.1 (or 1.2) for short-grain white rice. The ratio for brown rice is different; to learn more, read how to cook short-grain brown rice in a rice cooker or Instant Pot.

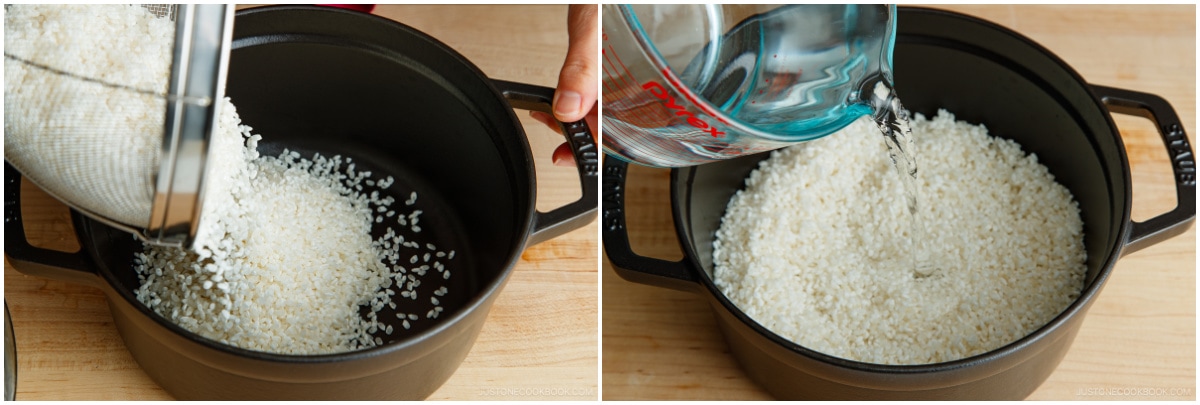
- How to Measure: Overfill a plastic rice cooker cup (or use a ¾-cup measure) with uncooked short-grain rice and level it off. Put the rice in a large bowl. Repeat until you have the measured amount of rice needed. For this recipe, I measured 2¼ cups (3 rice cooker cups) of short-grain white rice. Tip: Without leveling it off, your rice will not have enough water to cook properly.
To Wash the Rice
- Quick Rinse: Add just enough tap water to the bowl to submerge the rice. Then, discard the water immediately. Tip: Rice absorbs water very quickly when you start rinsing, so this quick rinse helps remove impurities from the rice and prevent it from absorbing the first few rounds of milky water.
- Wash: Next, use your fingers to gently agitate the wet rice grains in a circular motion for 10–15 seconds. Don‘t use a strainer as it can break the rice. Tip: Using very little water allows the grains to rub against each other. It also reduces the absorption of impurities from the milky water.
- Rinse: Add tap water and immediately discard the cloudy water. Repeat one more time.

- Repeat the Wash and Rinse process (steps 2 and 3) one to two more times.
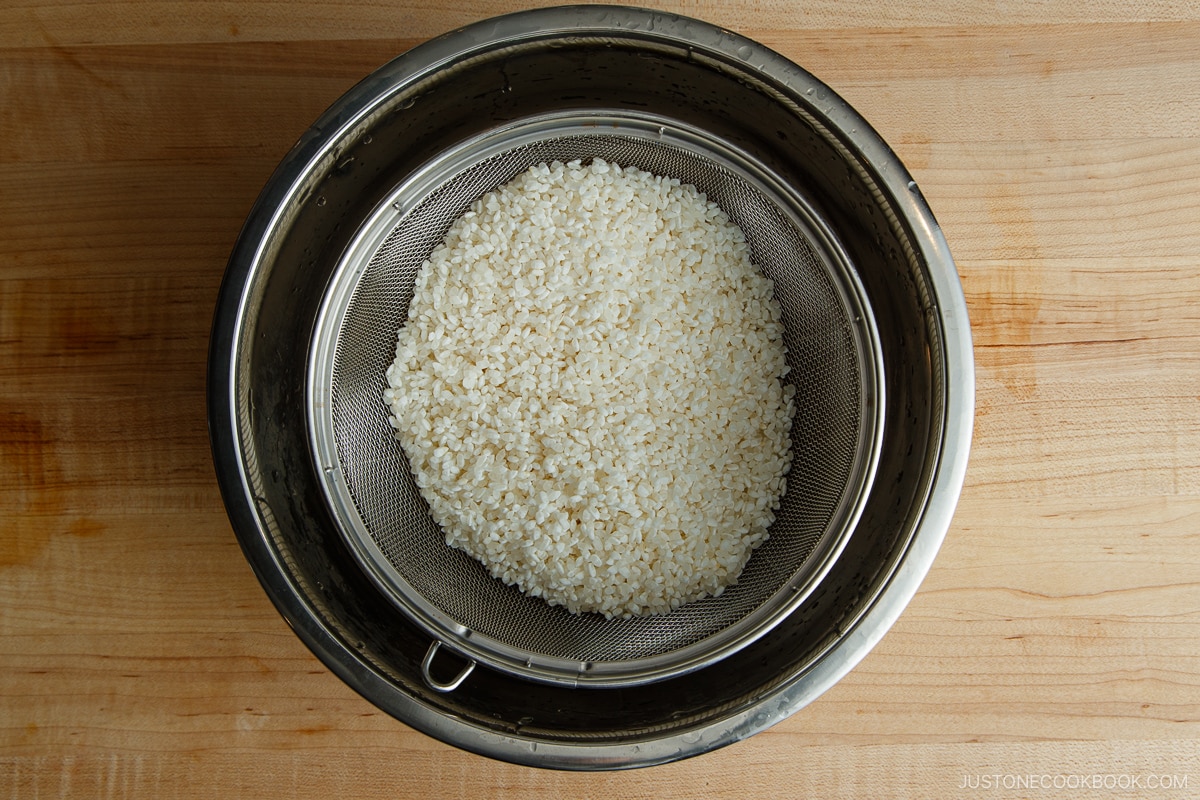
- Drain: When the water is almost clear, drain the rice completely.
- Use a fine-mesh sieve to drain and shake off any excess water. Do not leave it for more than 5 minutes as it can easily get too dry.
To Soak the Rice
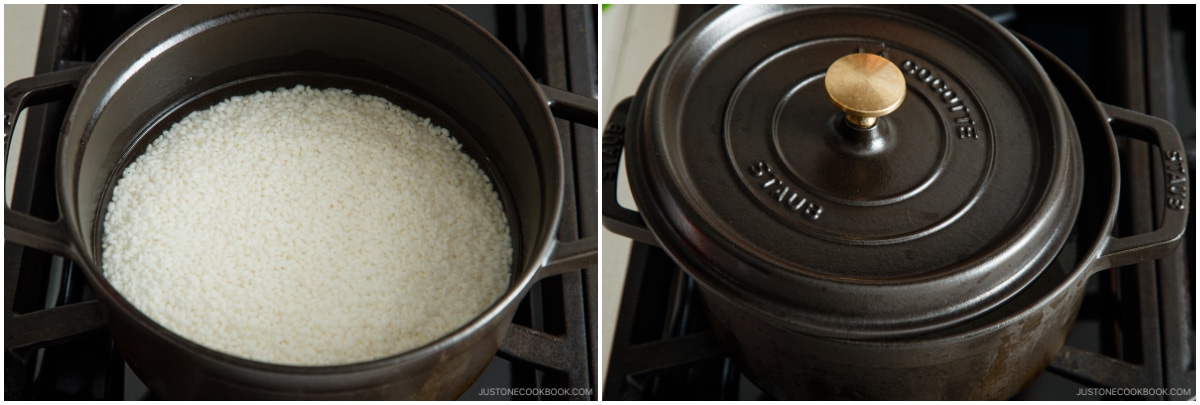
- Put the well-drained rice and measured water in a heavy-bottomed pot with a tight-fitting lid(I use a 2.75-QT Staub here). For example, if you‘re cooking 2¼ cups uncooked Japanese short-grain white rice (3 rice cooker cups), add 2½ cups water (600 ml). Soak the rice for 20–30 minutes before cooking.
To Cook the Rice
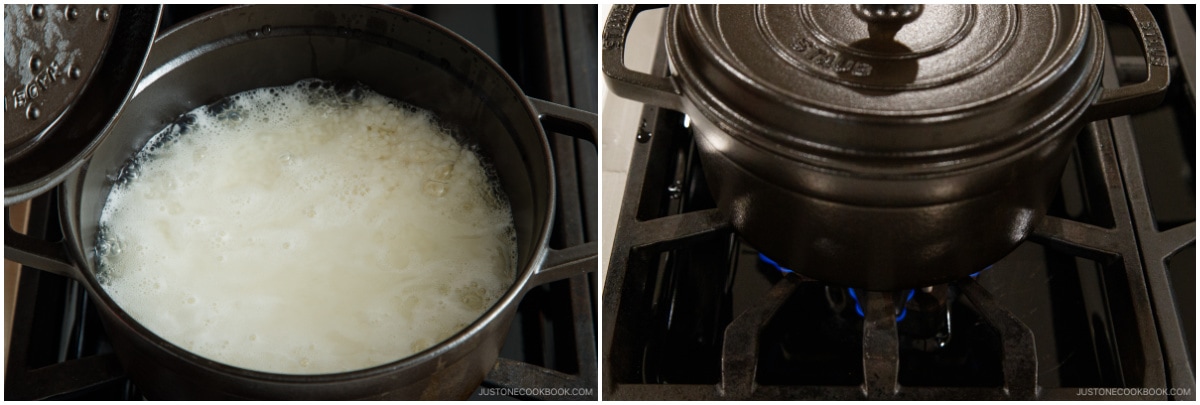
- Cover the pot with a lid slightly ajar and bring it to a boil over medium heat. Take a quick peek to see if the water is boiling.
- Once the water is boiling, turn the heat to low and cook, tightly covered, for 12–13 minutes.
- When it‘s done cooking, open the lid and take a quick peek to check if the water is completely absorbed. If there‘s water left, close the lid and cook for a little longer.
To Steam the Rice
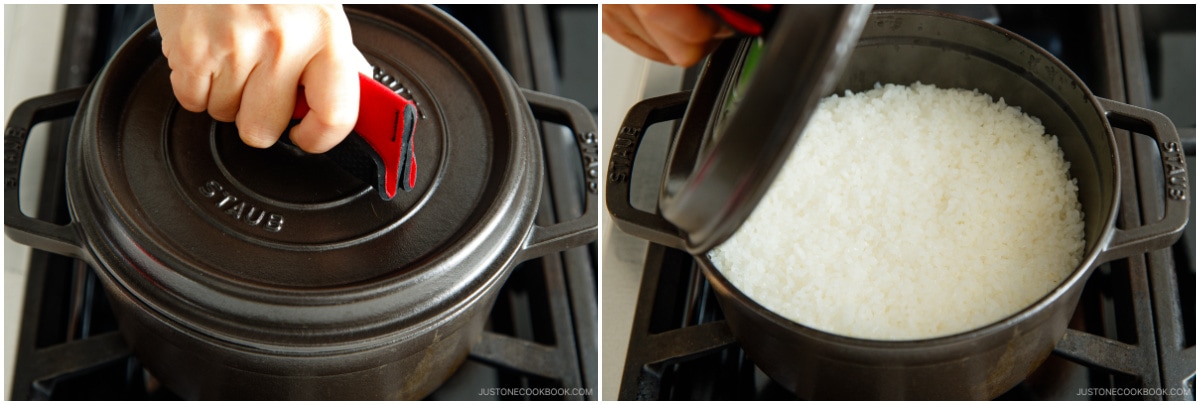
- Remove from the stove and let it steam with the lid on for another 10 minutes. Tip: This resting period is crucial for the rice to steam properly. Resist the urge to peek under the lid and release the steam during this time. After 10 minutes, uncover the pot and fluff the rice with a rice paddle. It‘s now ready to serve.
To Store
- Transfer the rice to airtight containers and close the lids to keep the moisture in. Let cool completely before storing the containers in the freezer (read my tutorial post on how to freeze rice).
Notes
Equipment
- 2.75-QT Cast Iron Pot (Staub)
Nutrition
Editor’s Note: This post was originally published on December 4, 2013. It was republished with a new video and more helpful content on March 15, 2024.


Hi, in the video it says drain for 15 min. But in the written directions it says do not drain longer then 5min. Thank you.
Hello, Anna. Thanks for watching Nami’s video.
Nami constantly works to improve the recipe and make improvements. So, please see the recipe card for the most recent recipe.
We’ve created a new video, which will be available soon.
Thank you for trying Nami’s recipe!
I have been making sushi rice for years with mixed results. It usually has kernels that are not cooked or is not quite the right consistency. This method is superb! Perfect rice! It was a joy to work with. I added some rice vinegar, a little sugar and salt and the rice was awesome!
Hello Joanne! Thank you for taking the time to read Nami’s post and trying out her recipe.
We’re pleased to hear that Nami’s instructions helped you achieve the perfect Sushi rice!
It would be wonderful if you could explore Nami’s other sushi recipes and pair them with your perfect sushi rice.😊
You can find them at https://www.justonecookbook.com/tags/sushi-sashimi/.
Happy Cooking!
Thank you so much for this recipe, I’ve made it countless times and the rice comes out perfect every single time!
Hello, Julia! Thank you so much for taking the time to read Nami’s post and try her recipe!
We are very happy to know that Nami’s instructions helped you cook beautiful Japanese rice!
Thank you for your kind feedback.🤗
Everytime i try to make japanese rice it comes out mushy and goopy.With this recipe (the ideal ratio rice/water) and these tips it came out perfect!Thank you!
Hi Maria! Aww.🥰 We are so happy to hear that Nami’s instruction and recipe helped!
Thank you for trying Nami’s recipe and for your kind feedback! 💞
Hi, thanks for the recipe. I am wondering though, it says to soak the rice for 30 minutes but then says to give a quick rinse at the start of the recipe. Should I do both? Thanks!
nevermind! i didn’t read carefully : \
Hi Annie! Thank you for trying Nami’s recipe!
We hope the rice come out well and you enjoyed it!🙂
i’m just wondering what the best way to reheat the frozen rice is? i was planning on simply defrosting it and heating it in the microwave with a splash of water, would that make it mushy or would it be fine?
Hi Jaimie! Thank you very much for asking this question!
Here is the best way to reheat the frozen rice. Please check “How to Reheat the Frozen Rice in Microwave” in this post: https://www.justonecookbook.com/how-to-freeze-rice/
We hope this helps!😊
Rice cookers are convenient, but I’ve always stuck by stovetop, doing it the way it’s always been done, a pot, over a fire (or heat source in general). Your directions are PERFECT, thank you!
Hi Rich! We are so happy to hear this method worked well for you!
Thank you very much for trying Nami’s recipe and for your kind feedback!
Hi! All my pots at home have horribly fitting lids. Could you tell me what pot you use to cook your rice?
Hi Heather! Thank you very much for reading Nami’s post!
Any tight-fitting lids pot would work for cooking rice, but Nami used Le Creuset pot in this recipe.
She also uses
Kamado-san: https://www.amazon.com/dp/B000WMK73Q?ref=exp_justonecookbook_dp_vv_d,
STAUB Cast Iron: https://www.amazon.com/dp/B007738AM8?ref=exp_justonecookbook_dp_vv_d
or Donabe etc.
We hope this helps!
ive always cooked rice in my parents 20 year old rice cooker, but since moving out all the rice cookers ive tried have made terrible rice!! weird mix of sludgy and burnt! But last night i followed these instructions and the rice was so perfect i cried over it, thank you so much for this!!
Hi Cloud! We are so happy to hear this recipe worked well for you!
Thank you very much for trying Nami’s recipe and for your kind feedback.🥰
I followed the instructions perfectly but the rice still came out squishy and goopy. Any idea where I am going wrong?
Hi Sarah, Thank you very much for trying Nami’s recipe! We think it could be due to the type of pot you used or the rice itself.
A heavy-bottomed pot with a tight-fitting lid is the best to keep the heat level consistent, distribute the heat well and cook perfect rice.
The fresher rice tends to contain more moisture than older rice, and the cooked rice will be softer. Also, if you soak too long, it will be squishy and goopy.
Next time, try reducing the water by 5~10% for the type of rice or reduce the soaking time. We hope this helps!
Hi I love to follow your recipes. Tried the teriyaki salmon and my family love it.
Would like to know using the above recipe can I steam the rice as steaming over high boiling water instead of cooking over the stove? Thanks
Hi Amy, Thank you very much for trying many recipes from our site.
We steam glutinous rice (Sweet rice) in Japan, but we usually don’t steam regular short-grain rice over the steamer, and not sure how the outcome will be. Sorry…😞
Hi, Namiko: I love and appreciate your site as I learn to cook Japanese cuisine. My question: how do I cook short grain BROWN rice for sushi? On the stovetop, as my inexpensive rice cooker doesn’t differentiate between types of rice. Thanks!
Hi Suzanne, Thank you very much for your kind feedback.
Nami has a “Brown rice” recipe using Donabe, and you may use the recipe (Brown Rice Water Amount) for the stovetop. Then follow the Sushi rice recipe to make Brown rice for sushi. (Please cook the rice with Kombu for the Sushi rice.)
Nami recommends using a tight-fitting lid and heavy bottom pot to avoid burning the bottom and conduct heat well.
https://www.justonecookbook.com/how-to-cook-rice-in-donabe/
https://www.justonecookbook.com/how-to-make-sushi-rice/
We hope this helps!
What is the best way to reheat rice without a microwave? I’ve tried reheating it in a pot and also in a steamer, but both methods make the rice really mushy
Hi Kaileb, Have you tried dehydrating the rice after reheated in the steamer? If the rice is mushy after reheating, You may take the lid out from the steamer and let it evaporate moisture from the rice. We hope this helps!
This is the most useful post on the internet.
Hi G, You have no idea how much your kind words meant to us! Thank you very much for your kind feedback!
Hi Nami
I wish I had known that you need a gas stove to use a Donburi. I got one as a gift, but I can’t use it sine my stove in my apt is electric. Love your blogs and travels Happy Holidays
Any suggestions.?
Suzie
Hi Susan,
We assume you mean Donabe (not Donburi). Most Donabe is for a gas stove, and there is one that works for an electric coil stove that Nami recommends in this post: https://www.justonecookbook.com/how-to-season-your-donabe/.
For your Donabe, you can purchase a portable butane gas burner. Most Japanese cook hot pot dishes in a Donabe on a dining table. Nami talks about the Donabe set up in this post: https://www.justonecookbook.com/nabemono-japanese-hot-pot/.
Link for Portable butane gas burner: https://www.amazon.com/dp/B013U7AUA4/?ref=exp_justonecookbook_dp_vv_d
We hope this helps!