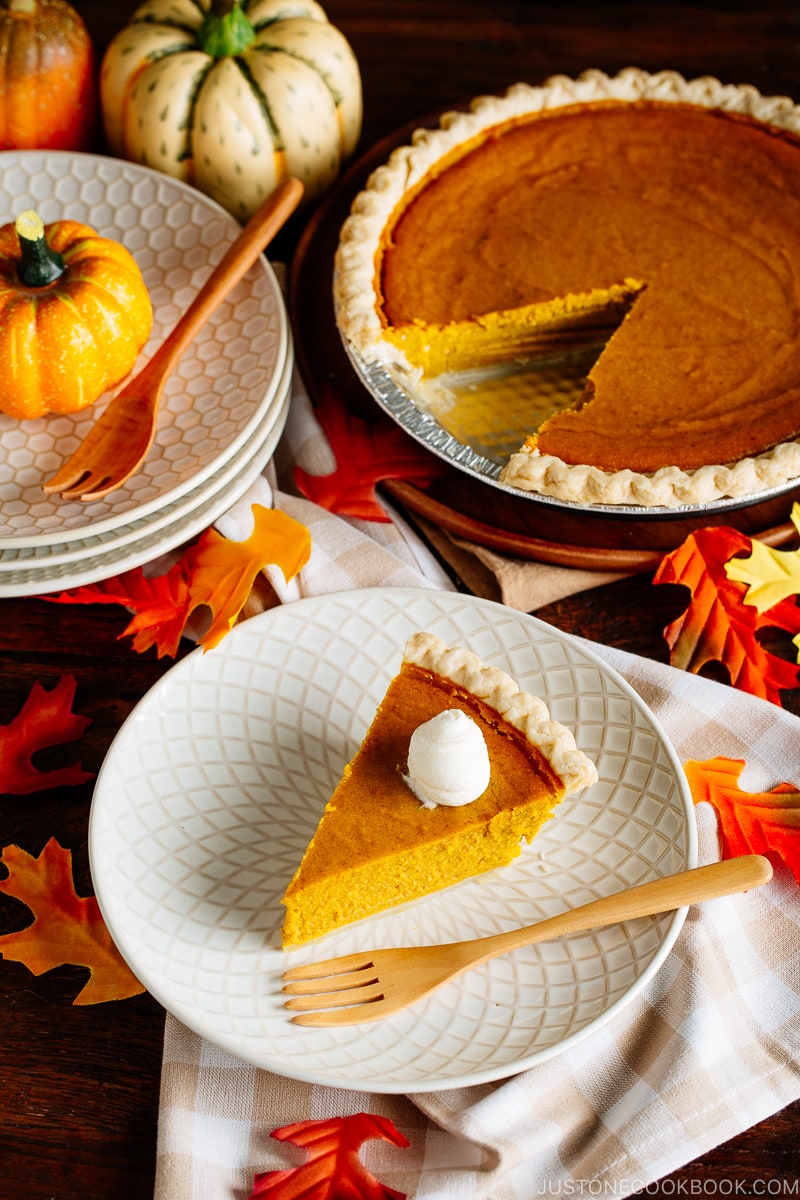
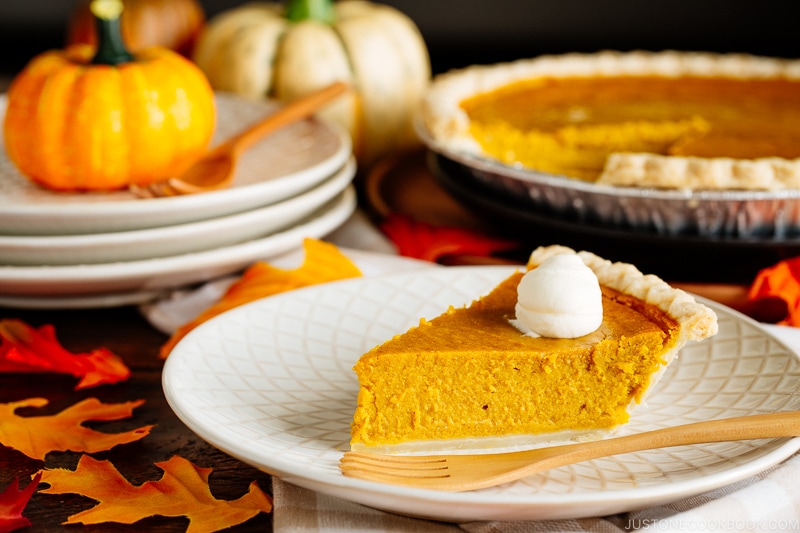
Thanksgiving is in less than a week, and if you haven’t decided on what dessert to serve, I got you covered. This decadent Kabocha Pie (かぼちゃパイ) is super easy to make and will impress your holiday dinner guests!
3 Hacks for Easy Kabocha Pie
1. Use the Frozen Pie Shells or Pie Crusts
Store-bought pie crusts are great for a beginner baker. Making your own pastry shell can be challenging and time-consuming, especially if you’ve never tried making it before. For this Kabocha Pie recipe, you can purchase a ready-made pie shell from your grocer’s freezer.
What brand should you buy? Personally, I like Wholly Wholesome Organic Traditional 9″ Pie Shells because even without blind baking (read the next section), the bottom of the crust does not get soggy! The crust texture is light and flaky with a crisp edge, and it has toasty buttery flavors that are quite delicious. It also comes with on a pie dish so you don’t need to purchase additional pie trays.
I’ve also tried Trader Joe’s pie sheet and it’s one of our favorites as well. But Trader Joe’s Pie Crusts are pastry sheets, which requires your own pie dish. If you don’t bake often, the pie shell I mentioned above might be a better choice.
2. Steam Kabocha
Most of you probably roast/bake pumpkins and squash in the oven. However, in Japan, steaming or microwaving kabocha is the mainstream. Maybe it’s because we don’t have an American-size oven and roasting is not a common cooking method in Japan.
From my own cooking experience, I recommend steaming kabocha. It only requires 15 minutes of steaming (vs. 45-60 minutes of roasting/baking at 400F). Also, steaming helps retain the moisture content in the kabocha during the cooking process.
3. Use Pumpkin Pie Spice
For those of you who’re not in the U.S., pumpkin pie spice is an American spice mix commonly used in pumpkin pie and pumpkin spice latte (or pumpkin smoothie for a healthier version). It’s a really convenient spice to have during the holiday season.
It is generally a blend of powdered cinnamon, nutmeg, ginger, cloves, and allspice. If you can’t get this spice, you can mix 1 tablespoon ground cinnamon, 2 teaspoons ground ginger, 1/2 teaspoon allspice, 1/2 teaspoon ground cloves, and 1/2 teaspoon ground nutmeg for about 2 tablespoons of homemade pumpkin pie spice blend.
Prebake or Not to Prebake Pie Crust
Pre-baking the pie crust before adding the filling is called “Blind Bake” and most of the pies, tarts, and quiches call for pre-baking.
This technique is used to make sure the bottom of the pie is crisp and will hold up the soggy contents. Also, it’s good to pre-bake when your pie is going to spend minimal time in the oven.
One drawback of blind bake is that you will need to account for an additional 1 hour or so to the cooking process. 15-20 minutes to blind bake, then another 30 minutes for the crust to cool before adding the filling and baking again. While it requires extra cooking time, the investment is well worth it to prevent soggy bottoms and blown-out pie crust.
For this recipe, I skipped the blind bake process. The pie crust I used held up the filling very well and the bottom of the crust never got soggy with the kabocha filling. If you’re using pie shells/crusts that are known for soggy crusts, I definitely recommend pre-baking. I put the instructions for pre-baking in the recipe.
3 Cool Kitchen Tools
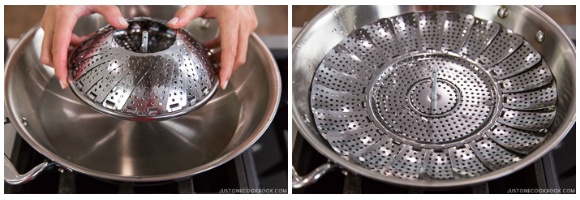
1. Stainless Steel Steamer Basket
If you don’t have a steamer basket, I recommend you to invest in this stainless steel steamer basket that can be in pans and pressure cookers.
You can steam vegetables, eggs, and even fish! I especially like it because it’s dishwasher-friendly and collapsible for easy storage! You can use how I used the stainless steel steamer basket in the kabocha pie video.
2. Food Processor
If you do a lot of pureeing, a big food processor like this is very helpful. I used to have a smaller food processor so I had to puree vegetables in batches.
This 14-cup food processor is big enough for most of the pureeing job I have to do.
One negative thing about this food processor is that it’s quite big and takes up a big space in your kitchen cabinet.
3. Fine Mesh Strainer
For those of you who don’t own a food processor or blender, this fine mesh strainer or a similar one is a cool tool to have!
In Japanese cooking, we use this fine mesh strainer instead of a food processor or blender because there is no space in a typical Japanese kitchen for these gadgets. 🙂
Wish to learn more about Japanese cooking? Sign up for our free newsletter to receive cooking tips & recipe updates! And stay in touch with me on Facebook, Pinterest, YouTube, and Instagram.

Kabocha Pie
Ingredients
- 1 pie crust (you can use my Tart Crust recipe for your pie crust)
- 2½ lb kabocha squash (weight with seeds and skin)
- 2 Tbsp unsalted butter
- 2 Tbsp sugar
- 1 large egg yolk
- 2 large eggs (50 g each w/o shell)
- ⅓ cup brown sugar (packed)
- 2 tsp pumpkin pie spice
- ½ tsp Diamond Crystal kosher salt
- 1 Tbsp rum
- 200 ml heavy (whipping) cream (¾ cup + 4 tsp)
For the Whipped Cream
- 1 cup heavy (whipping) cream
- 2 Tbsp sugar
Instructions
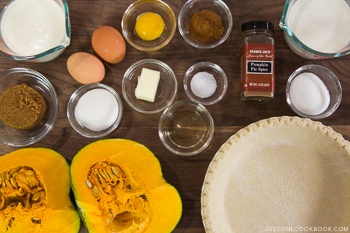
- Before You Start…Please note that this recipe requires 2 hours of cooling time.Gather all the ingredients.
To Blind Bake the Pie Crust (optional; please read the blog post first)
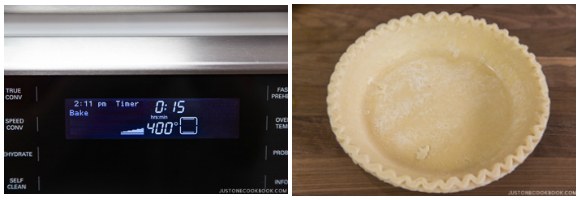
- Preheat the oven to 400ºF (200ºC). For a convection oven, reduce the cooking temperature by 25ºF (15ºC). Take out 1 pie crust from the freezer and thaw for 10 minutes.
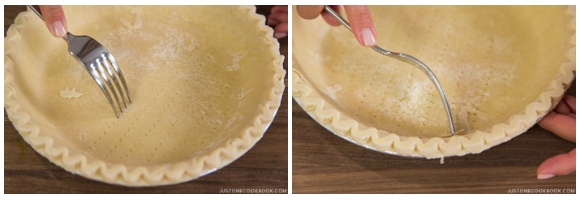
- When the pie crust has softened a little bit, prick both the bottom and sides of the pie crust with a fork, making sure not to poke through. This allows steam to escape and prevents bubbles from forming from the bottom of the crust. Alternatively, you can use pie weights. Bake the pie crust for 15–20 minutes or until golden brown. Remove from the oven, let it cool to room temperature.
To Prepare the Kabocha
- Put 1 cup of water into a pan (I use a wok) and place a steamer basket on top.
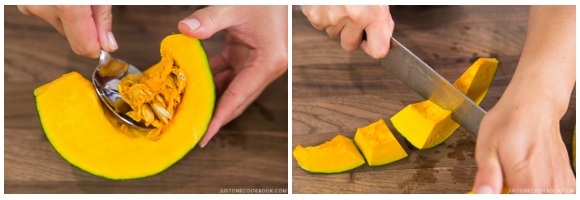
- With a very firm chef’s knife, cut 2½ lb kabocha squash in half and scoop out seeds. Cut the kabocha into 1½-inch (4-cm) cubes.
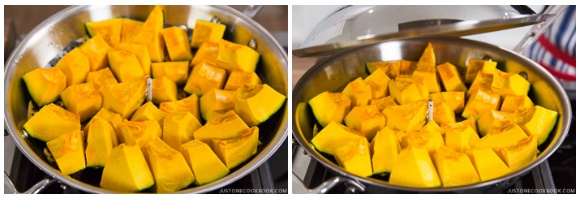
- Place the kabocha cubes in the steamer basket and cover with a lid. Turn the heat to high and steam for 15 minutes.
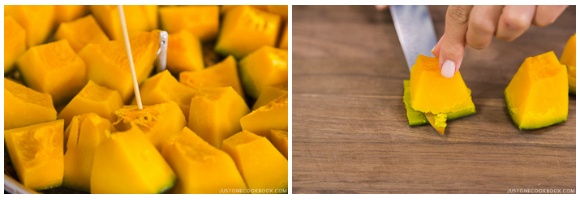
- After 15 minutes, check if the kabocha is ready by inserting a skewer into a thick kabocha cube. If it goes through smoothly, then they’re done. Otherwise, keep steaming and check back in 1 minute. Remove the steamer basket from the pan. When the kabocha is cool enough for you to touch, remove the skin with a knife.
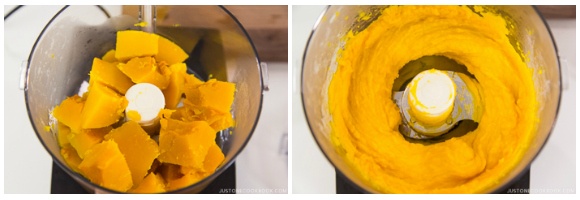
- Transfer the kabocha to a food processor or blender. Purée the kabocha until smooth. Since the kabocha was steamed and contains a good amount of moisture, you don’t need to add any liquid. However, if the kabocha has been sitting out too long and seems dehydrated, add 1 Tbsp water at a time to help it purée. My kabocha yields about 3 cups (675 g). For this recipe, you will need 2 cups (450 g) of puréed kabocha.
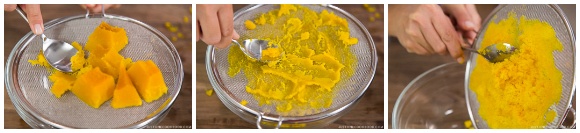
- If you don’t have a food processor or blender, transfer the kabocha to a large bowl and pass it through a fine-mesh strainer like this for a finer texture. You can also use a potato masher, but it won’t be as refined.
To Prepare the Pie Filling
- Preheat the oven to 400ºF (200ºC). For a convection oven, reduce the cooking temperature by 25ºF (15ºC). If you didn‘t blind bake your pie crust, take out the pie crust from the freezer and thaw for 10 minutes.
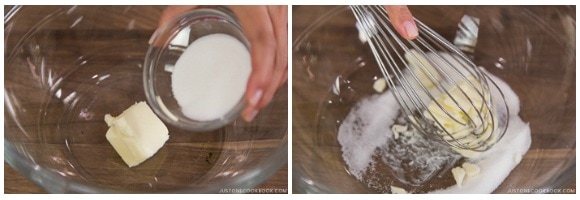
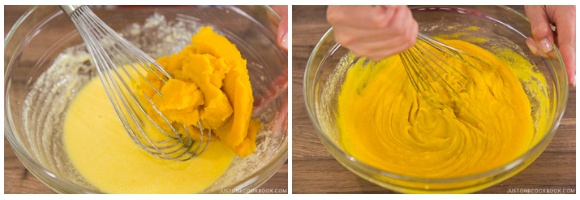
- In a large bowl, combine 2 Tbsp unsalted butter and 2 Tbsp sugar. Whisk until it’s a creamy consistency.
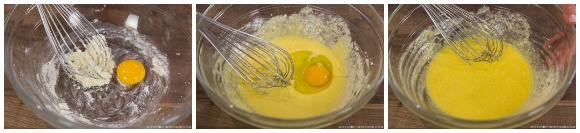
- Add 1 large egg yolk and 2 large eggs (50 g each w/o shell), one at a time and whisk well to combine before adding the next one.
- Add 2 cups (450 g) puréed kabocha and mix well to combine.
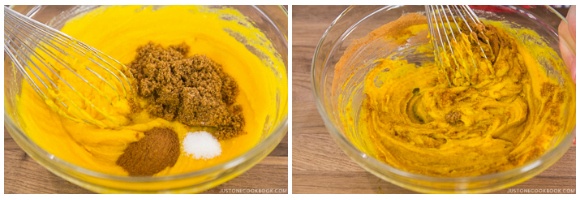
- Add ⅓ cup brown sugar, 2 tsp pumpkin pie spice, and ½ tsp Diamond Crystal kosher salt into the bowl and mix all together.
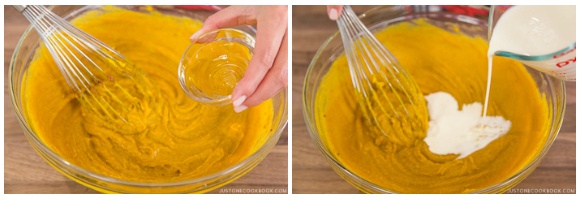
- Add 1 Tbsp rum and 200 ml heavy (whipping) cream (¾ cup + 2 Tbsp) and whisk well.
To Bake
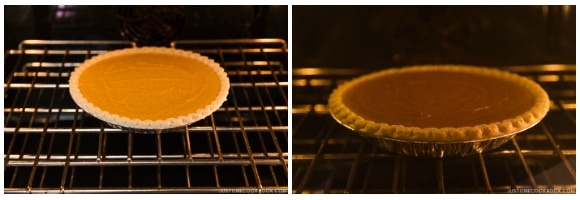
- Pour the filling into the pie crust. Tap the crust on the counter a few times to make sure there are no air gaps in the filling.

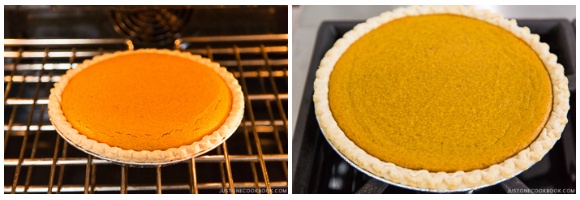
- Bake at 400ºF (200ºC) for 15 minutes and then reduce the oven temperature to 350ºF (180ºC) and bake for 50 minutes, or until the skewer inserted near the center comes out clean. If you pre-baked the pie crust, you might need to shield the edges with foil to avoid the crust becoming too brown and overdone.
- Cool on a wire rack for 2 hours before serving.
To Serve
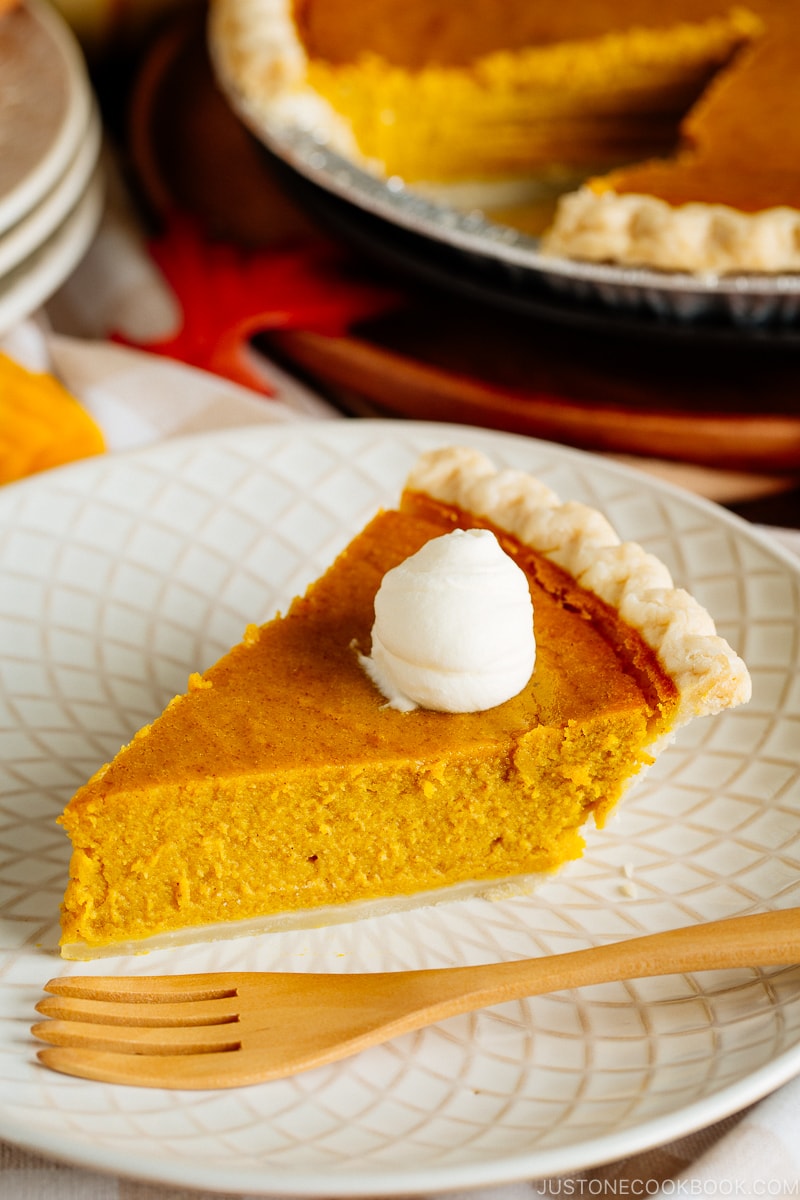
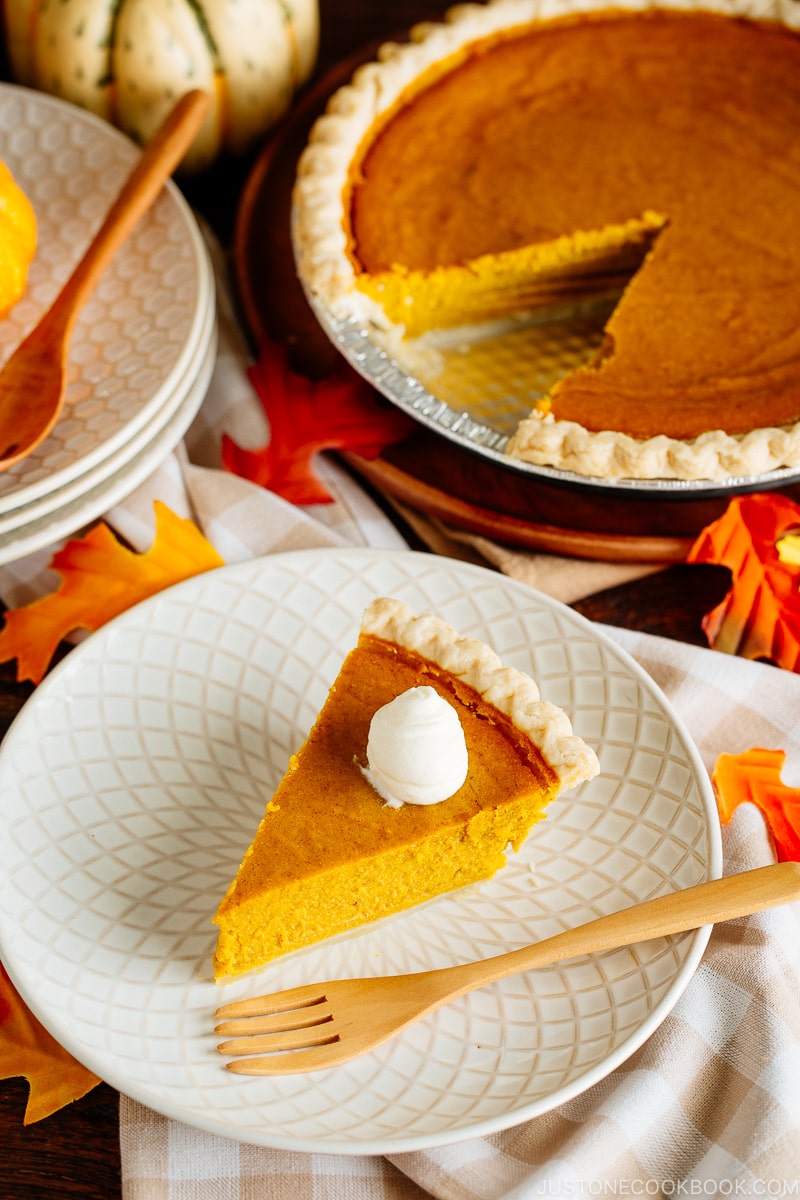
- Serve the pie with a big dollop of fresh whipped cream (recipe follows).
To Make the Whipped Cream
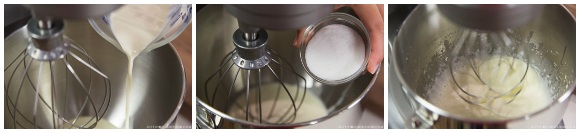
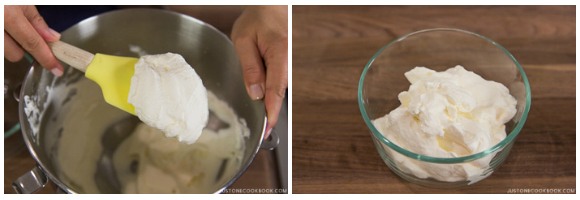
- Place a metal mixing bowl and metal whisk into the freezer for 10 to 15 minutes (if you don’t use an electric mixer, this step helps you to make whipped cream faster). Add 1 cup heavy (whipping) cream and 2 Tbsp sugar into the mixing bowl. Whisk just until the cream reaches stiff peaks.
- Store any unused portion in an airtight container for up to 24 hours. When ready to use, re-whisk for 10 to 15 seconds.
To Store
- You can keep the leftover pie in an airtight container and store in the refrigerator for up to 3 days.
Nutrition
Did you make this recipe?
Tag @justonecookbook on Instagram so we can see your delicious creation!