I almost always serve a small side dish of Japanese pickles called tsukemono (漬物) when we eat washoku (和食), a traditional Japanese meal with rice and miso soup. I often serve homemade quick pickles that take just a couple of hours to make.
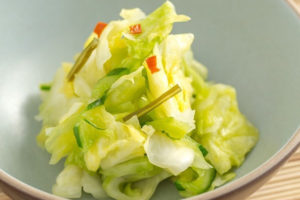
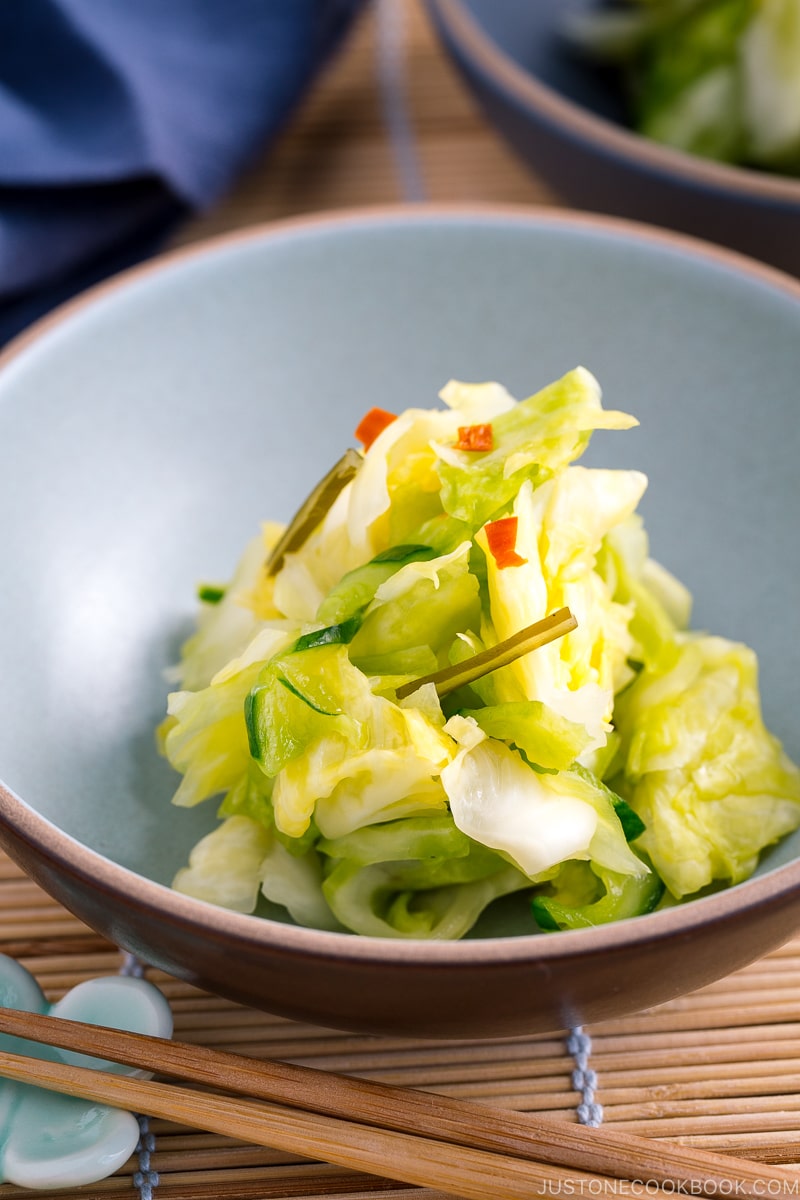
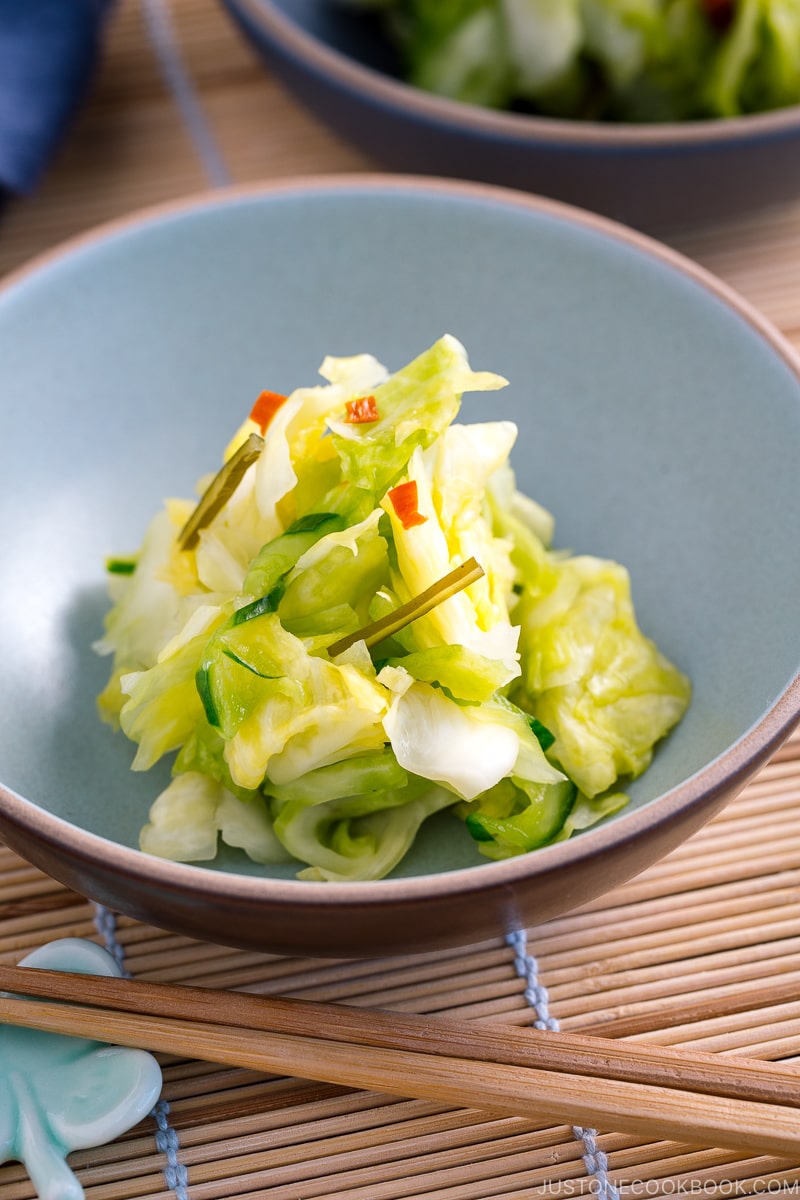
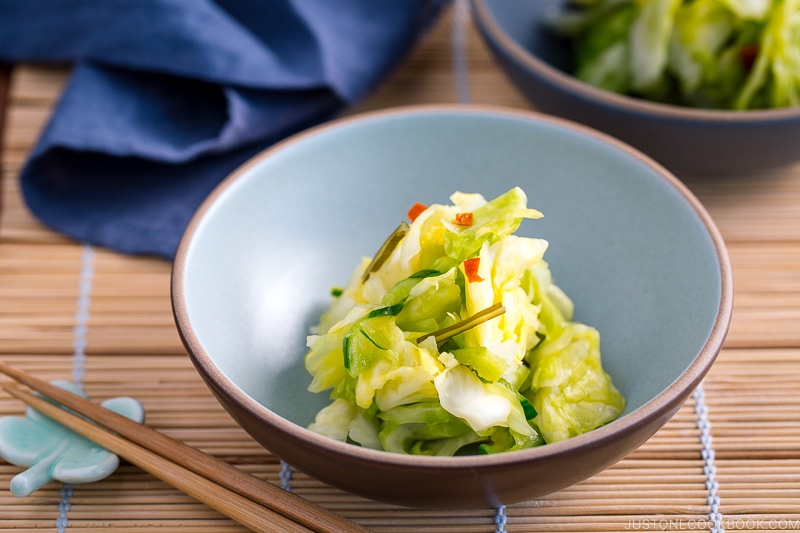
When I make my own vegetable tsukemono, I know it’s fresh and I absolutely love the crispy texture and clean flavor. Today, I’m sharing a quick and easy Japanese Pickled Cabbage (キャベツの浅漬け) that I think you’ll enjoy. Read on to learn how to make this fast and simple recipe with just a few ingredients.
What is Tsukemono?
Tsukemono (漬物) translates to “pickled things.” They are Japanese preserved vegetables that are usually pickled in salt, brine, or a bed of rice bran called nuka. In Japan, all types of tsukemono are available at grocery and specialty stores.
During a meal, tsukemono cleanses the palate and provides a refreshing taste to counter the other flavorful dishes. It also offers color, texture, and aroma to a meal. In fact, it is sometimes also called kounomono (“kho-no-mono,” 香の物) or “fragrant things.”

Asazuke – Homemade Quick Pickles
At home, many people make pickles using the asazuke (浅漬け) or “shallow pickling” method. I serve this type of tsukemono with steamed rice and miso soup for my traditional Japanese meals.
One of the easiest asazuke to make is shiozuke (塩漬け), or salt pickles. With shiozuke like today’s recipe, we first salt the vegetables, then weigh them down with a heavy object. The pressure causes the vegetables to release liquid and create a pickling brine with the salt.
With just 10 minutes of prep time and a minimum of 2 hours fermentation time, shiozuke is a popular pickle for home cooks. Keep in mind that asazuke keeps for only 2–3 days because it’s pickled in a very small amount of salt that’s not enough to preserve it for a longer time.
How Much Salt To Add?
My general rule of thumb for asazuke is to add 2% to 2.5% of the vegetable’s weight in salt.
Multiply the weight of the cabbage and cucumber by 0.02 for the right amount of salt to use. I highly encourage you to use a kitchen scale (I use a digital kitchen scale) so there’s no guessing.
If you use Diamond Crystal kosher salt, 1 tablespoon is about 10 grams and 1 teaspoon is 3 grams.
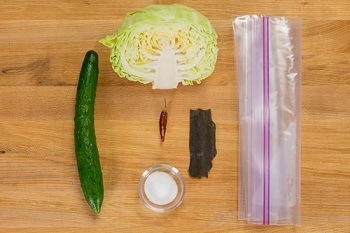
Ingredients for Japanese Pickled Cabbage
- green cabbage
- Japanese or Persian cucumber
- dried red chili pepper – optional; remove the seeds for less heat
- piece of kombu (dried kelp)
- Diamond Crystal kosher salt
- toasted white sesame seeds – optional, for serving
- soy sauce – optional, for serving
Variations and Substitutions
There are quite a few ingredient options for shiozuke quick pickles. Here are some of my favorite vegetables to use (click to see my recipes):
- napa cabbage
- cucumbers
- eggplants
- daikon radish
- turnips
- gobo (burdock root)
- carrots
- ginger
How To Make Japanese Pickled Cabbage
- Cut the cabbage leaves into rectangular or square pieces about 1–2 inches (2.5–5 cm) long.
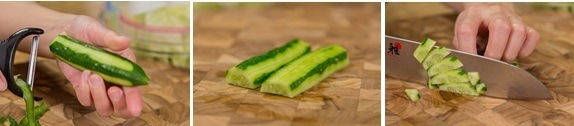
- Cut the cucumber in half lengthwise, then thinly slice diagonally.
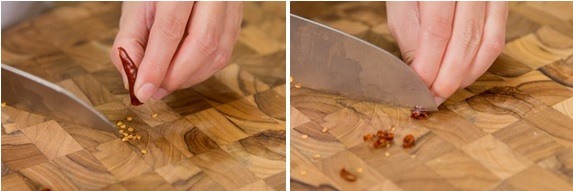
- Cut the dried red chili pepper into rounds.
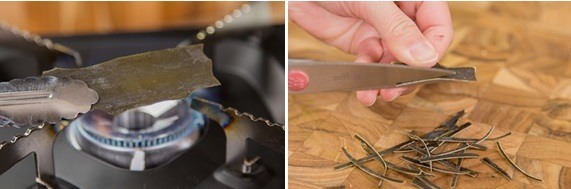
- Toast the kombu over an open flame to tenderize, then cut into thin strips with kitchen shears or a knife.
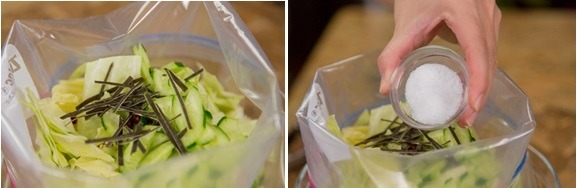
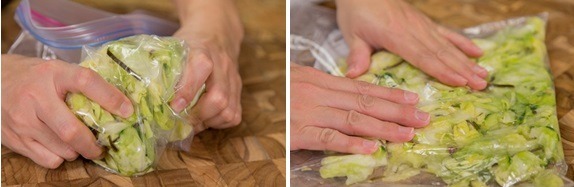
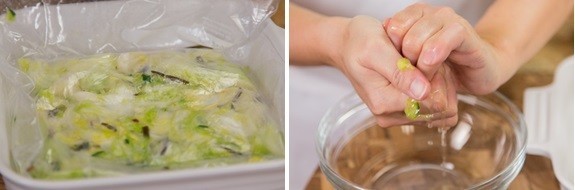
- Weigh the fresh veggies now, if you haven’t already. Put the veggies, red pepper, and kombu strips in a plastic bag. Add the salt and rub to distribute. Remove the air and tightly seal the bag.
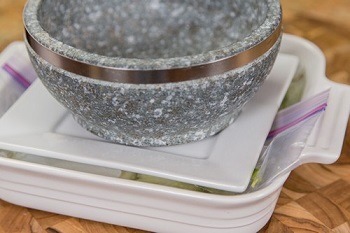
- Place a heavy object on top of the bag and brine in the refrigerator or a cool spot for 2–3 hours.
- Remove the pickles from the brine. Squeeze out the excess liquid with your hands.
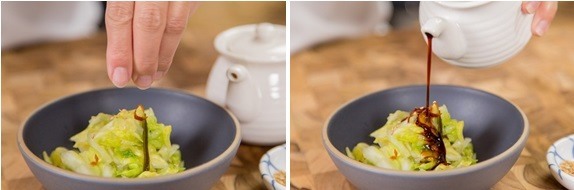
- Serve as is, or sprinkle with toasted white sesame seeds and drizzle with soy sauce.
You can keep the leftovers in an airtight jar or other container and store in the fridge for up to 2–3 days.
Other Japanese Pickles You’ll Love
There are a variety of pickling methods we use in Japanese cooking, each with a distinct flavor. I hope that you give these Japanese tsukemono a try!
- Shiozuke (塩漬け) – salt pickles
- Amazuzuke (甘酢漬け) – vinegar and sugar pickles
- Misozuke (味噌漬け) – miso pickles
- Shoyuzuke (醤油漬け) – soy sauce pickles
- Kasuzuke (粕漬け) – sake kasu (lees) pickles
- Shiokojizuke (塩麹) – rice koji (mold-cultured rice) pickles
Wish to learn more about Japanese cooking? Sign up for our free newsletter to receive cooking tips & recipe updates! And stay in touch with me on Facebook, Pinterest, YouTube, and Instagram.
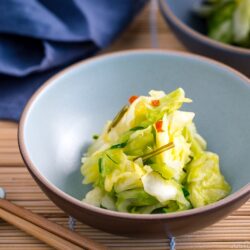
Japanese Pickled Cabbage
Ingredients
For the Vegetables
- ½ head green cabbage (9.9 oz, 280 g)
- ½ Japanese or Persian cucumber (1.8 oz, 50 g)
For Quick Pickling
- 1 dried red chili pepper
- 1 piece kombu (dried kelp) (1 x 3 inches, 2.5 x 7.6 cm per piece)
- 2 tsp Diamond Crystal kosher salt (use 2% of the vegetables’ weight; multiply the weight of the cabbage and cucumber by 0.02)
For the Toppings (optional)
Instructions
- Before You Start…Please note that this recipe requires 2 hours of pickling time. Gather all the ingredients.
- Discard the core of ½ head green cabbage. Cut the cabbage into 1- to 2-inch (2.5- x 5-cm) pieces.

- Cut ½ Japanese or Persian cucumber in half and peel. Cut in half lengthwise then into thin slices diagonally.
- Remove and discard the seeds from 1 dried red chili pepper. (You can save the seeds to add in if you prefer a spicy taste.) Avoid touching the seeds with your bare hands/fingers. Cut the chili into rounds.
- Toast 1 piece kombu (dried kelp) over an open flame to make the kombu tender. Then, cut it into thin strips (I used kitchen shears).
To Brine
- Put the cabbage, cucumber, chili pepper, and kombu in an airtight plastic bag and add 2 tsp Diamond Crystal kosher salt.
- Rub together the ingredients from outside the bag until the cabbage softens. Remove the air and seal the plastic bag tightly.
- Place the bag under a heavy object. Place it in the refrigerator or a cool spot and let it pickle for 2–3 hours.
- Once the cabbage is pickled, take it out from the brine and squeeze out the excess liquid with your hands.
To Serve
- Transfer to a bowl or plate. Sprinkle with toasted white sesame seeds and drizzle with a little bit of soy sauce.
To Store
- You can keep the leftovers in an airtight container and store in the refrigerator for up to 2–3 days.
Nutrition
Did you make this recipe?
Tag @justonecookbook on Instagram so we can see your delicious creation!