
Before I was old enough to drink Japanese Plum Wine (Umeshu), I enjoyed the kid-friendly ‘Ume Juice’ (梅ジュース) made of Ume Syrup (梅シロップ) and carbonated water. It is so delicious, and even until now, I feel nostalgic about its tart and sweet taste.
Ever since I found that I can purchase ume plums here in the US (read below), I’ve been making Umeshu for adults and Ume Syrup for my children and my own enjoyment. Now that the warm weather is here, I’m so excited to share the syrup recipe on the blog!
Why You’ll Love This:
- Fruity, sweet, tart, and delightful aroma.
- Absolutely delicious! I overuse this word, but it’s really that good.
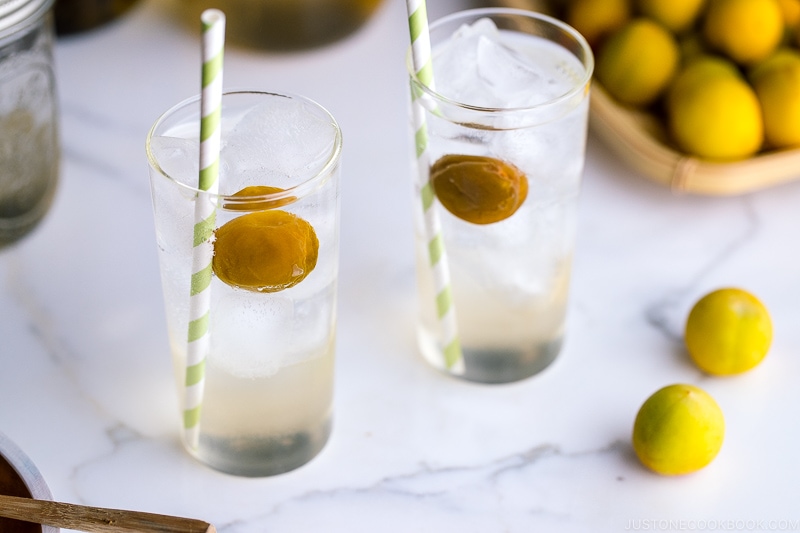
- When mixed with icy cold water, you get the most thirst-quenching and crave-worthy summer drink
- Bright and refreshing flavoring in a variety of summer drinks, desserts, and more.
- Make a special edible gift because of the short season and limited access of ume.
Two Ingredients You’ll Need
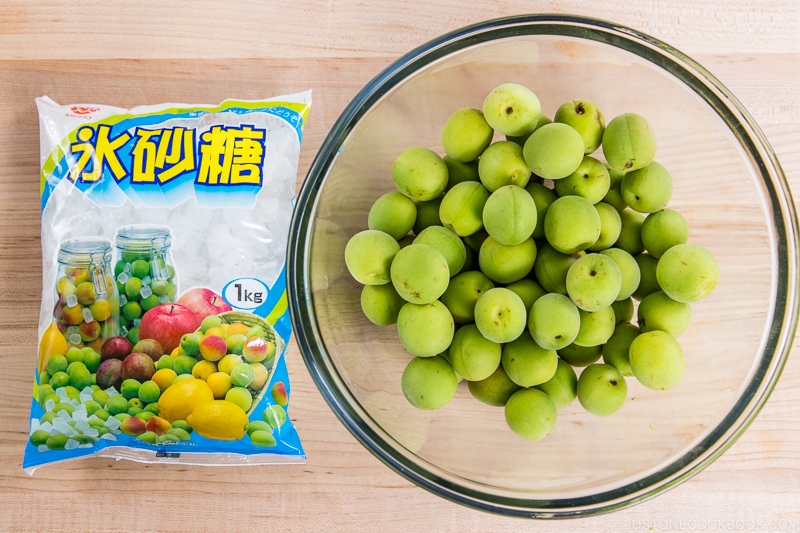
This recipe is super easy to make. You’ll need only two ingredients:
- Ume plums (green, unripe ones)
- White rock sugar
You will also need a large glass container to store plums and sugar. The Japanese and Korean grocery stores sell these giant 4-liter jars during the ume plum seasons. Unfortunately, I haven’t seen them sold online but I’ll update you if I find any.
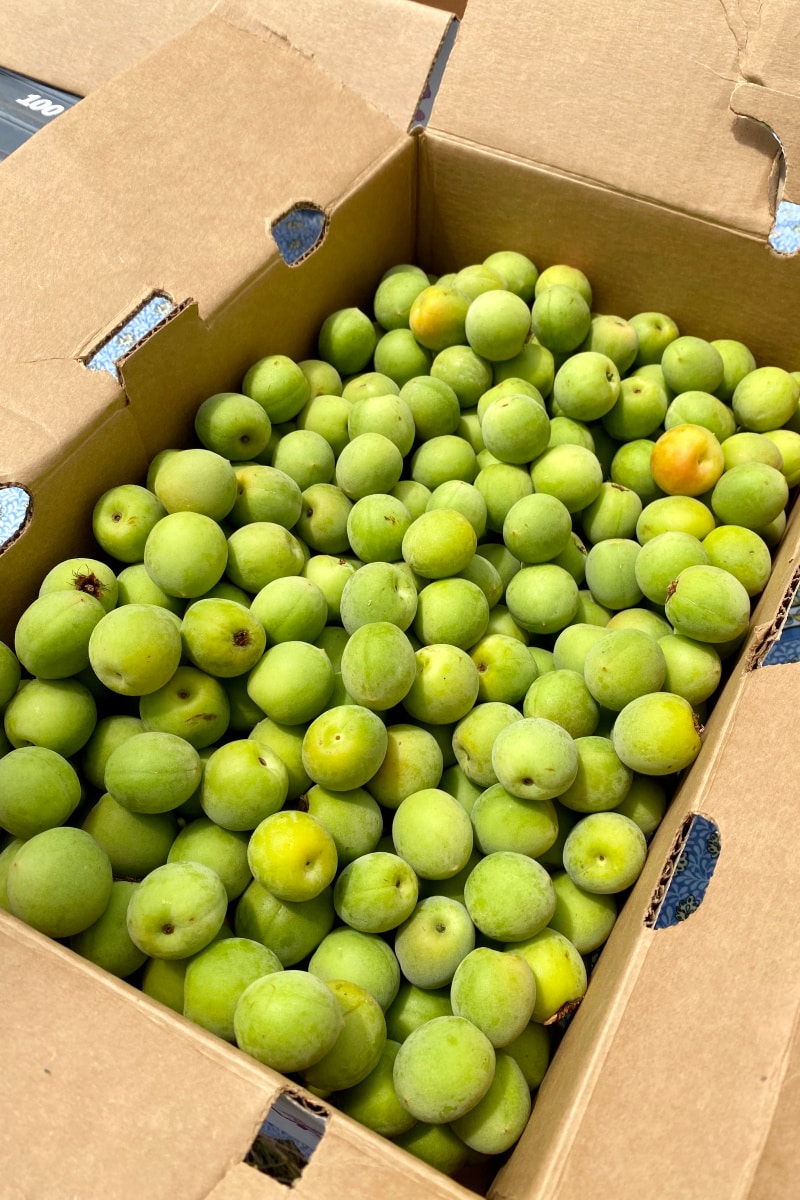
Where to Get Ume Plums
You have to use tart, sour, and firm green ume plums to make the syrup and not any other types of plums you see in the store. These raw green plums are not edible as they are too tart and bitter (also if you eat too many of them, it is said you’ll likely have a stomachache). We only use the extract of the fruits by fermenting them with lots of sugar or salt.
Both Japanese and Korean grocery stores sell ume plums around early to mid-May. You can also find them at specialty fruit producers online.
- Nicholas Family Farms (Text or call Penny at 559-393-3009)
- Kudo Farms (organic ume 10 lb per box; ship within the 48 states)
- Good Eggs (SF Bay Area)
- GreatPlentifulShopCA (They also sell semi-ripe ones)
How to Make Ume Plum Syrup
It’s really easy and simple, but I have to warn you that it takes 10 to 14 days to finish making the syrup. Mostly inactive time, except for the first and last day.
It involves 3 steps:
- Wash ume plums and remove stem ends from the plums.
- Put the plums and sugar in the jar and simply wait for 10-14 days.
- Cook the syrup to kill any germs and store in a sterilized jar.
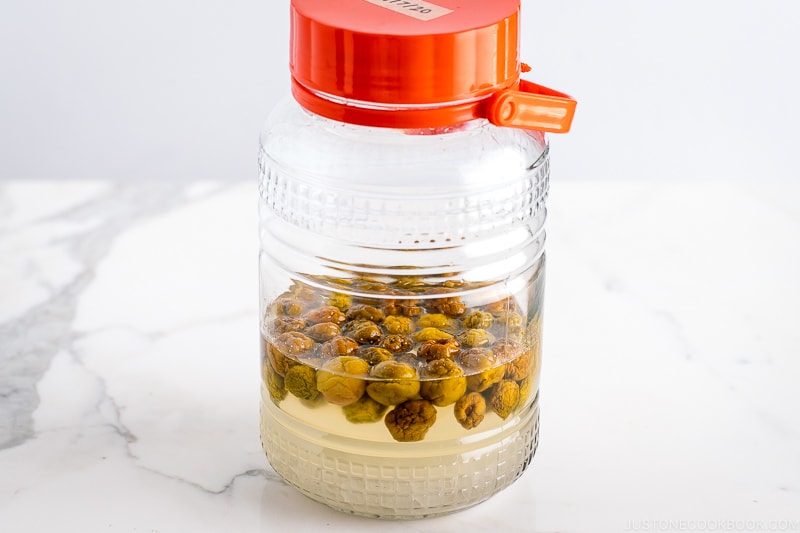
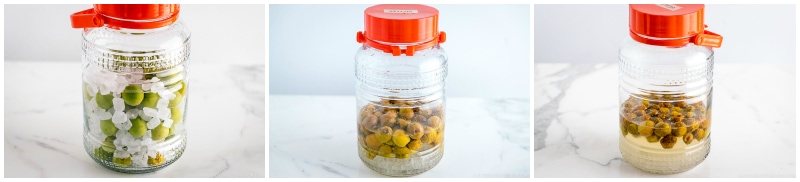
Easy, right? Now take a look at how the ume plums transform from Day 1 to Day 14.
How to Use Ume Plum Syrup
Besides the most refreshing drink, you can do a lot with ume plum syrup.
Here’s what I suggest:
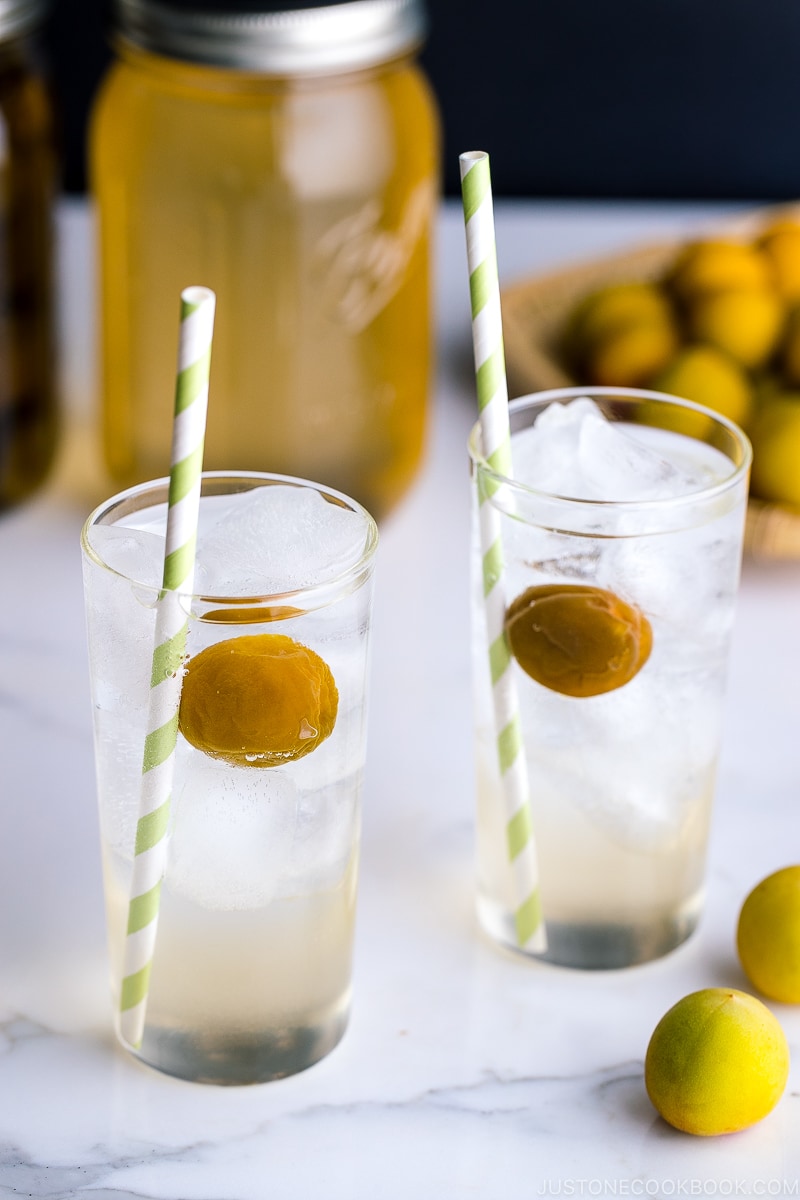
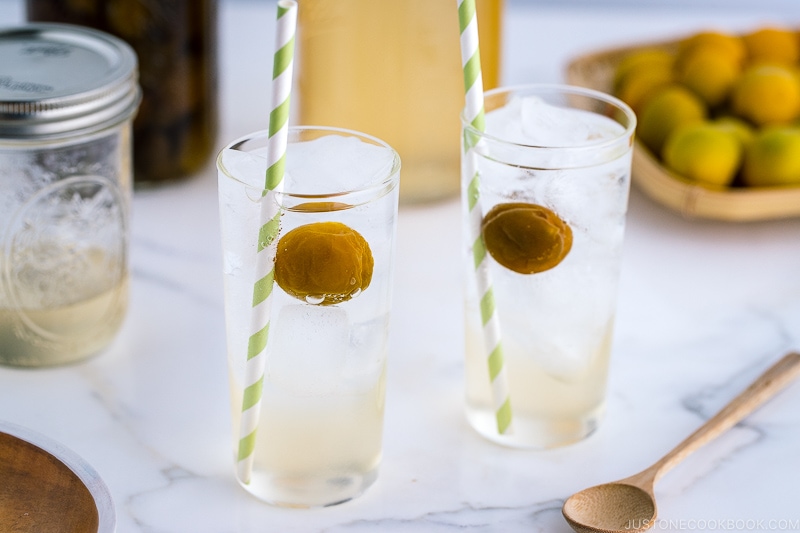
- Ume Juice or Ume Cider – You can dilute the syrup with icy cold water or carbonated water.
- Ume Shaved Ice – Drizzle the syrup over the shaved ice and enjoy it with Ume Compote.
- Baked Goods
- Jelly or Kanten desserts
- Salad Dressing
You can use it just like what you would with lemon simple syrup. Stir it over greek yogurt, lavish over vanilla ice cream, or incorporate into tea.
For those who are into cocktails or mocktails, I think a touch of the plum syrup can do wonder in the drinks. I like the sound of ume flavored Japanese gin or maybe ume-spiked sake!
Itadakimasu!
Ume plum season in California is from mid-May to early June. If you’re lucky enough to score a batch, making the ume plum syrup is a classic and joyful Japanese rite to celebrate the season. Once you try it, you will want to make it your annual activity. It’s the Japanese version of lemonade syrup. I hope you enjoy!
Wish to learn more about Japanese cooking? Sign up for our free newsletter to receive cooking tips & recipe updates! And stay in touch with me on Facebook, Pinterest, YouTube, and Instagram.

Ume Plum Syrup
Ingredients
- 2.2 lbs green ume plums
- 2.2 lbs white rock sugar (rock sugar is essential to slowly extract the ume essence; do not use granulated sugar)
- 2 Tbsp shochu (or other distilled alcohol to sterilize the glass fermentation jar; use more as needed)
Instructions
- Before You Start…Please note that this recipe requires 14 days of fermenting time.
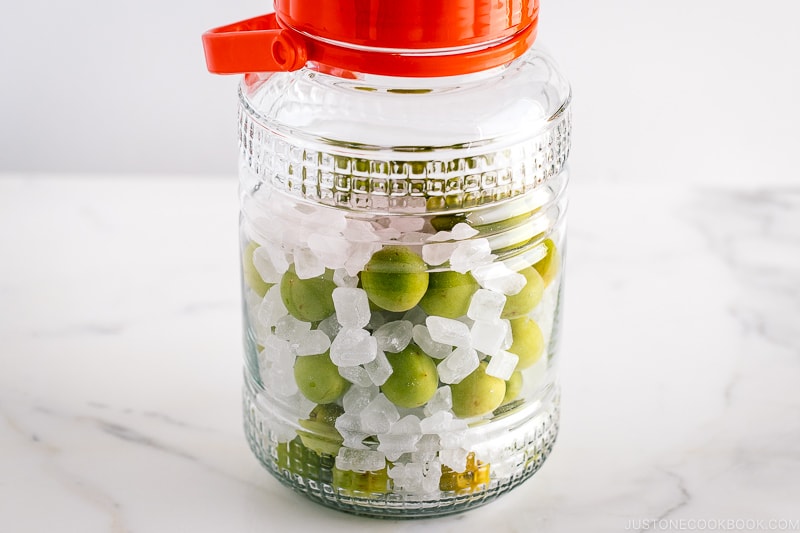
Day 1: Layer the Ume and Rock Sugar
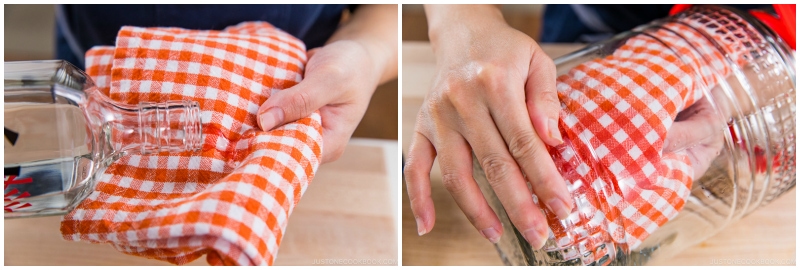
- Gather all the ingredients. You will also need a 3–4 L glass jar, which you can buy at a Japanese or Korean grocery store.
- Rinse the jar thoroughly with soap and hot water and wipe dry with a clean towel. While the jar is still hot, pour in boiling water and shake to clean and drain. Air dry completely, making sure there‘s no moisture. Dampen a clean towel with liquor (I use shochu) and wipe the inside of the jar.
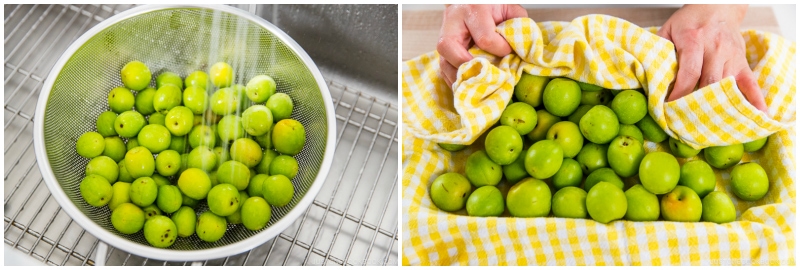
- Wash and dry 2.2 lbs green ume plums thoroughly.
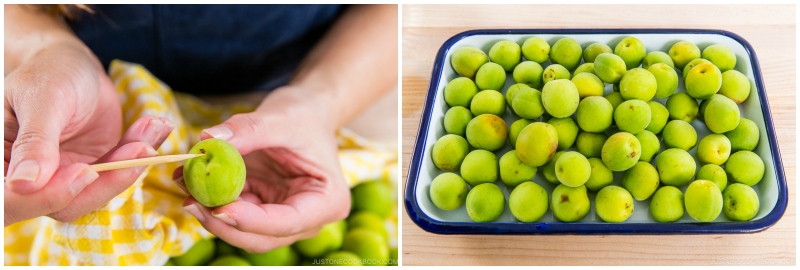
- Remove the stem ends from the plums with a bamboo skewer or toothpick. Discard any plums with brown or blemished spots.
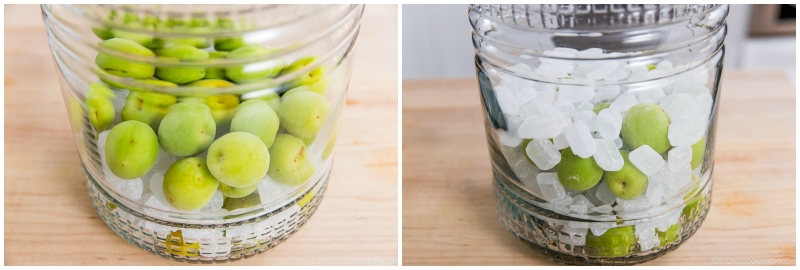
- In the clean jar, put some of the plums in a single layer. Then, cover the plums with a layer of some of the 2.2 lbs white rock sugar.
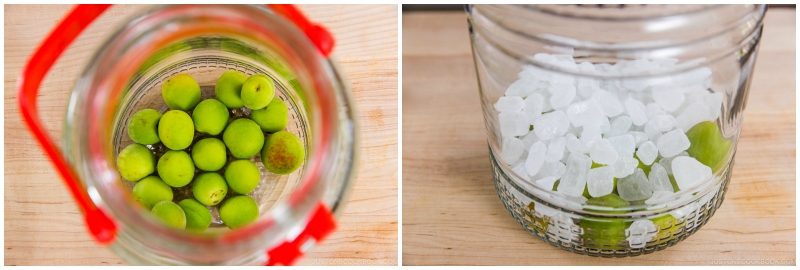
- Add another single layer of plums again, followed by another layer of rock sugar. Repeat this process until you’re done layering the plums and rock sugar. The last layer of plums should be completely covered with rock sugar.
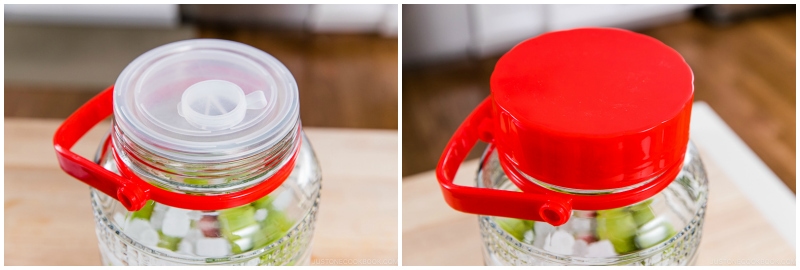
- Seal, write the date on the jar and store in a cool, dark place (not the refrigerator).
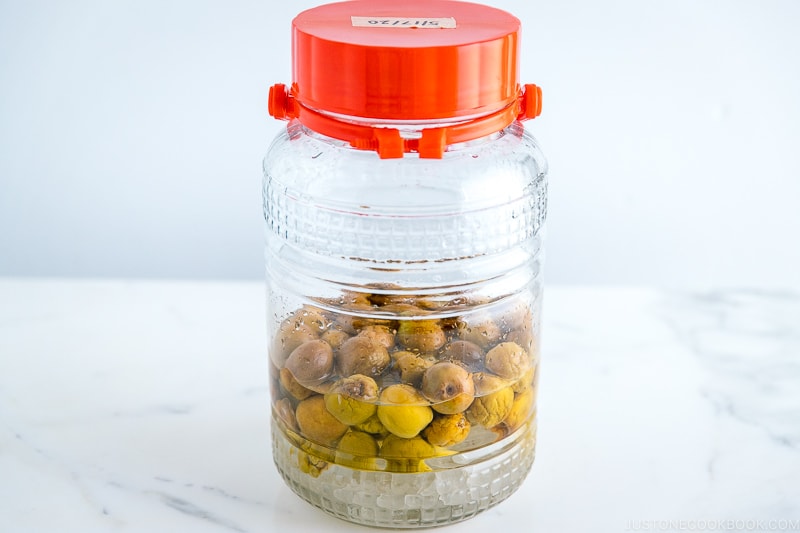
Day 2 to Day 14: Ferment
- At least twice a day, gently shake and tilt the jar and make sure the plums are coated with syrup. The goal is to extract the plum flavor as soon as possible. If exposed and not coated with sugar/syrup, the plums may grow mold (and ruin the syrup). Once the essence is extracted, the ume will look wrinkled. Tip: If you see white mold growth on a plum, discard it immediately. If you see white foam and smell fermentation, you have to stop this process and move onto the next step (cooking the syrup).
Day 15: Cook the Syrup
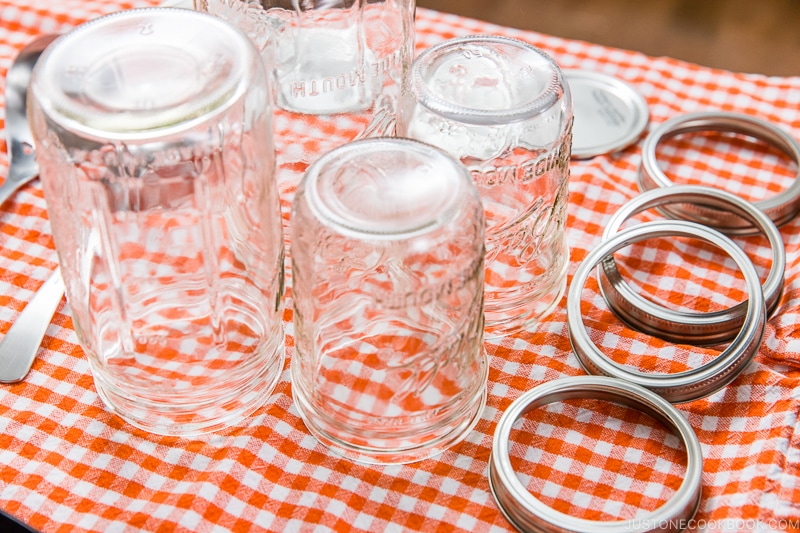
- Sterilize the jars and tools you will use to store the syrup. Wash the jars, lids, and bands in hot, soapy water. Put the jars on a rack in a pot of water. Boil at least 10 minutes and keep in simmering water until ready to fill. Carefully remove a jar from the water with a jar lifter or tongs, empty out the water and place the jar on a clean kitchen towel. Put the lids and bands in a small saucepan of simmering water (do not boil) until ready to use.
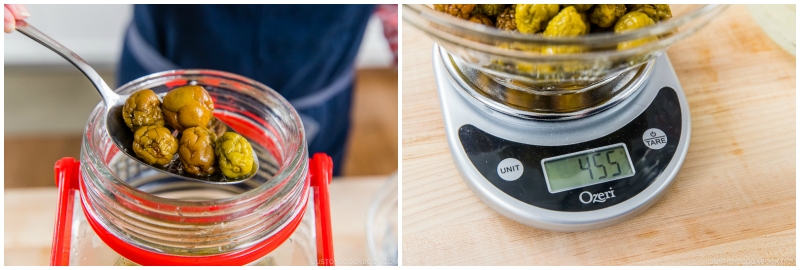
- Take out the plums and weigh them (mine weighed 455 g) if you plan to use them for other recipes. I recommend making Ume Plum Compote.
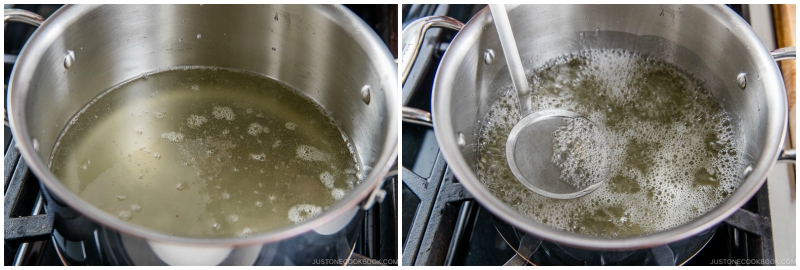
- Pour the syrup into a large pot. Simmer for 15 minutes on low heat, skimming the foam that comes up to the surface with a fine-mesh skimmer.
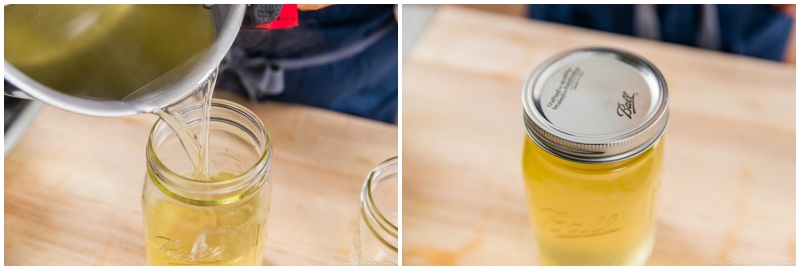
- Fill the jar with the hot syrup, leaving ½ inch of headspace. Repeat to fill the remaining jars. Remove the lids and bands from the simmering water with tongs and place them on top of the jars.
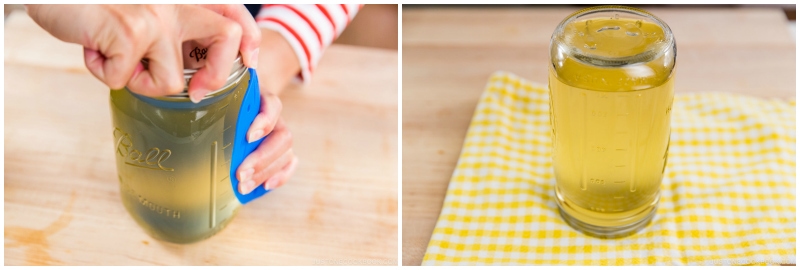
- Close the lid tightly and turn the jar upside down to seal. Let cool. Check the seal: The lids should not pop in the center (if they do, you can only keep the syrup in the fridge for up to 2 weeks).
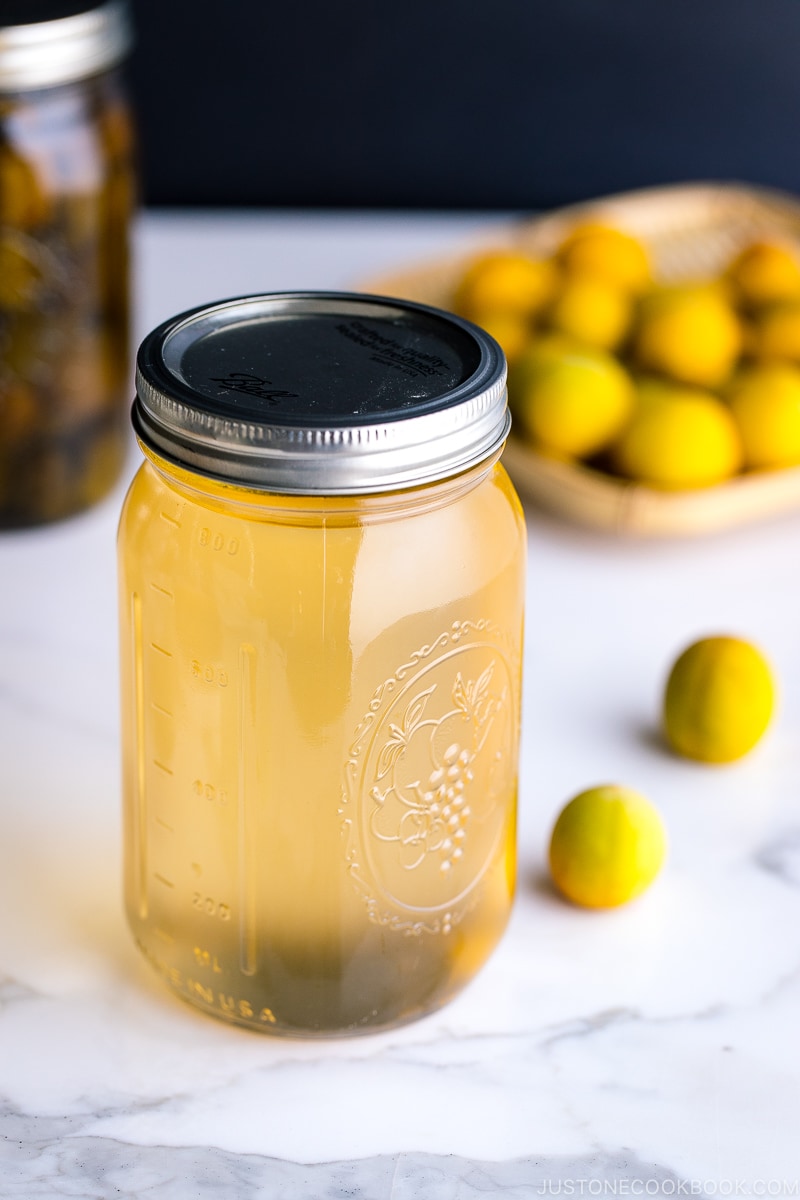
To Serve and Store
- To enjoy the syrup, dilute it with iced water or carbonated water. Store unopened vacuum-sealed jar in a cool, dark place for 6 months (possibly 12 months, but I never made enough to try keeping for 12 months). Refrigerate after opening and use it in 2 weeks.
Nutrition
Did you make this recipe?
Tag @justonecookbook on Instagram so we can see your delicious creation!