

This post may contain affiliate links. Please read my disclosure policy.
Donabe Brown Rice at a Glance
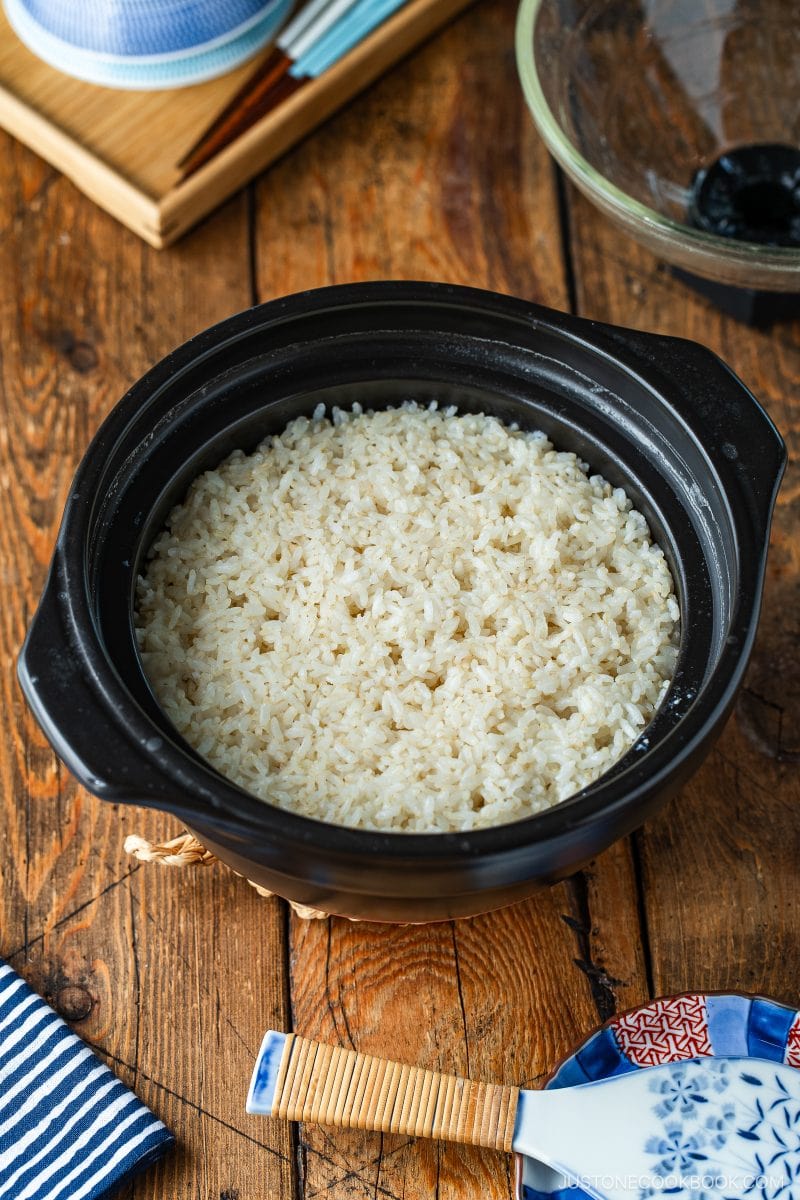
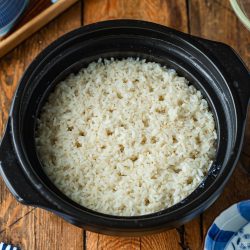
Donabe Brown Rice is Japanese short-grain brown rice cooked in a traditional Japanese clay pot. The donabe (土鍋) retains heat well, helping the grains cook gently and evenly. The rice comes out tender and slightly chewy, with a mild, nutty flavor.
If you are looking for a white rice version? See my How to Cook White Rice in a Donabe guide.
Why You’ll Love It
- Tender, chewy brown rice. The donabe cooks the brown rice evenly, so the grains turn out tender and chewy without becoming mushy.
- Reliable cooking method. Precise water ratios and proper soaking help brown rice absorb moisture evenly, preventing hard centers and unevenly cooked grains.
- Easy, fuss-free cooking. The HARIO Gohangama whistles when it’s time to lower the heat, so you don’t have to keep checking the pot.
My Recipe Story
I cook Japanese short-grain white rice in my HARIO Gohangama every day, but I occasionally switch to brown rice for its nutty flavor and pleasantly chewy texture. I love that I can use the same donabe for both!
Brown rice needs more time to soak and cook than white rice, but once you know how much water to use and when to lower the heat, it’s easy to make in a donabe.
If you’d like to cook brown rice using a different method, try my guides for making it in a rice cooker or an Instant Pot!
Key Ingredients and Rice-to-Water Ratio
You’ll need just two ingredients: Japanese short-grain brown rice and water. You can also add a little salt to reduce bitterness, if desired.
In Japan, we measure uncooked rice using a special rice cooker cup. One level cup, called ichi-go (一合), holds 180 ml (¾ US cup).
Brown rice has its bran layer intact, so it needs more water and a longer soaking time than white rice. The right rice-to-water ratio helps the grains cook evenly without becoming too firm or mushy.
Brown Rice-to-Water Ratio (1:1.5) for HARIO Gohangama
The manufacturer of HARIO Gohangama recommends a 1:1.5 rice-to-water ratio (1 part rice to 1.5 parts water). I’ve found this ratio works well in my own cooking, too.
Example: 180 ml rice x 1.5 = 270 ml water
- 1 rice cooker cup (180 ml, ¾ US cup) + 270 ml water (about 1⅛ US cups)
- 2 rice cooker cups (360 ml, 1½ US cups) + 540 ml water (about 2¼ US cups)
- 3 rice cooker cups (540 ml, 2¼ US cups) + 810 ml water (scant 3½ US cups)
Brown Rice-to-Water Ratio (1:1.6) for Regular Donabe
For a regular donabe rice cooker, I recommend starting with a 1:1.6 rice-to-water ratio.
Example: 180 ml rice x 1.6 = 288 ml water
- 1 rice cooker cup (180 ml, ¾ US cup) + 290 ml water (about 1¼ US cups)
- 2 rice cooker cups (360 ml, 1½ US cups) + 575 ml water (scant 2½ US cups)
- 3 rice cooker cups (540 ml, 2¼ US cups) + 865 ml water (about 3⅔ US cups)
Note: The rice-to-water ratio depends on your donabe’s material, thickness, lid design, and cooking method. Some pots absorb more moisture or release more steam than others. Use the recommended ratio for your donabe as a starting point, then adjust the water slightly based on your preferred rice texture.
Rice Serving Size and Yield
Not sure how much rice to cook? Use this chart to find the right number of servings for uncooked rice. Note: Serving sizes and cooked rice volumes are approximate.
| Dish | 2 Rice Cooker Cups (2合) | 3 Rice Cooker Cups (3合) |
|---|---|---|
| Uncooked rice | 300 g (1½ US cups) | 450 g (2¼ US cups) |
| Cooked yield | 660 g (4⅓ US cups) | 990 g (6⅔ US cups) |
| Rice bowl (150 g, 1 US cup per serving) | 4 | 6 |
| Donburi bowl (250 g, 1⅔ US cups per serving) | 2–3 | 4 |
| Onigiri (110 g, ¾ US cup each) | 6 | 9 |
How to Cook Japanese Brown Rice in a Donabe
My step-by-step photos show the HARIO Gohangama, but instructions for a regular donabe are also included.
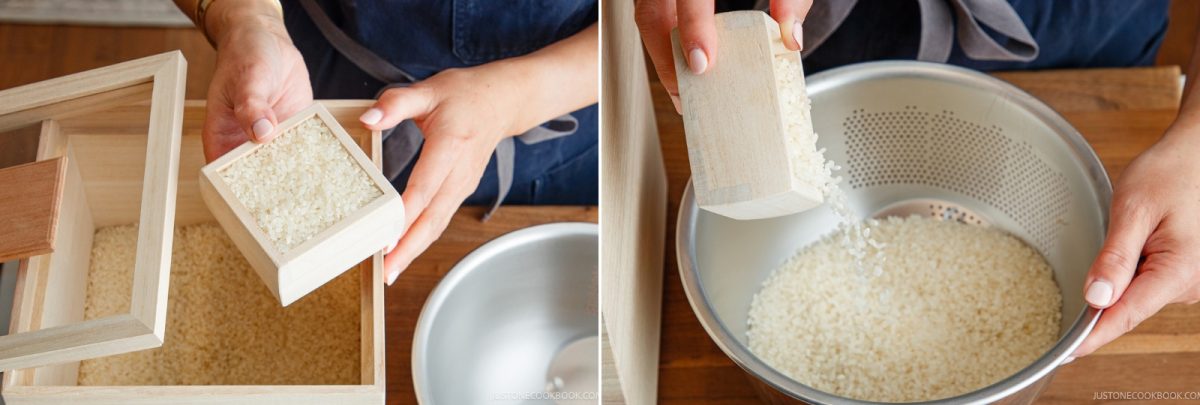
- Measure the rice. Fill a rice cooker cup (or a ¾ US cup) with uncooked Japanese short-grain brown rice and level off the top.
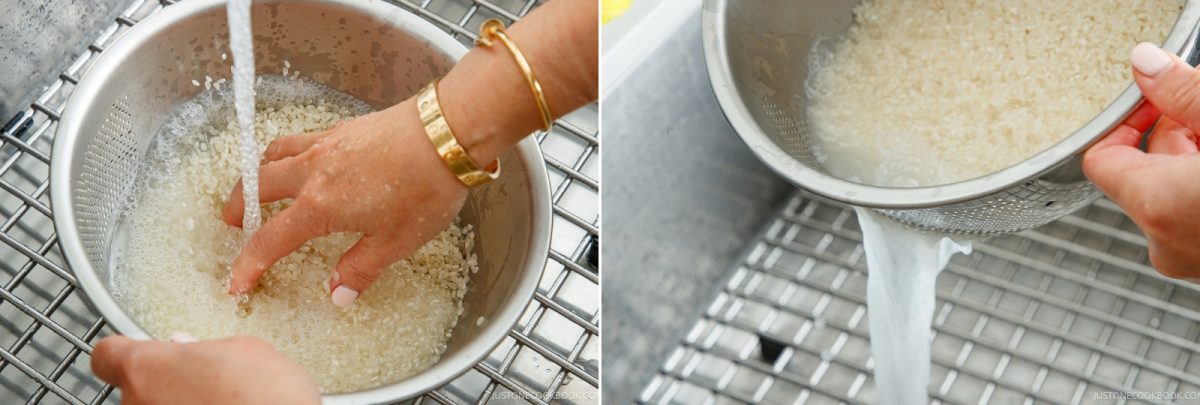
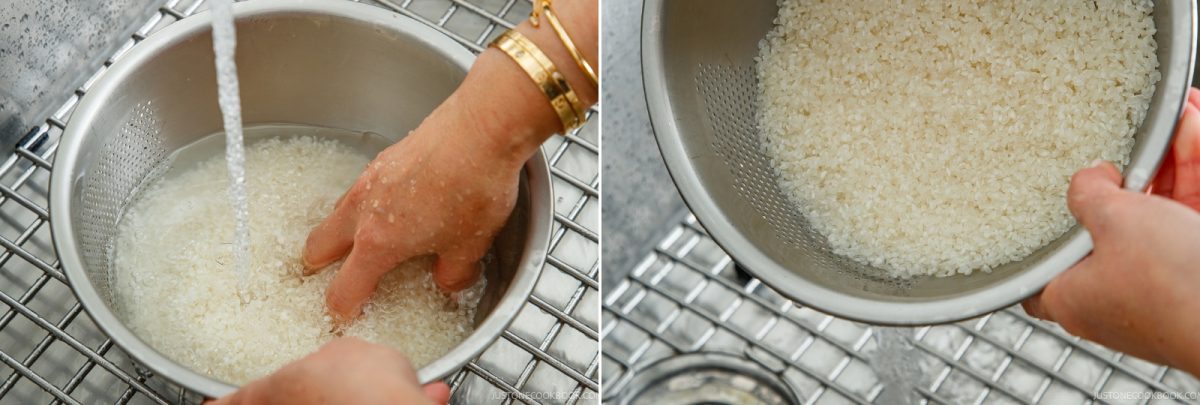
- Wash and drain the rice. Gently wash and rinse the brown rice until the water is mostly clear. Drain well in a fine-mesh sieve.
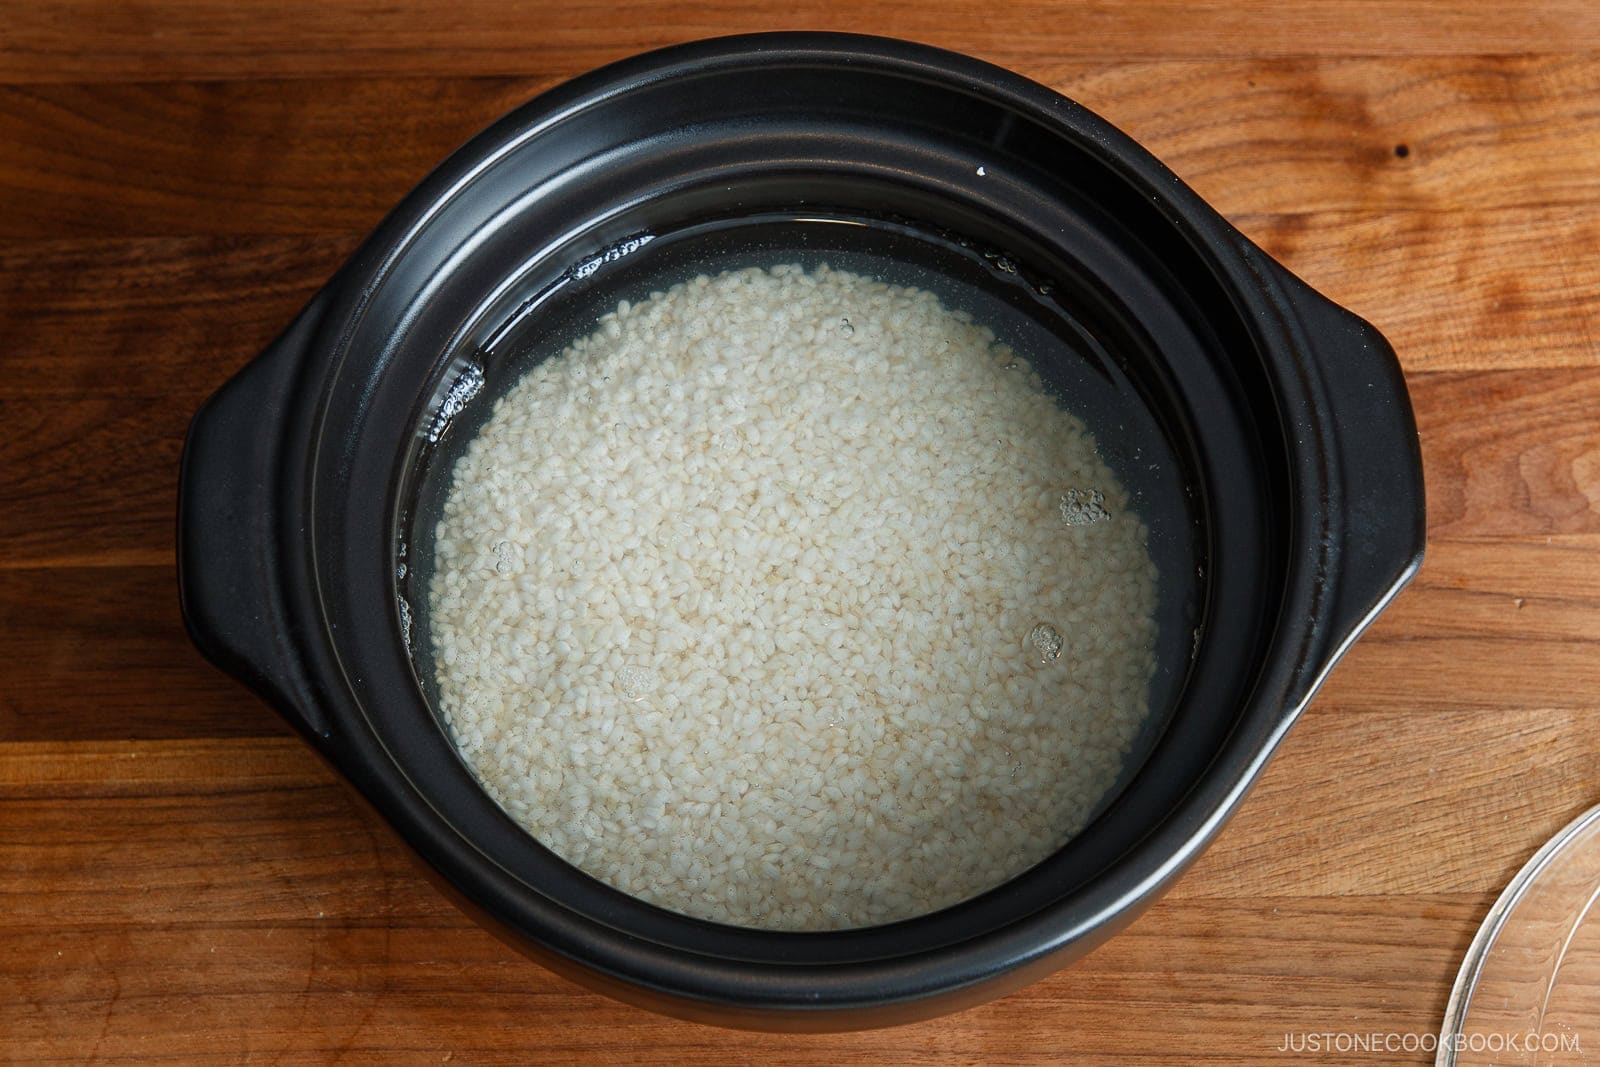
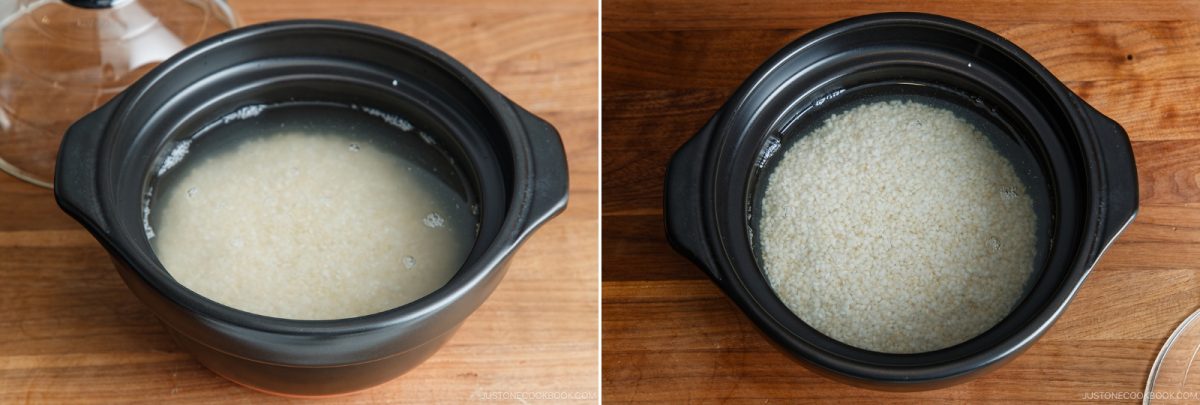
- Soak the rice. Transfer well-drained rice to the donabe and add room-temperature water. Level the rice evenly. Cover with the lid(s) and soak rice for 6–12 hours. Use the longer soaking time in winter when the water is colder. If using a double-lid donabe, position the steam holes 90 degrees apart to retain steam.
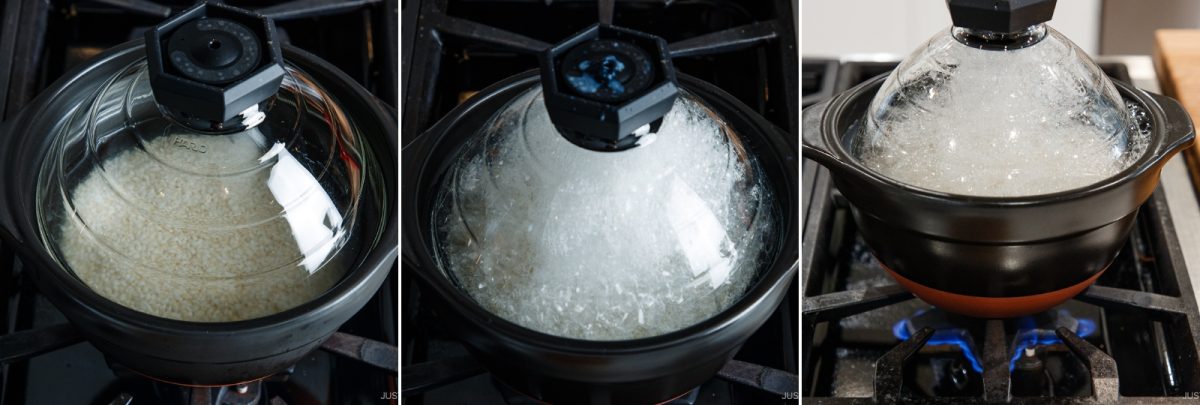
- Cook on the stovetop.
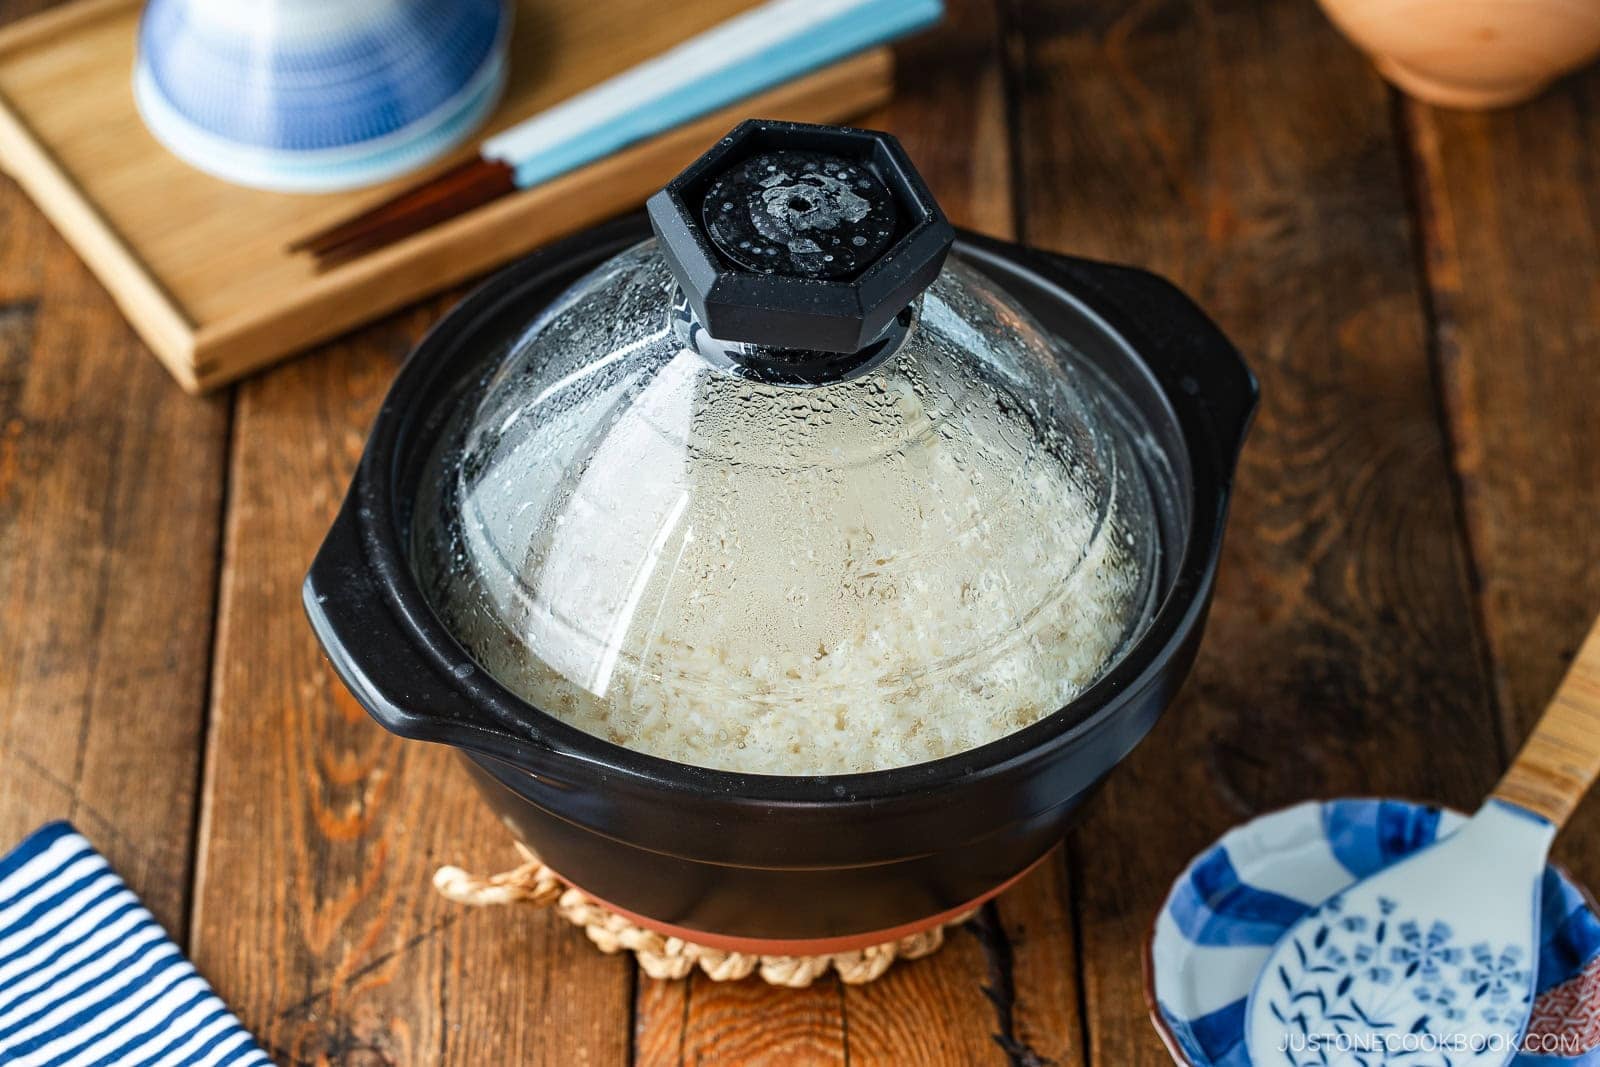
- HARIO Gohangama
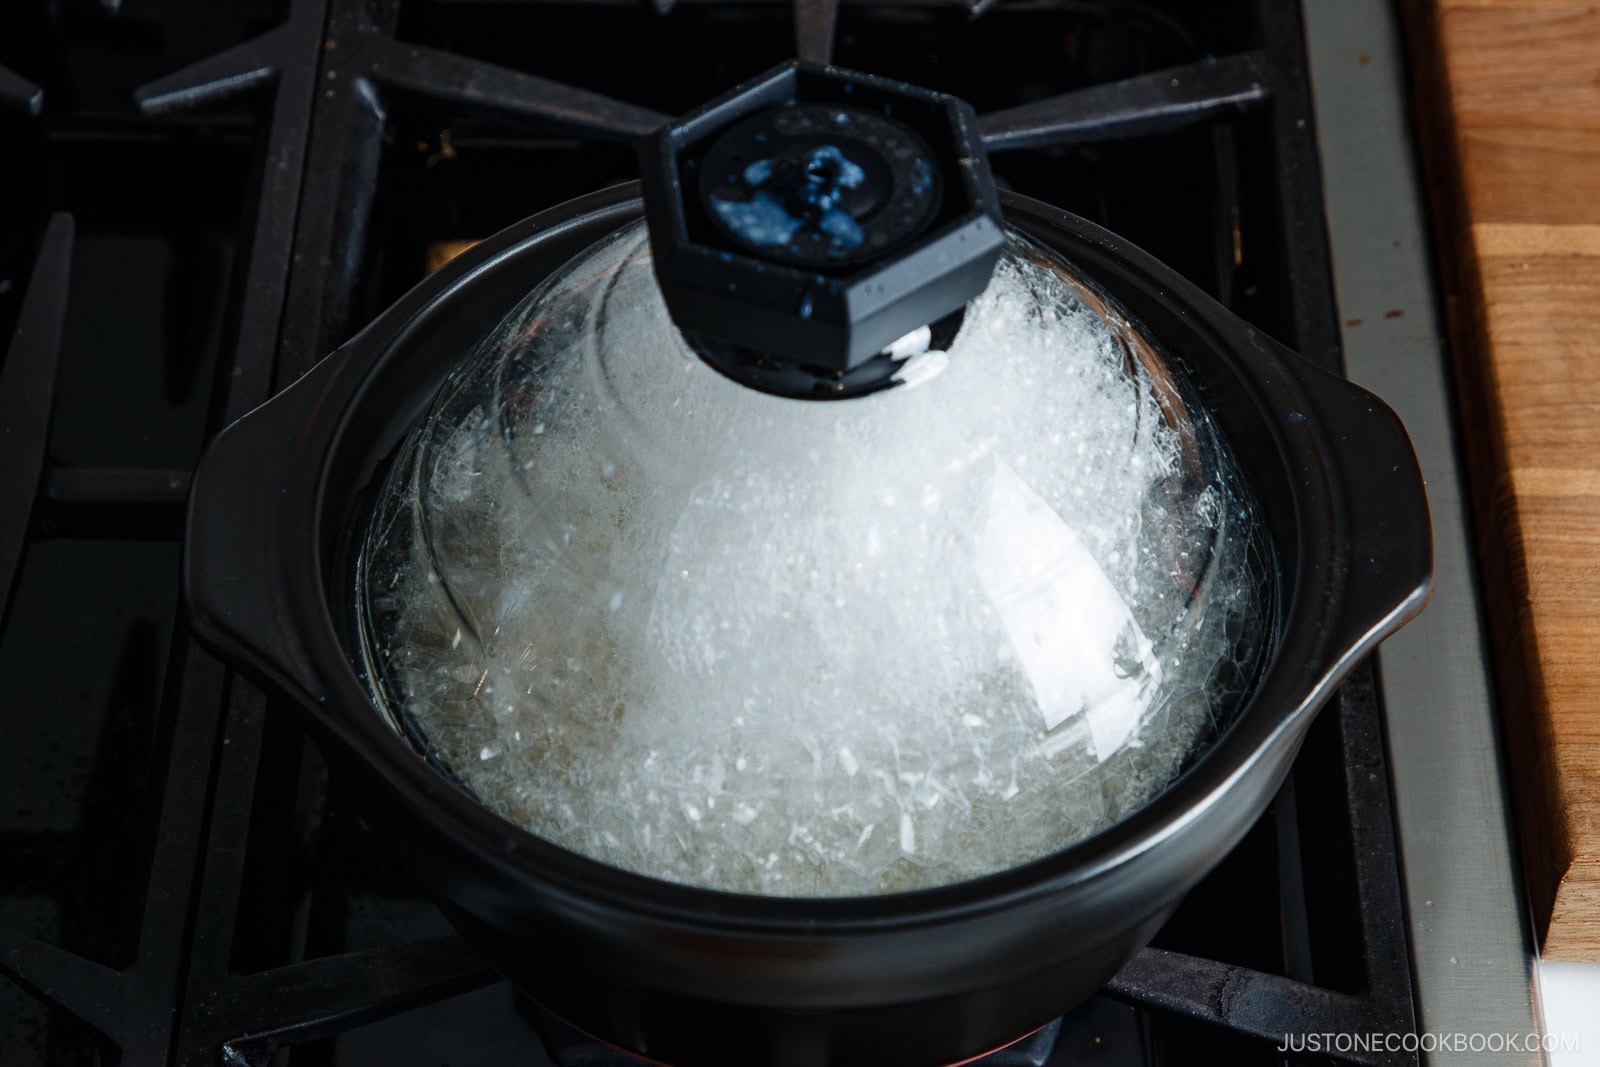
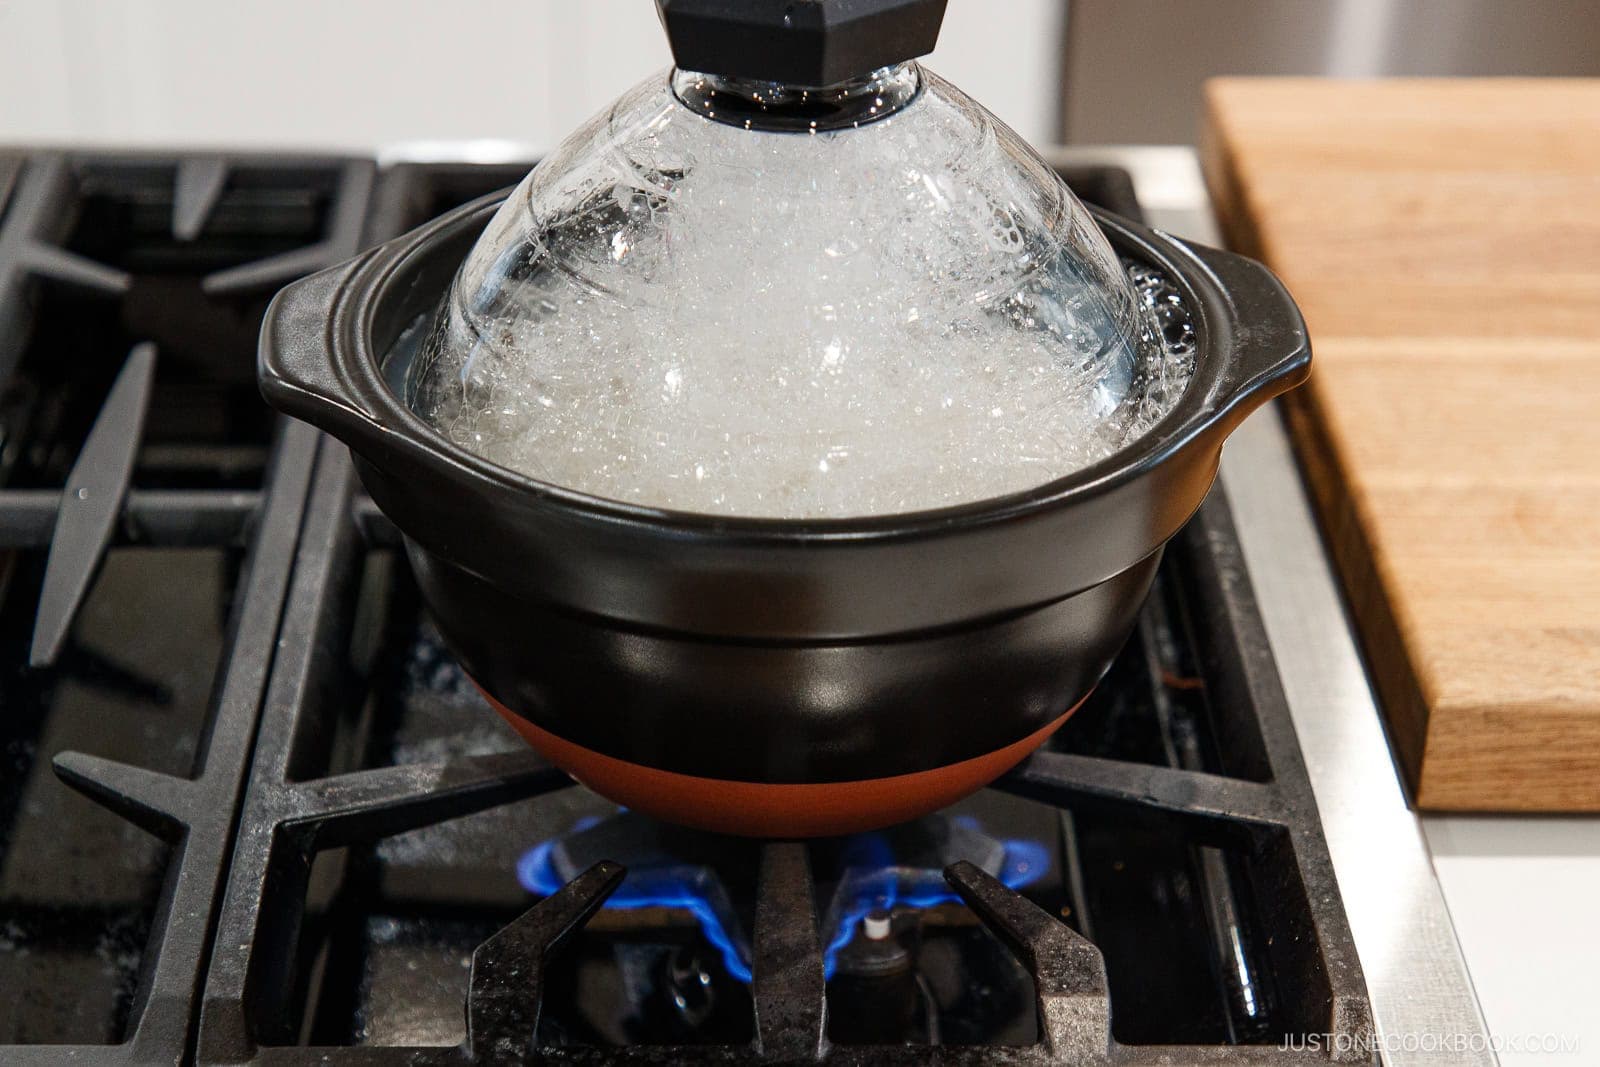
- Cook over medium-high to high heat until the pot whistles, about 10–13 minutes.
- Reduce to low heat and cook for 20 minutes.
- Regular Donabe Rice Cooker
- Cook over medium heat until steam escapes vigorously, about 12–16 minutes.
- Reduce to low heat and cook for 25–30 minutes.
- HARIO Gohangama
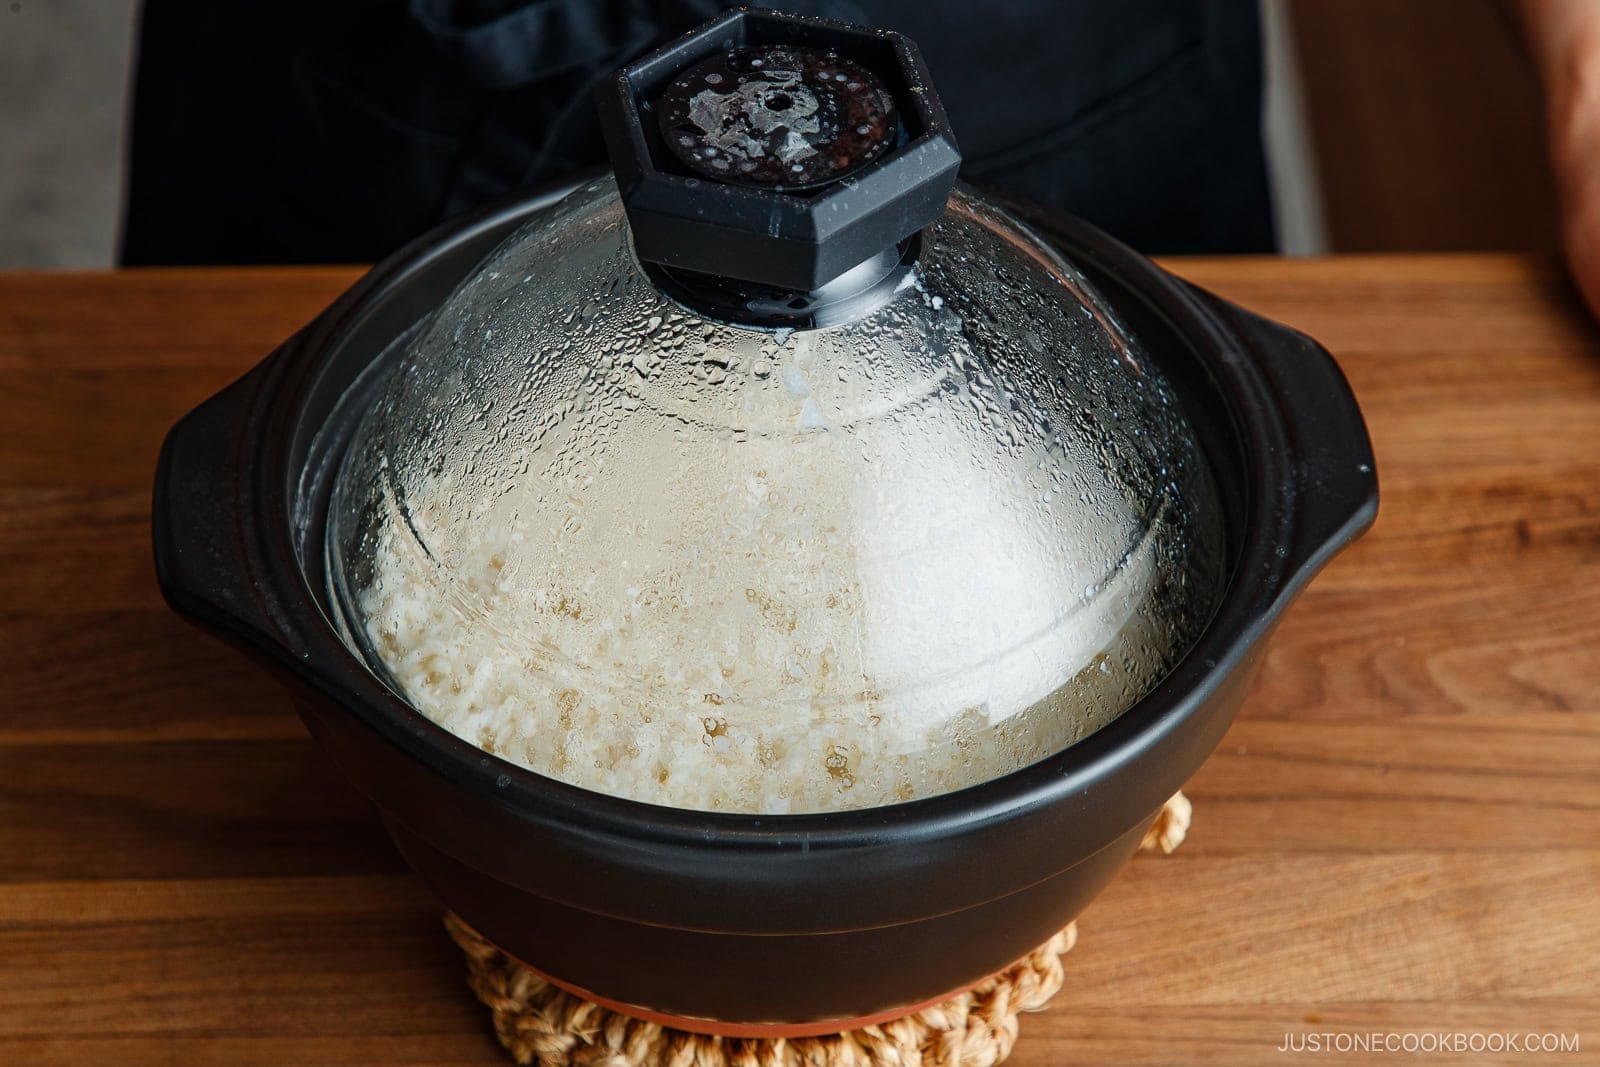
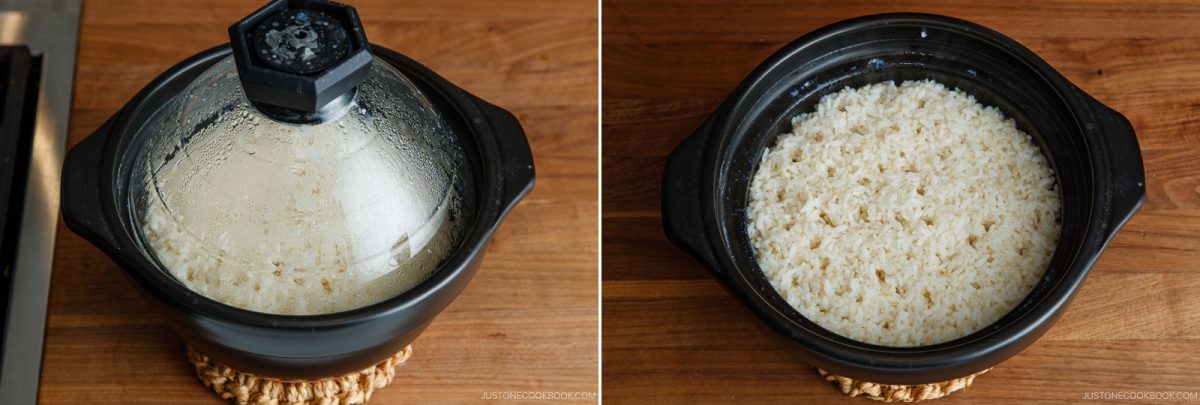
- Steam and fluff. Remove the donabe from the heat and let the rice rest, covered and undisturbed, for 20 minutes. Gently fluff with a moistened rice paddle, lifting and folding from the bottom to release excess moisture.

Nami’s Recipe Tips
Here are my tried-and-true tips for cooking tender brown rice in a donabe every time.
- Rinse the rice gently. Wash the brown rice several times to remove dust and any loose bran. There’s no need to scrub vigorously, as the grains still have their protective bran layer.
- Don’t skip soaking. Brown rice absorbs water slowly through its bran layer. Proper soaking helps the grains cook evenly and prevents a hard center.
- Soak the rice in the refrigerator. If you’re soaking the rice for several hours, especially during warmer weather, I recommend keeping it in the refrigerator. Prolonged soaking in a donabe may cause some clay pots to absorb moisture, increasing the risk of cracking or leaking. Transfer the rice and all the soaking water to the donabe before cooking to maintain the correct ratio.
- Dry the bottom of the donabe. Always wipe the outside bottom completely dry before heating. Moisture on the bottom may cause the clay pot to crack.
- Don’t lift the lid while steaming. Opening the lid releases trapped steam, which can prevent the rice from finishing cooking evenly.
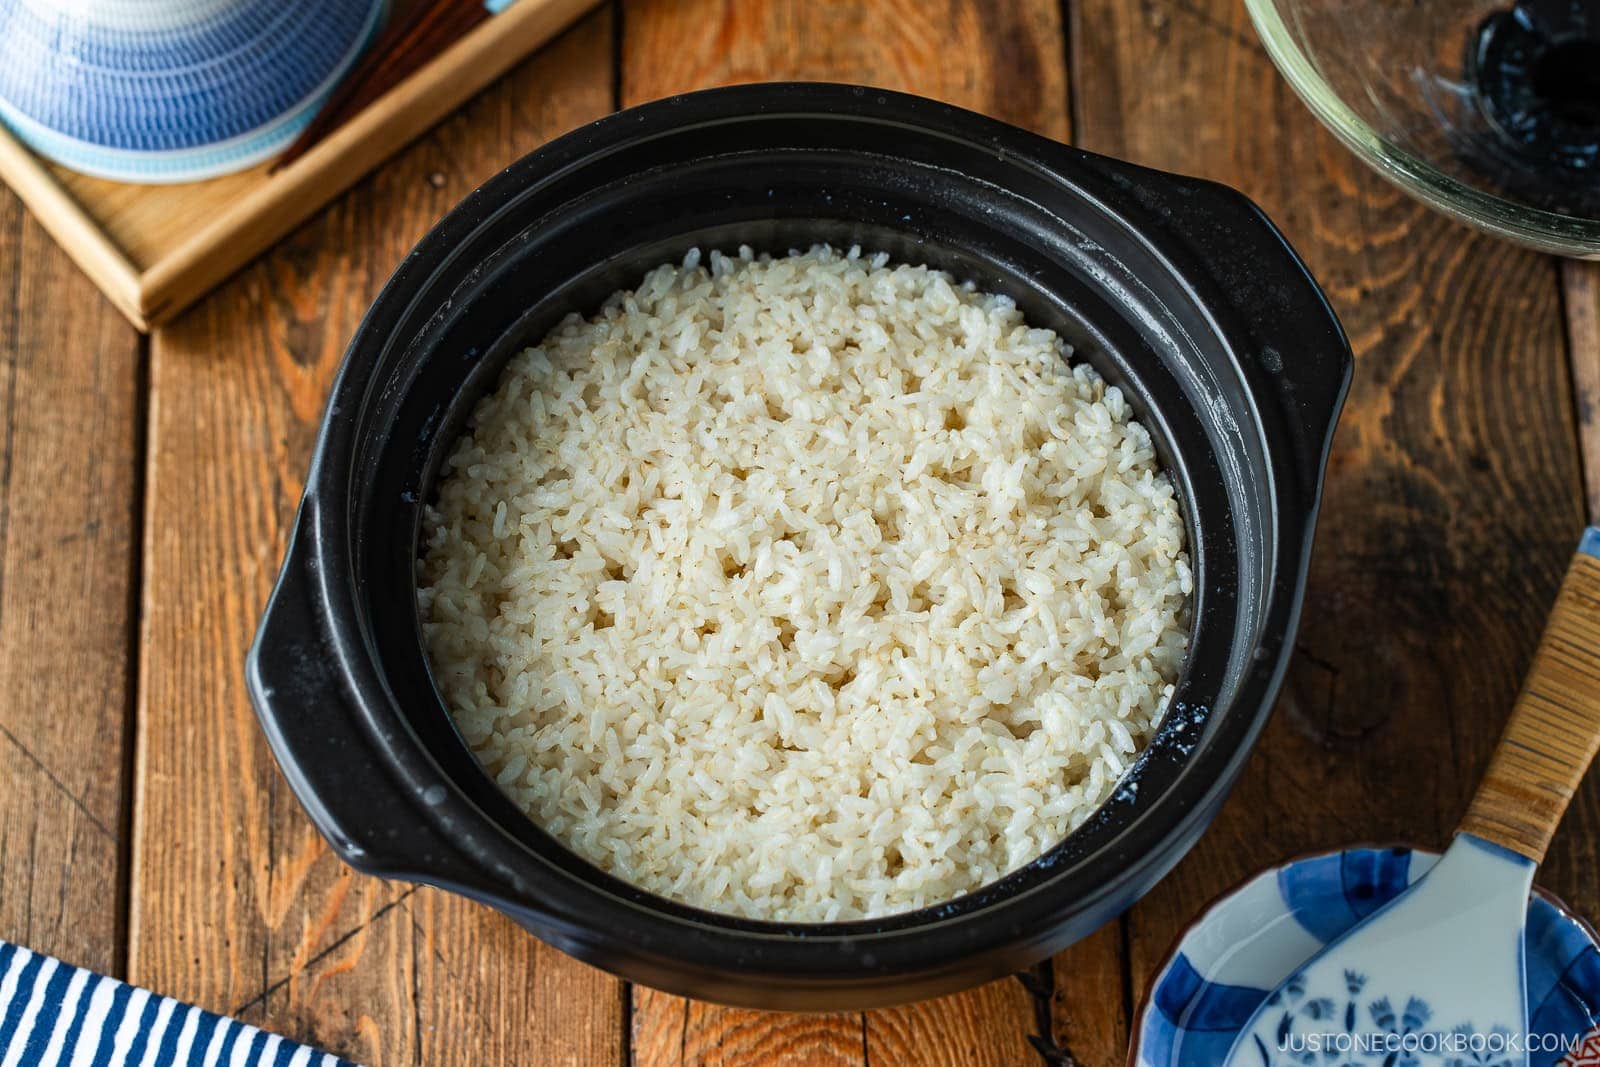
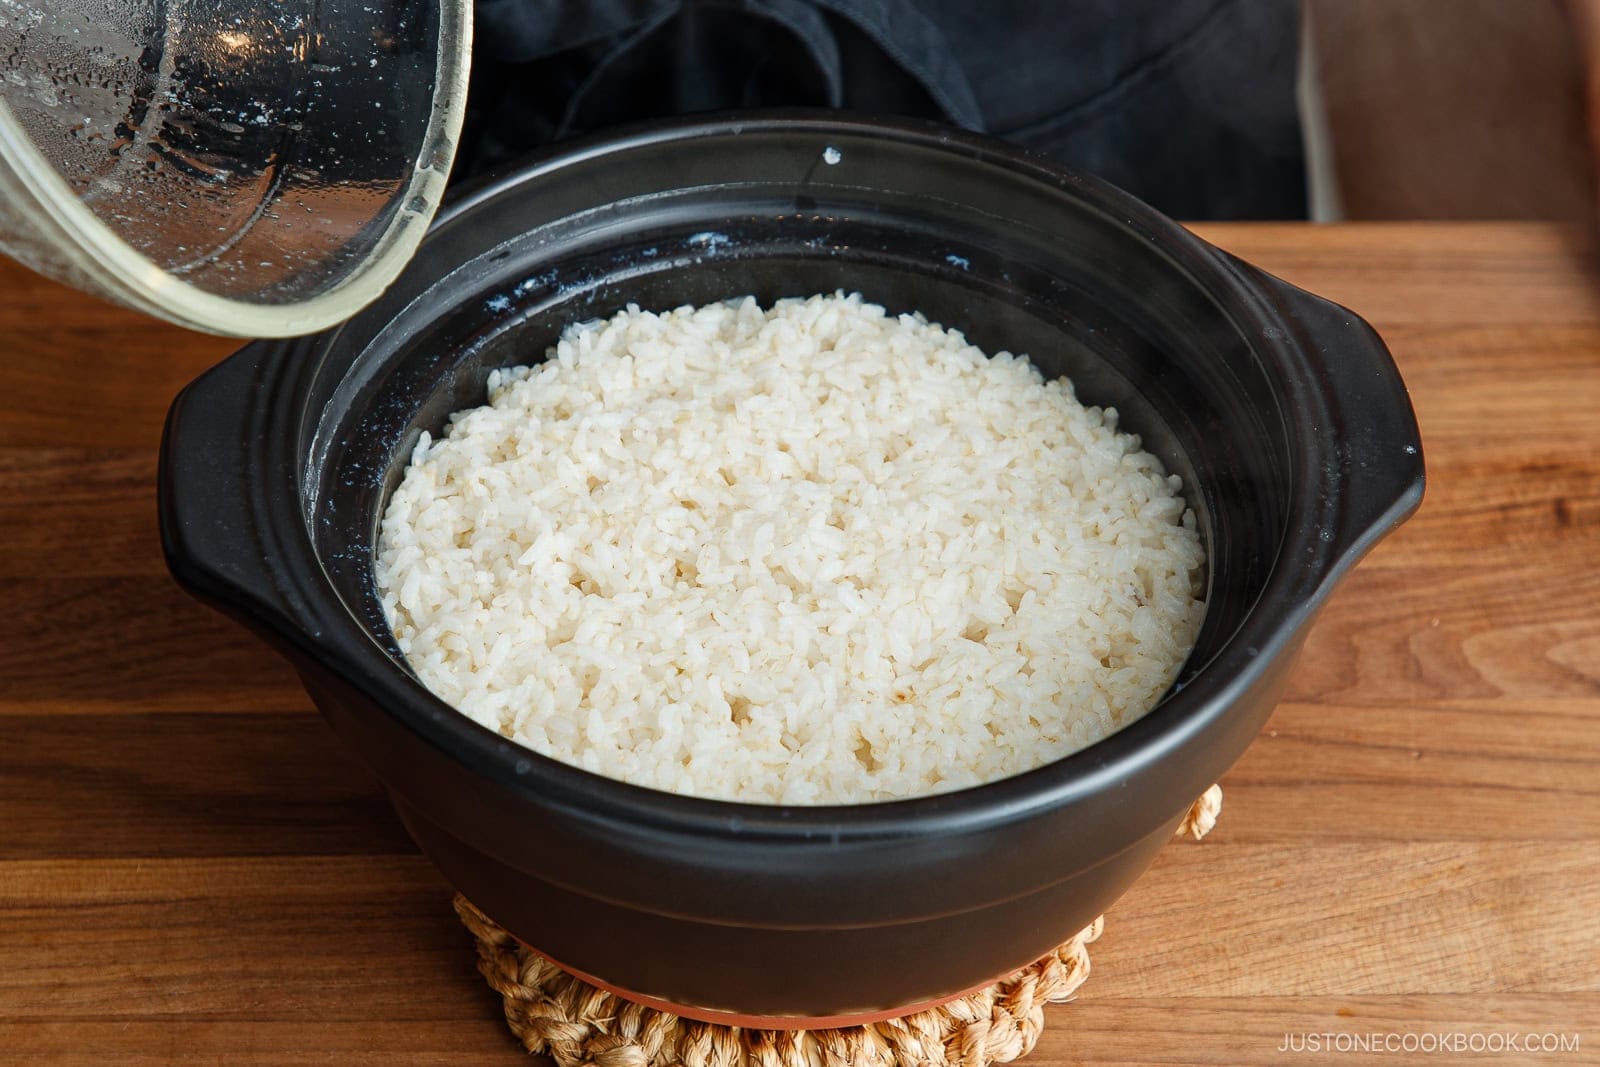
- Look for kani-ana (カニ穴). These small “crab holes” form as steam bubbles rise through the rice. In Japan, they’re traditionally considered a sign of well-cooked rice, but don’t worry if you don’t see them.
- Adjust the water as needed. Different brown rice brands absorb water differently. If the rice turns out too soft, use slightly less water next time. If it’s too firm, add a little more.
- Cook 2–3 rice cooker cups at a time. I find that cooking 2–3 cups produces better-tasting rice than just 1 cup. Even if you’re cooking for one, make extra and freeze individual portions for later.
Storage and Reheating Tips
To Store: While the rice is still hot, divide it into individual microwave-safe glass containers to help keep it moist. Cool promptly, then freeze for up to 1 month. For the best texture, I prefer freezing rice rather than refrigerating it, as refrigeration can make the grains dry and firm. If refrigerating, use a microwave-safe ohitsu rice storage container.
To Reheat: Remove the lid and cover the frozen rice with a damp paper towel. Microwave until steaming hot throughout. Reheating time varies depending on the portion size and microwave wattage. Alternatively, reheat the uncovered container in a steamer basket over simmering water for about 10 minutes, or until heated through. Use a heat-safe container suitable for steaming.
Food Safety Tip: Cool cooked rice quickly and refrigerate or freeze promptly. Avoid leaving it at room temperature for extended periods, as harmful bacteria can grow in improperly stored rice.
FAQ
Why do I recommend HARIO gohangama?
The HARIO Gohangama is my favorite donabe because its built-in whistle and clear glass lid make cooking rice easier. The whistle signals when to turn off the heat for white rice or lower it for brown rice, while the glass lid lets me monitor the cooking without opening the pot. Together, they take much of the guesswork out of cooking rice.
Do I need to season my donabe before using it?
Some donabe require seasoning before their first use, while others do not. Always check the manufacturer’s instructions. Read my How to Season Your Donabe guide for step-by-step instructions and care tips.
I’d love to hear how yours turned out! 💛 Please leave a star rating and comment below to share your experience. Your feedback not only supports Just One Cookbook but also helps other home cooks discover recipes they can trust.
How To Cook Japanese Brown Rice in a Donabe
Equipment
- HARIO Gohangama, my go-to donabe rice cooker
Ingredients
★ HARIO Gohangama (1:1.5 Rice-to-Water Ratio)
For 4 Rice Bowls (2 rice cooker cups):
- 1½ US cups uncooked Japanese short-grain brown rice (2 rice cooker cups, 360 ml)
- 2¼ US cups water (540 ml)
For 6 Rice Bowls (3 rice cooker cups):
- 2¼ US cups uncooked Japanese short-grain brown rice (3 rice cooker cups, 540 ml)
- 3½ US cups water (810 ml)
★ Regular Donabe Rice Cooker (1:1.6 Rice-to-Water Ratio)
For 4 Rice Bowls (2 rice cooker cups):
- 1½ US cups uncooked Japanese short-grain brown rice (2 rice cooker cups, 360 ml)
- 2½ US cups water (575 ml)
For 6 Rice Bowls (3 rice cooker cups):
- 2¼ US cups uncooked Japanese short-grain brown rice (3 rice cooker cups, 540 ml)
- 3⅔ US cups water (865 ml)
Instructions
Before You Start
- Do not scale this recipe (2 x or 3 x). Important: Do not skip soaking! Brown rice needs 6–12 hours to absorb enough water before cooking. Soak for 6 hours in summer or up to 12 hours in winter when the water is colder. This is essential for tender, evenly cooked grains.
- Measure rice: Level off a rice-cooker cup (¾ US cup / 180 ml) of short-grain brown rice and add to a rice washing bowl. Repeat until you have the desired amount. Note: Some photos below show white rice for demonstration purposes.
To Wash the Rice
- Quick Rinse: Cover with water, swirl briefly, and drain immediately. Repeat once to prevent the rice from absorbing stale starch water.
- Wash: Gently rub the wet rice in a circular motion with minimal water for 10–15 seconds so the grains scrub each other.Rinse: Add fresh water, swirl, and drain immediately.
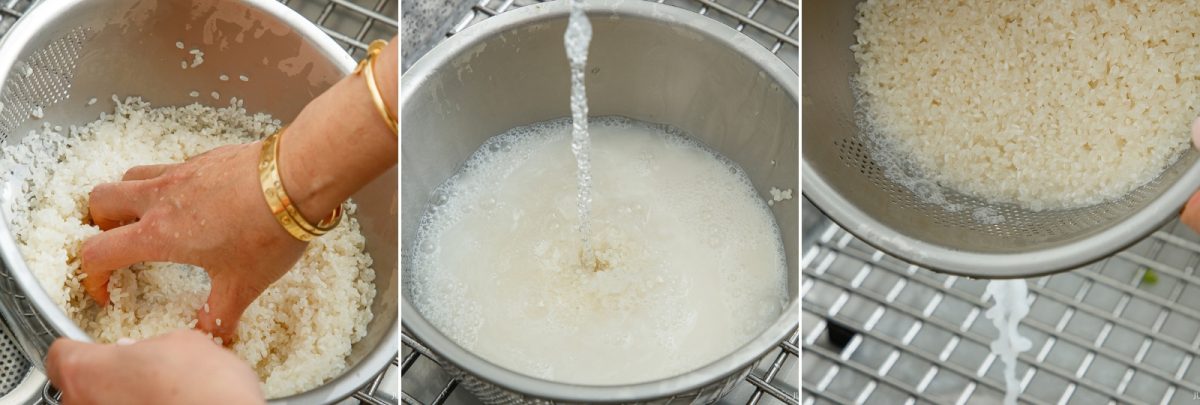
- Repeat: Repeat the Wash and Rinse steps two more times until the water runs mostly clear.Drain: Drain thoroughly, gently shaking off excess water.
To Soak the Rice
- Transfer well-drained rice to the donabe and add room-temperature water. Level the rice evenly and cover with the lid(s). For a double-lid donabe, position the steam vent holes 90 degrees apart to help retain steam.Soak rice for 6–12 hours. Use the longer soaking time in winter when the water is colder.Food Safety Tip: In summer, transfer the well-drained rice to a bowl or food-safe container. Add the measured amount of water and soak for 6–12 hours in the refrigerator. After soaking, transfer the rice and all the soaking water to the donabe so your measured rice-to-water ratio stays consistent.
To Cook the Rice
★ HARIO Gohangama (about 30–35 minutes)
- Cook over medium-high to high heat until the pot whistles, about 10–13 minutes.(10–11 minutes for 2 rice cooker cups or 12–13 minutes for 3 cups)Reduce to low heat and cook for 20 minutes.Nami's Tip: The manufacturer recommends high heat, but I use medium-high heat (just below high) on my stove. The goal is for the whistle to sound within the recommended time. If it sounds too early or too late, adjust the heat slightly next time.
★ Regular Donabe Rice Cooker (about 37–46 minutes)
- Cook over medium heat until steam escapes vigorously, about 12–16 minutes.Reduce to low heat and cook for 25–30 minutes. For okoge (crispy, scorched rice at the bottom), increase to high heat for the last 10 seconds.
To Steam the Rice
- Turn off the heat and remove the donabe from the hot stove. Keep the lid on and let it steam, undisturbed, for 20 minutes. Do not lift the lid, as this releases the steam needed to finish cooking.After 20 minutes, open the lid. You may notice small holes across the surface of the rice called kani-ana (カニ穴), or "crab holes." These form as steam escapes through the rice during cooking and are a traditional sign of well-cooked rice.
To Serve
- Gently fluff the rice with a rice paddle, scooping from the bottom to release excess steam. It's ready to serve.
To Store
- Divide the freshly cooked rice into individual portions in microwave-safe, airtight containers while still hot to retain moisture. Cool promptly, then freeze for up to 1 month. See my How to Freeze Rice guide for details.
Notes
Did you make this recipe?
Tag @justonecookbook on Instagram so we can see your delicious creation!