Why I Love This Recipe
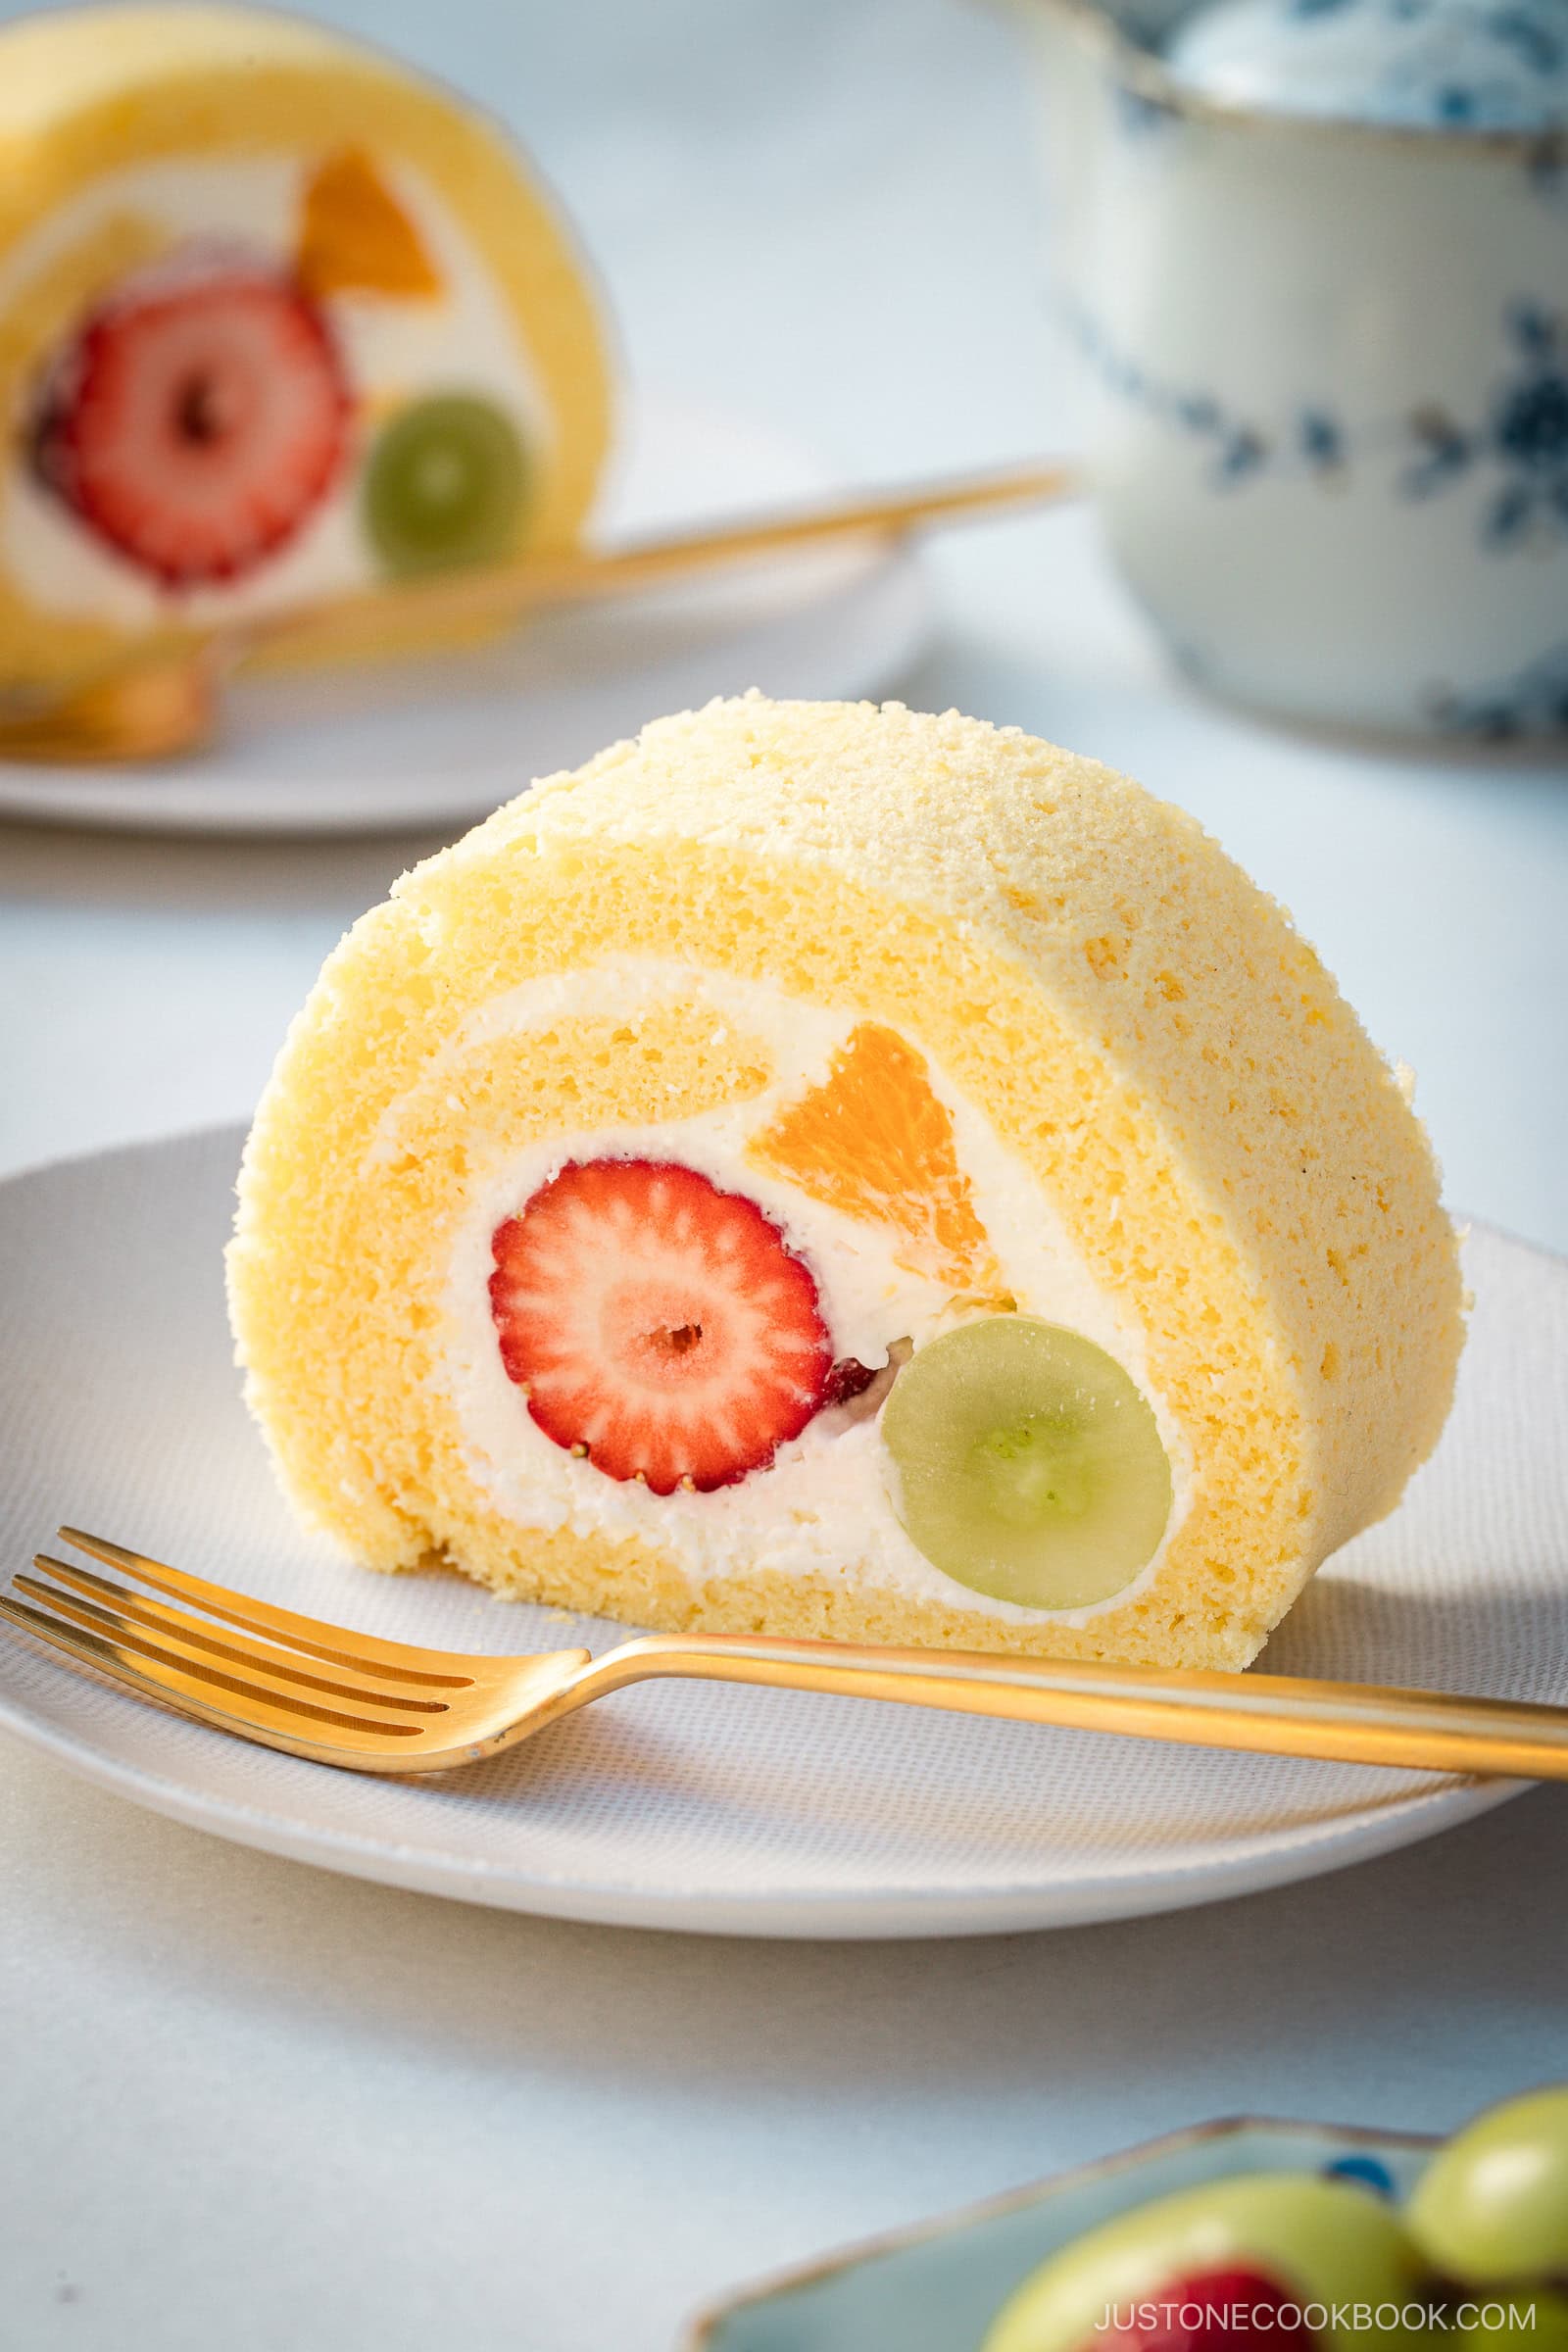
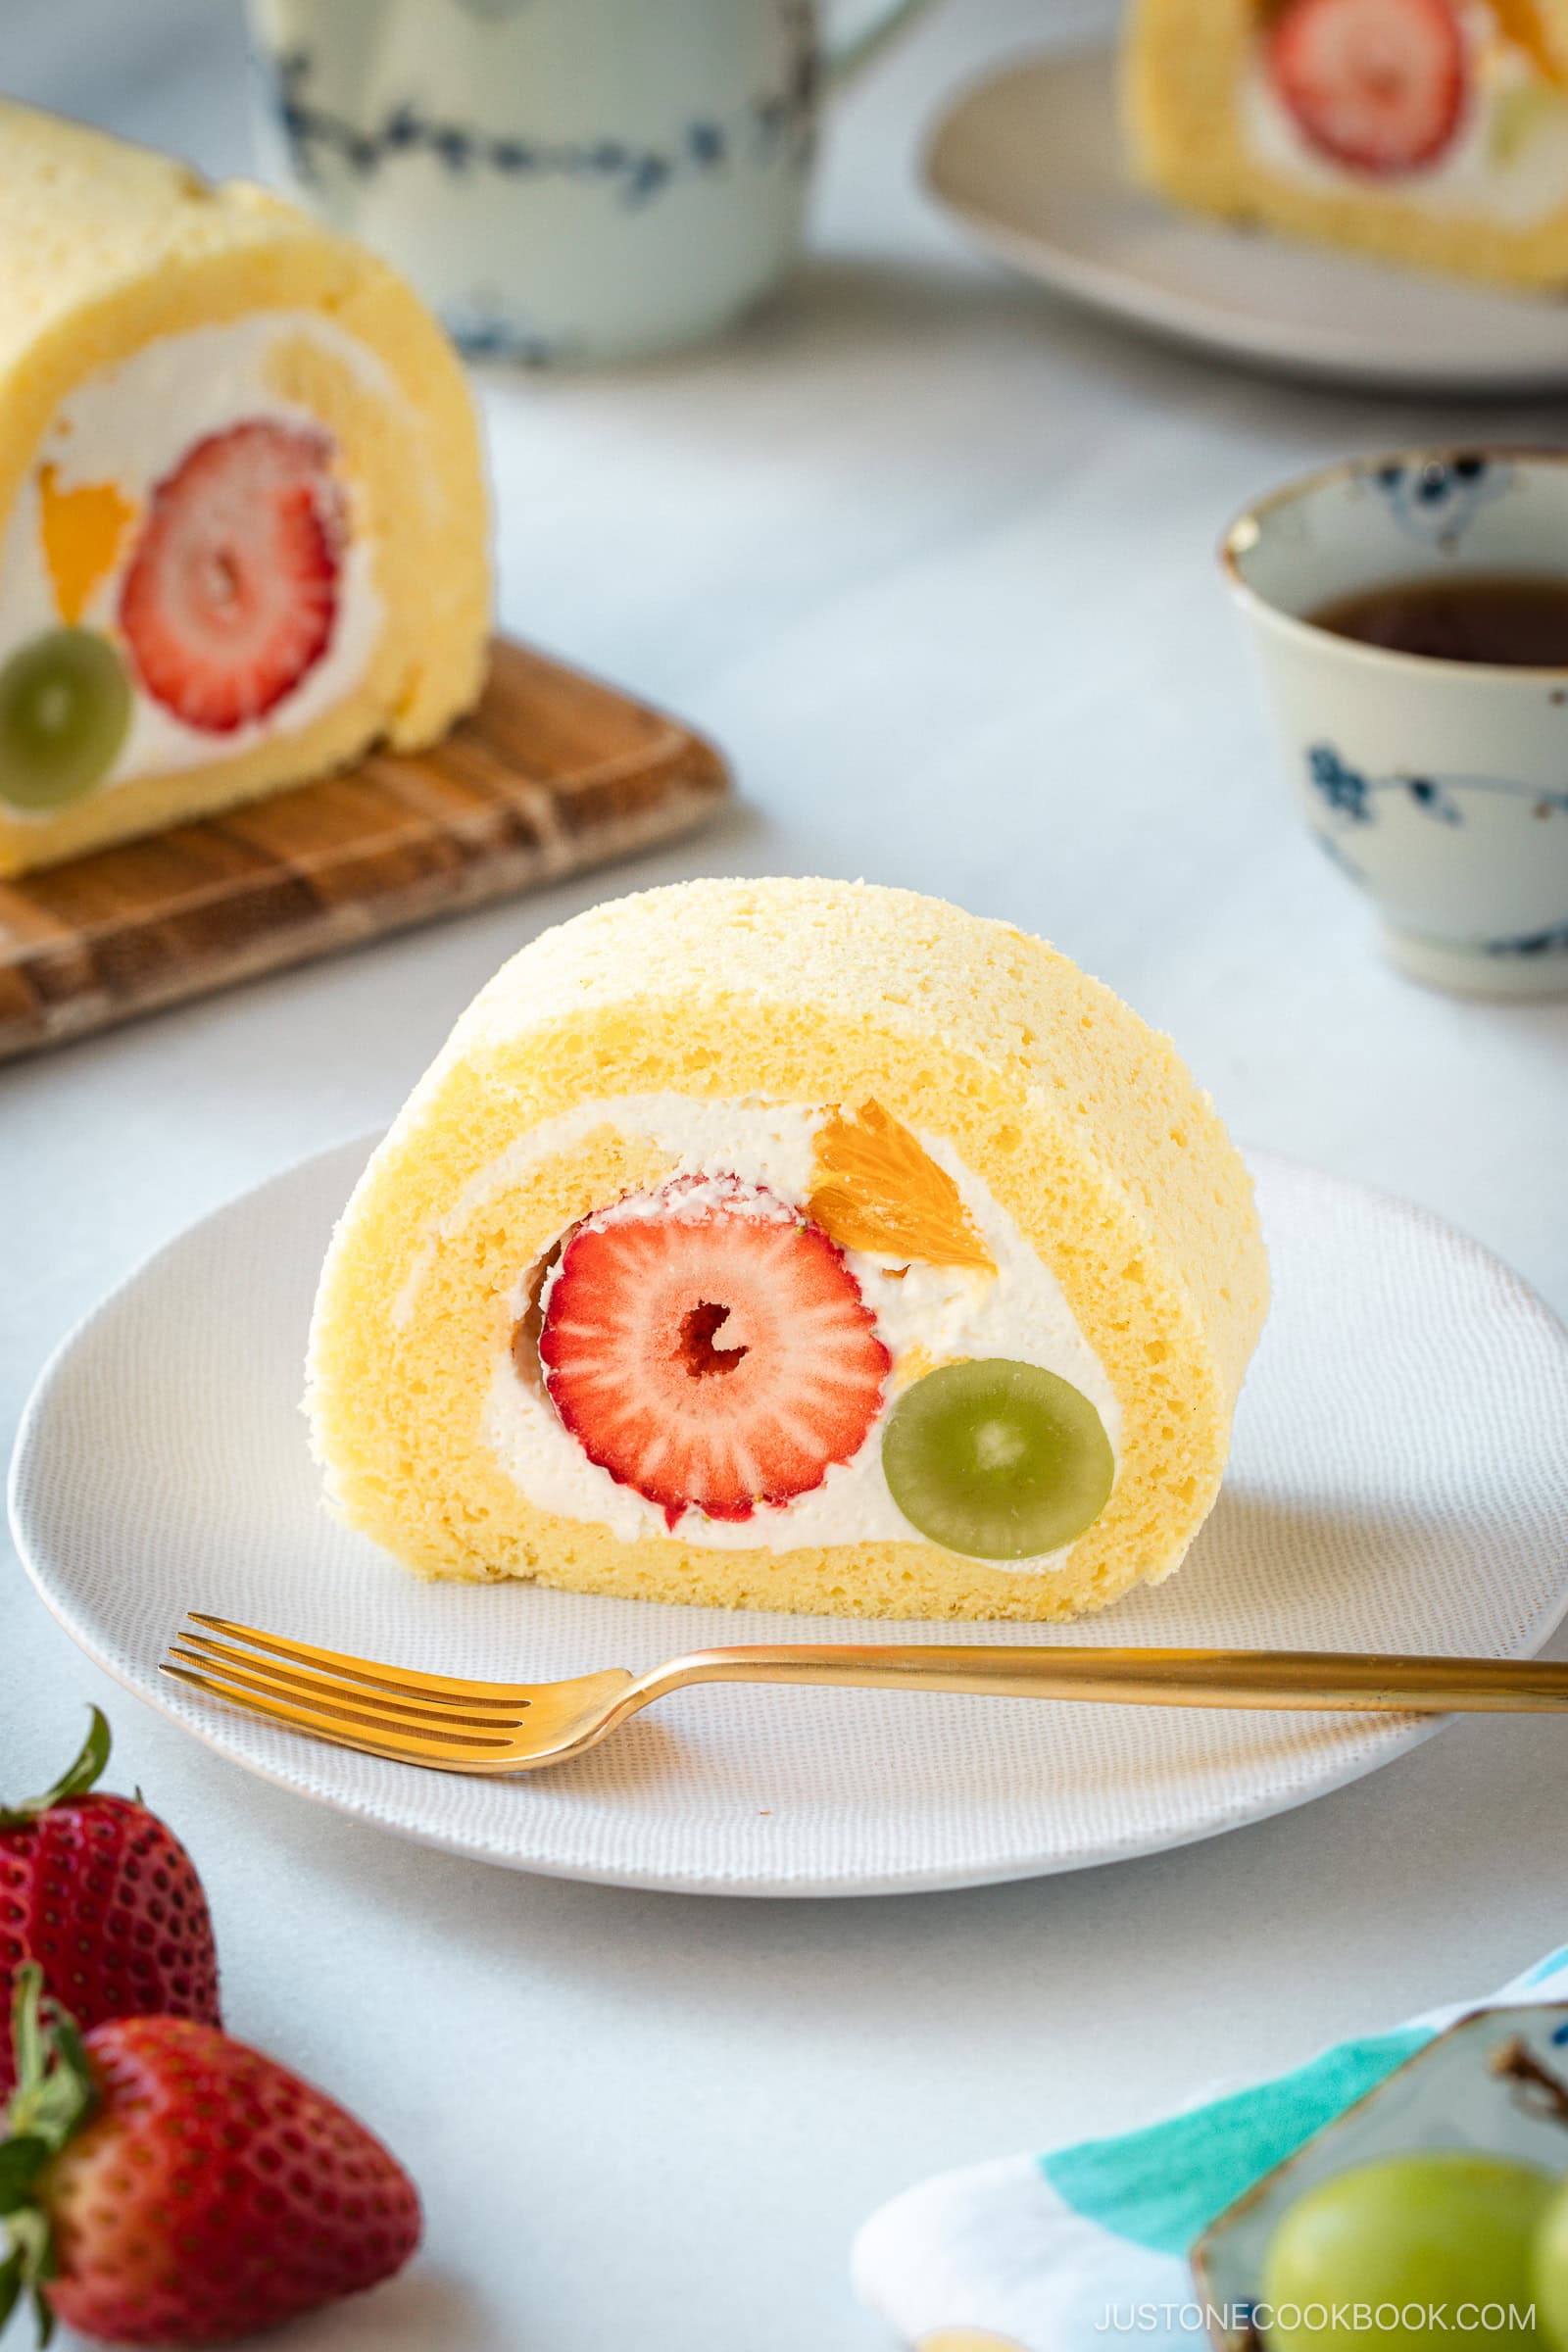
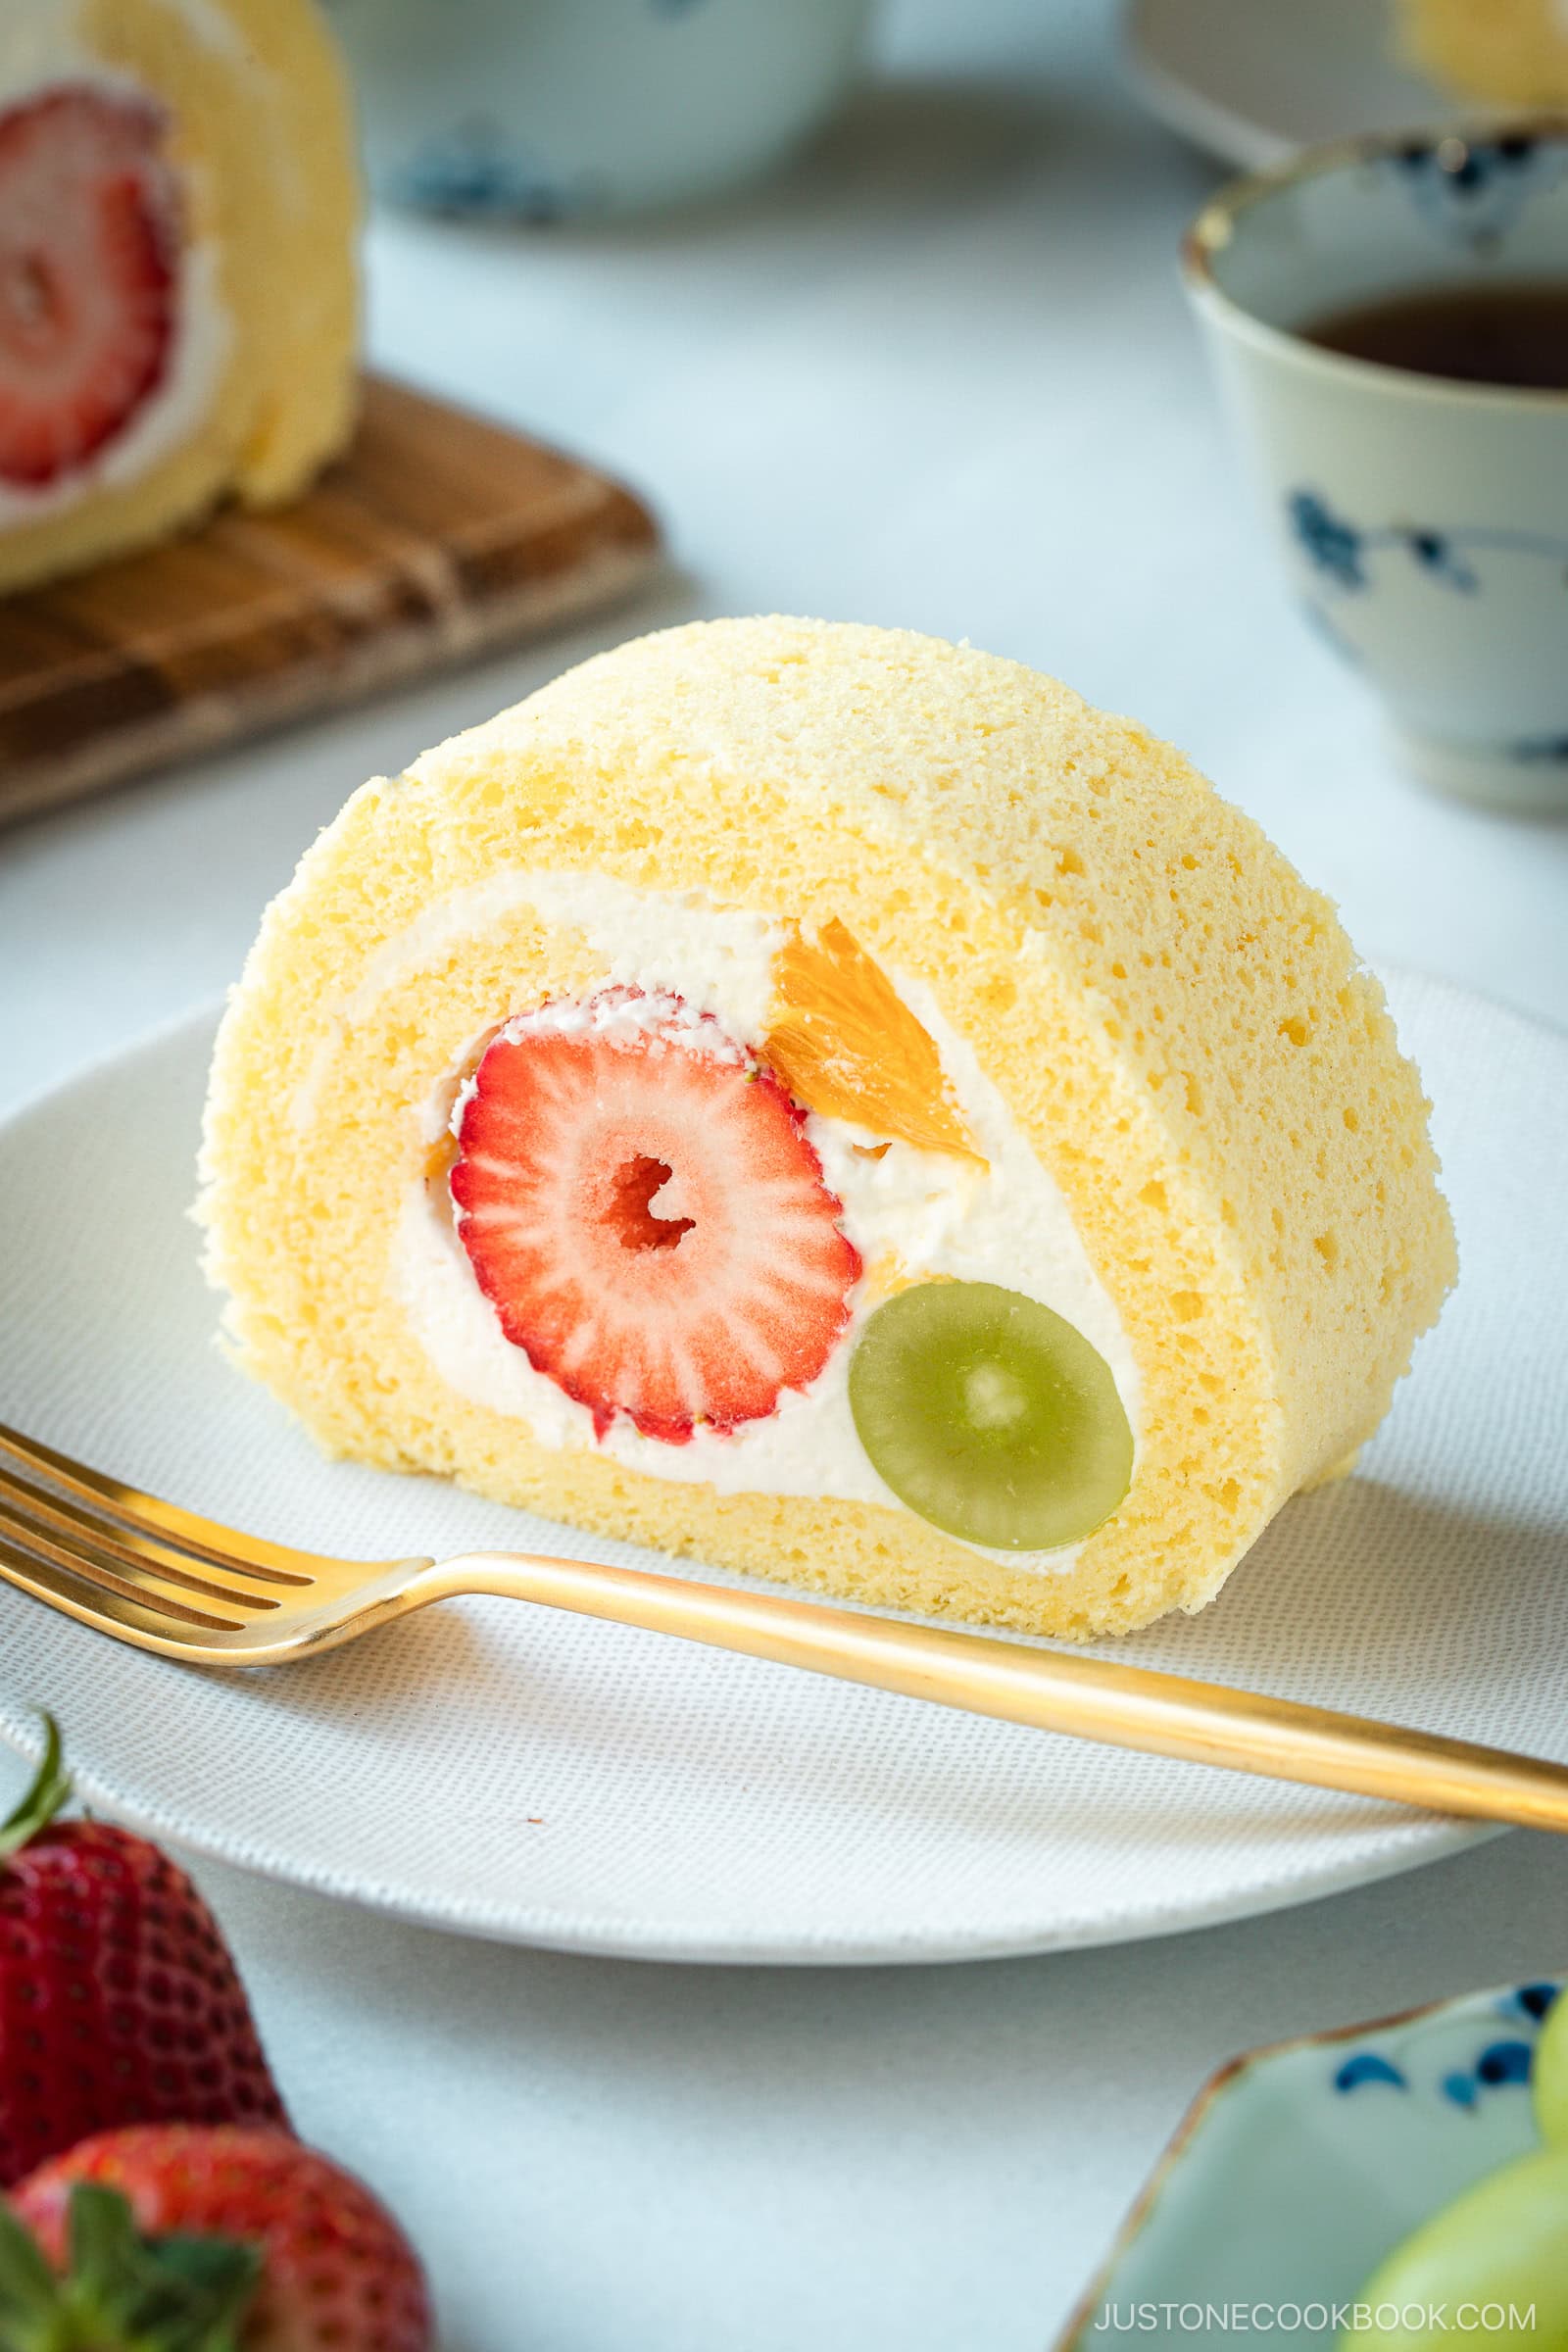
Soft and moist sponge cake rolled with cream and fresh fruit is one of Japan’s most beloved sweets. Japanese Fruit Roll Cake has a delicate texture, light sweetness, and a beautiful look—ideal for birthdays, holidays, or afternoon tea.
- Light, airy sponge with the perfect balance of sweetness.
- Beautiful presentation that’s always a showstopper for guests.
- Refreshing and elegant in every bite with homemade whipped cream and fresh fruit of your choice.
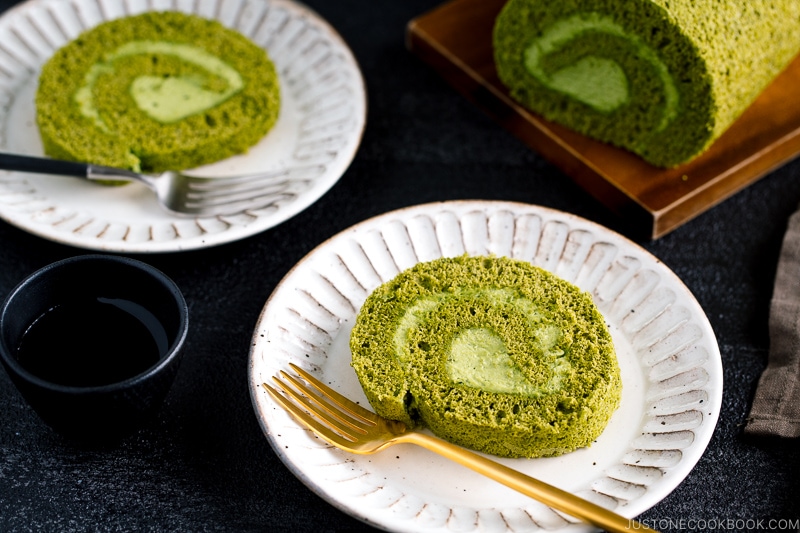
If you enjoy Japanese-style cake, try my Japanese Strawberry Shortcake, Matcha Swiss Roll, and Castella Cake next!
What is Fruit Roll Cake?
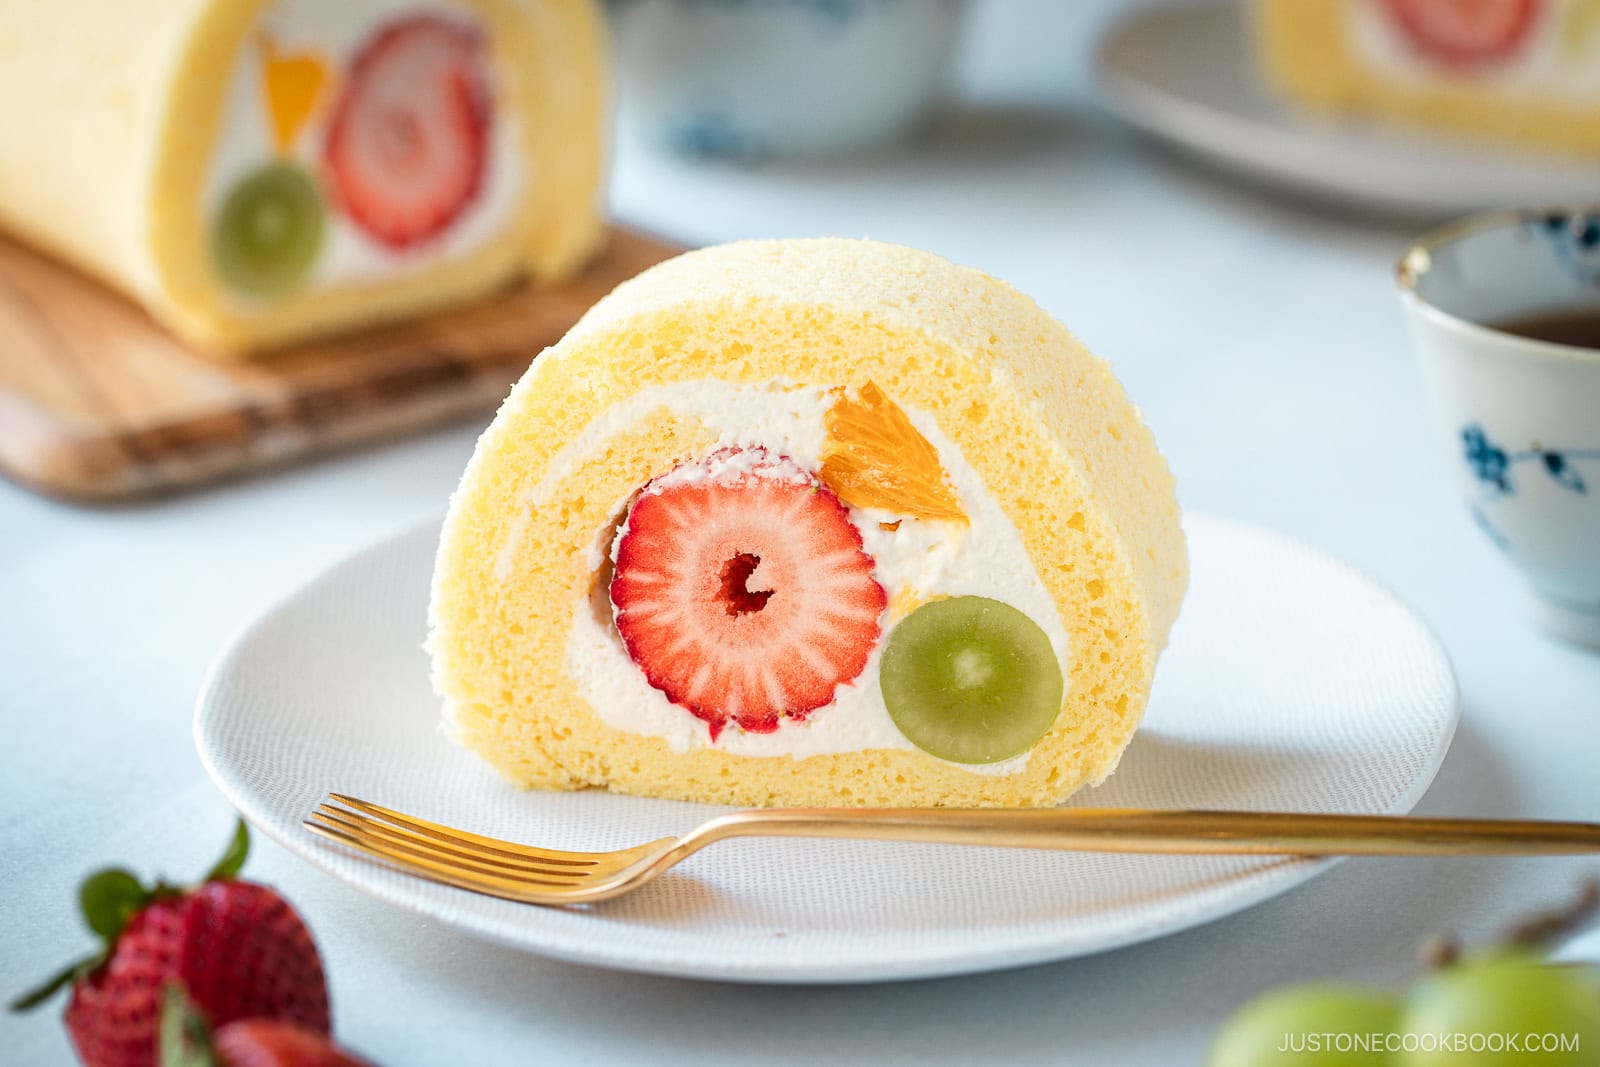
Japanese fruit roll cake (フルーツロールケーキ) traces back to European Swiss rolls introduced to Japan during the Meiji era. Japanese bakers later adapted the recipe to create a lighter, fluffier version. The sponge cake texture is like a cloud—moist yet springy—and the homemade whipped cream gives it a fresh, clean taste. It’s a staple in Japanese cafés, patisseries, and home kitchens, especially for birthdays and celebrations.
Ingredients for Japanese Fruit Roll Cake
You’ll need a 15 x 10-inch (38 x 25 cm) jelly roll pan for this recipe.
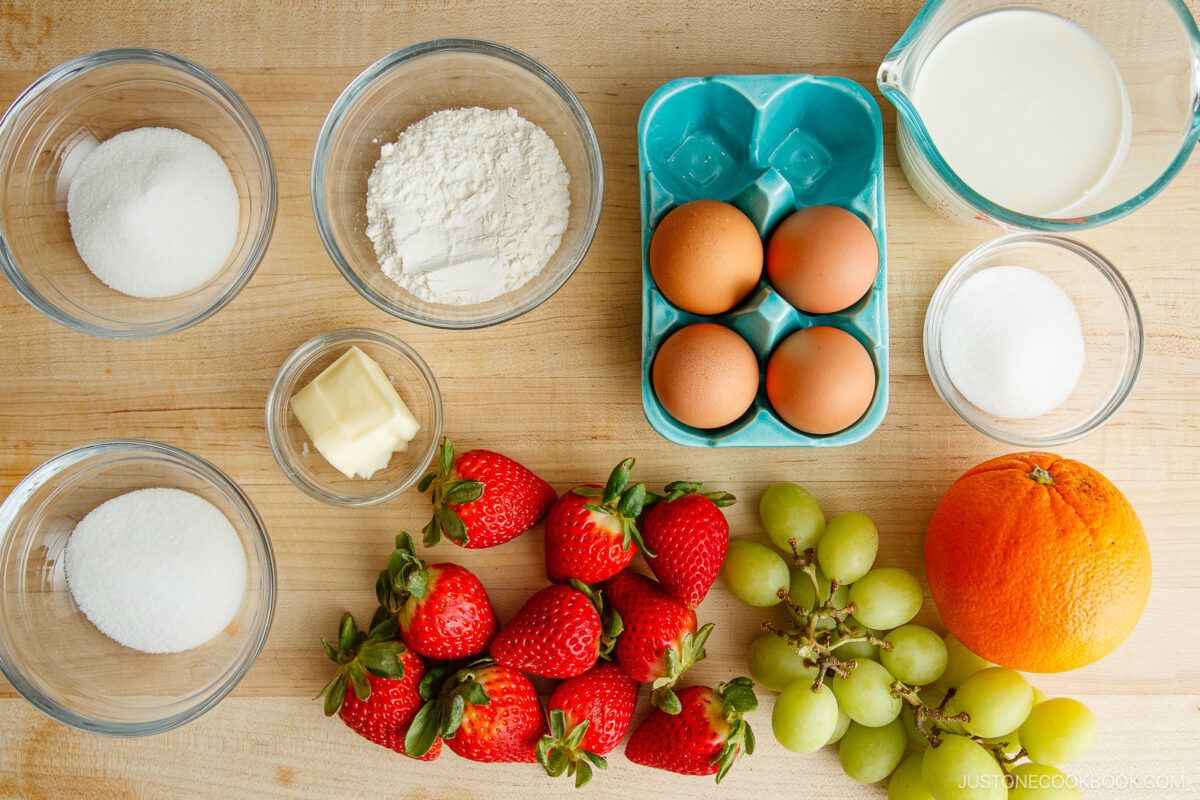
- unsalted butter
- large eggs
- sugar – divided, for the cake and whipped cream
- cake flour – store bought or make cake flour at home with all-purpose flour and cornstarch
- fresh fruit of your choice – I used strawberries, Shine Muscat grapes, and orange segments
- heavy cream and sugar – 36% or more milkfat
Find the printable recipe with measurements below.
Jump to RecipeHow to Make Japanese Fruit Roll Cake
- Gather and measure ingredients. Weigh all ingredients for accuracy. Preheat the oven and line the jelly roll pan with parchment paper.
- Melt the butter and separate the eggs. Warm the butter until soft and liquid. Separate the egg yolks and whites. Keep the whites in the freezer for 15–20 minutes until slightly icy.
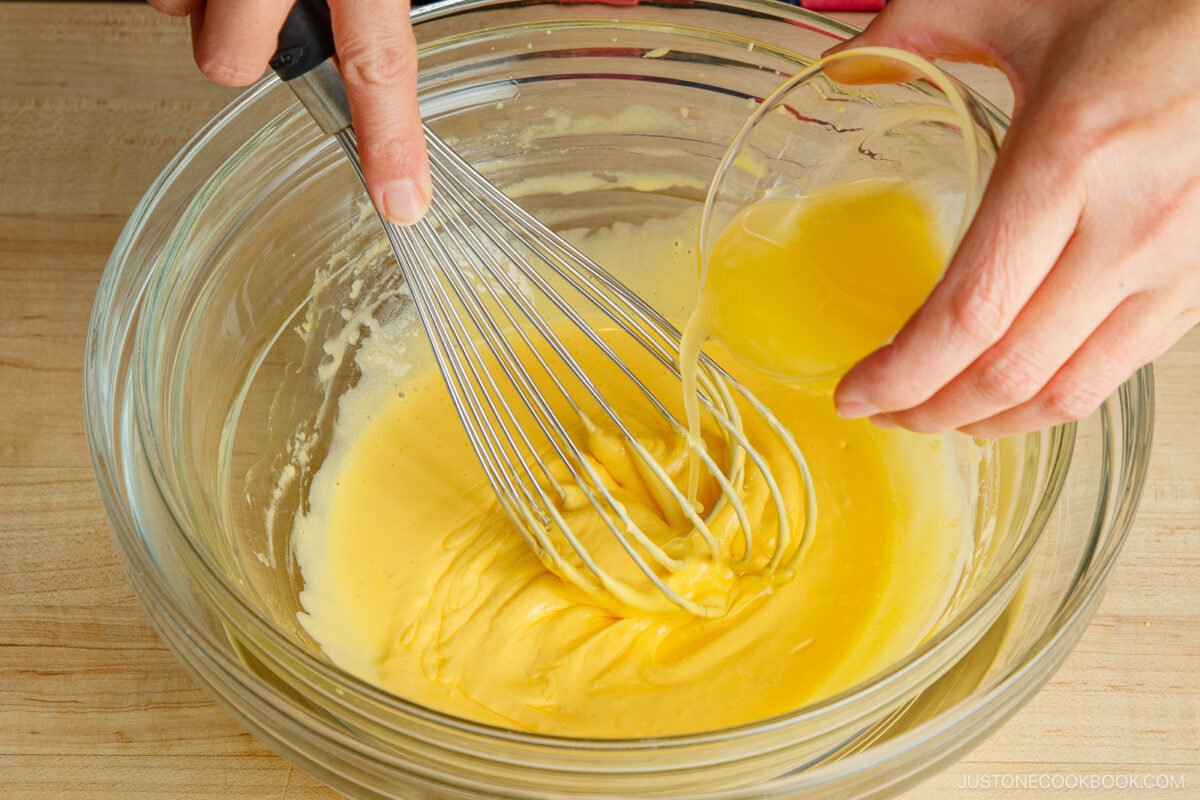
- Mix the yolks and butter. Whisk egg yolks with half of the sugar over a double boiler until pale and creamy. Stir in the warm melted butter until smooth. Remove from heat.
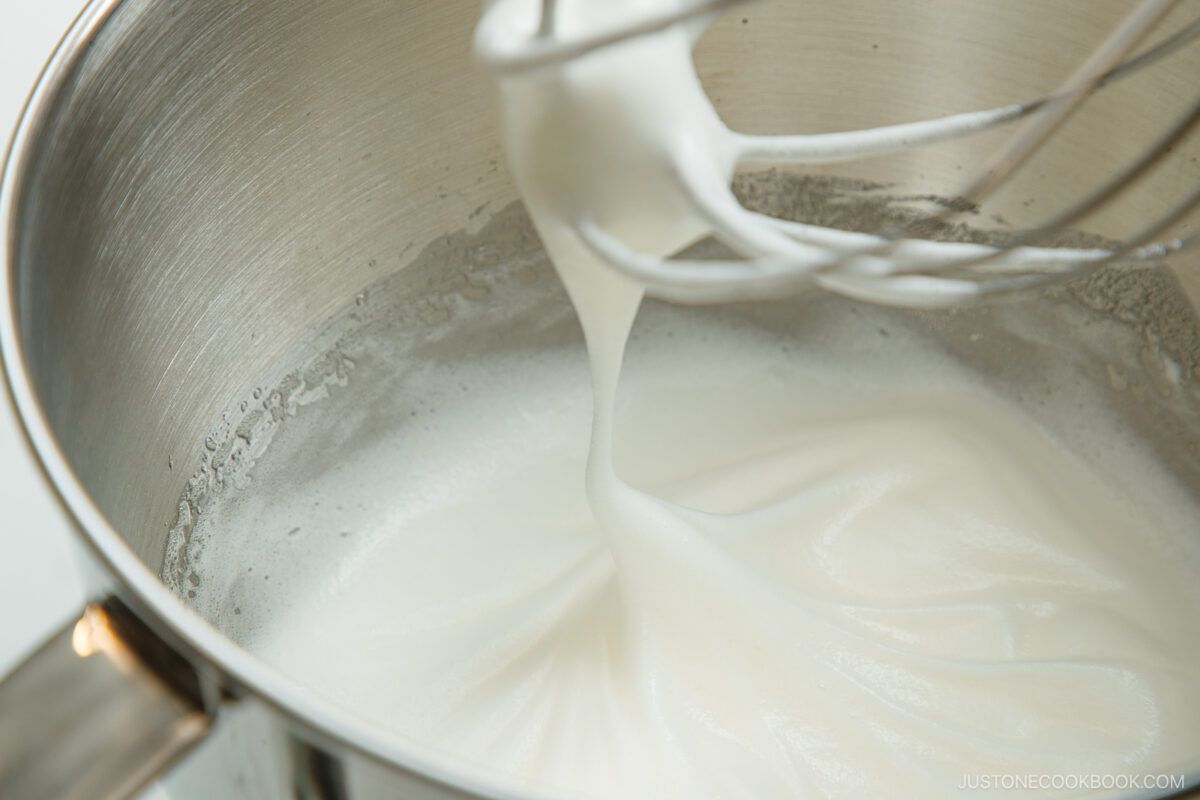
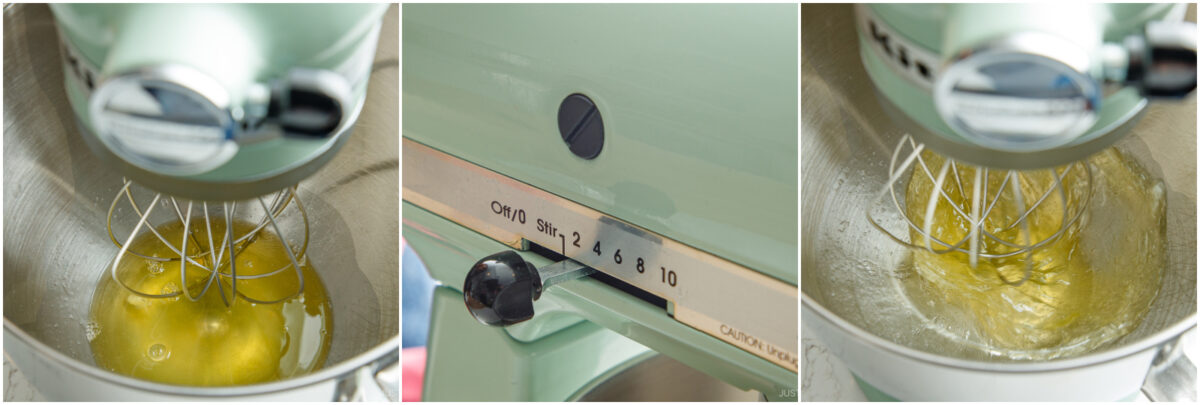
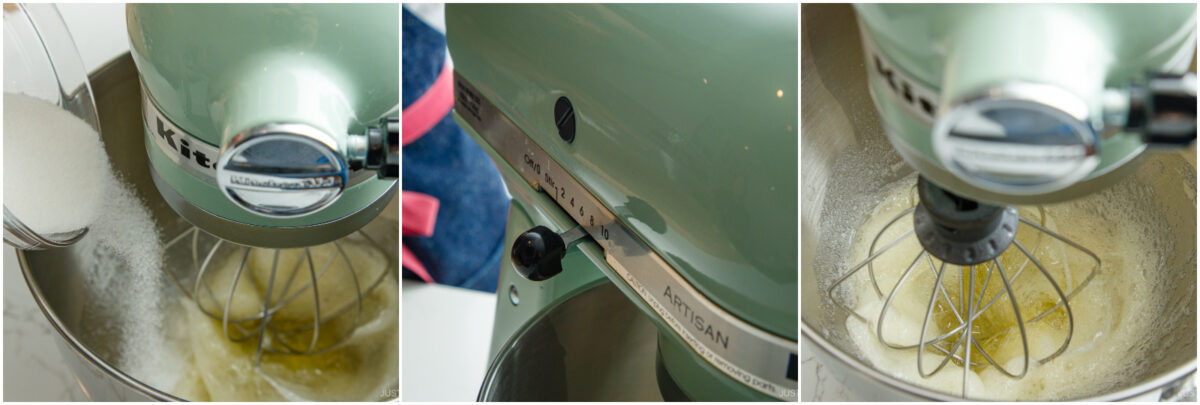
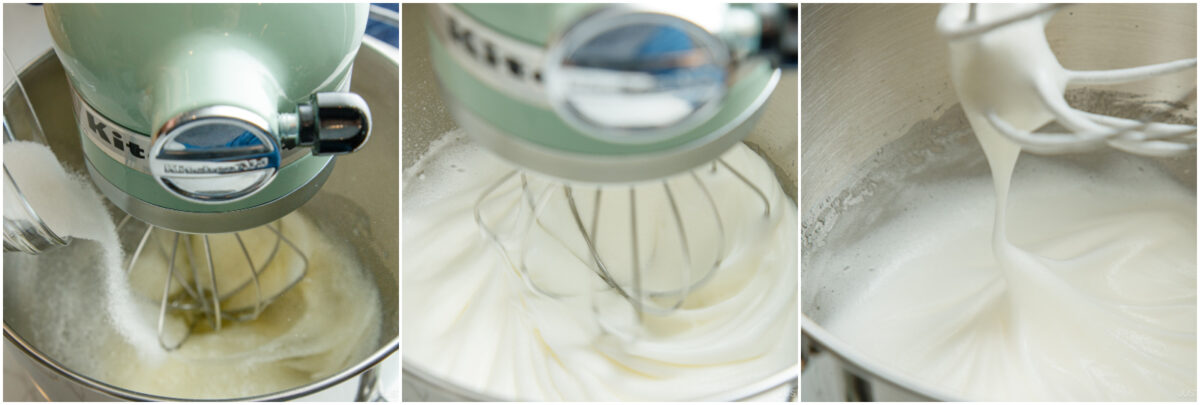
- Whip the meringue. Beat the chilled egg whites in a stand mixer until foamy. Gradually add the remaining sugar in three additions. Continue whisking at high speed until stiff peaks form.
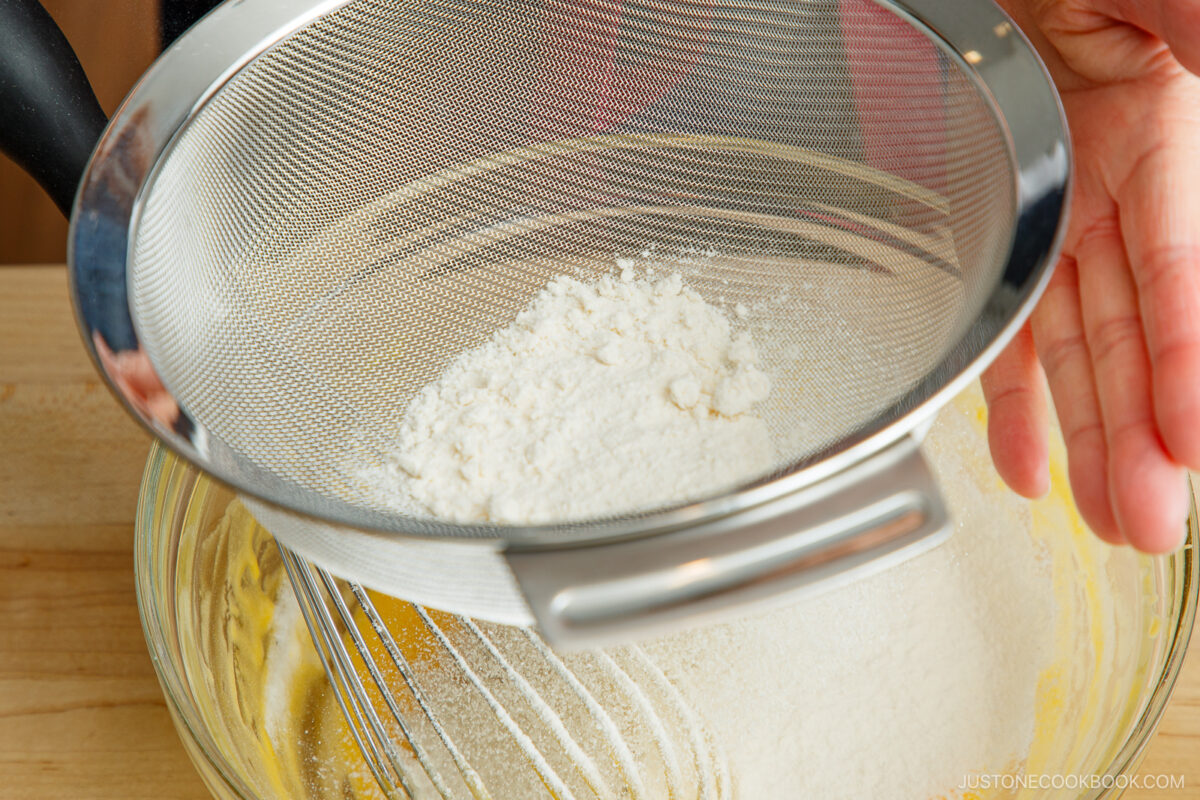
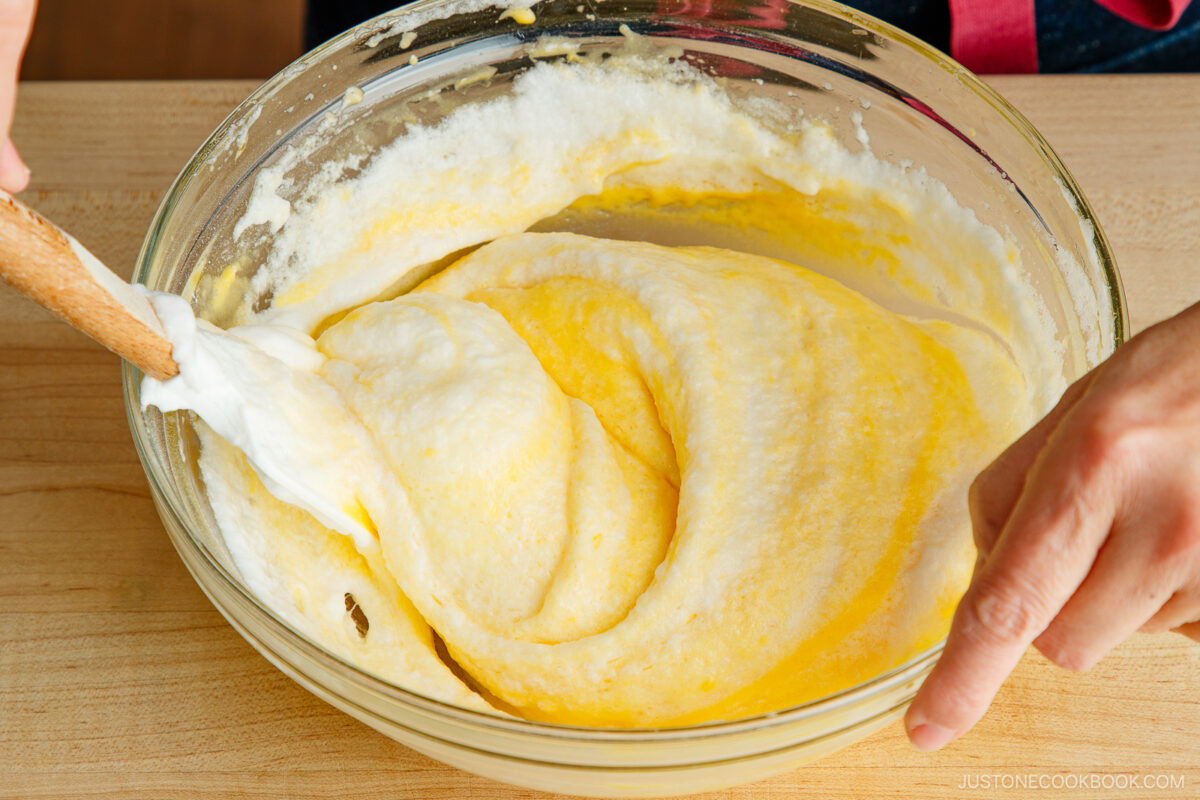
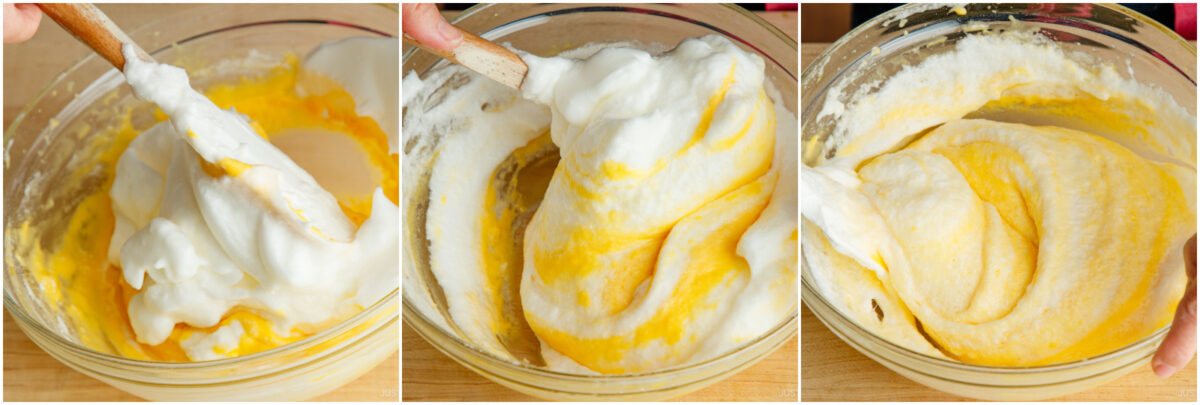
- Fold the batter. Gently mix one-quarter of the meringue into the yolk mixture. Sift in the cake flour and fold it in until combined. Fold in the rest of the meringue with a spatula until no streaks remain.
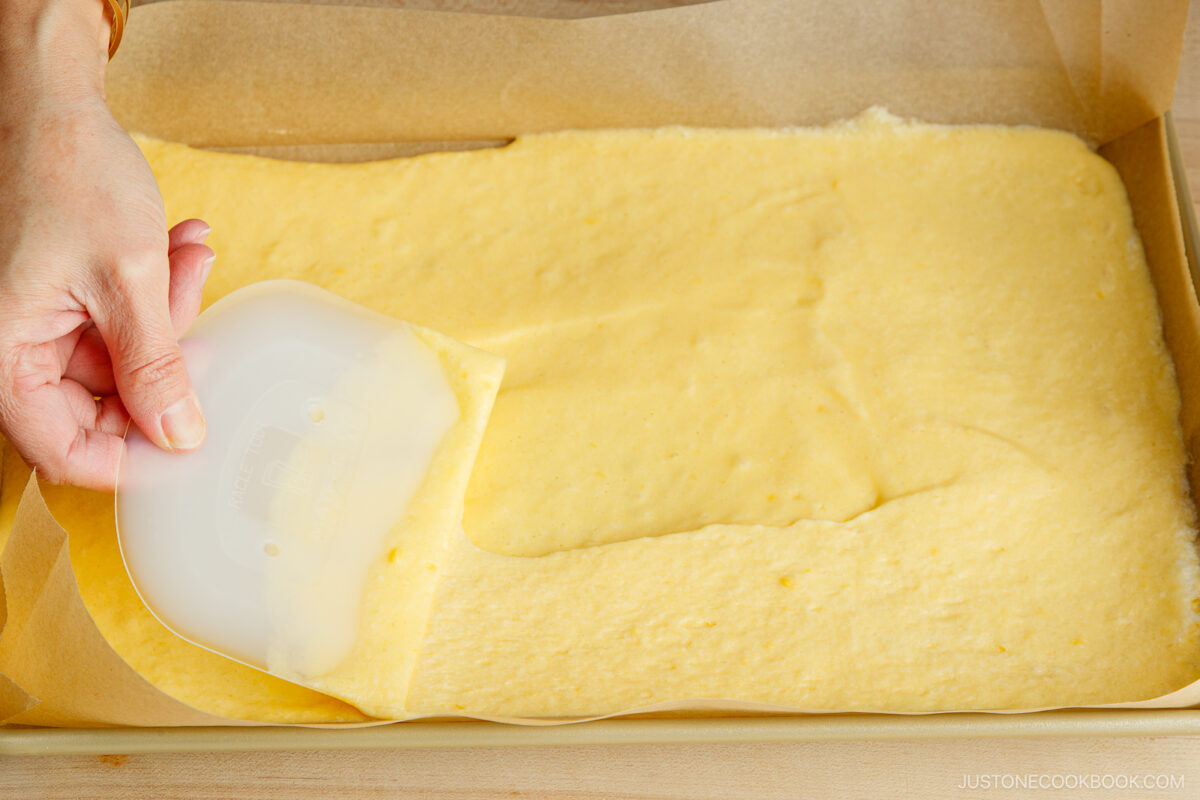
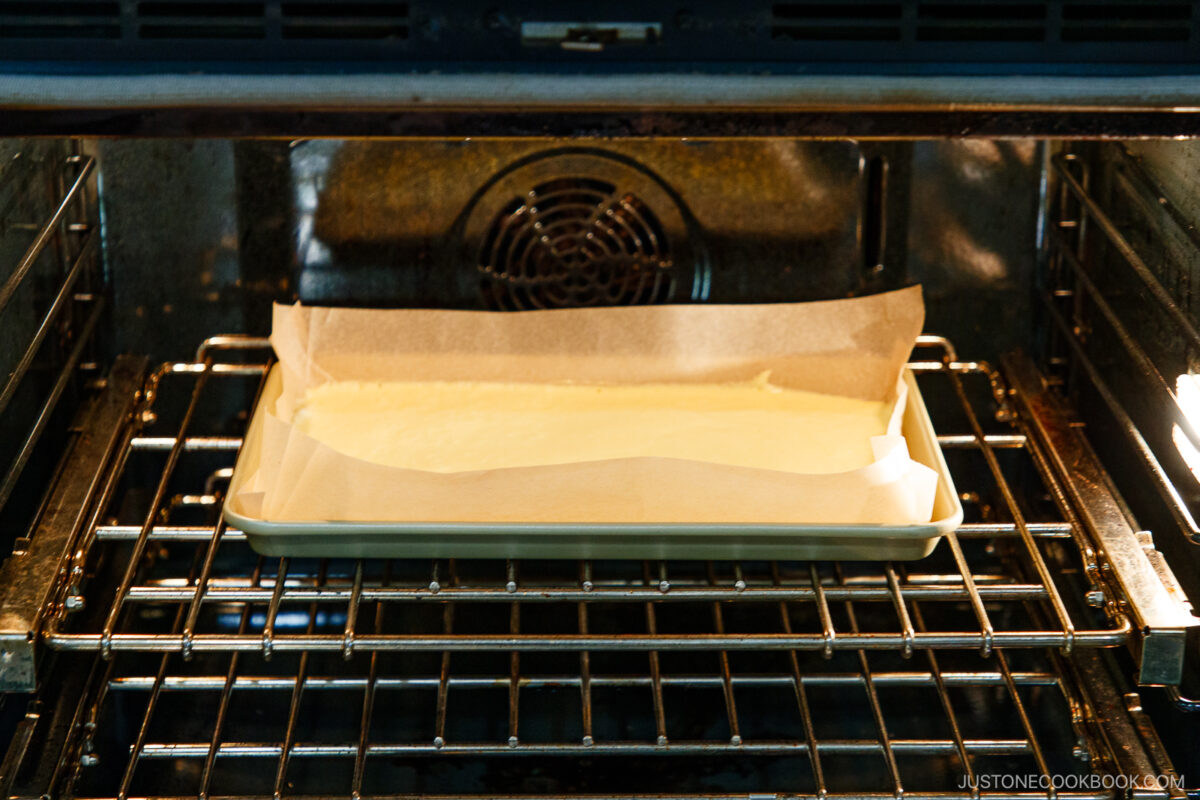
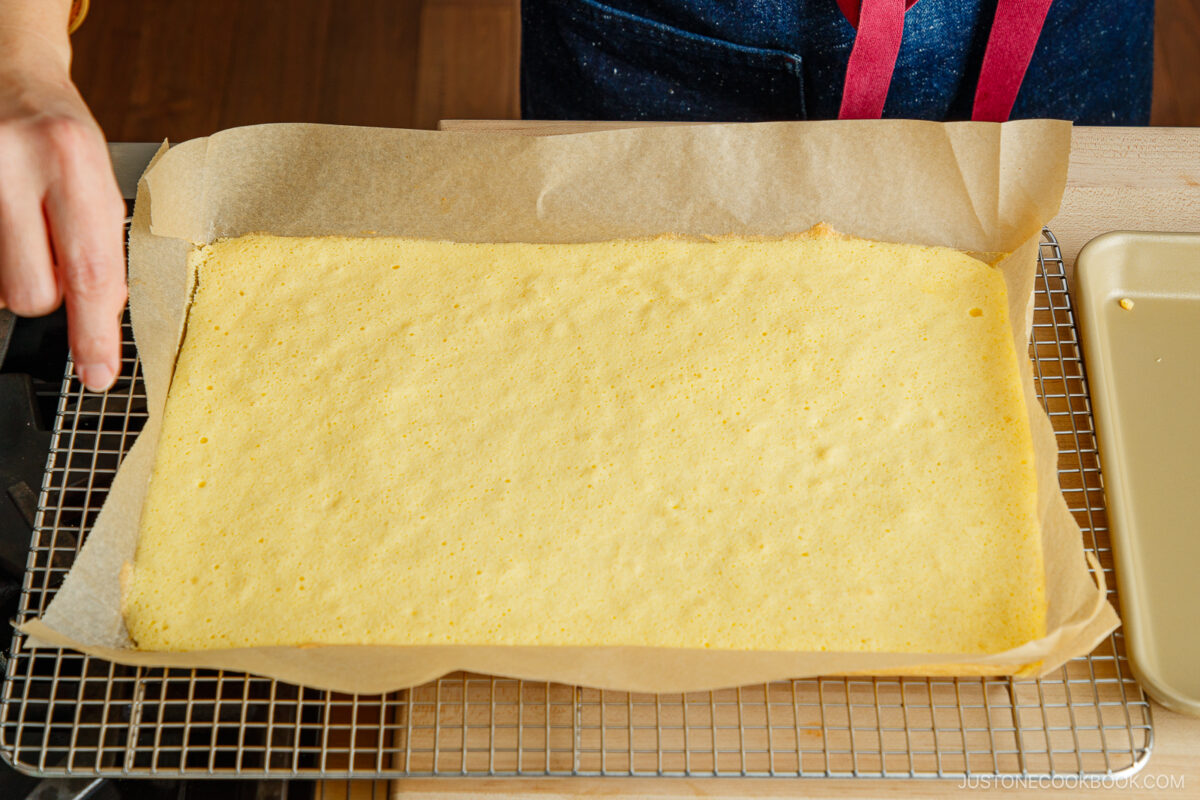
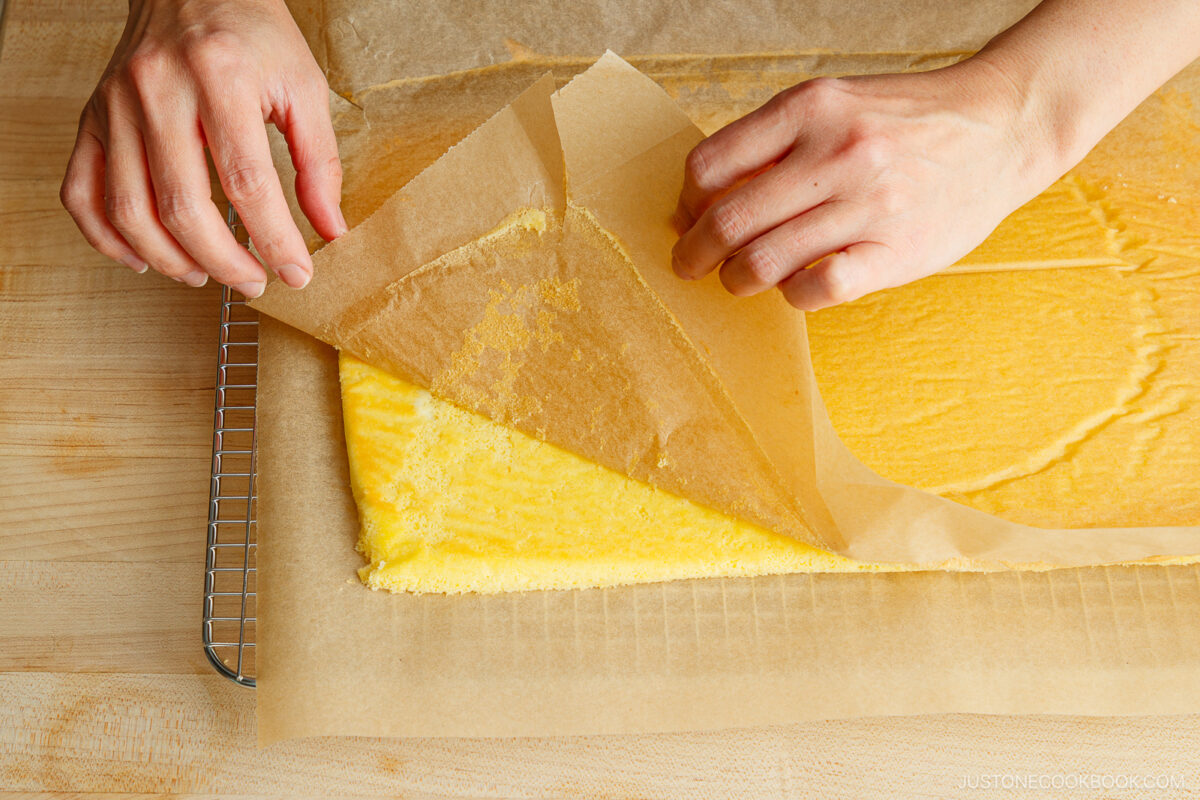
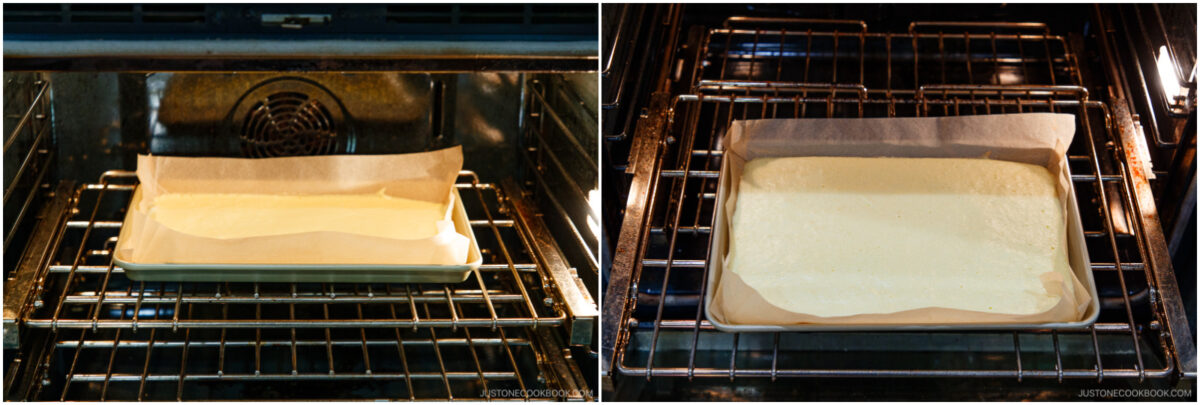
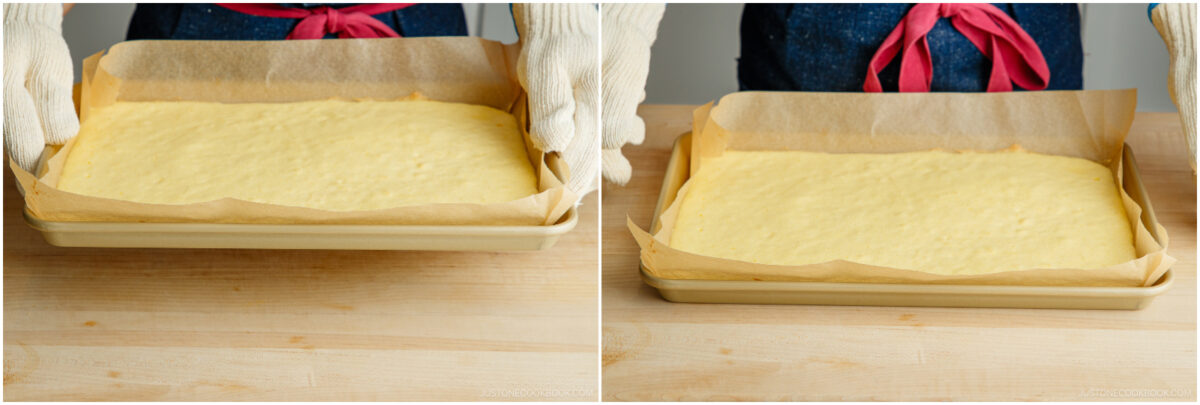
- Bake the sponge. Spread the batter evenly in the pan and bake at 350°F (180°C) for 11 minutes or until golden and firm to the touch. Tap the hot cake pan on the counter a few times to release steam. Slide the cake onto a rack and flip it. Peel off the parchment paper from the bottom of the cake and trim one edge.
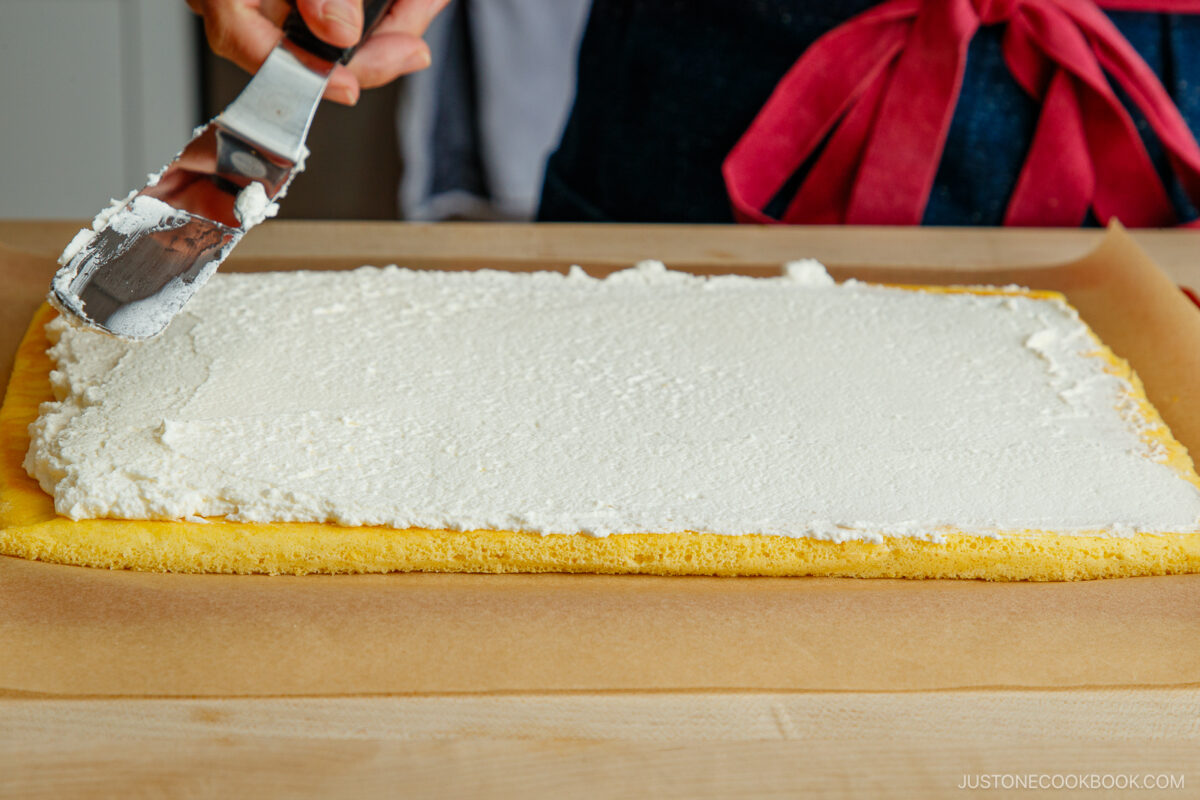
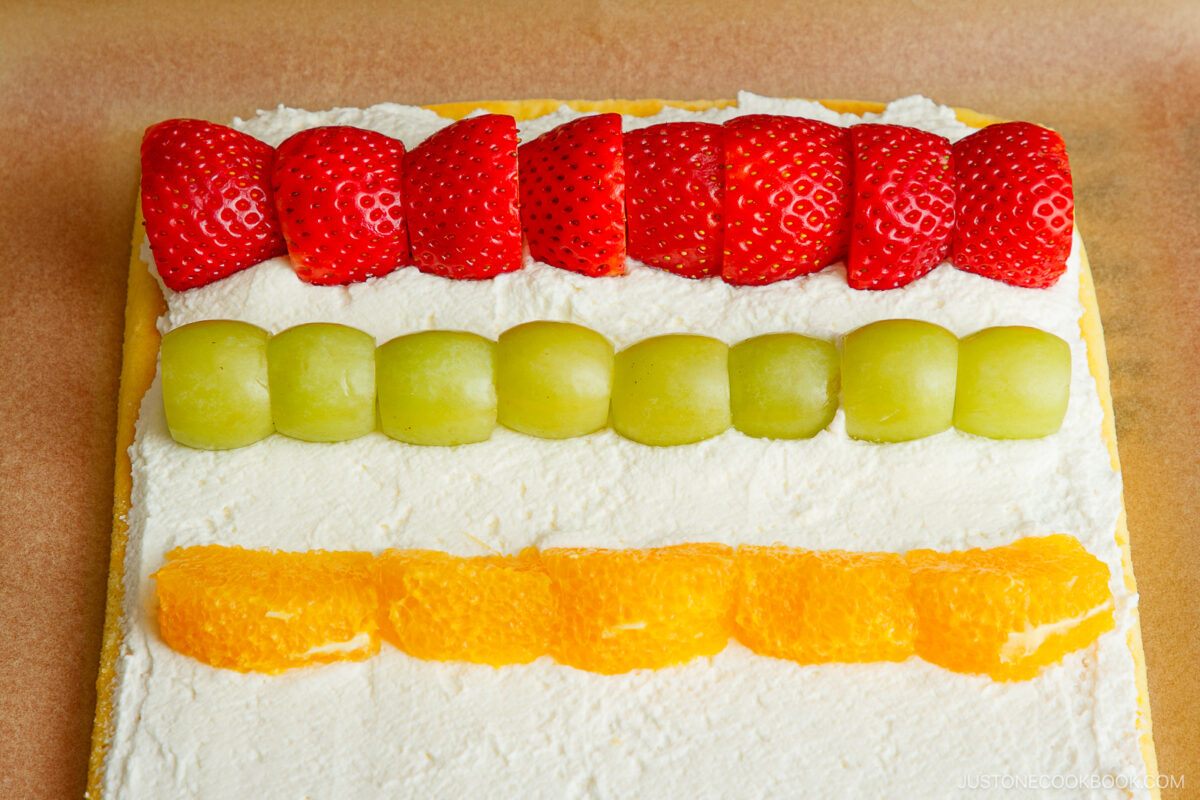
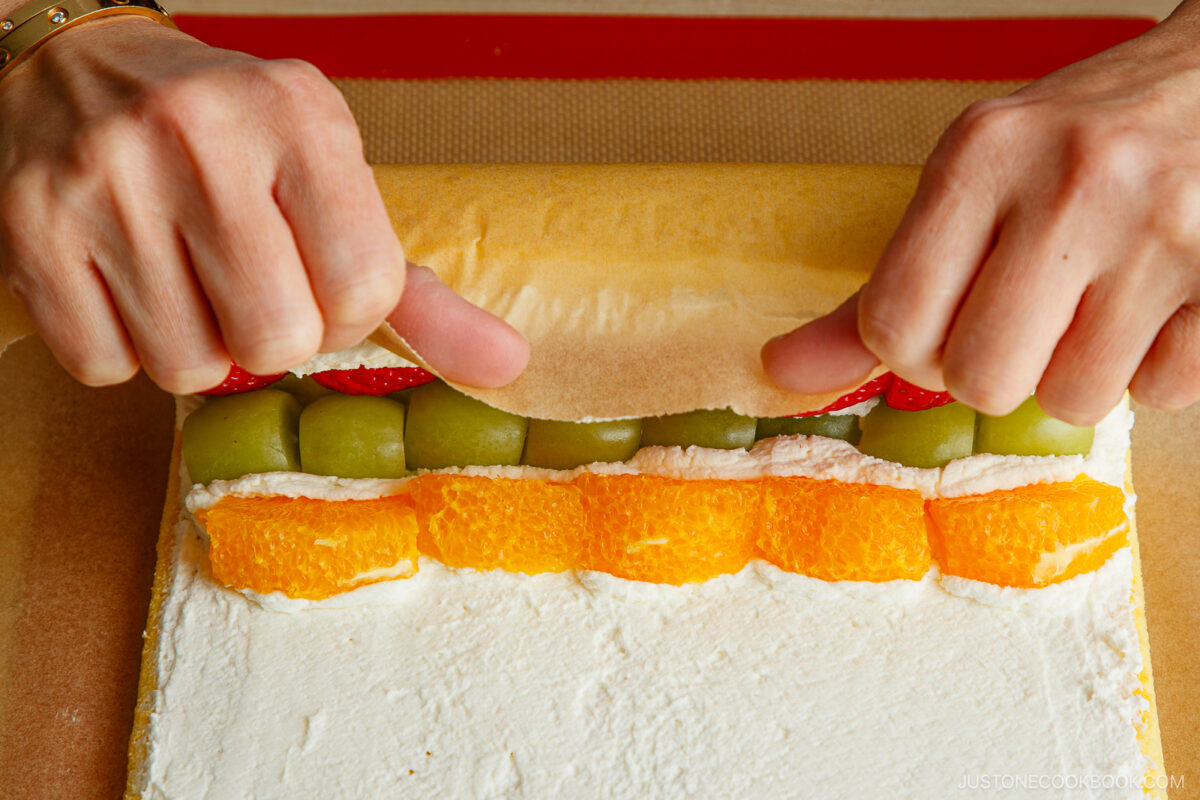
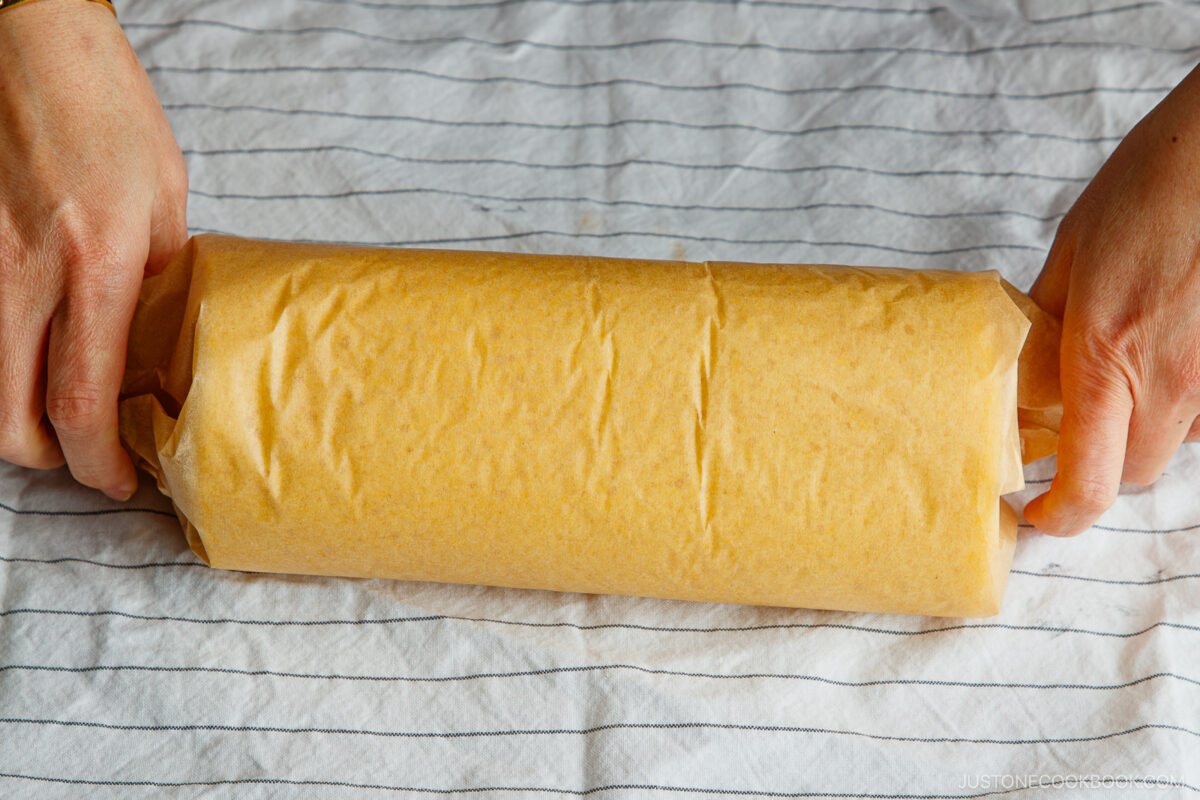
- Fill and roll. Whip the cream and sugar until firm. Spread on the sponge cake base and arrange the fruit in three rows. Roll tightly and wrap in parchment. Cover with a kitchen towel and chill for at least 1 hour.
- Slice and serve. Slice the chilled roll with a sharp knife and serve right away.
Variations and Customizations
Looking to change things up? Try these easy and tasty ideas!
- Use seasonal fruit: Try strawberries, kiwi, and peaches in spring; Shine Muscat grapes, mango, or berries in summer; kyoho grapes or pear in autumn; and canned mandarins or chestnut cream in winter.
- Make it matcha: Replace 2–3 tsp (6–8 g) of cake flour with 1 Tbsp (6 g) of matcha powder. Sift the matcha with the flour twice for a smooth batter. To balance the flavor, you can add ½–1 tsp extra sugar. Use good “culinary-grade” matcha for bright color and clean flavor. For matcha whipped cream, sift ½–1 tsp matcha into the cream before whipping.
- Chocolate lover’s version: Replace 1 Tbsp (6–7 g) of cake flour with 1 Tbsp unsweetened cocoa powder. (Or keep the flour the same and add 1 tsp milk to prevent dryness.) Sift the cocoa with the flour for a smooth batter.
- Flavor the whipped cream: Add a splash of vanilla extract or a touch of yuzu zest for aroma.
What to Serve with Japanese Fruit Roll Cake
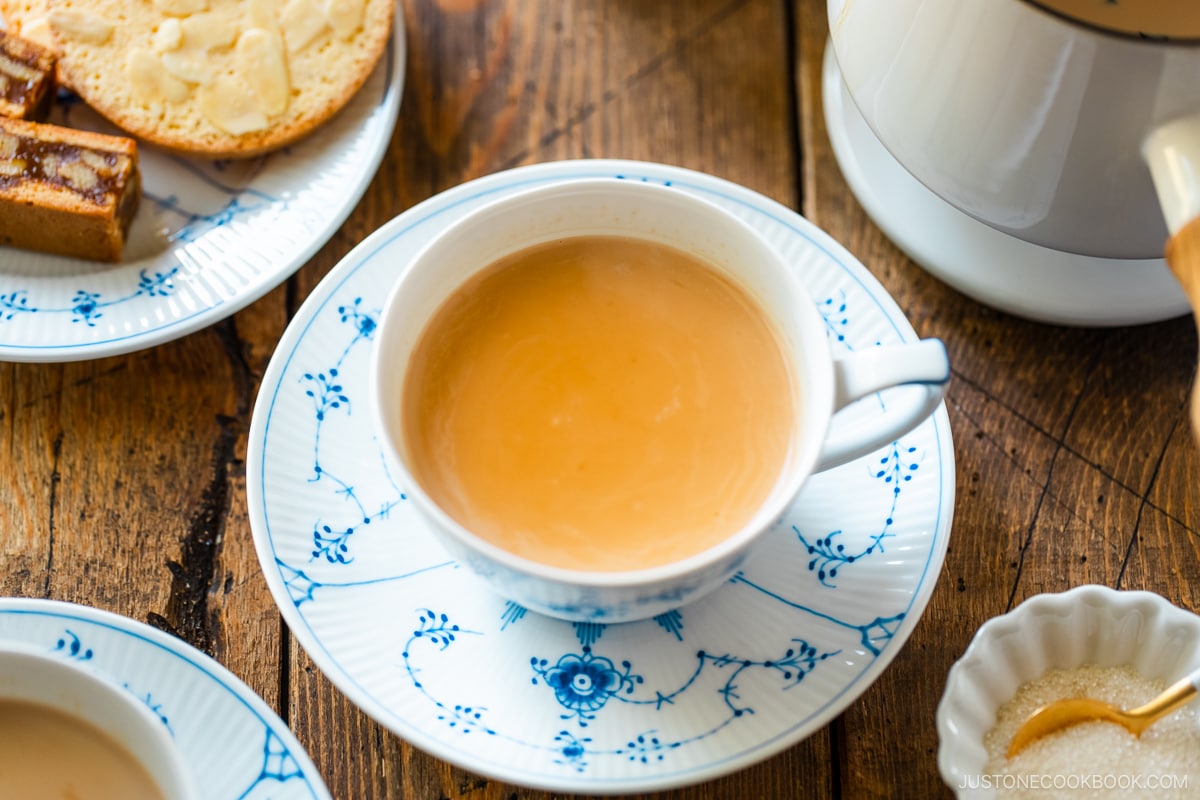
- Royal Milk Tea pairs well for a cozy afternoon treat.
- Japanese Iced Coffee is bright, smooth, and aromatic.
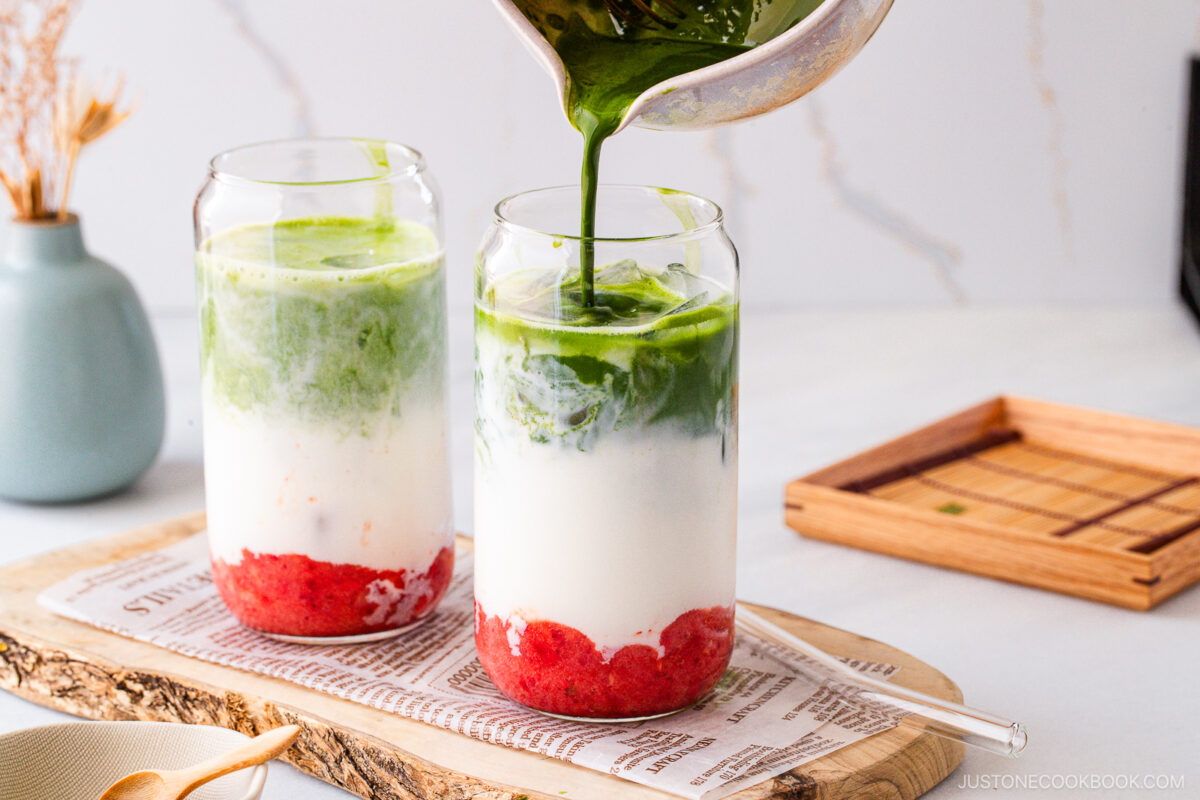
- Strawberry Matcha Latte provides a colorful and earthy contrast.
- Kinako Milk is a nutty and nutritious drink enjoyed hot or cold.


Storage Tips
To store: Wrap leftovers tightly in plastic wrap, store in an airtight container, and keep in the refrigerator for up to 2–3 days. Slice chilled with a warm, clean knife for neat edges. Do not freeze the fruit roll cake, as the whipped cream and fruit change texture after thawing. When frozen and thawed, the fruit releases moisture, which can make the whole cake watery.
FAQs
Absolutely. Kiwi, mango, blueberries, peaches, and bananas work beautifully. Avoid fruits that release too much moisture, like watermelon, or are too firm to slice easily.
Overbaking can dry out the sponge cake. Also, roll the cake while it’s room temperature and flexible to prevent cracking. When the cake gets too cold, it cracks more easily.
You can make this recipe using an electric hand mixer, a large mixing bowl, and a medium mixing bowl.
Yes, you can reduce the sugar slightly, but don’t leave it out completely.
Fruit roll cake does not freeze well. When frozen and thawed, the fruit releases moisture, which can make the whole cake watery.
I’d love to hear how yours turned out! 💛 Please leave a star rating and comment below to share your experience. Your feedback not only supports Just One Cookbook but also helps other home cooks discover recipes they can trust.
Japanese Fruit Roll Cake
Ingredients
- 2½ Tbsp unsalted butter
- 4 large egg yolks
- 3 Tbsp sugar
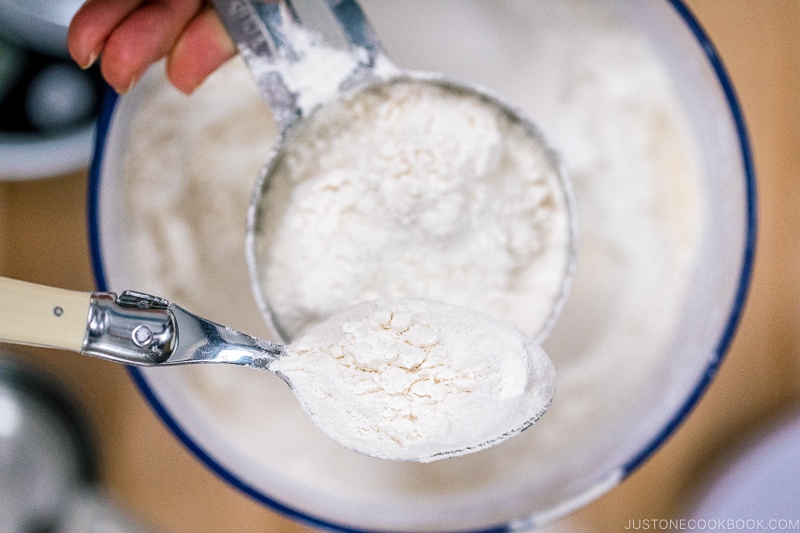
- ⅓ cup cake flour (weigh for accuracy; click the Metric button above for weights; or learn how to measure flour with a measuring cup; visit my cake flour page to make it at home)
For the Meringue
- 4 large egg whites (chilled until partially frozen)
- 3 Tbsp sugar
For the Filling
- fruit of your choice (I used 12 seedless Shine Muscat grapes, 10 strawberries, and half of 1 orange)
- ¾ cup heavy (whipping) cream (cold; 36% or more milkfat)
- 2 Tbsp sugar
Instructions
- Before You Start: I encourage you to weigh your ingredients using a kitchen scale. For weights, click the Metric button above to convert the measurements to metric. If you don't have a scale, here's how to measure flour with a measuring cup to avoid scooping too much: Fluff the flour with a spoon, sprinkle it into the cup, and level it off. Gather all the ingredients. Nami's Tip: If it takes you a long time to cut fruit, consider cutting it ahead of time, as we can't let the cake cool for too long.
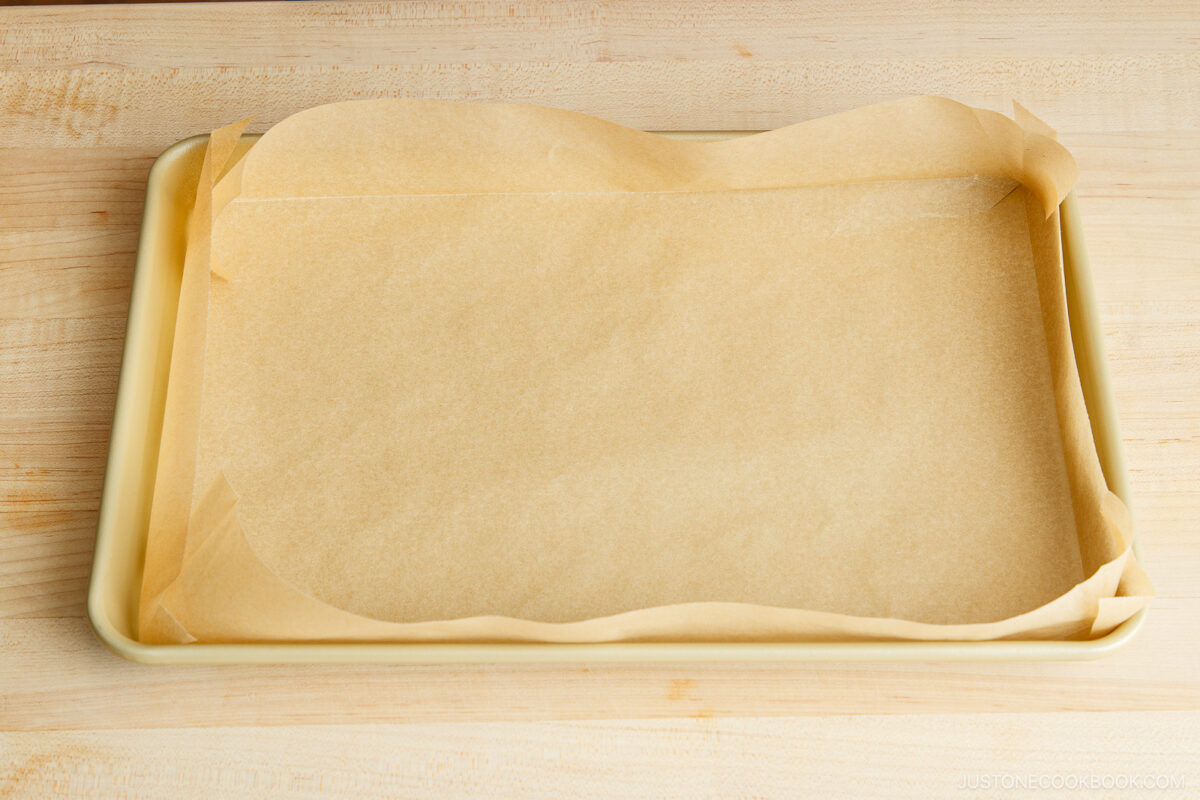
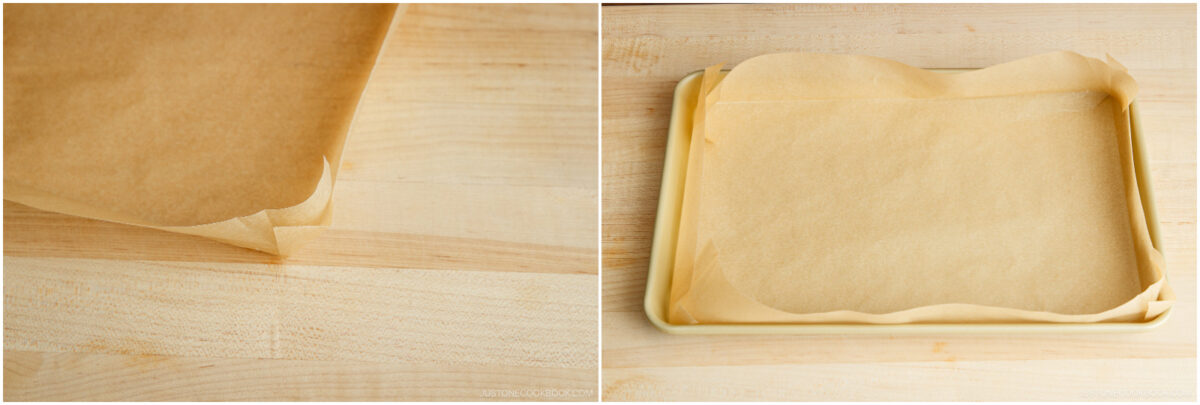
- Preheat the oven to 350°F (180°C). For a convection oven, reduce the cooking temperature by 25°F (15°C). Start boiling a kettle of water.Line a 15 x 10-inch (38 x 25 cm) jelly roll pan with parchment paper so it fits snugly in the corners and on the bottom. Leave some overhang on the edges so the paper is easy to peel off later.
To Mix the Yolks and Butter
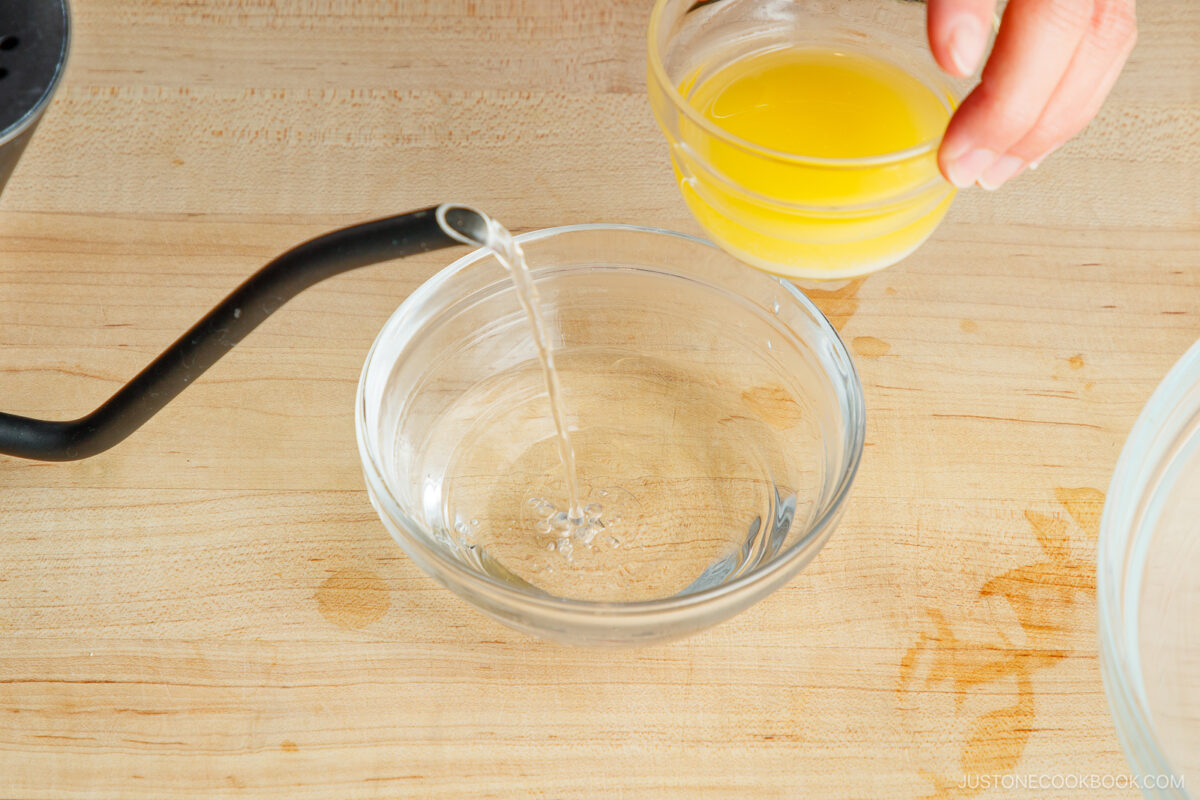
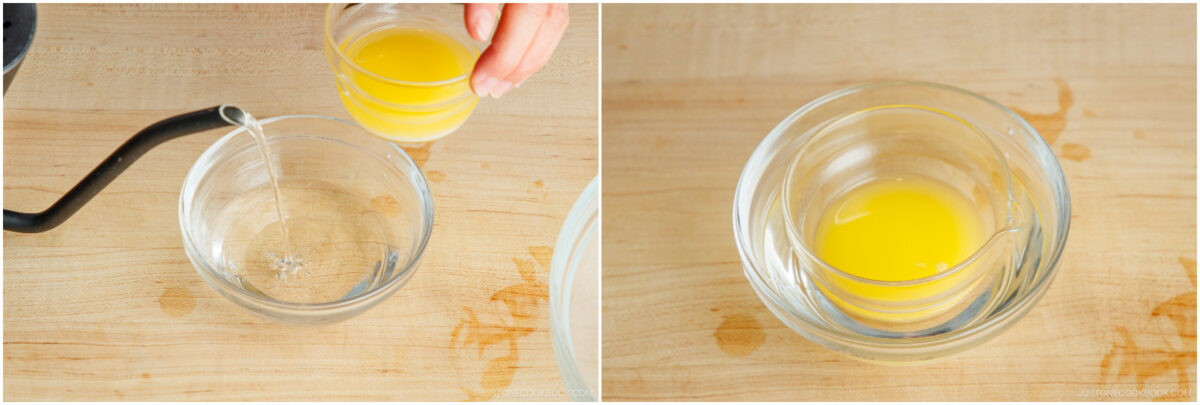
- Place 2½ Tbsp unsalted butter in a small microwave-safe bowl and warm it in the microwave until soft and liquid.
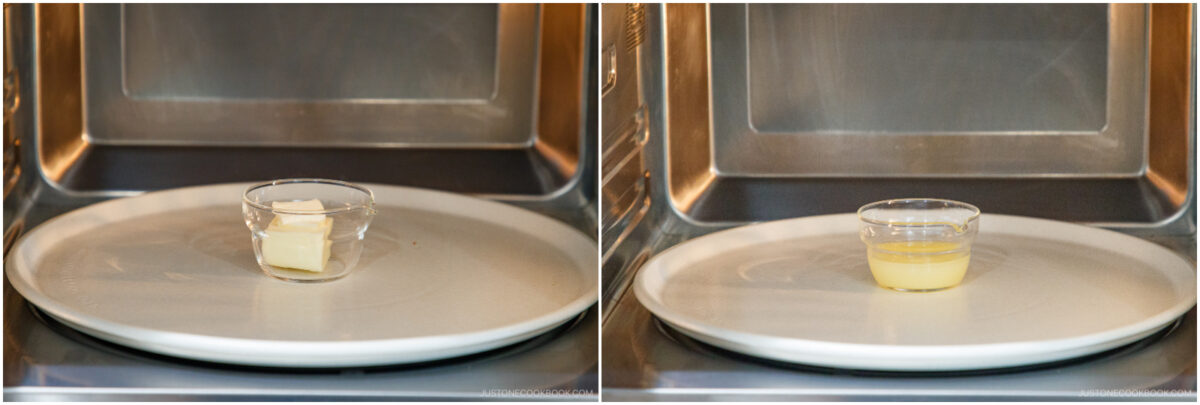
- Do not let it cool. To keep it warm, add about 1 inch (2.5 cm) of hot water (140°F/60°C) to a slightly larger bowl, then set the butter bowl on top to nest in the water.
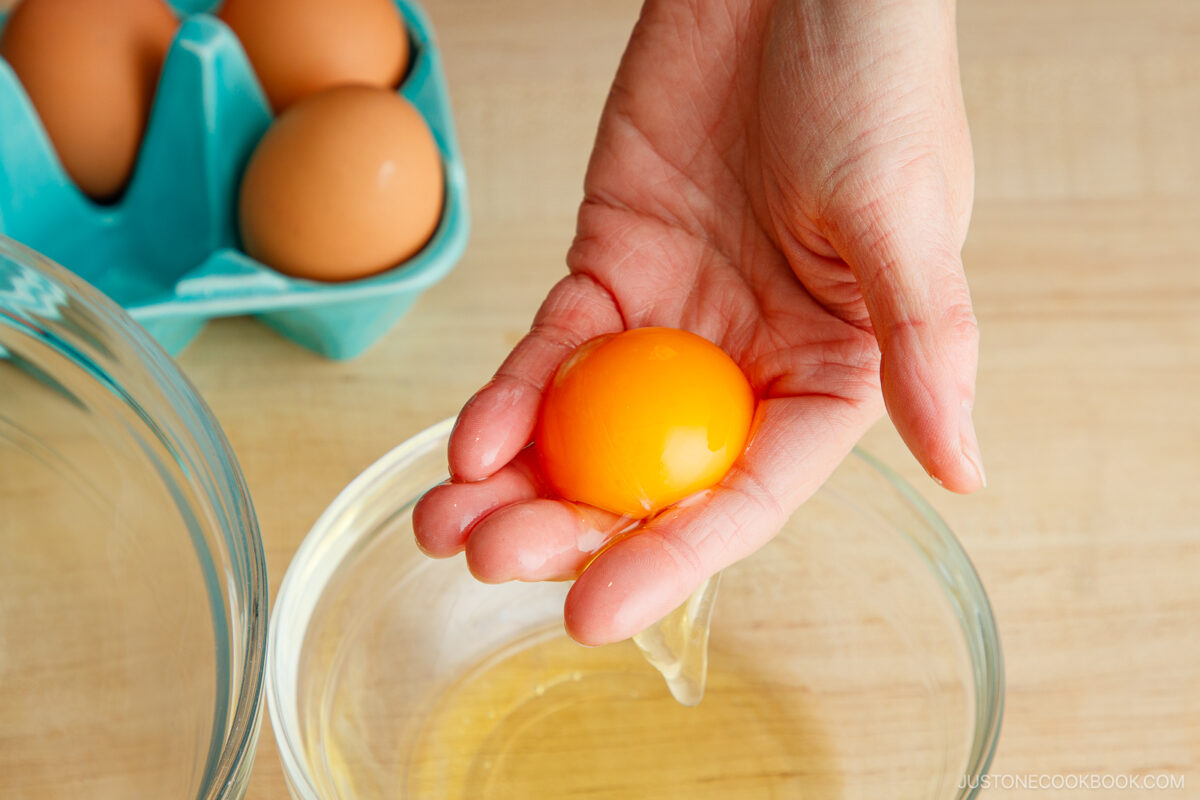
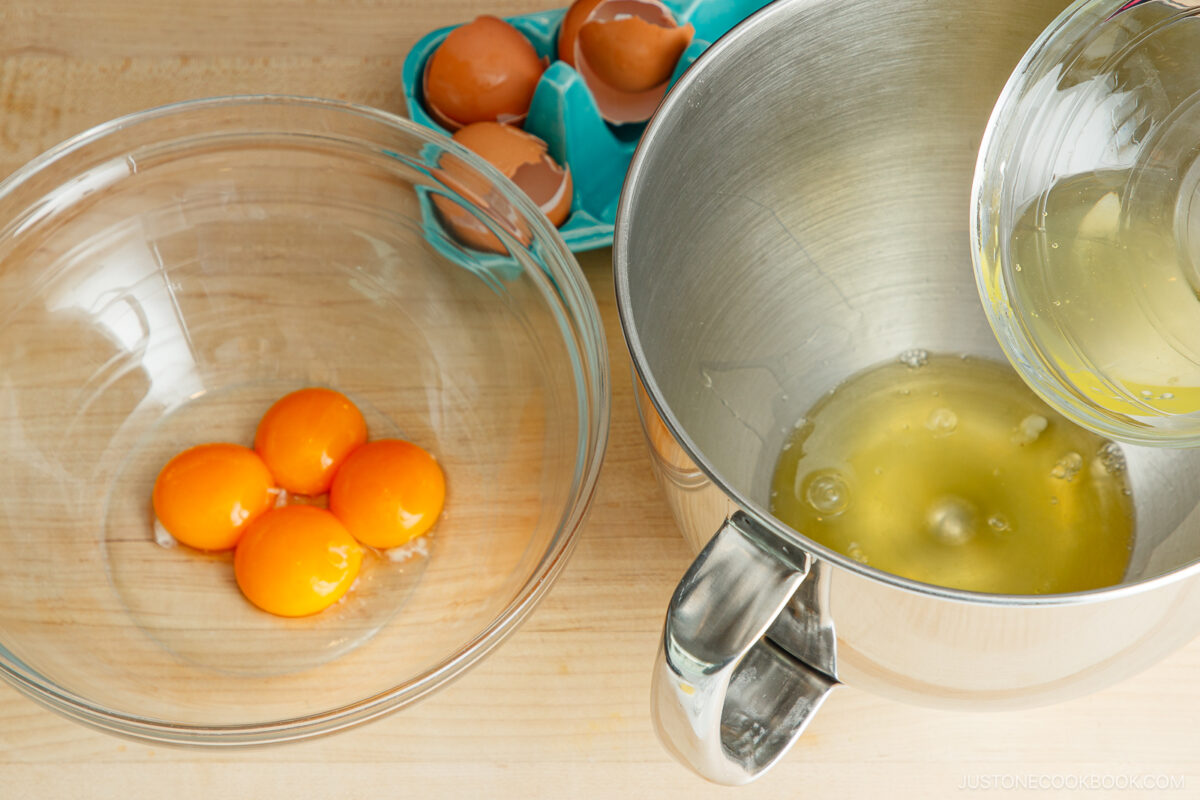
- Separate the yolks and whites of 4 large eggs, if you haven't already. Add 4 large egg whites to a clean, dry stand mixer bowl, then place the bowl in the freezer until the whites are partially frozen (just slightly icy), about 15–20 minutes.
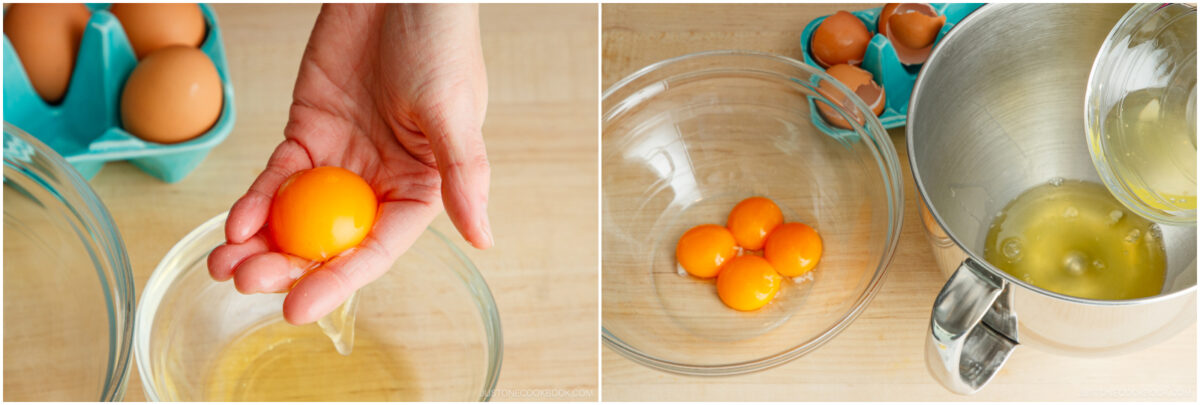
- In a separate medium bowl, lightly beat 4 large egg yolks with a whisk. Add 3 Tbsp sugar and mix well.Nami’s Tip: Don’t let the sugar sit on yolks—whisk it right away. Sugar pulls water out of the yolks, forming grainy, yellow lumps that don't dissolve, resulting in a denser cake with tiny specks in the sponge.

- To create a double boiler, pour about 1 inch (2.5 cm) of hot water (140°F/60°C) into a larger bowl. Set the bowl with the yolk mixture on top. Stir until the sugar dissolves, then whisk vigorously until the mixture is pale, slightly thick, and falls in ribbons from the whisk. Nami’s Tip: Warming the yolks helps dissolve the sugar, traps tiny air bubbles, and loosens the yolks so your sponge cake bakes up lighter, smoother, and more flexible for rolling.
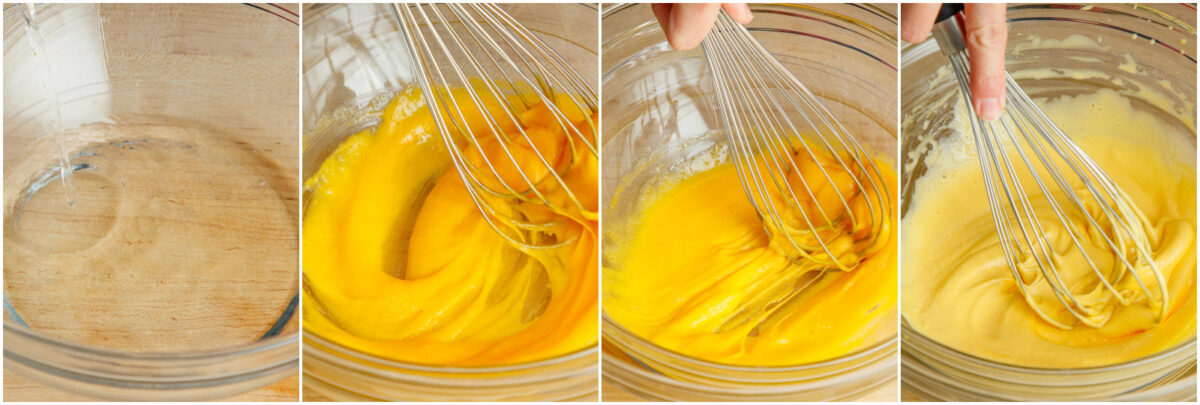
- This is the ribbon stage. The yolk mixture should reach about 100°F (40°C). Add the warm melted butter all at once and whisk until thoroughly combined. Remove the bowl from the double boiler.
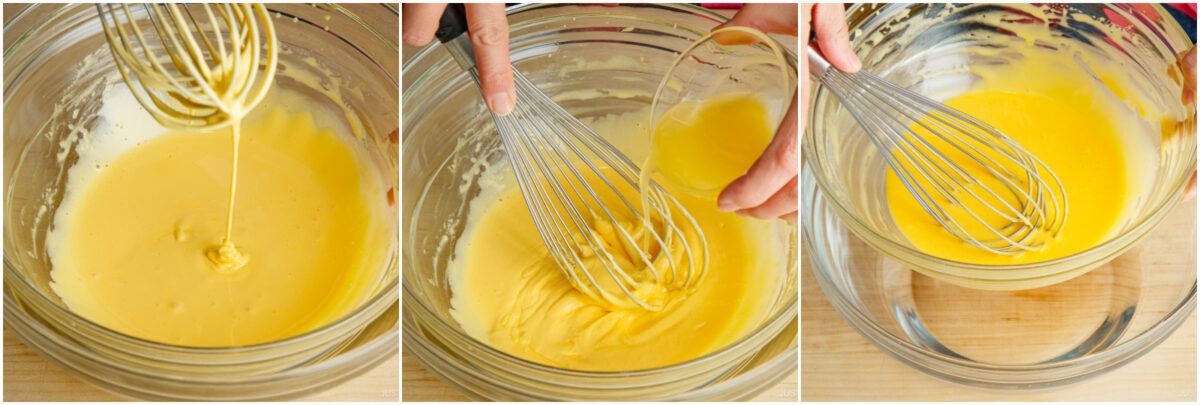
To Make the Meringue
- Set the bowl with the partially frozen egg whites in a stand mixer fitted with a whisk attachment (or use a mixing bowl and handheld electric mixer). Start mixing on low speed (Speed 2), then gradually increase to medium speed (Speed 4) until egg whites become foamy. Nami's Tip: Partially freezing egg whites helps them whip faster and create finer, more stable bubbles, resulting in a smoother, fluffier meringue.
- Switch to medium-high speed (Speed 6) and gradually add 3 Tbsp sugar in three additions, beating well after each until incorporated.
- Sprinkle in the last addition and continue whipping until stiff peaks form. To check, lift the whisk—the meringue should hold a peak that stands straight up or bends slightly at the tip and looks glossy. Lower the speed to "Stir" for a few seconds to smooth the texture.
To Fold the Batter
- Add one-quarter of the meringue to the yolk mixture and gently fold it in with a whisk until incorporated.

- Sift ⅓ cup cake flour through a fine-mesh sieve into the bowl of batter. Gently mix with the whisk until the flour is incorporated and no dry spots remain.
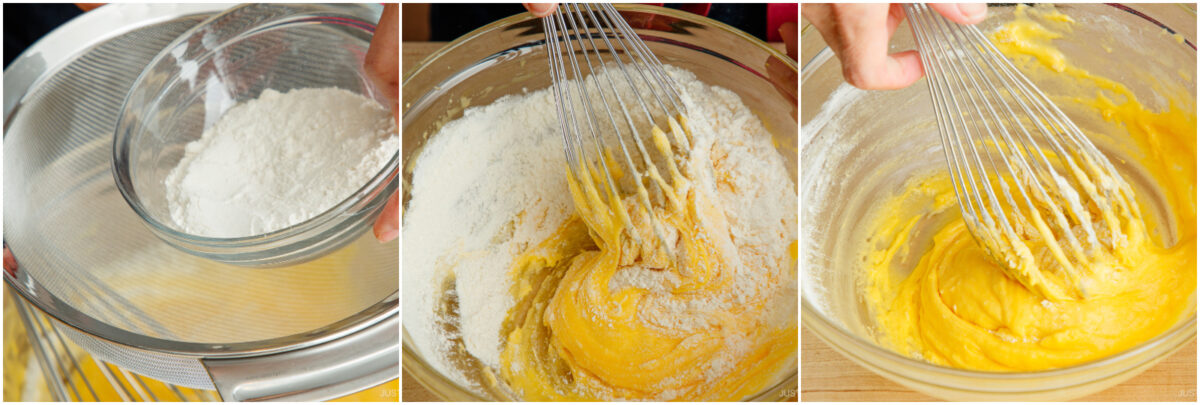
- Gently fold the remaining meringue into the batter with a silicone spatula, using a cutting-and-folding motion until no streaks remain. Nami's Tip: Rotate the bowl one-quarter turn counterclockwise while scooping and folding clockwise until just incorporated.
To Bake
- Pour the batter into the prepared pan and spread it evenly with a pastry card or offset spatula.

- Work it into the corners and smooth out the top. Be careful not to overwork the batter, as this can deflate the air bubbles.

- Bake in the preheated oven at 350°F (180°C) for 10–12 minutes, until edges are lightly golden and top is firm to the touch, springing back when gently pressed.Nami's Tip: Adjust the baking time as needed for your oven. Since every oven heats differently, start checking around the 9-minute mark.
- Remove the pan from the oven and tap it a few times on the counter to release any steam.
To Unmold the Cake
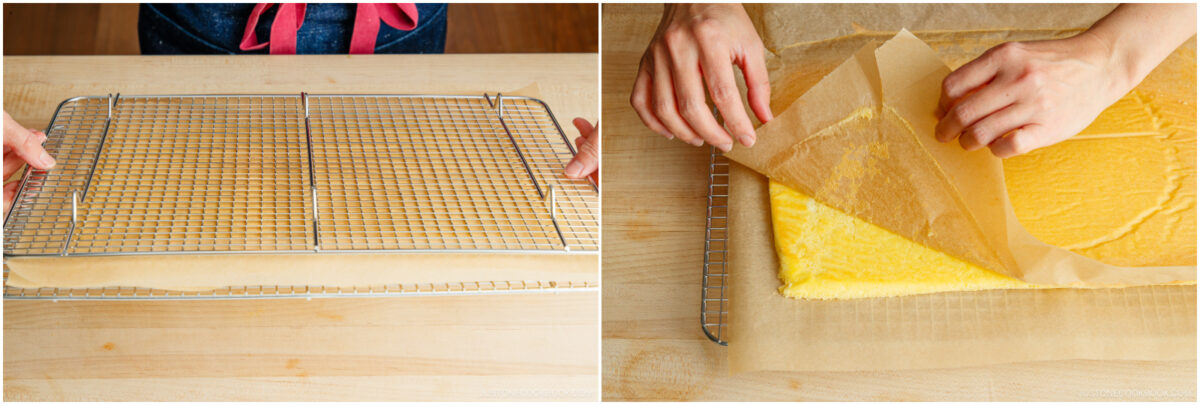
- While the pan is hot, pull the shorter side of the parchment overhang to slide the sponge cake onto a wire rack. Let it cool slightly. When the surface feels dry to the touch and no warm air comes off the cake, place a new sheet of parchment paper on top.
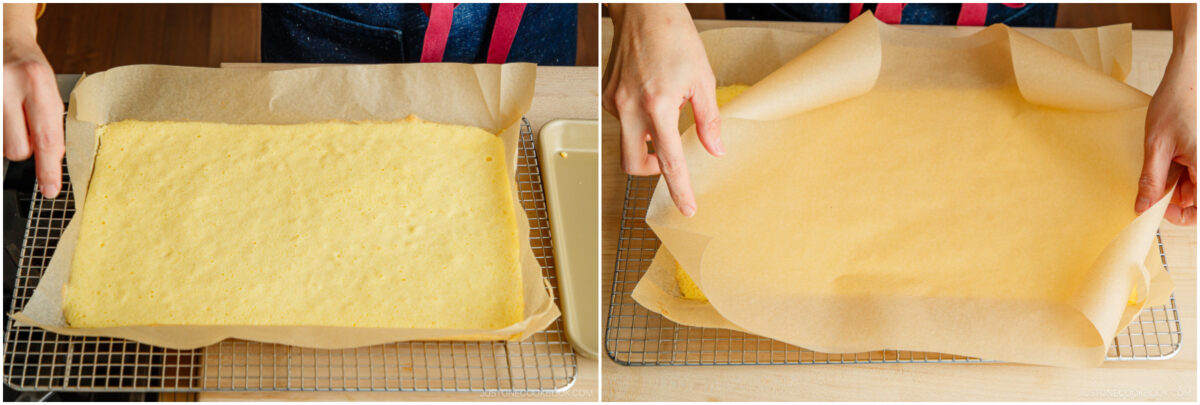
- Place another rack over the cake and flip it over so the bottom of the cake faces up. Carefully peel off the parchment paper. Avoid pulling from one corner only, as the cake may tear near the end. Instead, gently loosen the paper from each corner toward the center. Cover loosely with parchment or a clean kitchen towel to keep it from drying. Do not overcool or refrigerate—the sponge cake cracks more easily when cold.
To Prepare the Fruit
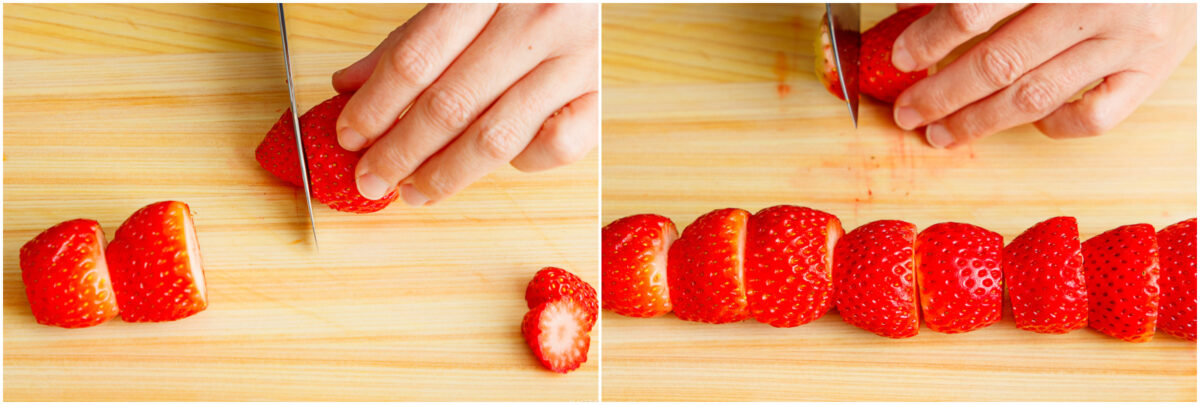
- While the cake is cooling, prepare the fruit of your choice; here's how to prepare strawberries, grapes, and an orange. Cut off the tops and tips of 10 strawberries to create flat surfaces. Line them up end to end so the cut surfaces touch. You will need about 10 inches of strawberries.Nami's Tip: Flat-cut surfaces help the fruit line up straight without gaps to create a beautiful cross section when you slice the cake.
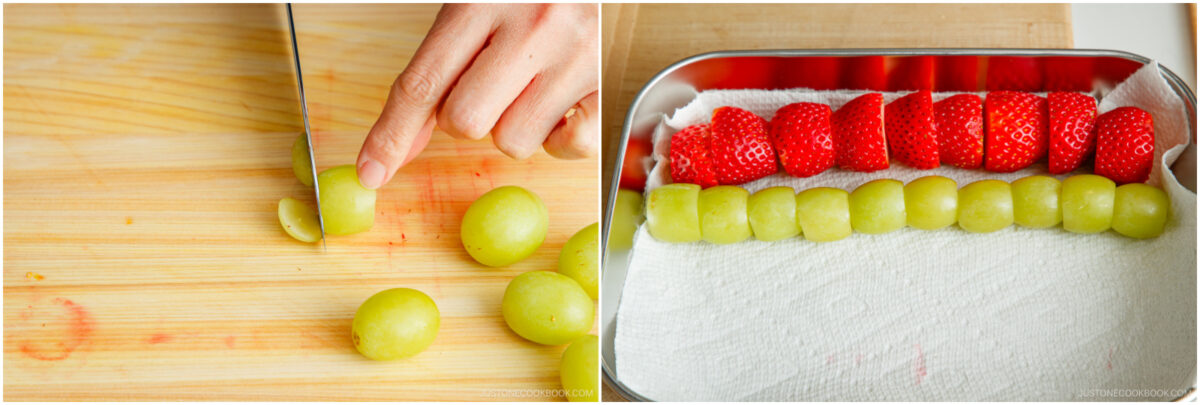
- Likewise, cut off both ends of 12 Muscat grapes. Line them up end to end so the cut sides touch. You will need about 10 inches of grapes. Nami's Tip: Place a paper towel underneath to absorb excess moisture.
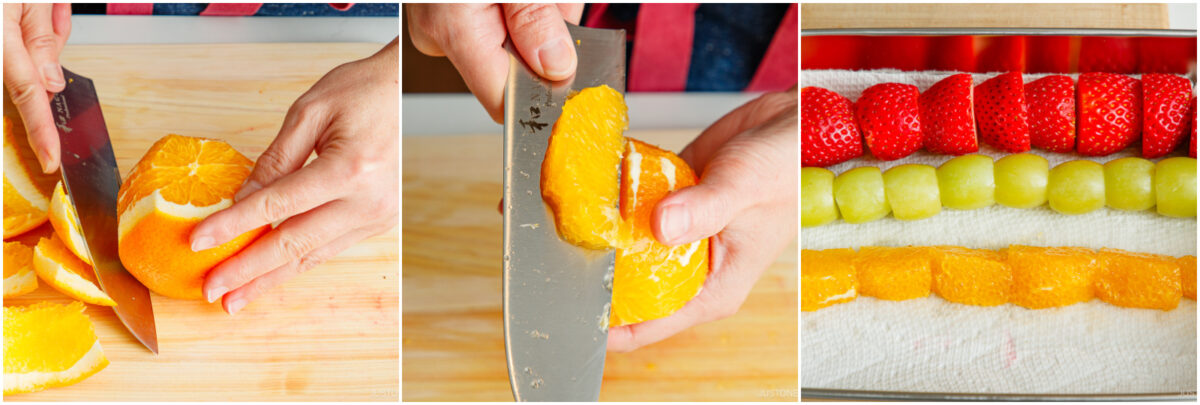
- Cut off and discard both ends of 1 orange. Then, remove the peel with a knife. Cut out the orange segments, leaving the membranes behind. Line them up end to end. You will need about 10 inches of orange segments (I used half an orange).
To Make the Whipped Cream
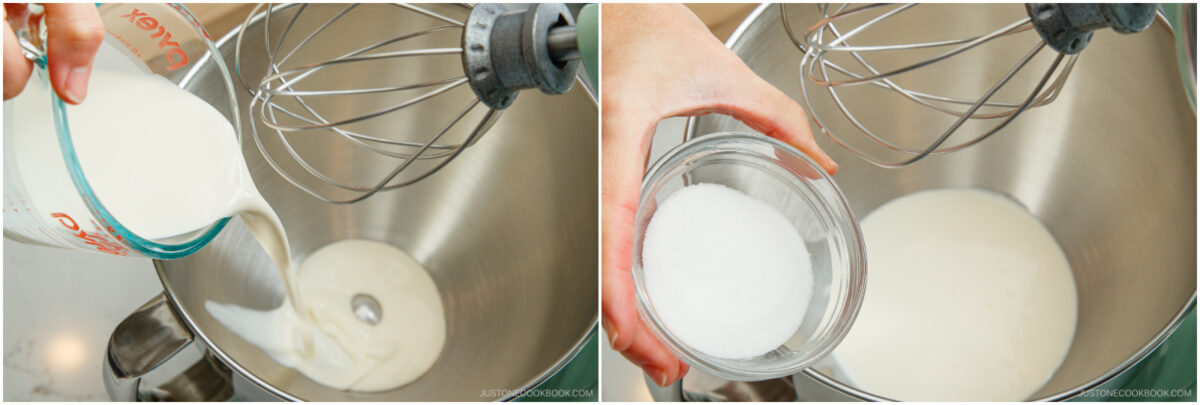
- When the cake is completely cool, combine ¾ cup heavy (whipping) cream and 2 Tbsp sugar in the bowl of a stand mixer.Nami's Tip: Chill the bowl and whisk for 10 minutes. Cold cream whips faster and holds peaks better.
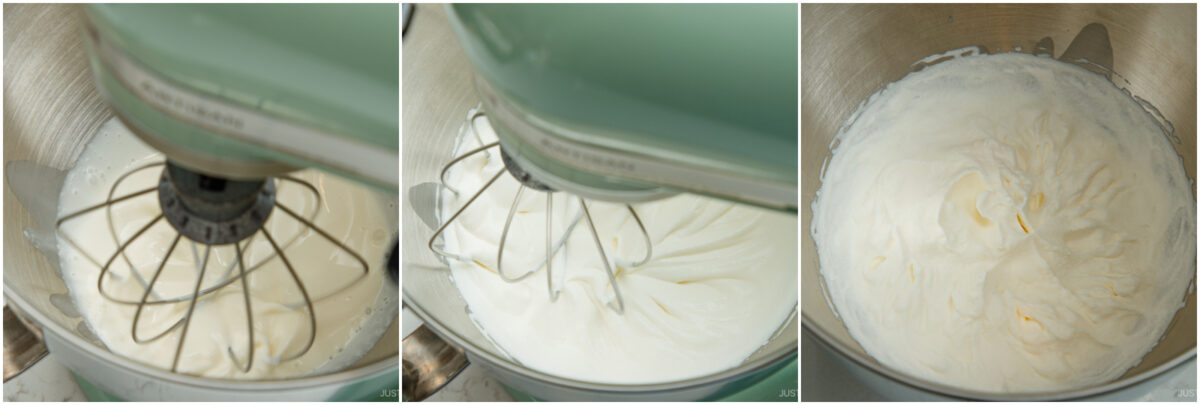
- Beat on high (Speed 8–10) until firm and spreadable, so it won’t ooze out of the cake when you're rolling it up.
To Assemble the Fruit Roll Cake
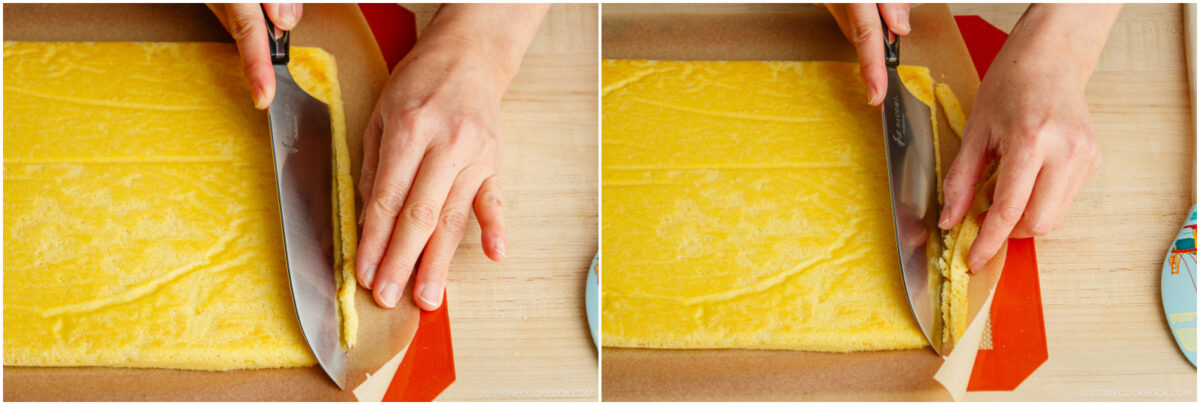
- When the filling is ready, place a slightly damp towel or nonstick silicone baking mat under the parchment paper with the cake on top. This will help prevent the paper from slipping.Using a sharp knife, diagonally trim about ½ inch (1.3 cm) off one short end of the cake to reduce overlap when rolling.
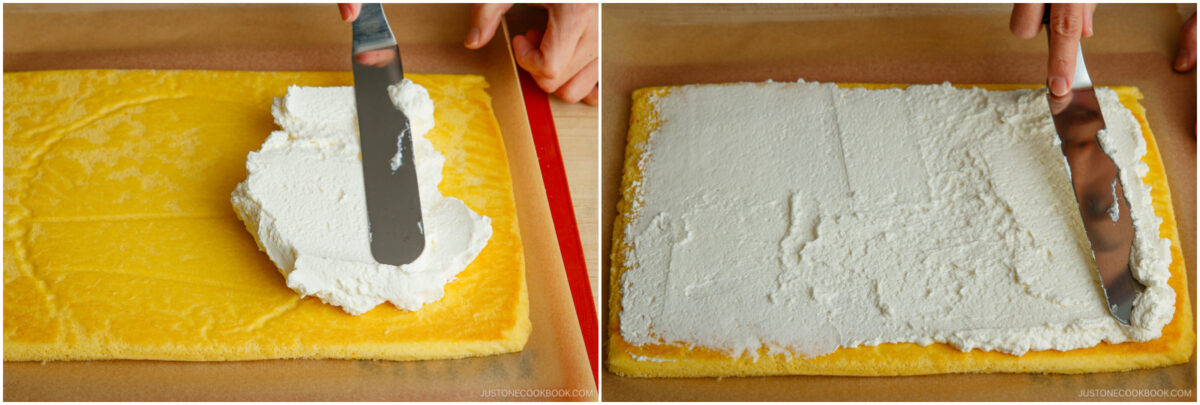
- Using an offset spatula, spread a thin layer of whipped cream to within ½ inch (1.3 cm) of the cake's edges. Spread it thicker at the front (starting short edge) and thinner toward the sides and back (ending edge). This helps prevent the cream from shifting when you roll.
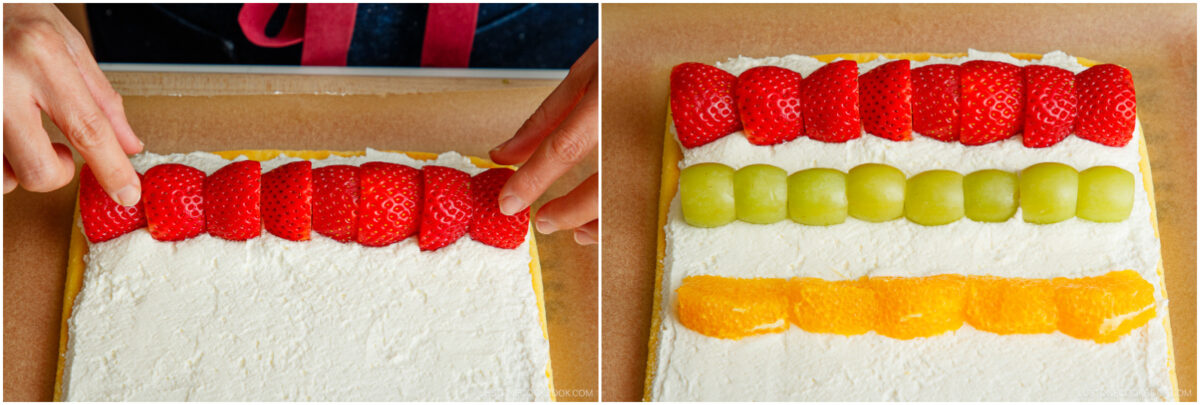
- Arrange the fruit in three rows. Line up the strawberries about 1 inch away from the cake's front edge. Next, arrange a row of grapes ½ inch behind the berries and the orange segments about 1 inch behind the grapes. Press the fruit gently into the cream.Nami's Tip: Place firm fruits, like strawberries or bananas, at the front of the roll to help form the core.
- Starting at the strawberry edge, use the parchment to lift and roll the cake over the filling.

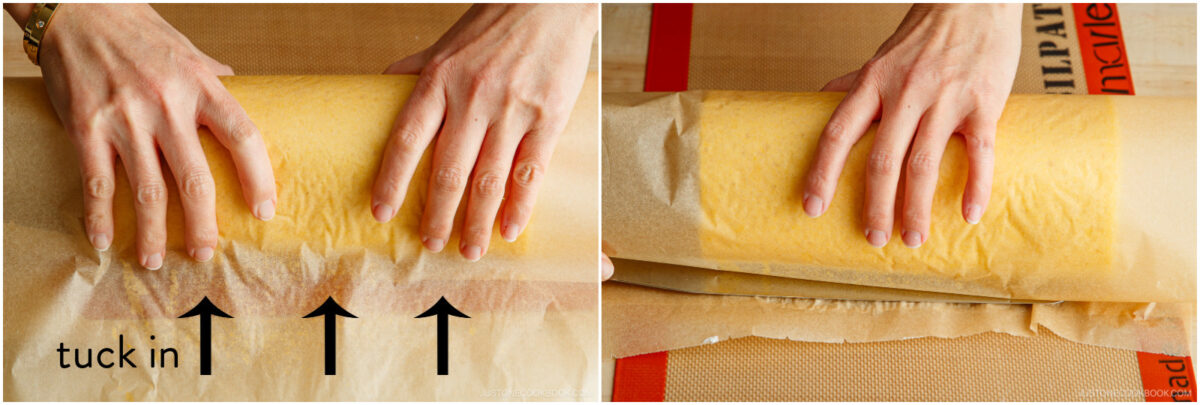
- Make a small, tight roll, ending seam side down. If there are any gaps or excess cream on the sides, smooth them out with an offset spatula. Using a long ruler, tuck the top sheet of parchment under the roll, then continue rolling it tightly in the remaining parchment to secure the shape and keep the filling inside.
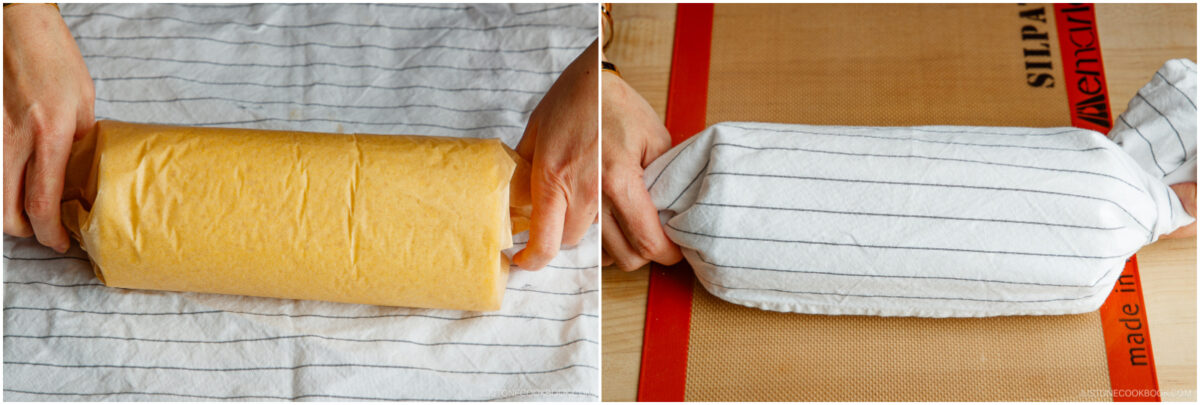
- Fold both ends closed, then wrap the roll cake in a kitchen towel. Chill in the fridge with the cake's seam side down for at least 1 hour to firm up. Nami's Tip: Mark the seam side so you know which side should rest face down in the fridge.
To Serve
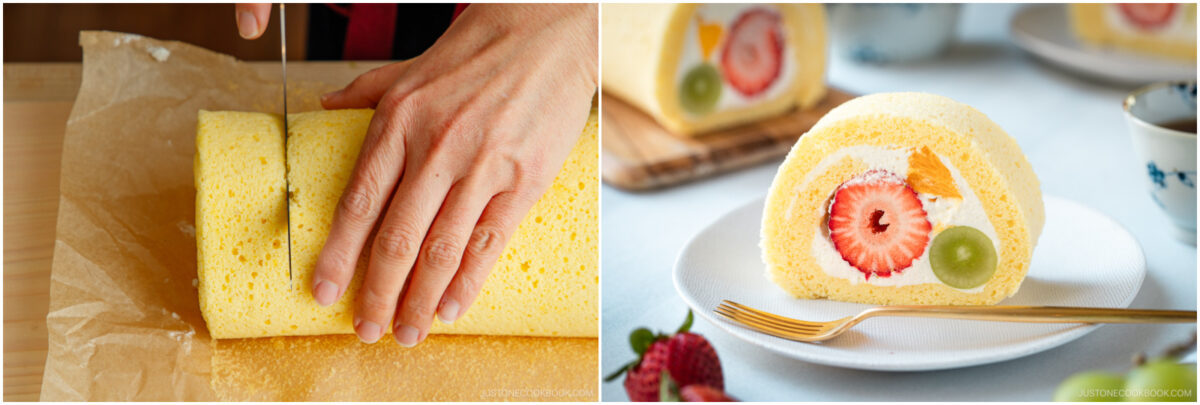
- Unwrap the roll cake. For a pretty presentation, slice ½ inch (1.3 cm) from both ends to show the beautiful swirls.
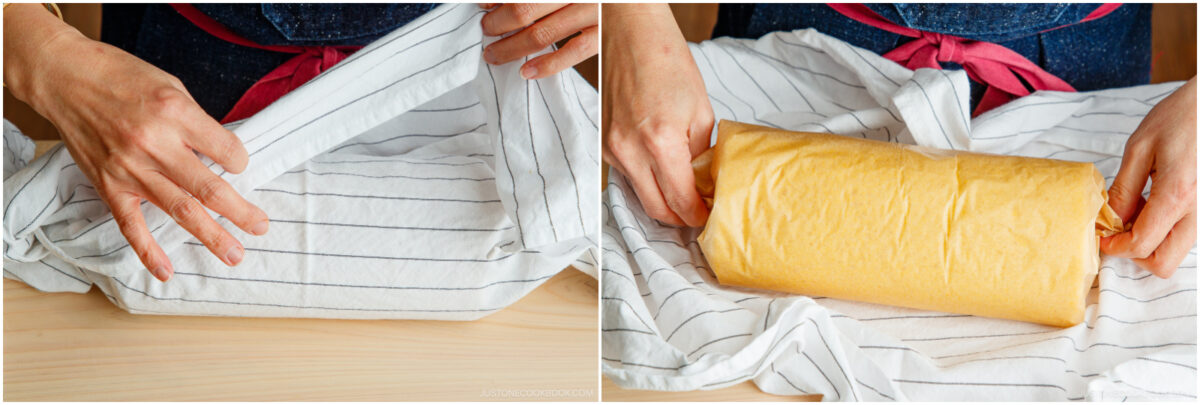
- Use a warm knife to slice neat pieces, wiping it clean between cuts (dip in hot water and dry). Transfer to dessert plates and serve.
To Store
- Wrap leftovers tightly in plastic wrap, store in an airtight container, and keep in the refrigerator for up to 2–3 days. Fruit roll cake does not freeze well. When frozen and thawed, the fruit releases moisture, which can make the whole cake watery.
Did you make this recipe?
Tag @justonecookbook on Instagram so we can see your delicious creation!


