
If you’ve been following Just One Cookbook for a while, you are most likely familiar with shiso. It is my favorite and the most popular Japanese culinary herb that we use to garnish and flavor many dishes, including sushi and tempura.
Shiso has been getting a lot more attention outside of Japan these days because of its unique aroma and ease of growing. I have had many readers who grow shiso with much success, and they always ask me what other ways to make the best of the herb. So, here I am, bringing you another EASY yet AMAZING recipe—Shiso Garlic Soy Sauce.
Not only is it an all-purpose sauce that can be used in many ways, it is also brilliant in preserving fresh shiso for a longer time.

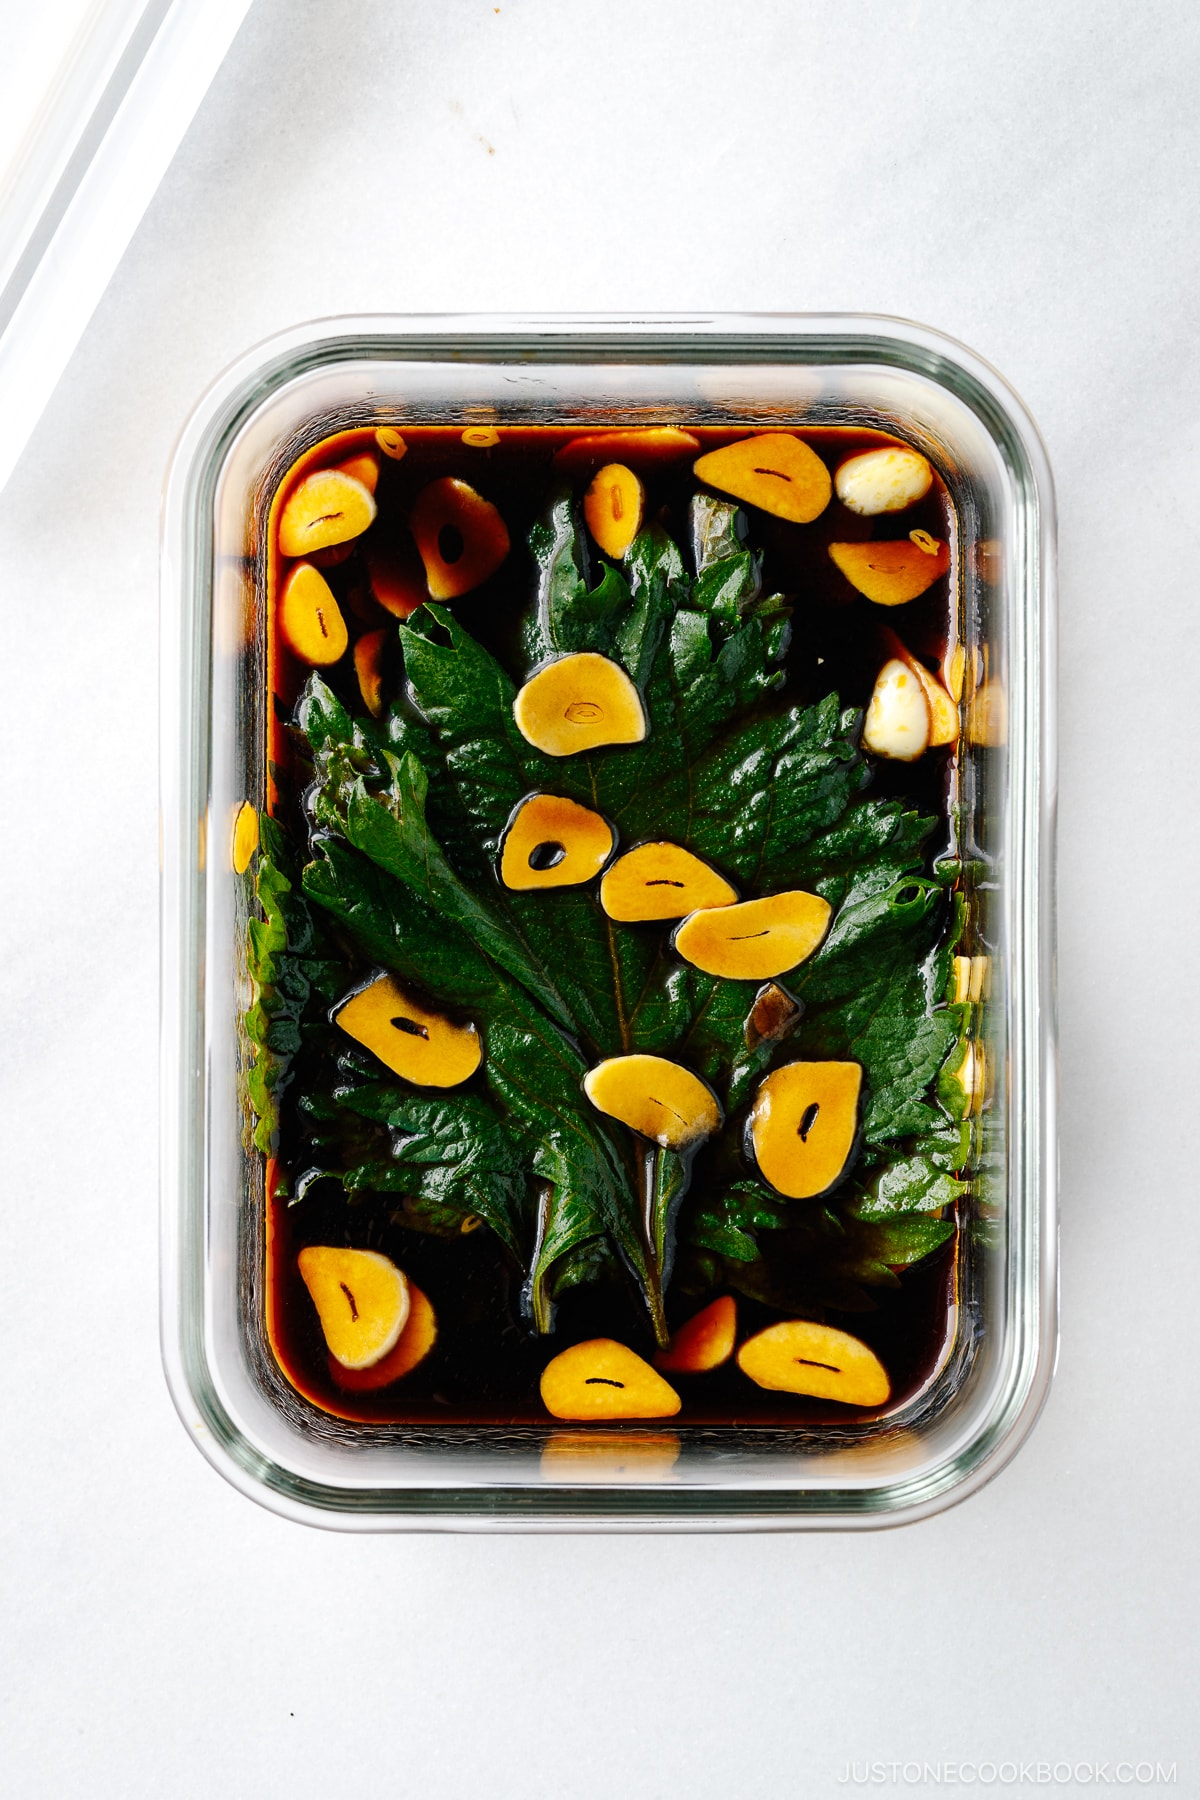
What is Shiso Garlic Soy Sauce?
It’s basically soy sauce infused with shiso and garlic, and the original recipe was introduced by this lady who shared it on her food blog and Cookpad Japan in 2006. The word started to spread and everyone in Japan was making shiso garlic soy sauce and using it on everything they eat!
Without a doubt, the sauce is ridiculously simple, but sometimes it takes an ingenious cook to pair basic flavors and create something fresh and new that everyone loves.
I too have been making this sauce, especially in the summertime when shiso leaves are abundant.
More on Shiso
Shiso, also known as perilla leaves, has a very distinct and refreshing taste, with notes of mint, basil, cloves, and cinnamon. Your local Japanese and Korean markets should carry them. If not, you can always try growing your own shiso from seeds! They can be grown in the garden or in the pot and are fairly low maintenance. Once they start growing, you can almost guarantee a bountiful harvest.
Is it worth growing shiso? Yes, if you like Japanese food:)
Here’s our pantry page about shiso and how to use it.

How to Make Shiso Garlic Soy Sauce
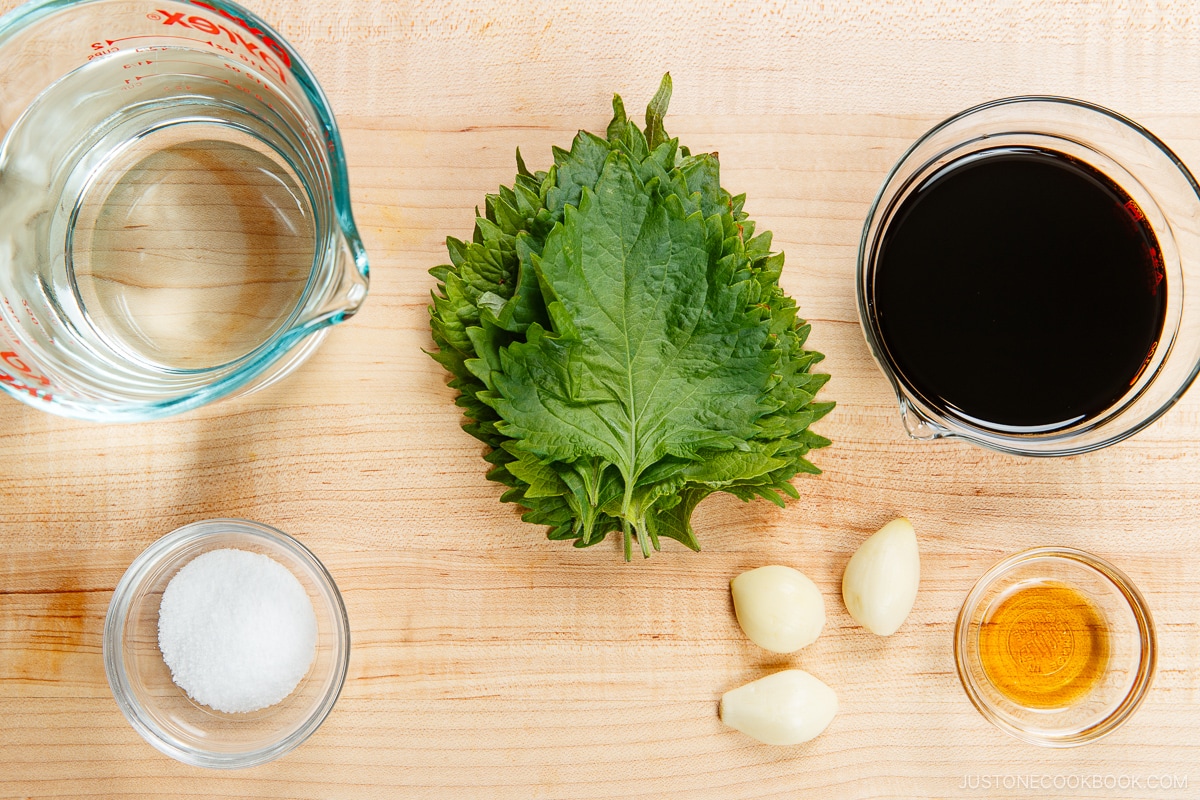
Ingredients You’ll Need
- Green shiso leaves (perilla) – New to this Japanese herb? Read more here.
- Garlic
- Soy sauce
- Sesame oil
Cooking Steps
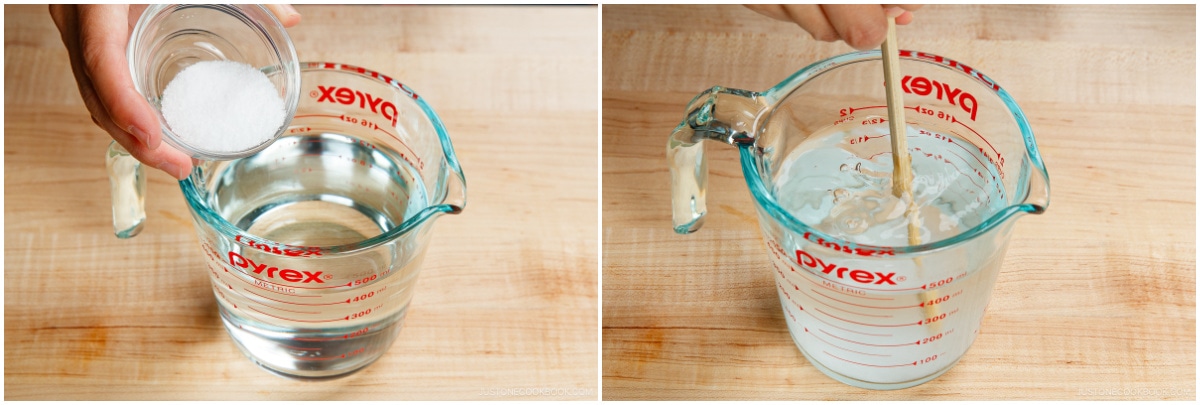
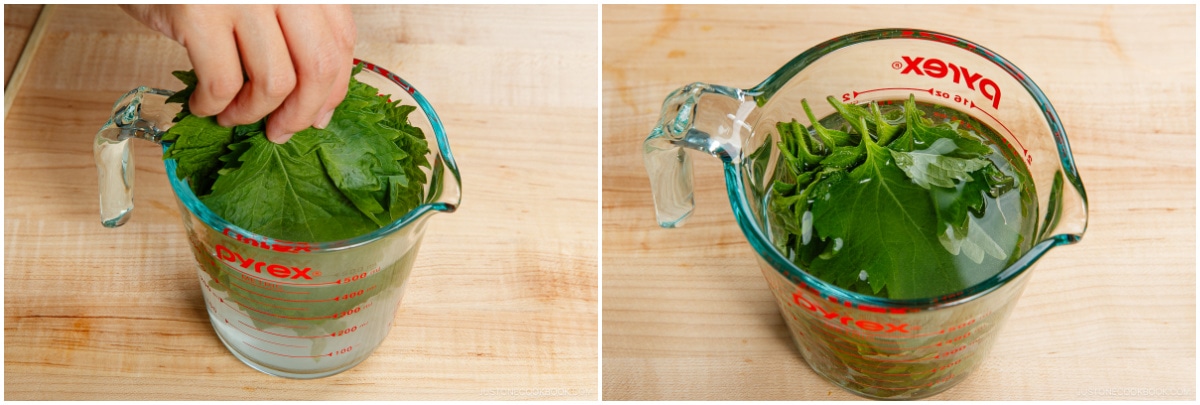
- Combine the salt and water in a bowl or a liquid measuring cup. Soak shiso leaves in salted water for 10 minutes.
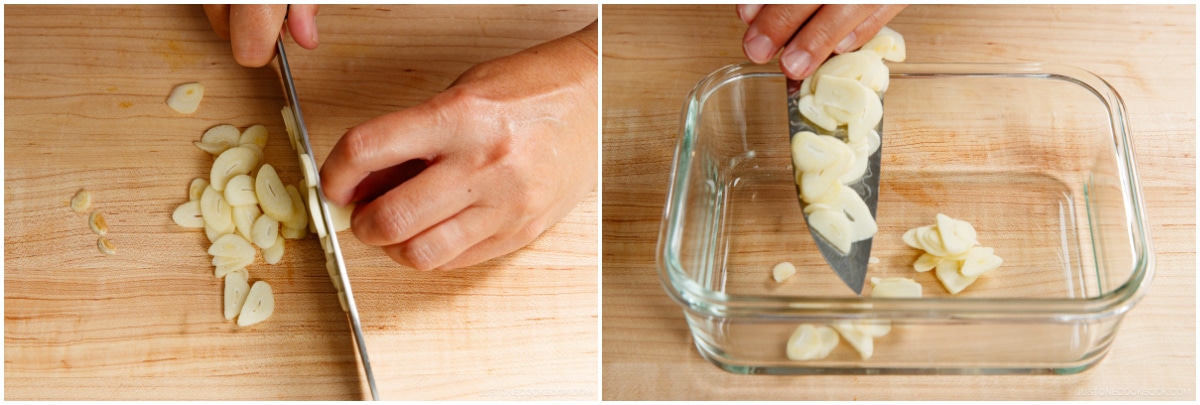
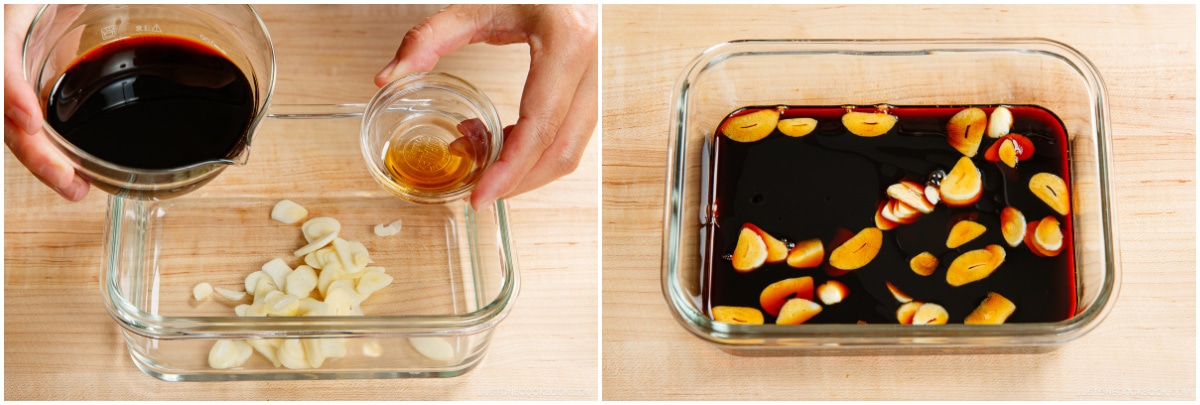
- Meanwhile, cut the garlic into thin slices. Then, combine the garlic, soy sauce, and sesame oil in a container.
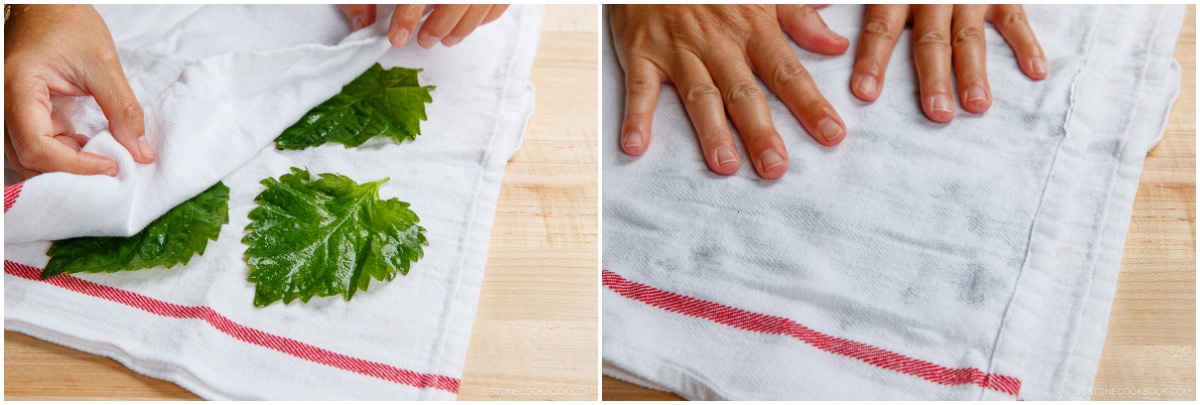
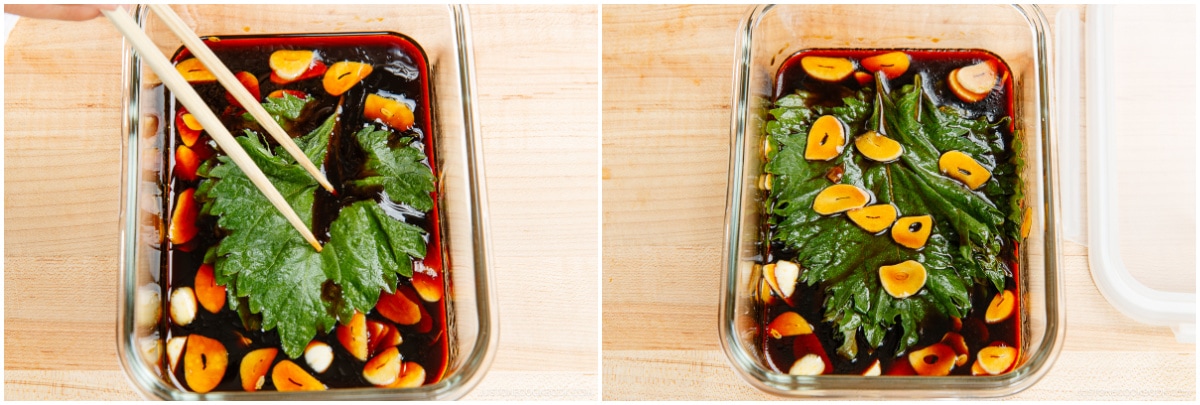
- Pat dry the shiso leaves, making sure there is no moisture left. Then submerge one leaf at a time in the soy sauce mixture.
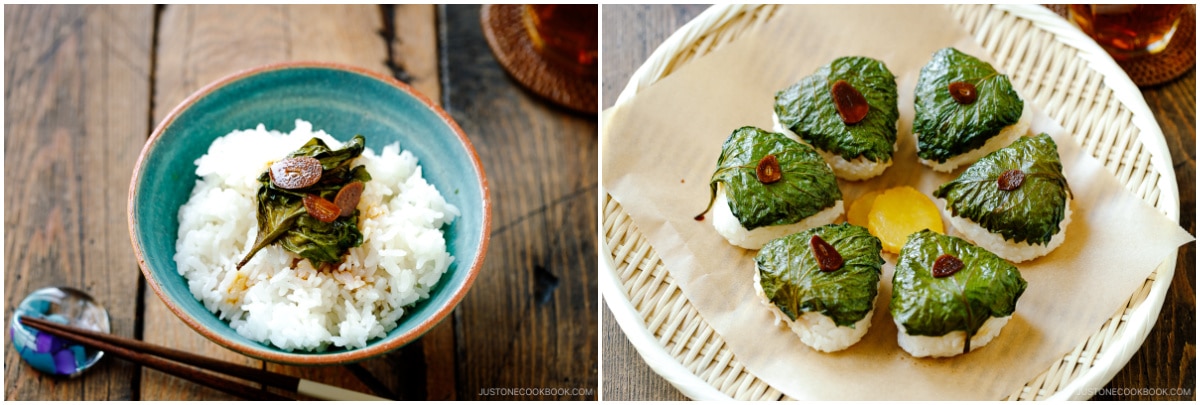
- You can keep the shiso garlic soy sauce in the refrigerator for up to 2 months. Enjoy the marinated shiso leaves with steamed rice and use the shiso garlic soy sauce to replace your regular soy sauce in cooking or drizzling over various dishes!
Notes: As you use a few of the shiso leaves, you can keep adding some fresh ones and replenish more soy sauce as needed too.
Ways to Use Shiso Garlic Soy Sauce
Use the shiso and garlic-infused soy sauce to:
- Marinate chicken, beef, pork, seafood, and tofu!
- Drizzle over grilled vegetables, fried eggs, and pretty much anything!
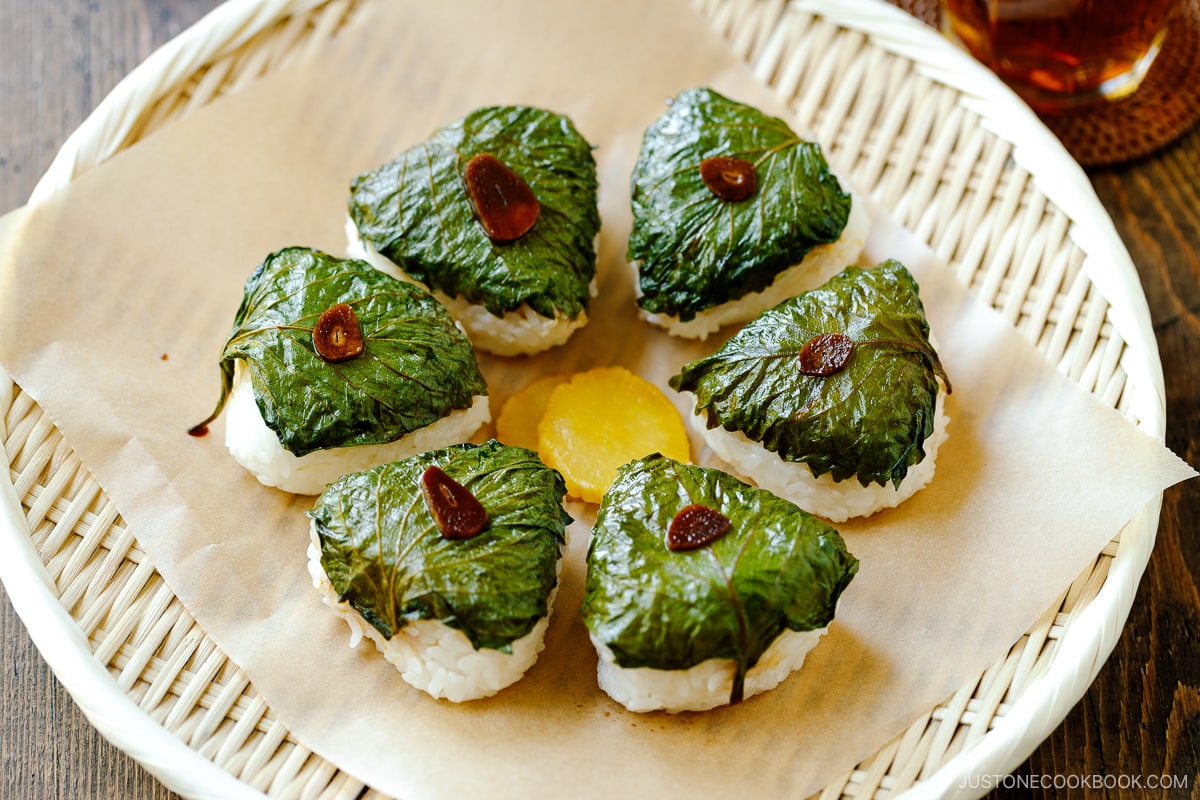
- Brush on the rice balls to make Yaki Onigiri.
- Dipping sauce for cold udon or Cold Somen Noodles.
- Seasoning for Japanese-Style Pasta, Yaki Udon, and Japanese Mixed Rice (Takikomi Gohan).
- Salad dressing.
Use the marinated shiso leaves to:
- Wrap the rice balls.
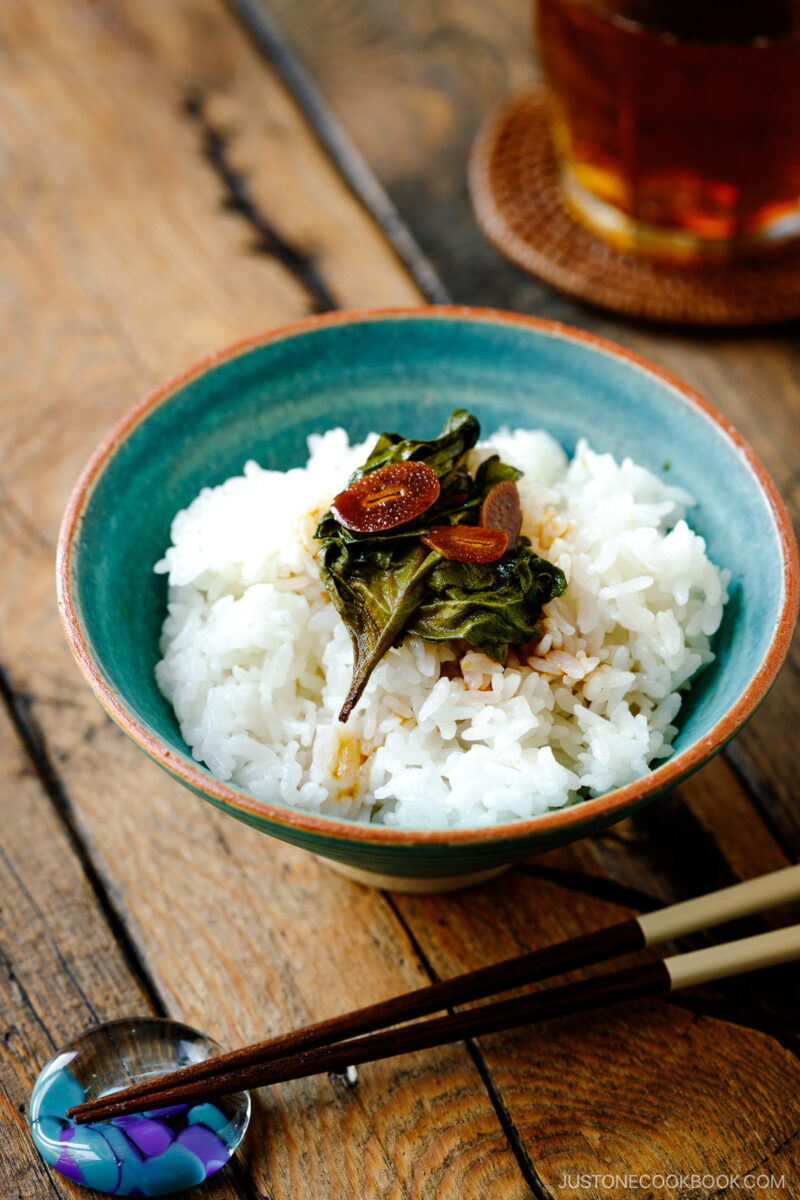
- Enjoy it with steamed rice.
- Top julienned shiso on Japanese-style pasta.

Wish to learn more about Japanese cooking? Sign up for our free newsletter to receive cooking tips & recipe updates! And stay in touch with me on Facebook, Pinterest, YouTube, and Instagram.
Shiso Garlic Soy Sauce
Ingredients
- 2 cups water
- 1 Tbsp Diamond Crystal kosher salt
- 10 shiso leaves (perilla/ooba)
- 3 cloves garlic (thinly sliced)
- ½ cup soy sauce (use gluten-free soy sauce for GF)
- ½ tsp toasted sesame oil
Instructions
- Before You Start: Please note that this recipe requires a marination time of 1 hour. Gather all the ingredients.
To Prepare the Shiso Leaves
- Add 2 cups water and 1 Tbsp Diamond Crystal kosher salt to a liquid measuring cup or bowl and mix it well.
- Submerge 10 shiso leaves (perilla/ooba) in the salted water for 10 minutes. Tip: Salt water removes the astringency from the shiso leaves and preserves their green color after marinating.
To Prepare the Shiso Garlic Soy Sauce
- Meanwhile, cut 3 cloves garlic into thin slices and transfer them to an airtight container.
- Add ½ cup soy sauce and ½ tsp toasted sesame oil to the container.
- After 10 minutes, remove the shiso leaves from the salted water. Then, pat dry the leaves completely with a clean kitchen towel or paper towel. Make sure to remove all the moisture so the sauce will keep for a long time.
- Add the dry shiso leaves to the container with the soy sauce, one at a time, making sure the shiso is completely submerged in the soy sauce and garlic slices. Then, keep it in the refrigerator to marinate for at least 1 hour before you use it.
To Serve
- Use the flavored soy sauce, garlic slices, or shiso leaves as you like. Take out the portion you need with a clean utensil and make sure to keep it refrigerated at all times. I like to enjoy the marinated leaves with steamed rice or to wrap around onigiri.
To Store
- You can store it in the refrigerator for up to 2 months. As you use a few of the shiso leaves, you can keep adding some fresh ones and replenish more soy sauce as needed, too.
Nutrition
Did you make this recipe?
Tag @justonecookbook on Instagram so we can see your delicious creation!
Editor’s Note: This post was originally published on April 25, 2011. It’s been republished with more information and new step-by-step and final images.