
Just like KitKat, you can find an astonishing array of ice cream flavors in Japan. From matcha green tea to black sesame to Azuki sweet red bean, the choices are distinctively unique and Japanese. So why not flavor the summer treat with our most important pantry staple—soy sauce?
Yes! Soy sauce. It is yet a mainstream flavor that you can find everywhere in Japan, but soy sauce makers and specialty shops have been surprising their visitors with the intriguing combo.
I was introduced to Soy Sauce Soft Serve when my family visited the Kikkoman factory in Japan.
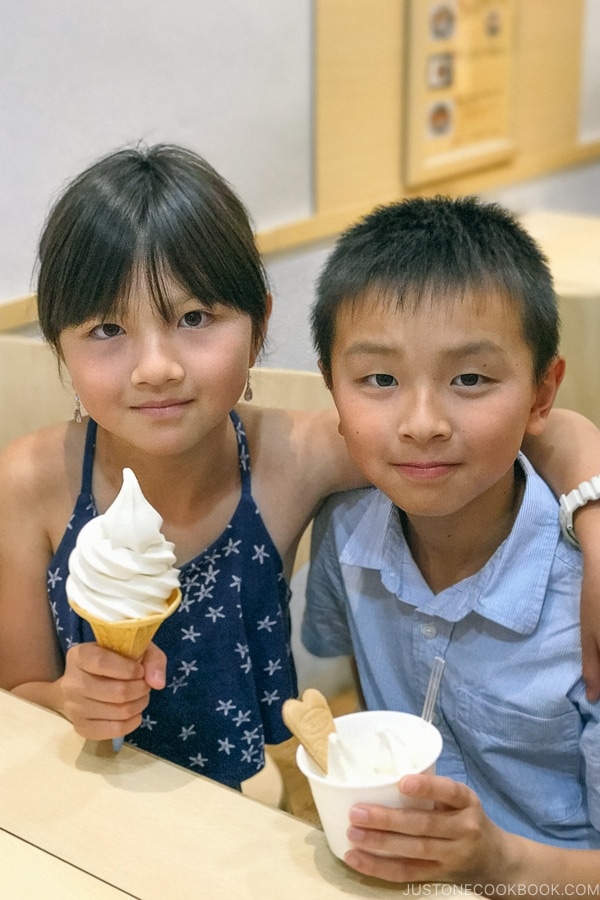
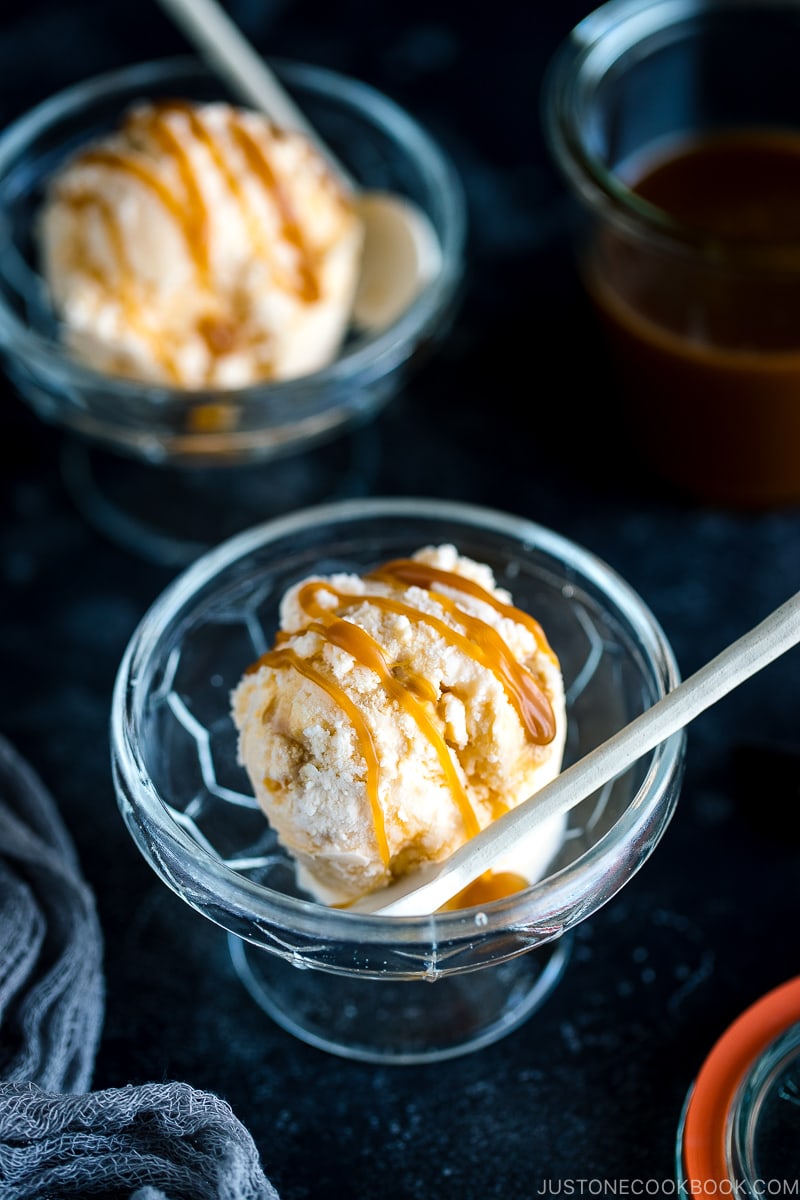
It was unexpectedly delightful that I knew I wanted to recreate the flavor when I returned home. Now that the weather is on our side, this couldn’t be a perfect time. In this recipe, I combined my homemade vanilla ice cream with soy sauce caramel sauce. It’s so good that we almost cry tears of joy after taking the first bite!
Why You’ll Love This Ice Cream
- The combination of vanilla ice cream and soy sauce caramel feels completely indulgent and unbelievably delicious.
- It’s melt-in-your-mouth creamy, savory, and perfectly sweet all at once.
- The umami punch and salty notes of soy sauce cut through all the sweetness of caramel and electrify the palate. It would remind you of salted caramel, only so much better.
Delicious Soy Sauce Caramel Sauce
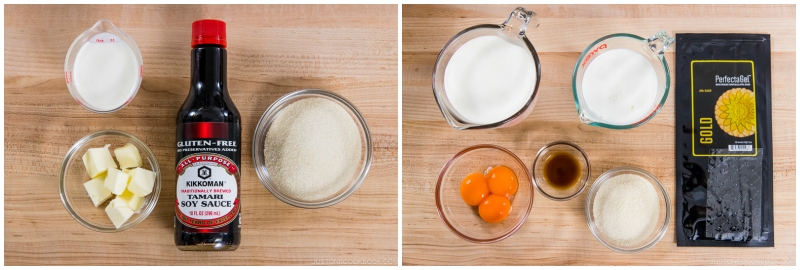
You’ll need 4 simple ingredients to make this amazing sauce.
- Granulated sugar
- Unsalted Butter
- Heavy whipping cream (heavy cream)
- Soy Sauce
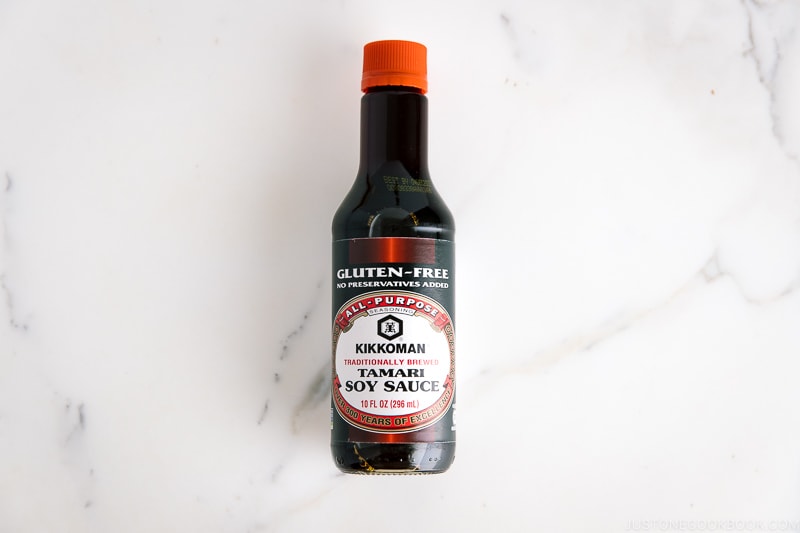
Gluten Soy Sauce
I used Kikkoman gluten-free soy sauce in this recipe. Made from rice, soybeans, and salt and brewed with the same traditional method as its original soy sauce, the gluten-free option is just as delicate and aromatic.
Beyond savory dishes, soy sauce can really work its magic and transform sweets and desserts, drawing out their best quality. That’s the multifaceted role of this Japanese condiment. When pairing it with caramel, soy sauce adds complexity and bumps up the overall buttery characteristic of the sauce.
Give it a try! It’s going to change the way you look at many kitchen condiments and the science of flavorings, just like Miso Butter Cookies!
5 Tips to Read Before Making This Recipe
1. Use 2:1 Ratio for heavy cream and whole milk.
After testing a few ratios, we concluded that the two to one ratio for heavy cream and whole milk to be the best. It’s important to use WHOLE milk, not reduced-fat or non-fat milk. The result gives just the right amount of richness and creaminess.
2. Use egg yolks.
I’ve made egg-free ice cream recipes in the past, but for this recipe, I included egg yolks as they act as the emulsifier, to “glue” all the ingredients together and give the ice cream its smoothness and rich flavor.
3. Use the gelatine (sheet).
Gelatin acts as a stabilizer, to prevent ice crystals from forming, which improves texture and extends the life of the ice cream. The more water in your recipe (e.g. strawberry), the more gelatin needed. But don’t exceed a teaspoon (if using powder) in a quart of ice cream.
Instead of gelatine powder such as Knox, we love using GOLD gelatine sheets. They don’t have any smell so it works great for any recipes that require gelatine.
If you prefer not to use gelatin as a stabilizer, try Agar or Xanthan Gum as an alternative.
4. Scald milk and heavy cream.
It is important to first scald the milk and heavy cream in order to shorten the cooking time before you add in the eggs. If heating cold milk and heavy cream with eggs, there is a higher chance the eggs will curdle and your ice cream will be ruined.
5. Get a cooking thermometer.
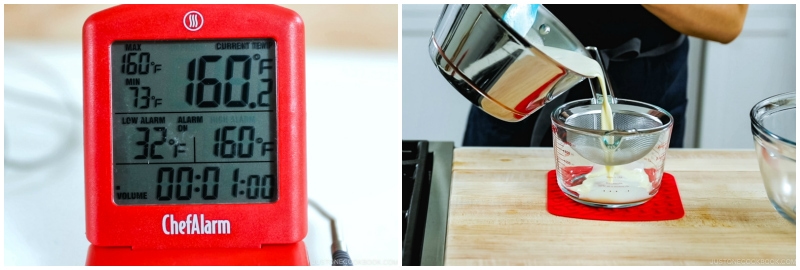
You need to scald the milk and heavy cream to 83 °C (181 °F) and cook the custard to 71 °C (160 °F). With a cooking thermometer, there is no guessing involved, and your ice cream making will be stress-free.
I frequently use the Thermapen® Mk4 for cooking Japanese Pork Roast, deep frying Karaage, and making desserts like Matcha Tiramisu that count on accurate temperatures. And I cannot emphasize how important it is to have a reliable thermometer to achieve perfect results. It is literally a life-changer!
Your New Favorite Ice Cream Flavor
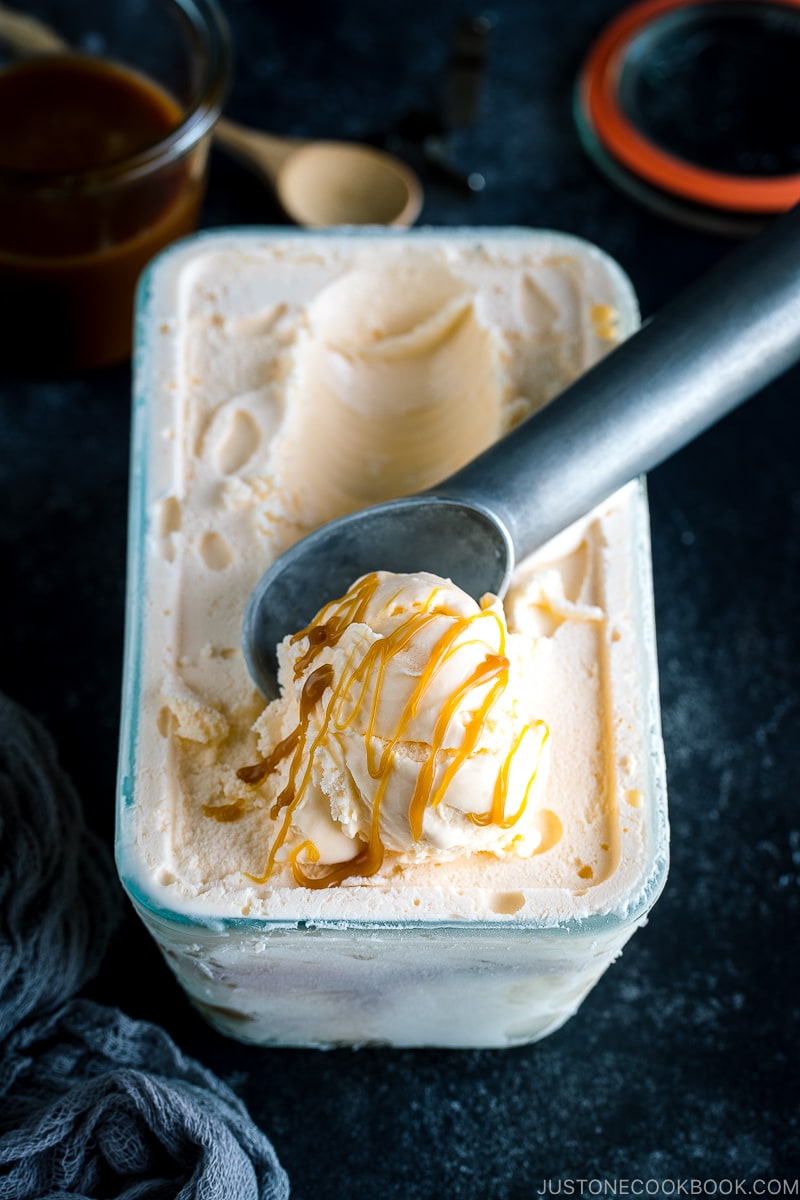
Due to the amount of air whipped into ice cream, and a few other factors, store-bought ice cream will generally remain soft when frozen, while homemade ice cream tends to freeze hard for scooping. An easy solution is to take the homemade ice cream out of the freezer 5-10 minutes before serving, so it’s soft enough to scoop.
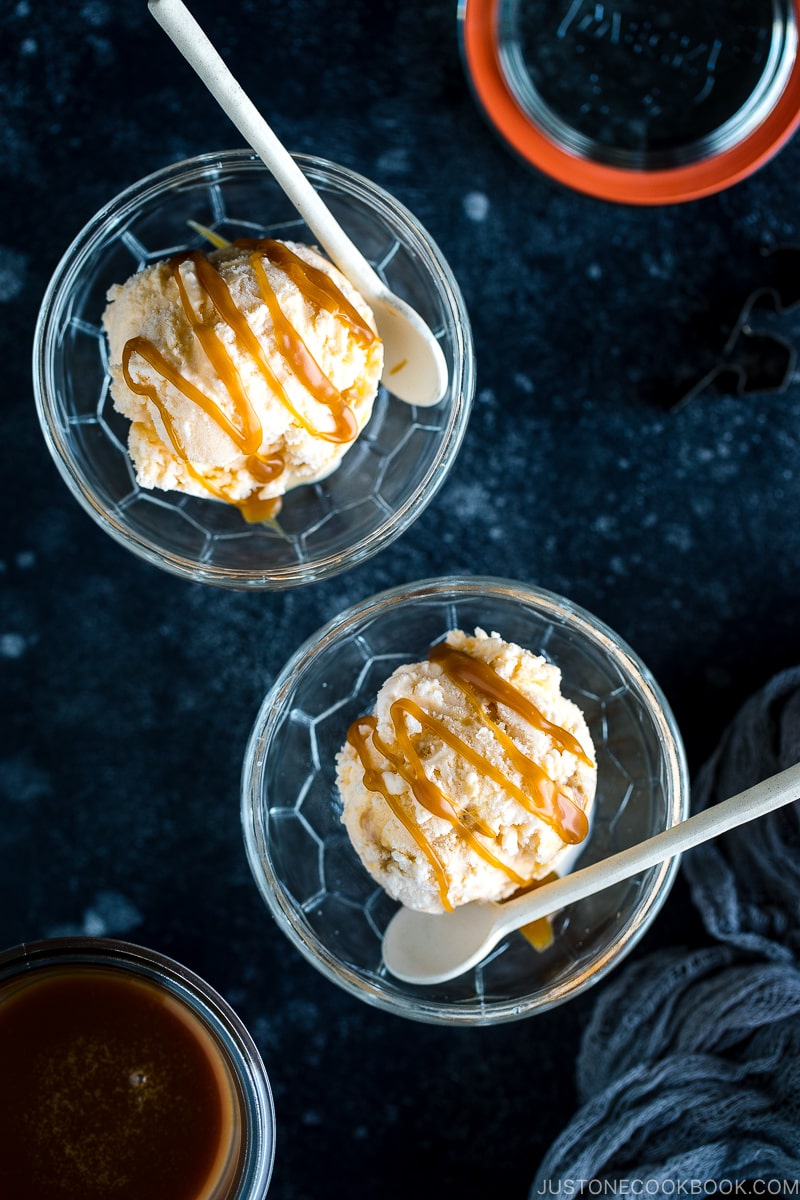
Homemade vanilla ice cream is truly satisfactory. But if you don’t have an ice maker, you want to do yourself a favor by getting good quality vanilla ice cream. You can choose to swirl the soy sauce caramel into the ice cream, drizzle over, or do both as I did in this recipe.
Sophisticated and fun, this Soy Sauce Caramel Ice Cream is definitely a standout treat for the summer. Serve it as a dessert for your Japanese-theme BBQ cookout.

Wish to learn more about Japanese cooking? Sign up for our free newsletter to receive cooking tips & recipe updates! And stay in touch with me on Facebook, Pinterest, YouTube, and Instagram.

Soy Sauce Caramel Ice Cream
Equipment
- ice cream maker
Ingredients
For the Soy Sauce Caramel (yields ½ cup or 120 ml)
- ½ cup sugar
- 3 Tbsp unsalted butter
- ¼ cup heavy (whipping) cream
- 2 Tbsp soy sauce (I used Kikkoman Gluten-Free Soy Sauce)
For the Vanilla Ice Cream
- ½ gelatin sheet (1.1 g; or use ½ tsp gelatin powder; I love using PerfectaGel Gold gelatin sheets; see Notes)
- ¼ cup water
- 2 cups heavy (whipping) cream
- 1 cup whole milk
- 3 large egg yolks
- ½ cup sugar
- 1½ tsp vanilla extract
Instructions
To Freeze the Ice Cream Bowl (at least 24 hours prior)
- If you‘re using an ice cream maker that requires you to pre-freeze the bowl (like this one), make sure to freeze it for at least 24 hours. If it’s not cold enough, you may end up with liquid even after 30 minutes of churning. For this recipe, I borrowed my friend’s fancy ice cream maker that does not require freezing the bowl in advance. If you don‘t have an ice cream maker, I hope this post helps.
To Make the Soy Sauce Caramel
- Before You Start…Please note that this recipe requires 8+ hours of chilling, churning, and freezing time.Gather all the ingredients. You can double the recipe, but do not increase beyond that because it’s difficult to melt the sugar properly.
- In a small saucepan, heat ½ cup sugar over medium heat, stirring constantly with a whisk, silicone spatula, or wooden spoon.
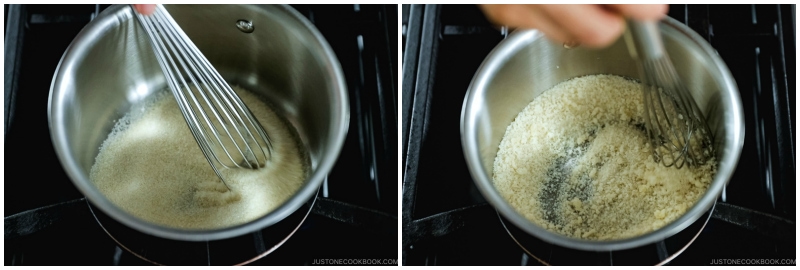
- The sugar will form clumps and eventually melt into a thick, amber-colored liquid as you continue to stir. Be careful not to burn yourself from the splatter.
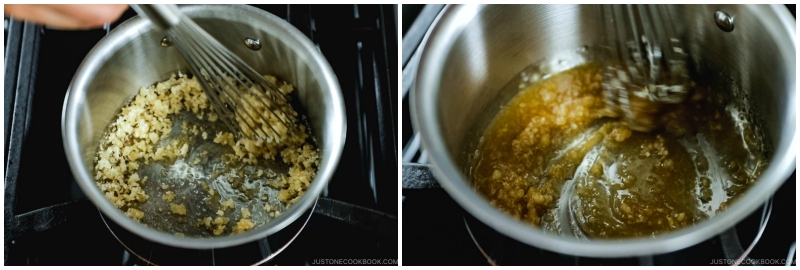
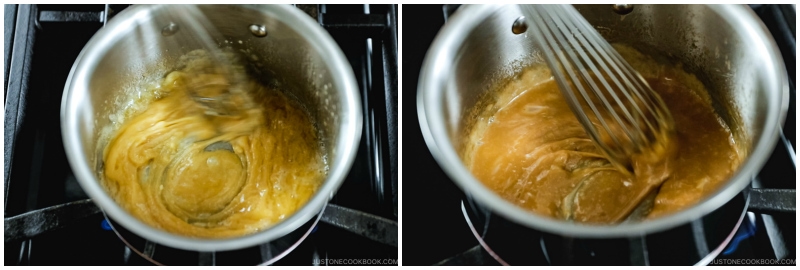
- Once the sugar is completely melted, immediately add 3 Tbsp unsalted butter. The caramel will bubble rapidly, so take extra caution not to burn yourself from the splatter.
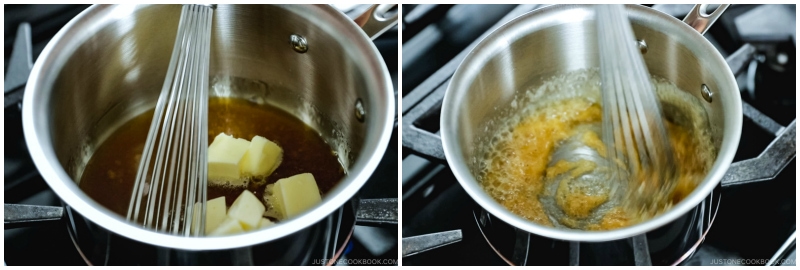
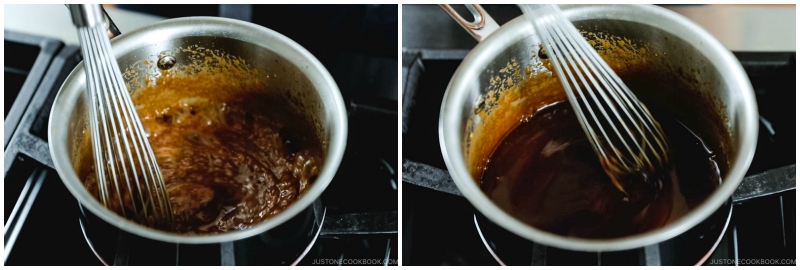
- Stir the butter into the caramel until it is completely melted. If you notice the butter separating or if the sugar clumps up, remove from the heat and vigorously whisk to combine. Keep whisking until it comes back together, even if it takes 3–4 minutes. It will eventually get there. Just keep whisking. Return to the heat when it’s combined again.
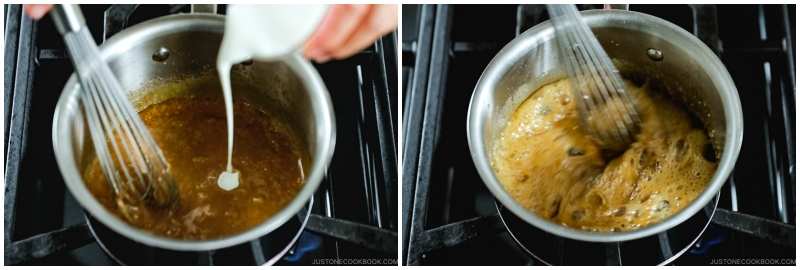
- Very slowly drizzle in ¼ cup heavy (whipping) cream while stirring. Since the heavy cream is colder than the caramel, the mixture will rapidly bubble when added. It will rise in the pan as it boils.
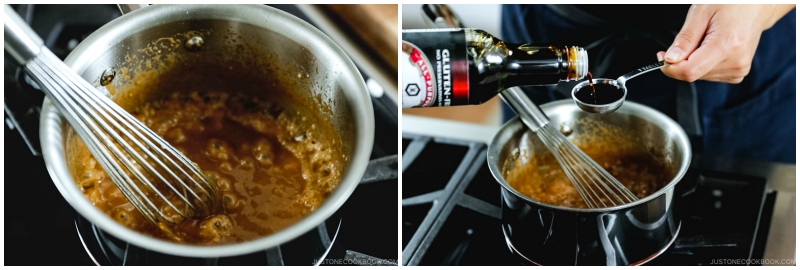
- Turn off the heat and remove the saucepan from the stove. Stir in 2 Tbsp soy sauce.
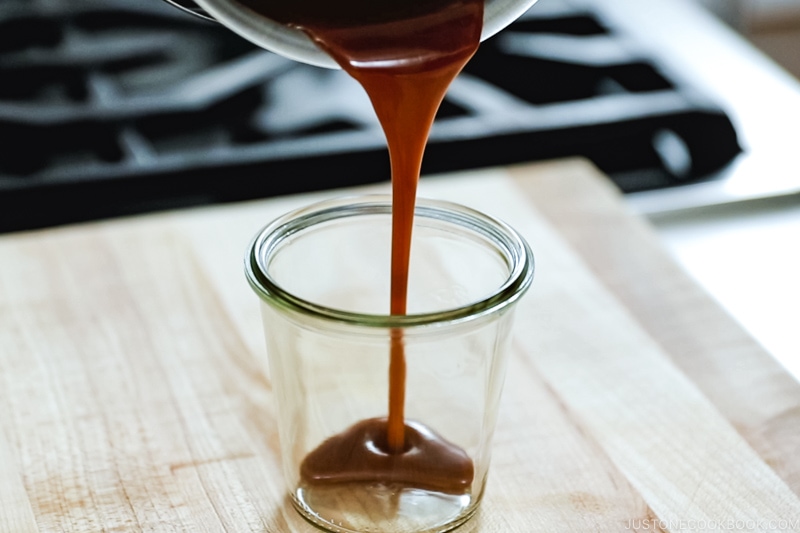
- Allow it to cool down slightly before use. Caramel thickens as it cools.
- After the caramel cools down, pour it into a glass jar or container. Refrigerate for up to 1 month and freeze for up to 3 months. The caramel solidifies as it cools, but you can reheat it in the microwave or on the stove so it becomes liquid again. For frozen caramel, thaw in the refrigerator or at room temperature, then warm up before using.
To Make the Vanilla Ice Cream Mixture
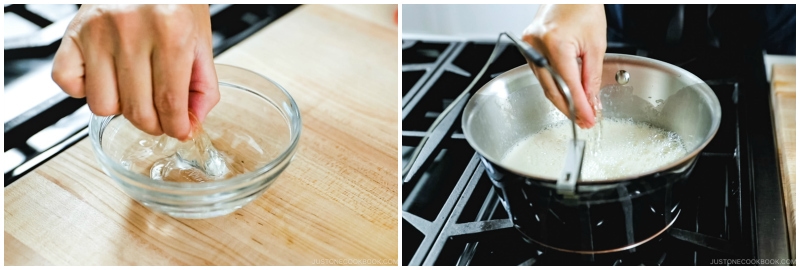
- Cut ½ gelatin sheet into 1-inch (2.5-cm) pieces and place in a small bowl. Add ¼ cup water and let the gelatin bloom for 10 minutes. (To use gelatin powder, add it in Step 4.)

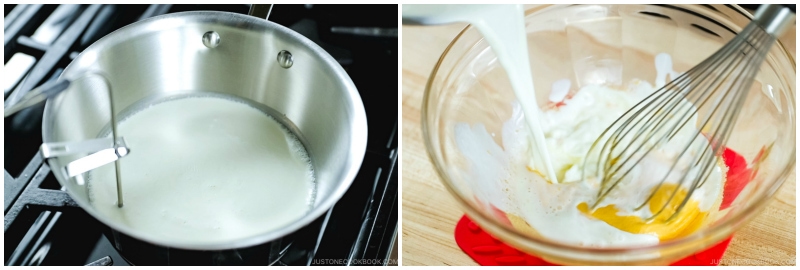
- In a medium saucepan, add 2 cups heavy (whipping) cream and 1 cup whole milk.
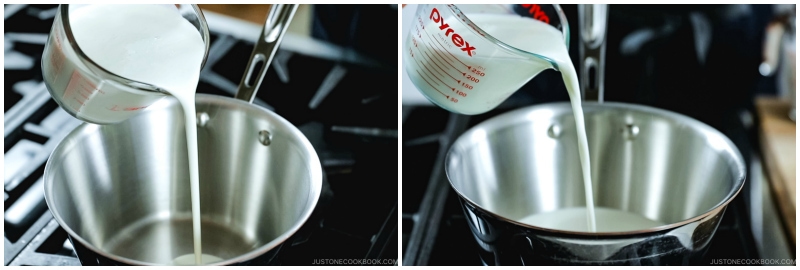
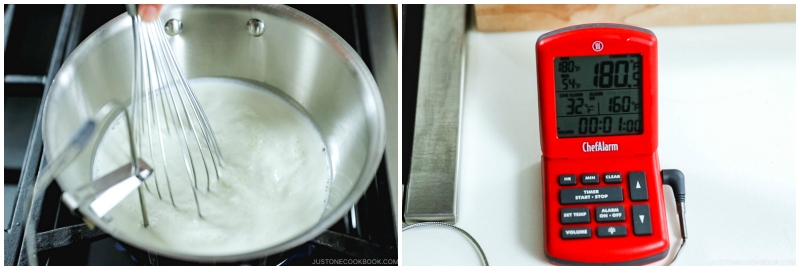
- Whisk together and bring it to almost simmering over medium-low heat until small bubbles appear along the edges (but don’t let it boil), about 8–10 minutes. If you have a cooking thermometer, it should be 181°F or 83°C.
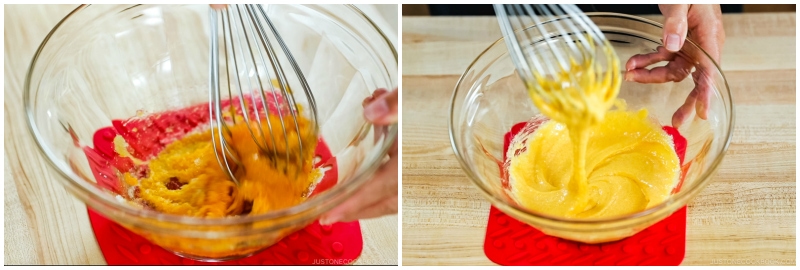
- In a large bowl, combine ½ cup sugar and 3 large egg yolks. (If you are using gelatin powder, add it now.)
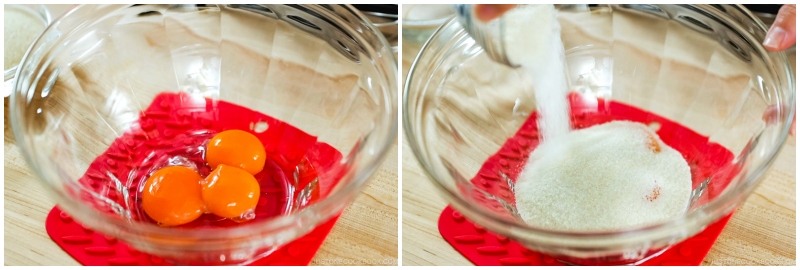
- Whisk together until combined.
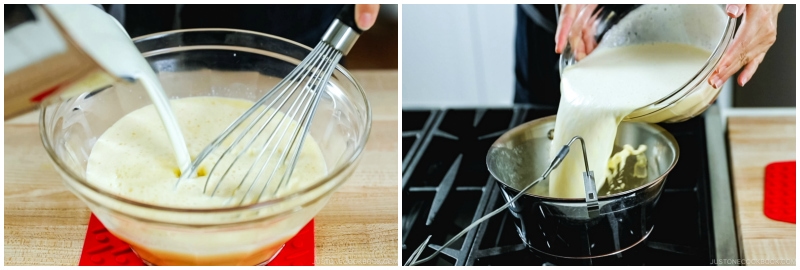
- Add a quarter of the milk mixture from the pot into the bowl while constantly whisking (to prevent the eggs from cooking).
- Then, repeat with another quarter of the mixture, this time while stirring with a plastic spatula.
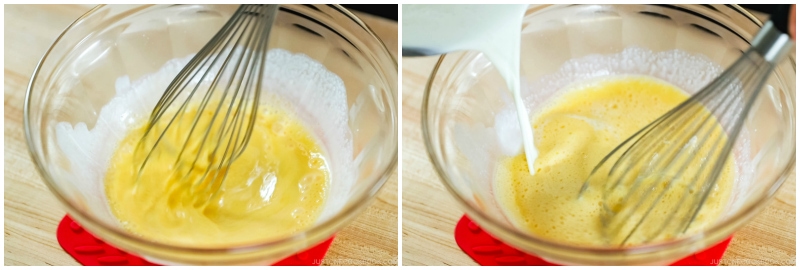
- Finally, pour the rest of the milk mixture into the bowl and whisk together. Now, pour the mxture back into the pot.
- Drain the water from the gelatin sheet and add the gelatin to the mixture.
- Return the pot to the stove over medium-low heat, stirring constantly to prevent the mixture from sticking to the bottom of the pot.
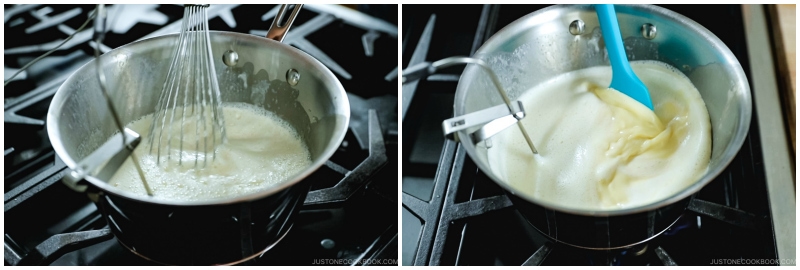
- Without allowing it to boil, heat for 8–10 minutes, or until the mixture thickens enough to coat the back of a spoon. The cooking thermometer should reach 160ºF or 71°C to pasteurize the eggs. Turn off the heat and pour the mixture through a fine-mesh strainer into a 4-cup measuring cup or a medium bowl.
- Add 1½ tsp vanilla extract and stir to combine.

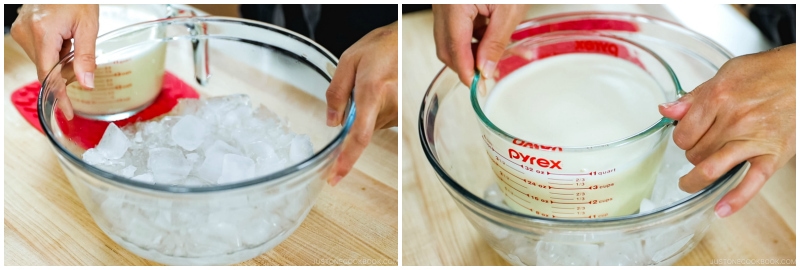
- Prepare a large bowl with ice cubes, and set the measuring cup (or the medium bowl) inside. Stir the mixture occasionally to help it cool faster. Once cool (it should take about 30 minutes), cover with plastic wrap and place in the refrigerator for at least 4 hours or overnight.
To Churn the Vanilla Ice Cream
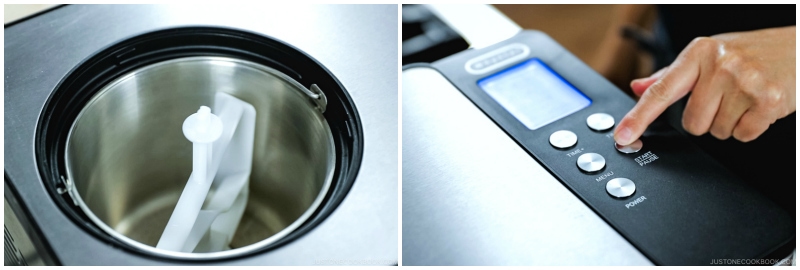
- The next day (or after 4 hours), set up your ice cream maker according to the instructions.
- Pour the mixture into the ice cream machine. Make sure not to fill it more than about two-thirds of the way up.
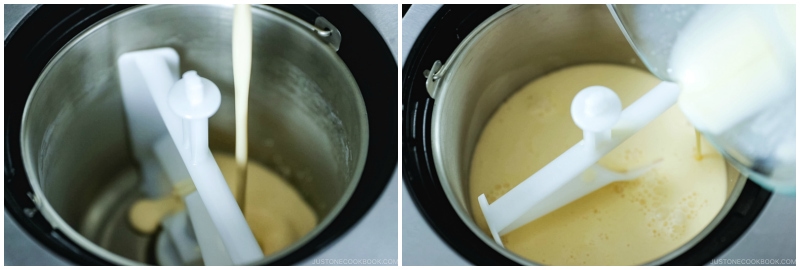
- Start churning. Churning ice cream incorporates air into the finished product while it freezes, so you will need some extra room in your freezer bowl.
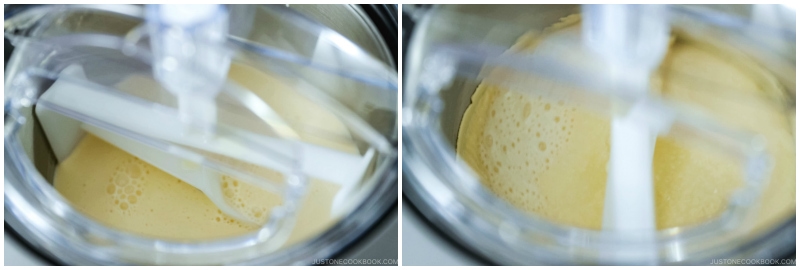
- After about 25–30 minutes, the mixture will become thicker and creamier.

- Lift up the paddle and scrape off the ice cream with a (mini) silicone spatula into the ice cream maker bowl.
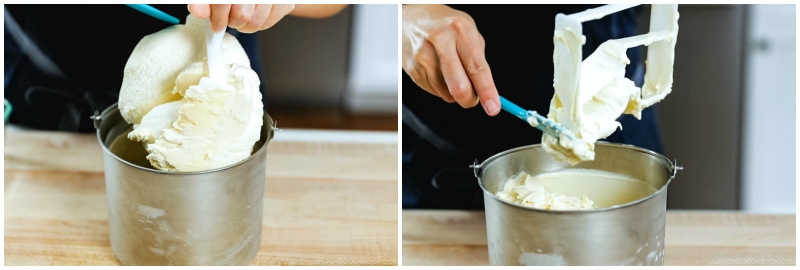
To Make the Soy Sauce Caramel Ice Cream
- Transfer half of the ice cream into an airtight glass container (ideally a square or rectangular shape) and flatten the top with the silicone spatula.
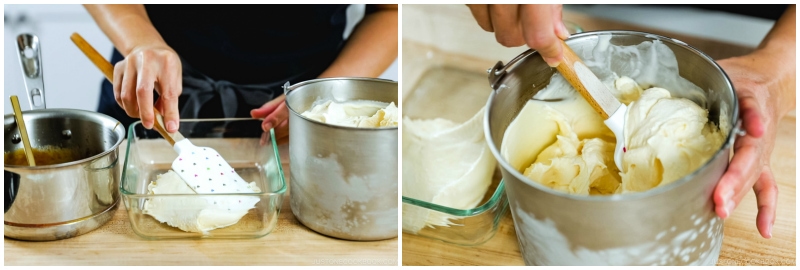
- Drizzle a generous amount of soy sauce caramel on top.
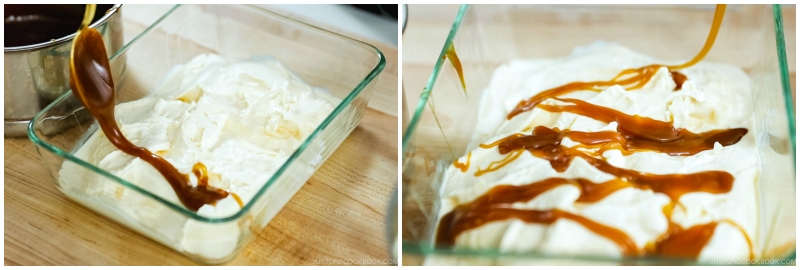
- Add the rest of the ice cream and flatten it with the silicone spatula.

- Drizzle more caramel sauce on top. Save some for drizzling when serving.
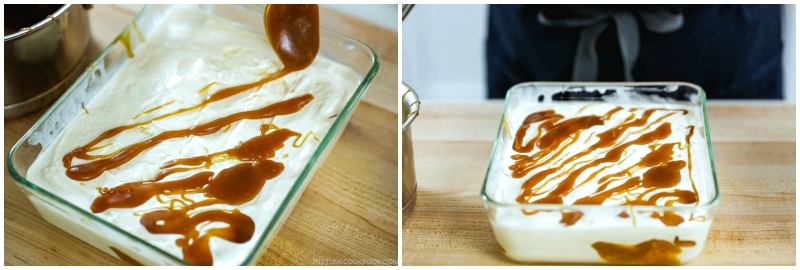
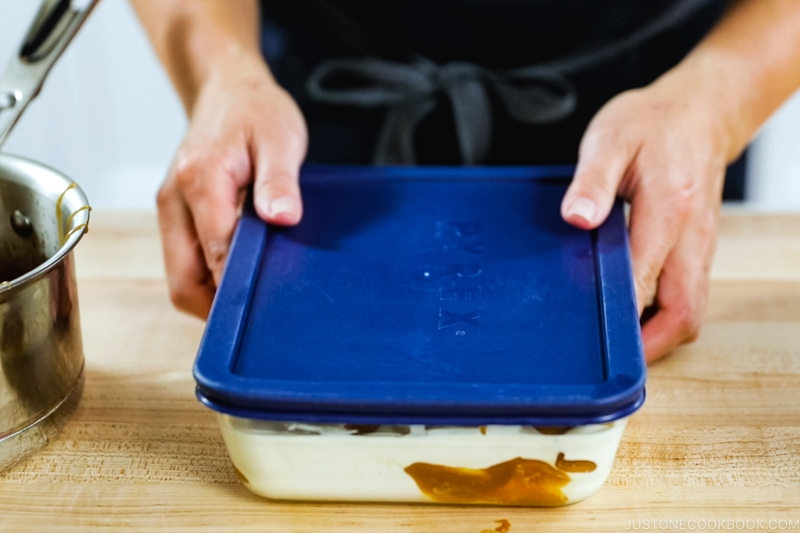
- Cover the lid and put it in the freezer. Set your freezer temperature to the coldest setting, so the ice cream freezes faster. Optional: Lay plastic wrap directly on top of ice cream and press down gently to prevent ice crystals from forming on top of the ice cream.
To Serve
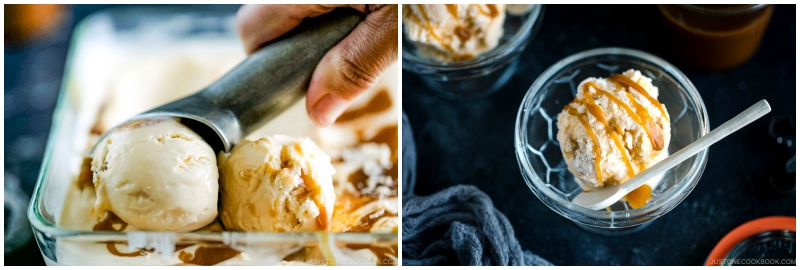
- Take the ice cream out of the freezer 5–10 minutes before serving, so it becomes soft enough to scoop. Drizzle extra soy sauce caramel on top if you like. Enjoy!
Notes
Nutrition
Did you make this recipe?
Tag @justonecookbook on Instagram so we can see your delicious creation!