
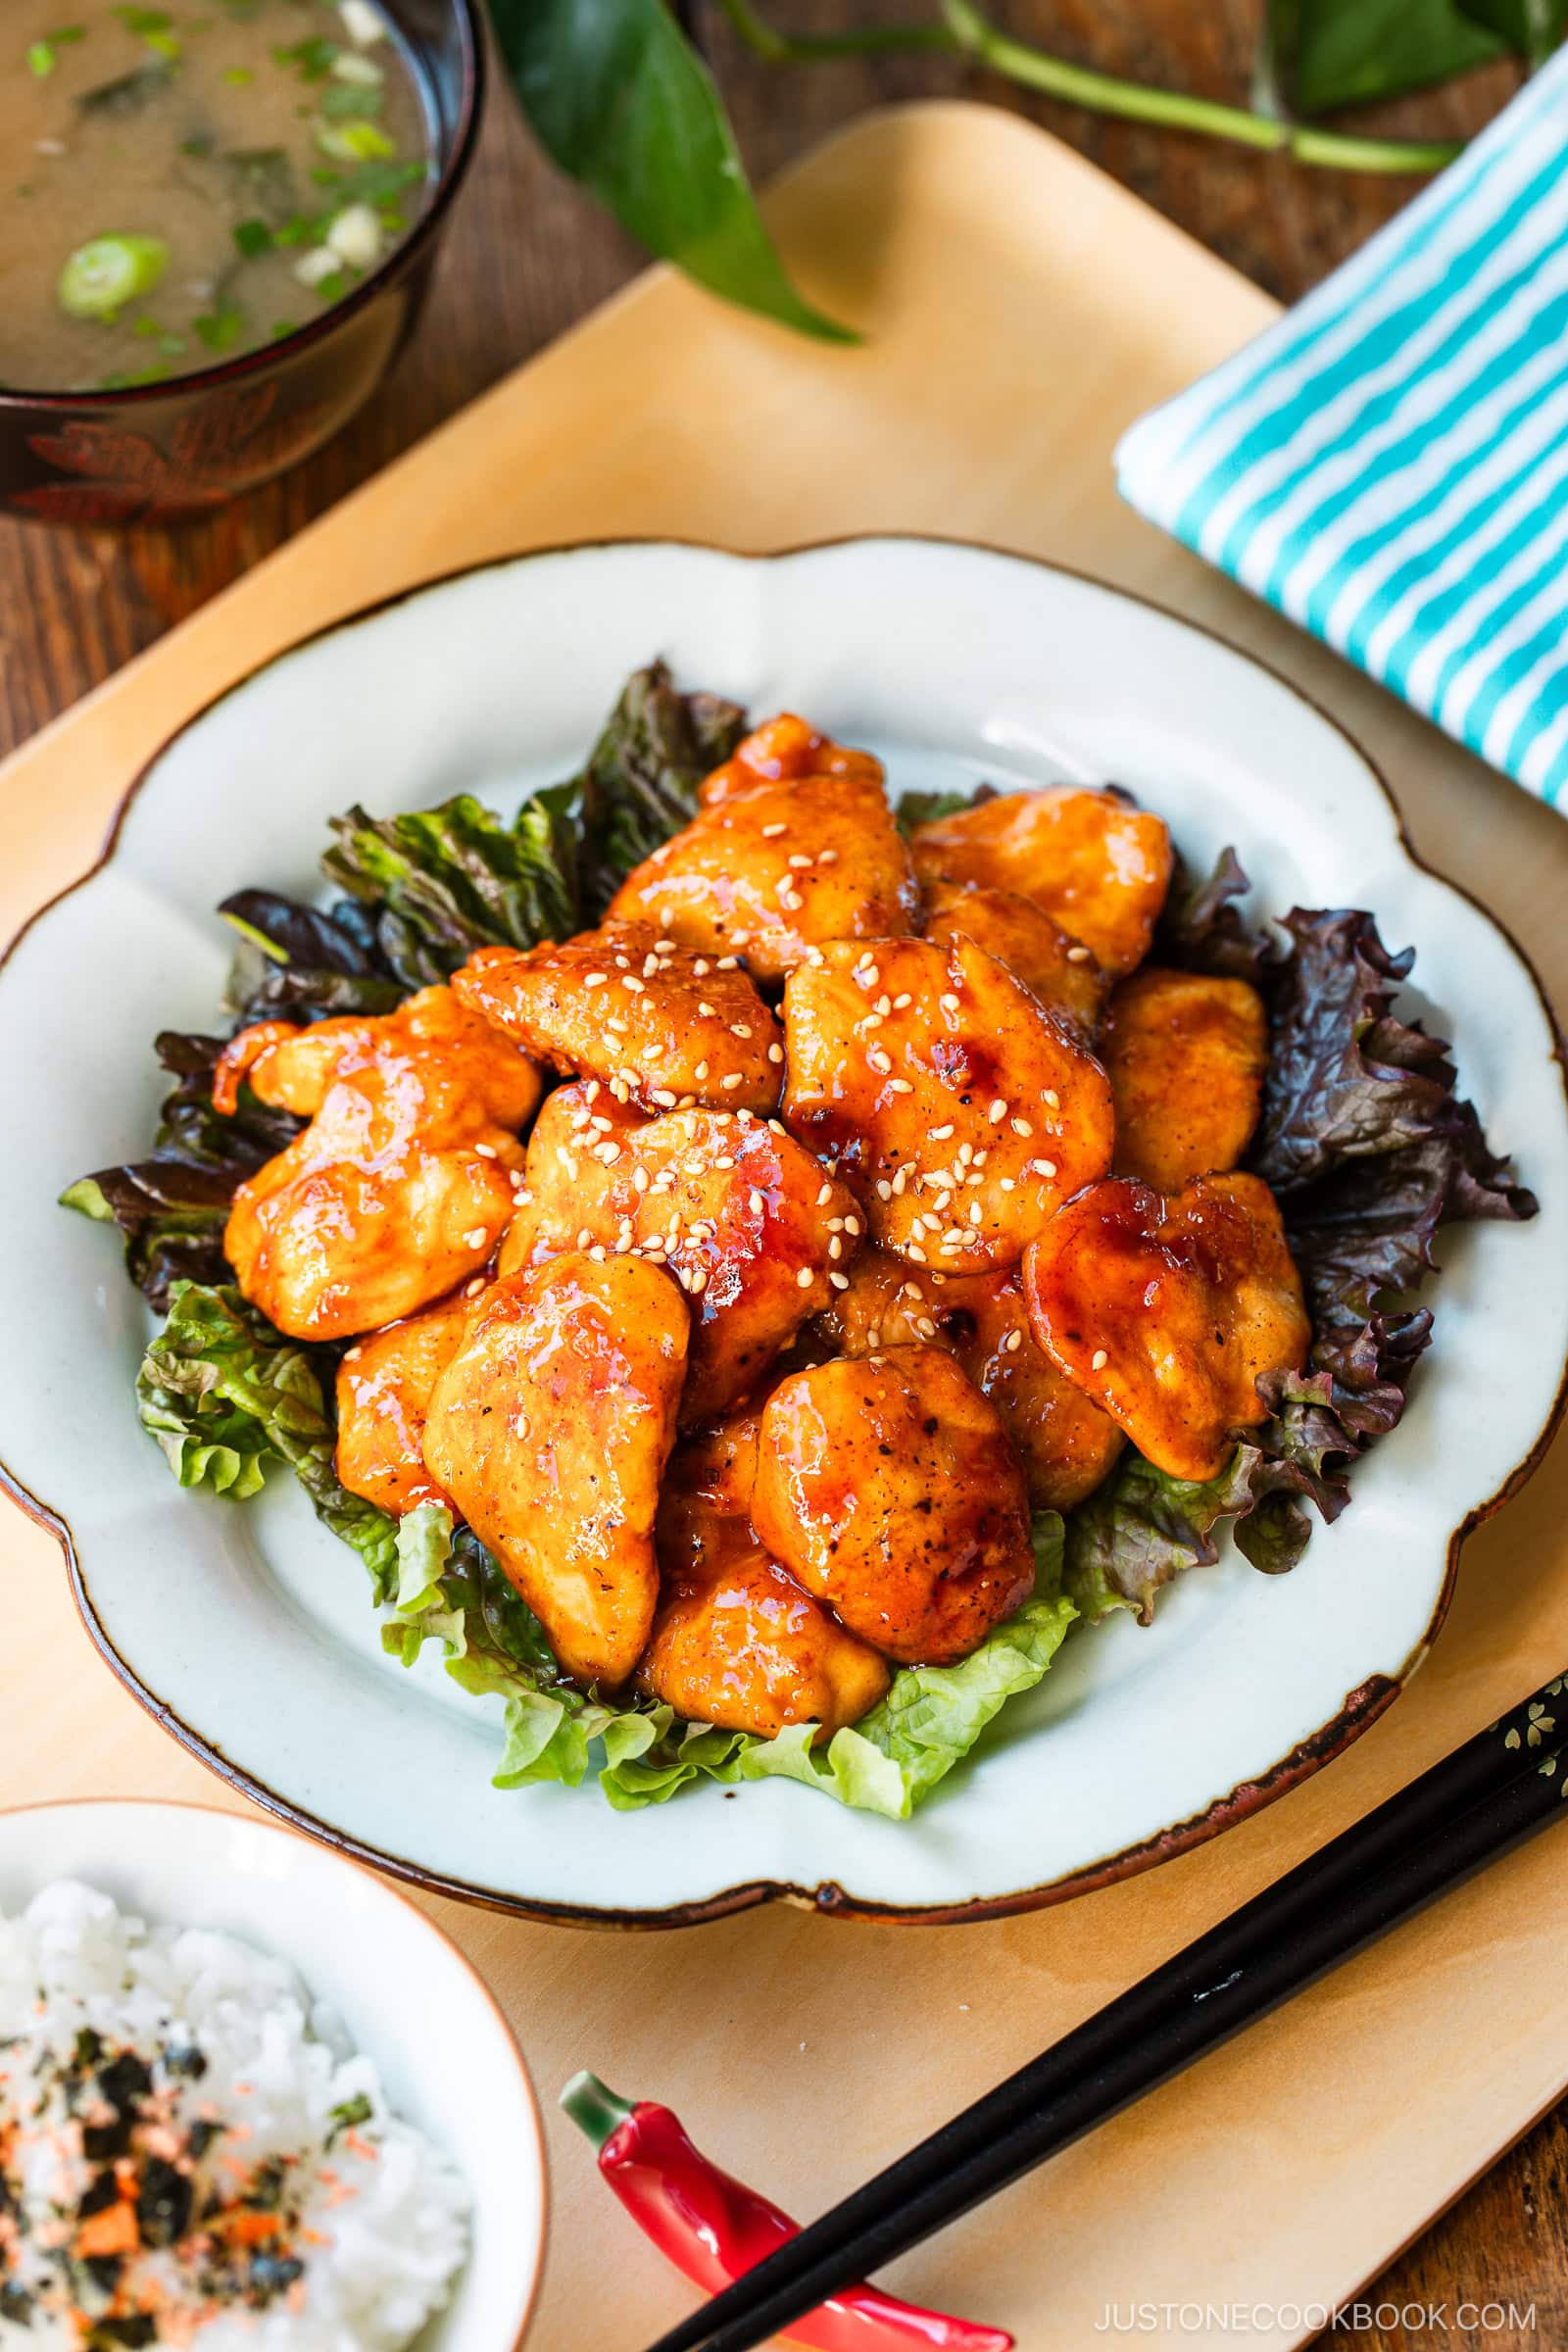
Korean cuisine is very popular in Japan, and my own family adores its bold and savory flavors. That’s why I always have a tub of Korean fermented chili paste in the fridge to spice up my cooking like in this fast and easy Honey Gochujang Chicken recipe. I’ll show you how I keep the lean chicken breast tender and juicy while adding an exciting combination of sweet, umami, and spicy flavors.
If you love chicken, try my Baked Chicken Katsu, Chicken Teriyaki, and Chicken Tempura recipes next!

Why I Love This Recipe
- Lean yet satisfying – This dish is nutritious and filling with skinless chicken breast that’s low in fat yet high in protein.
- Packs bold flavor in every bite – My family loves Korean seasonings, so I used the winning combo of chili paste, honey and garlic in this recipe.
- Quick and easy – It’s ready to serve in 20 minutes, and cleanup is a breeze since it cooks in just one pan. Even my son can pull this dish together on a busy weeknight.
- Budget friendly – This recipe relies heavily on pantry ingredients that you may already have on hand. With chicken breast as the only fresh ingredient, it’s easy on the wallet.
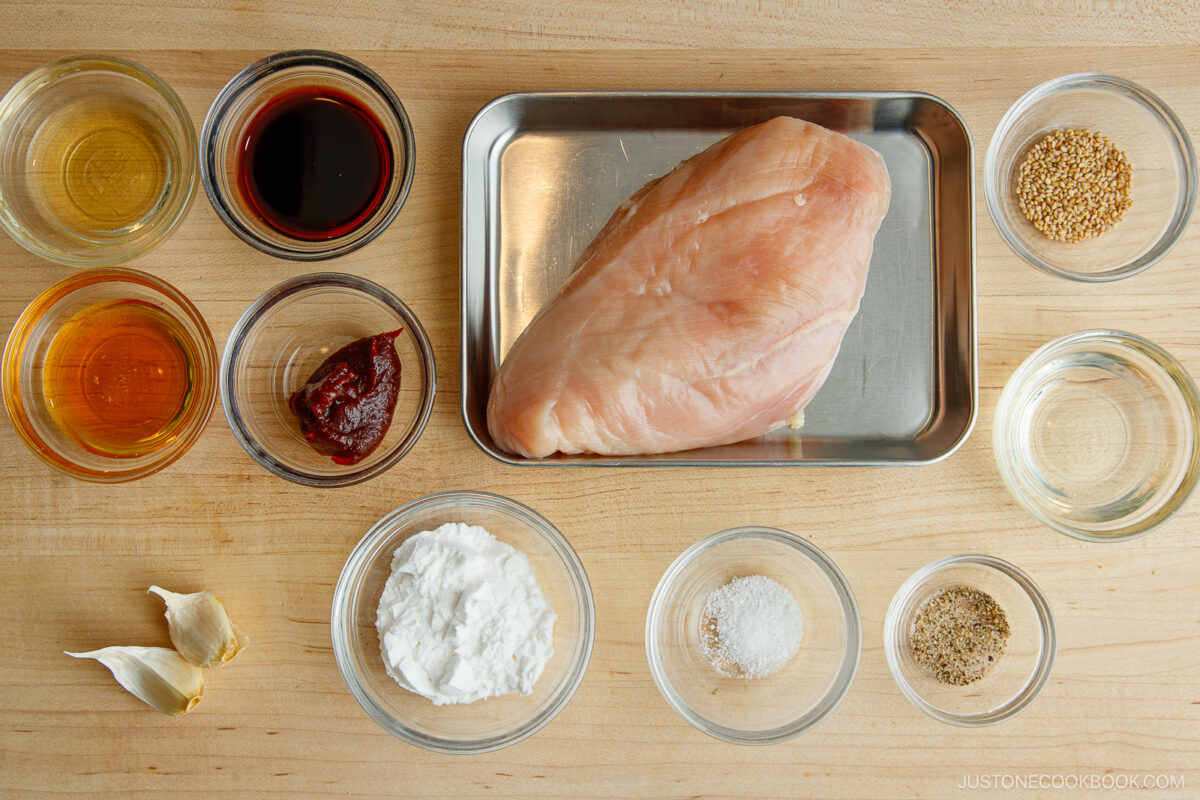
Ingredients for Honey Gochujang Chicken
- Boneless, skinless chicken breast
- Gochujang (Korean chili paste)
- Honey
- Mirin
- Soy sauce
- Garlic cloves
- Kosher salt and freshly ground black pepper
- Potato starch – or cornstarch
- Neutral oil
- Toasted white sesame seeds (for garnish)
Find the printable recipe with measurements below.
Jump to RecipeSubstitutions
- Chicken breast: You can use chicken thighs instead of boneless skinless chicken breast. It will take longer to cook, so adjust the cooking time accordingly.
- Gochujang: This Korean chili paste includes red chili peppers, glutinous rice, fermented soybeans, and salt. The heat level varies, so use the mild type if you prefer less spicy. You can find standard gochujang and mild gochujang on Amazon and at Korean or Asian grocery stores. Some are gluten-free if they don’t contain barley malt, so check the ingredient label.
- Honey: You could use your choice of sweetener instead of honey. Sweetness helps to counterbalance the spiciness of chili paste, so I don’t recommend leaving it out.
- Mirin: If you can’t find it, try my handy substitution for 1 tablespoon mirin. Simply mix 1 tablespoon sake (or water) + 1 teaspoon sugar. The flavor isn’t the same, but it’s close.
- Soy sauce: Use tamari soy sauce for gluten-free.
- Potato starch: If you don’t have it, use cornstarch instead.
How to Make Honey Gochujang Chicken
Preparation
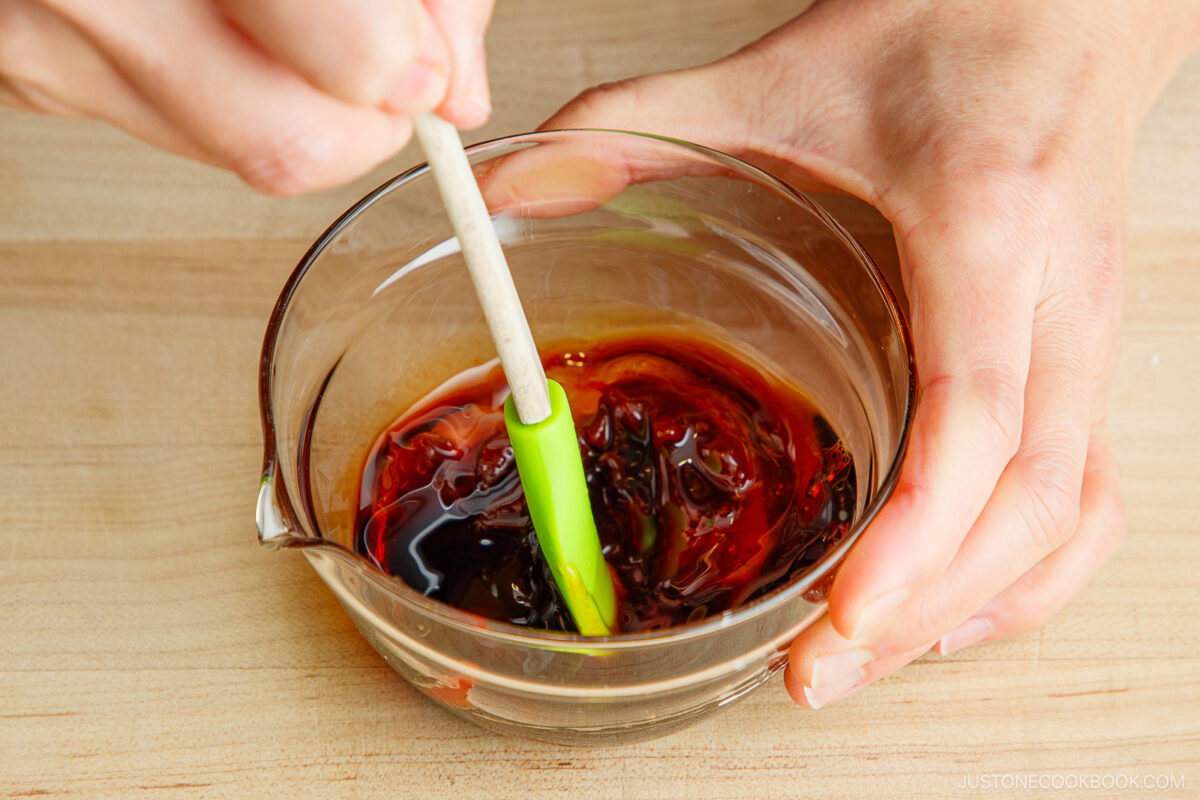
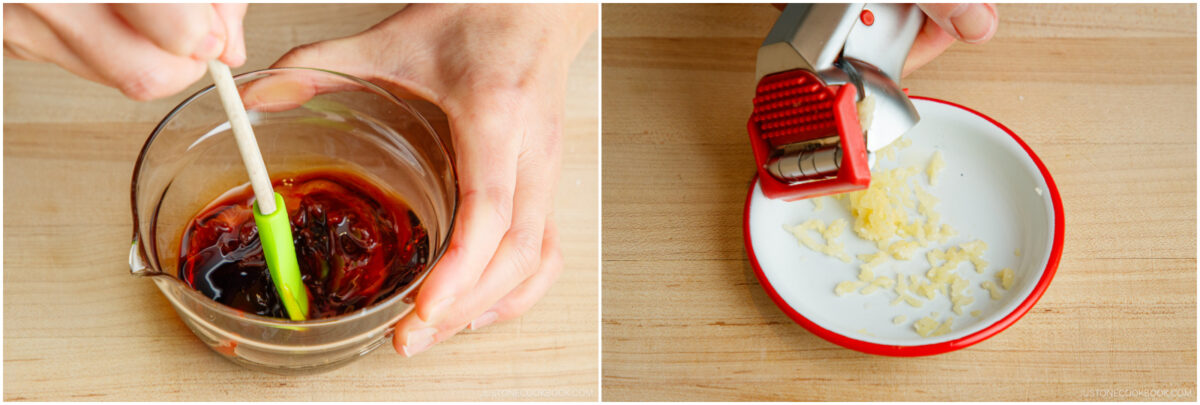
Step 1 – Mix the sauce. Combine gochujang, honey, mirin, and soy sauce in a small bowl and set aside. Mince the garlic and set aside.

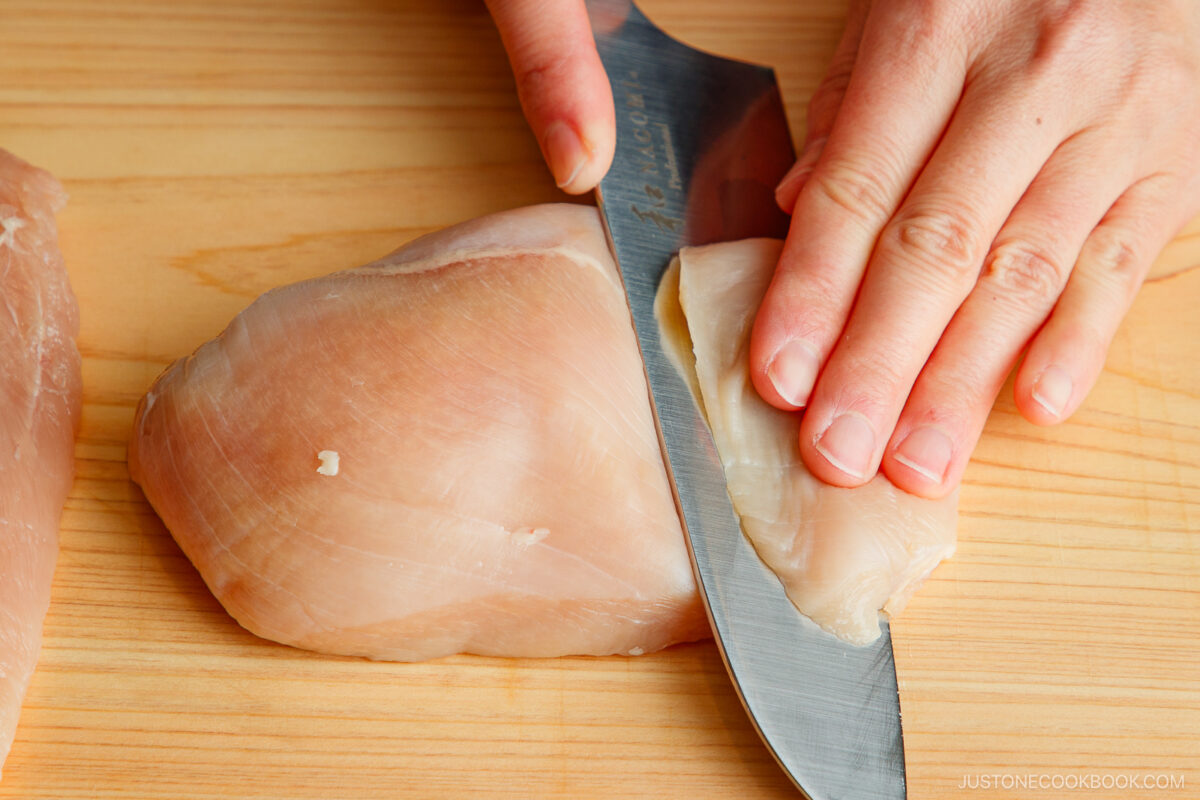
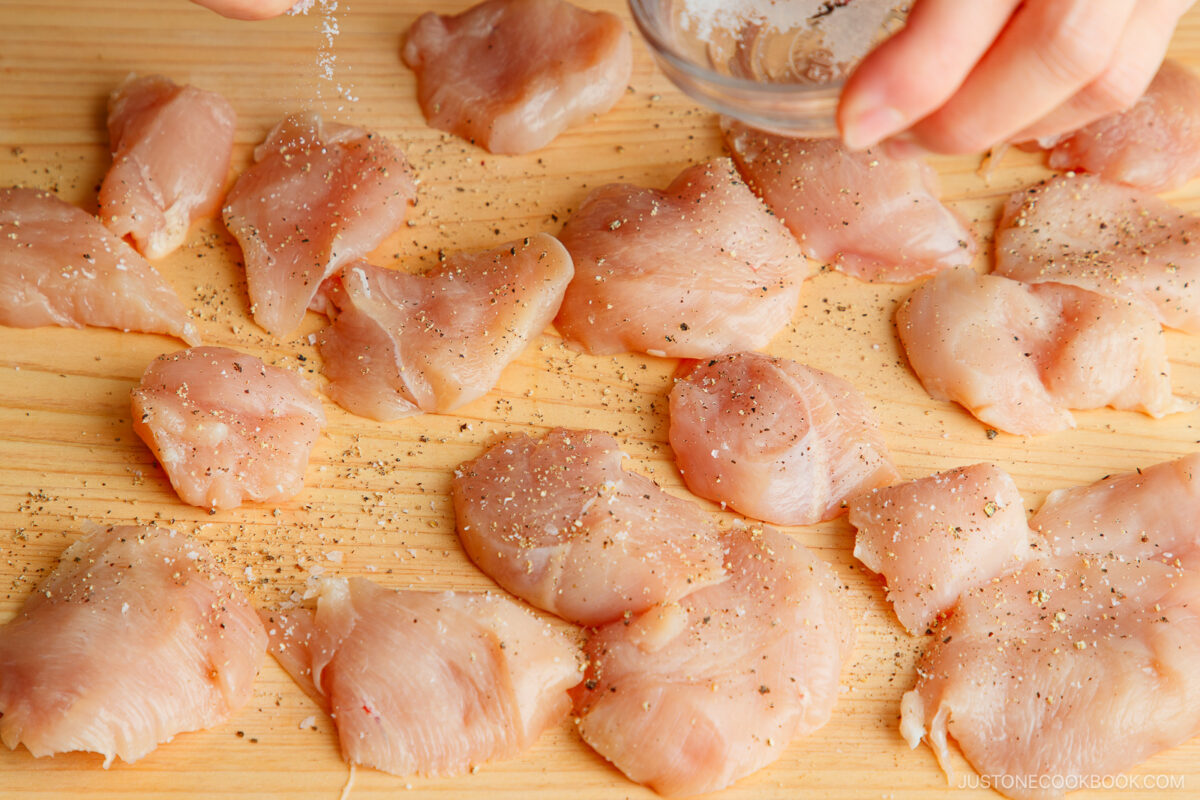
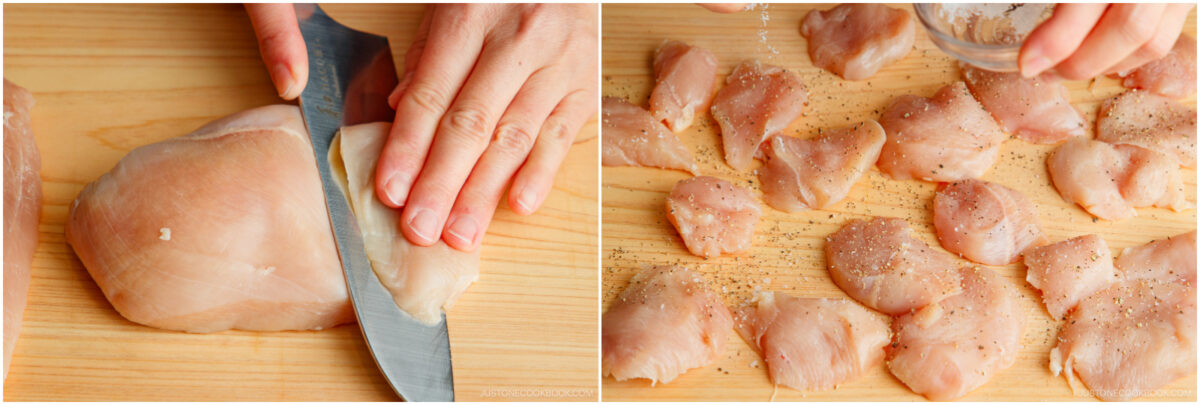
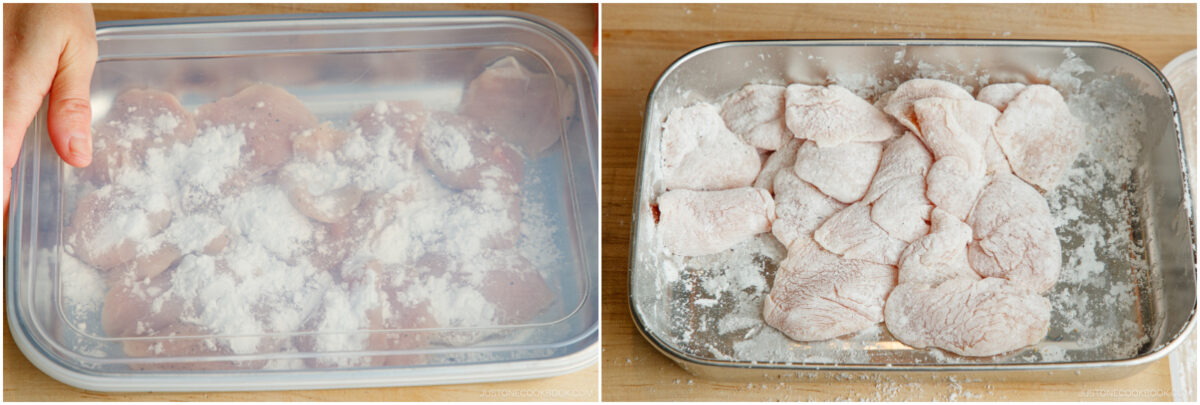
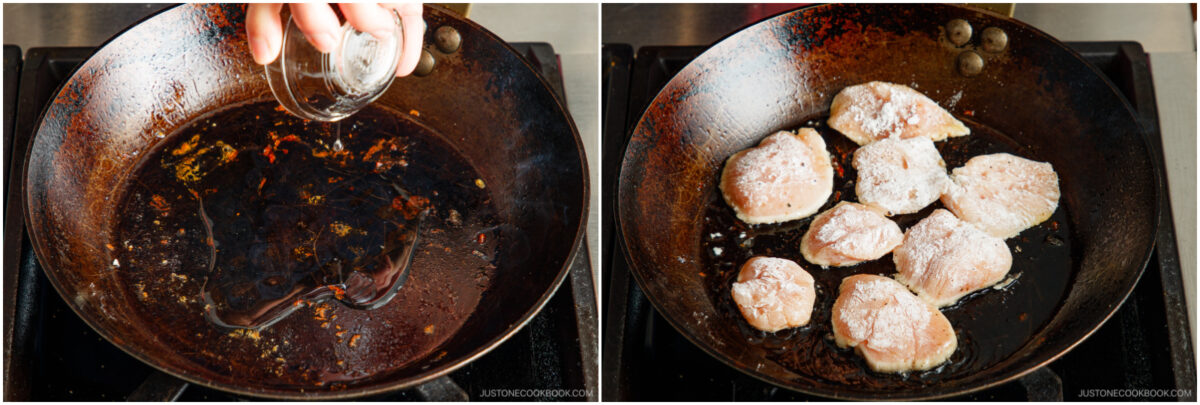
Step 2 – Prep the chicken. Slice it into flat, square pieces and season with salt and pepper. Dust all over with potato starch.

Cooking
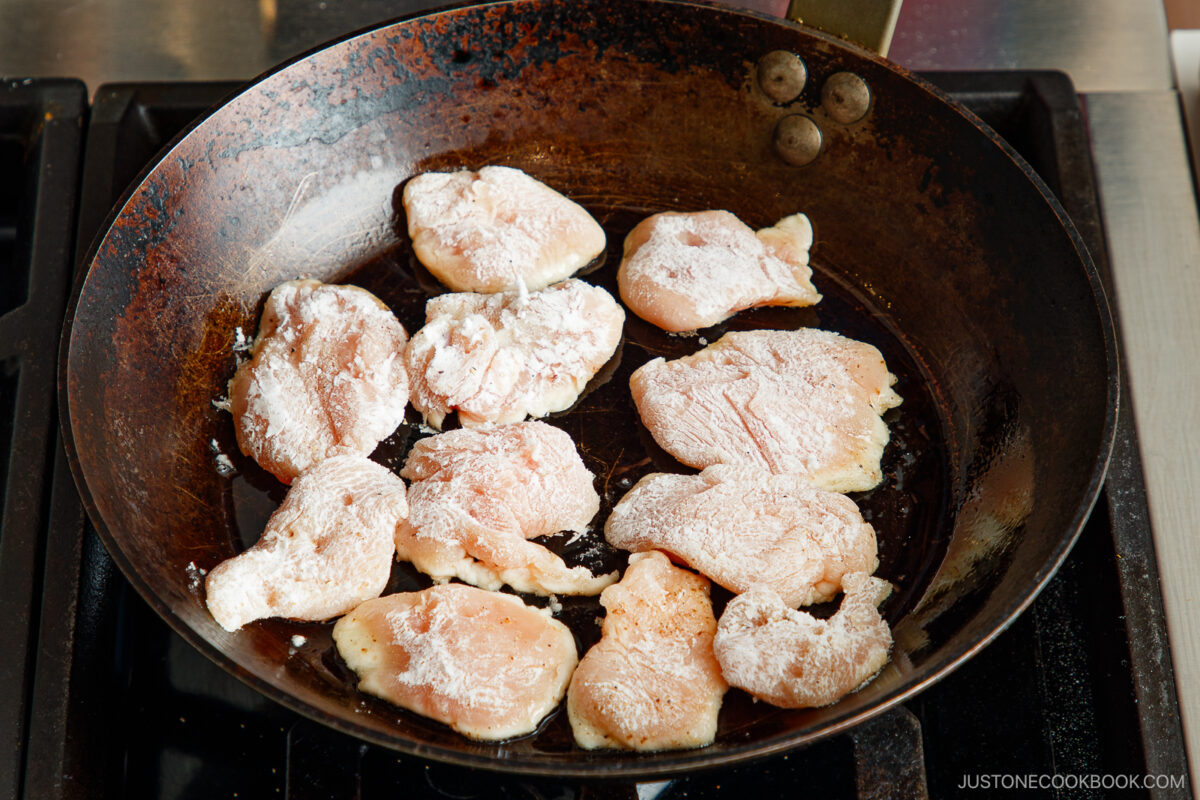
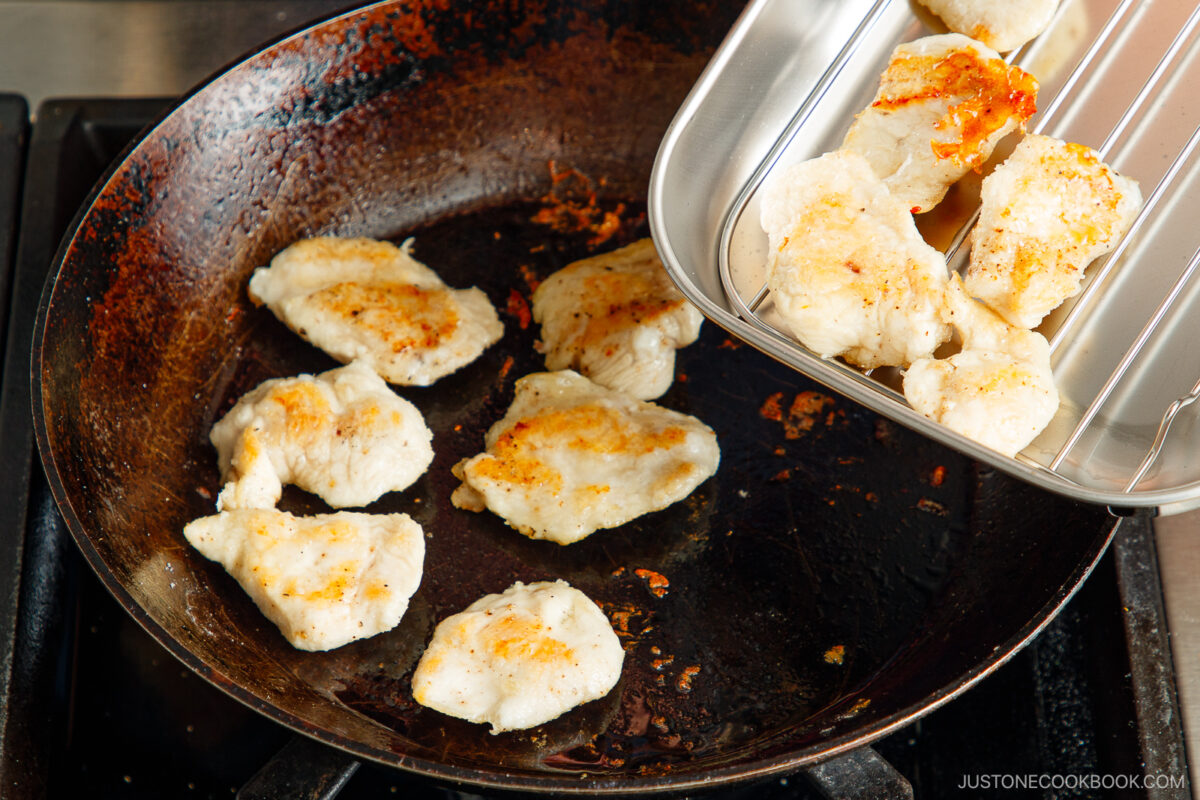
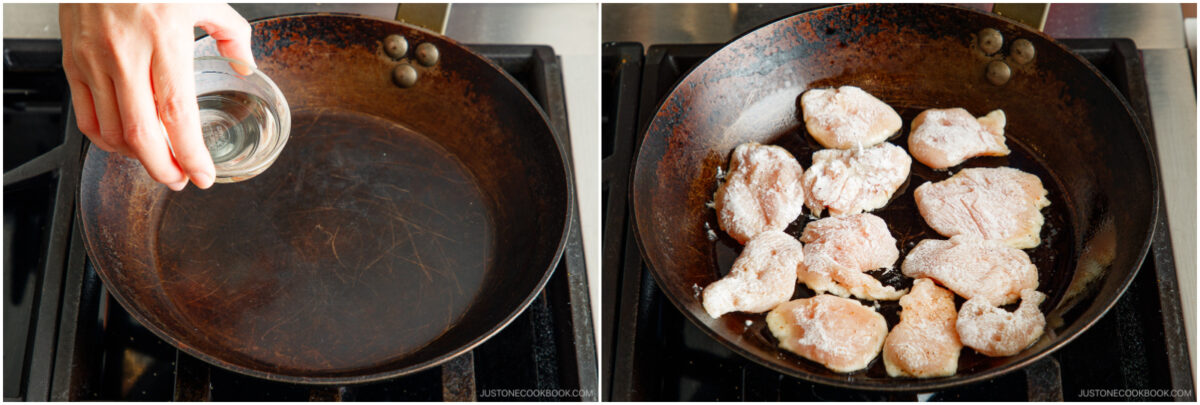
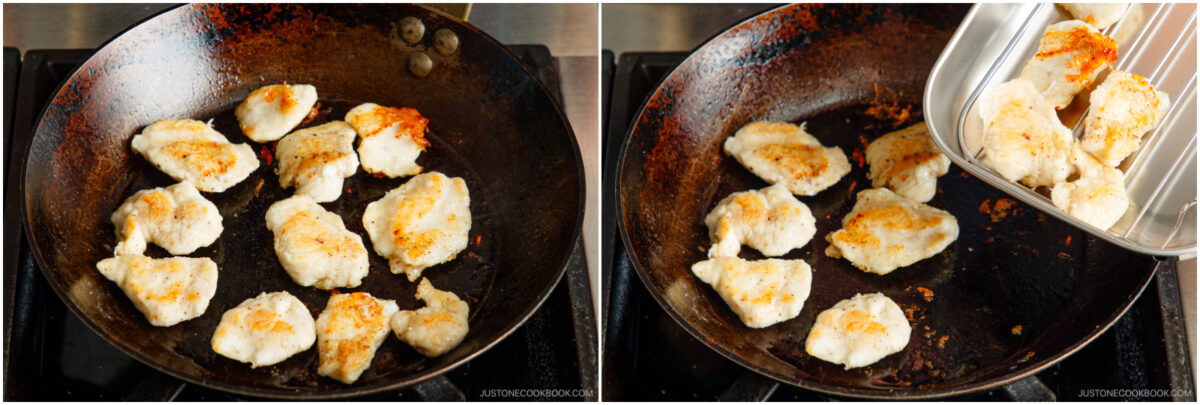
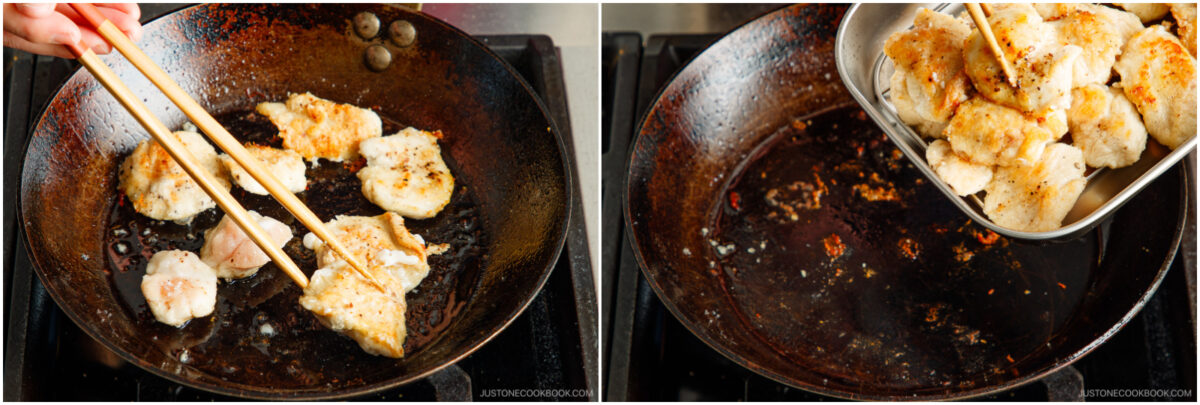
Step 3 – Sear. Fry half the chicken in a pan or wok for 3 minutes until a golden brown crust forms, then sear the other side for 2 minutes. Remove to a tray. Repeat with the second batch.
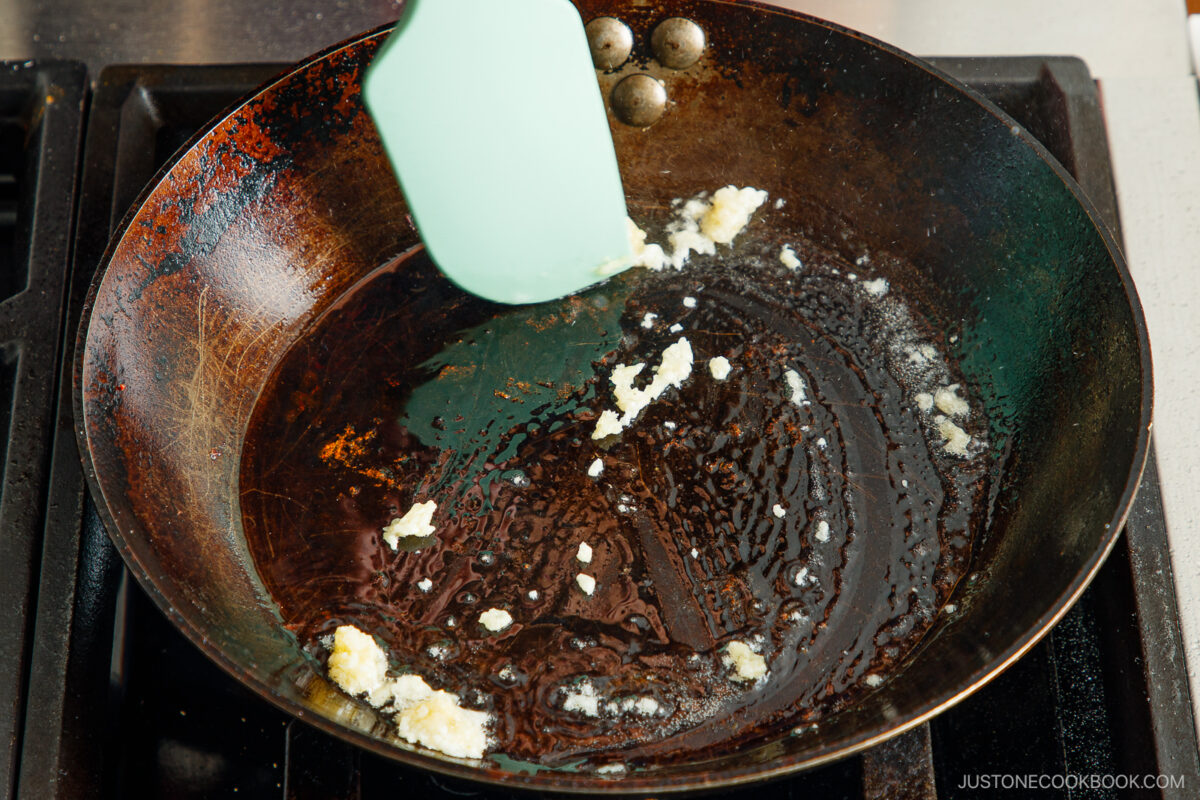
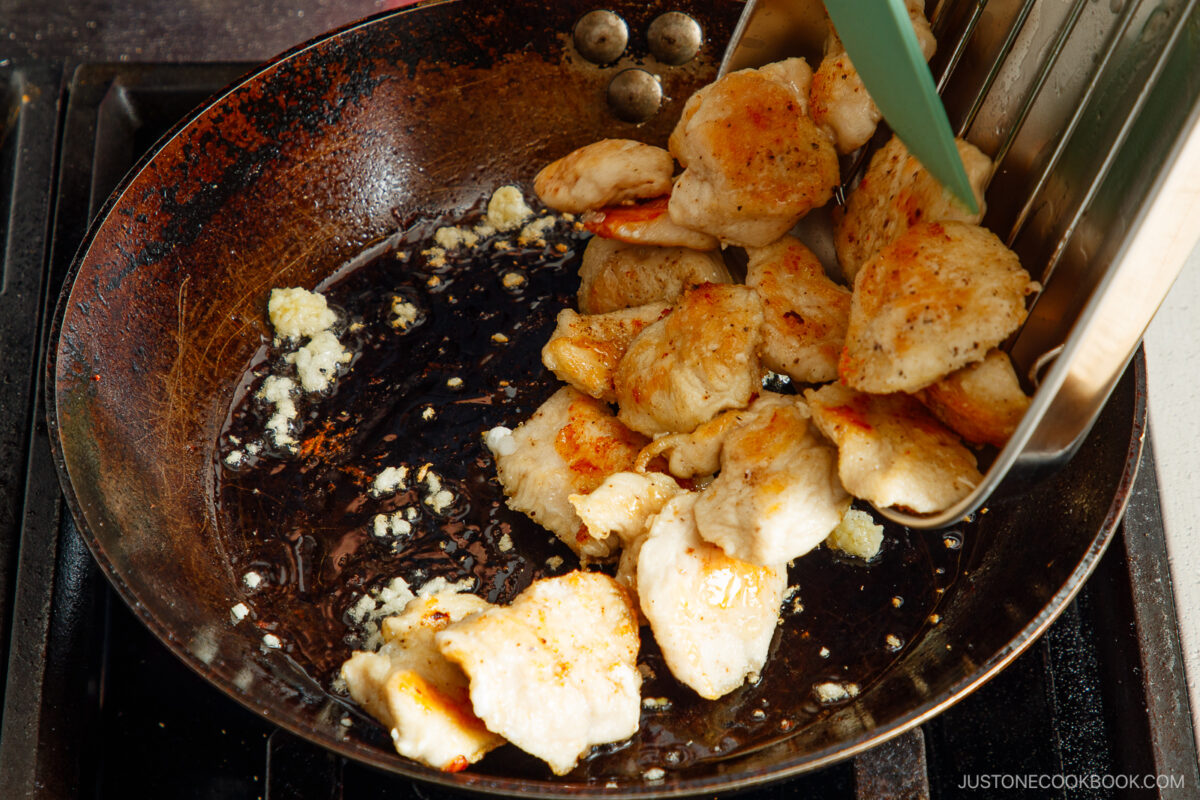
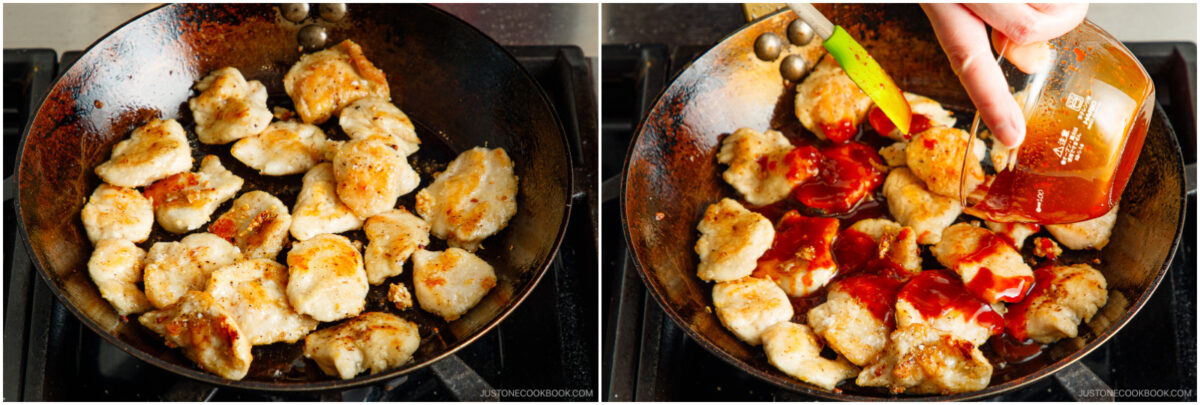
Step 4 – Sauté the garlic. When it becomes fragrant, add the chicken back to the pan and toss it with the garlic.
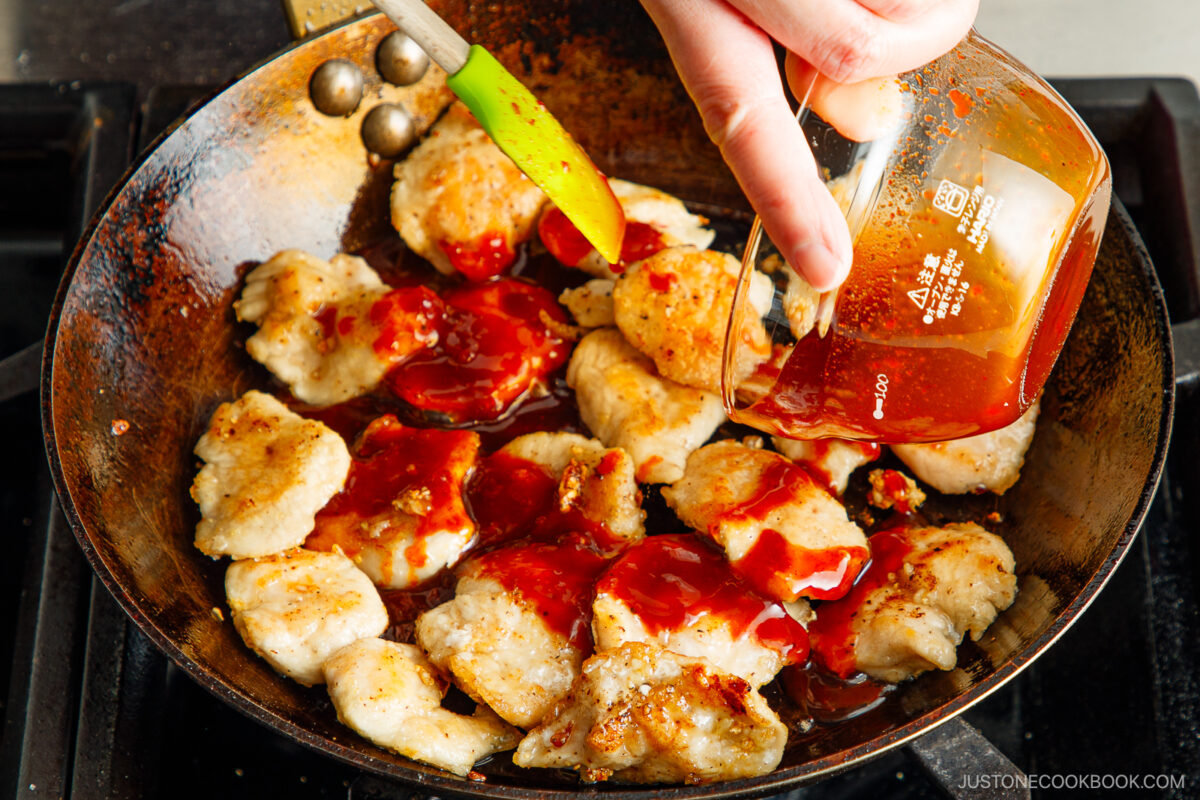
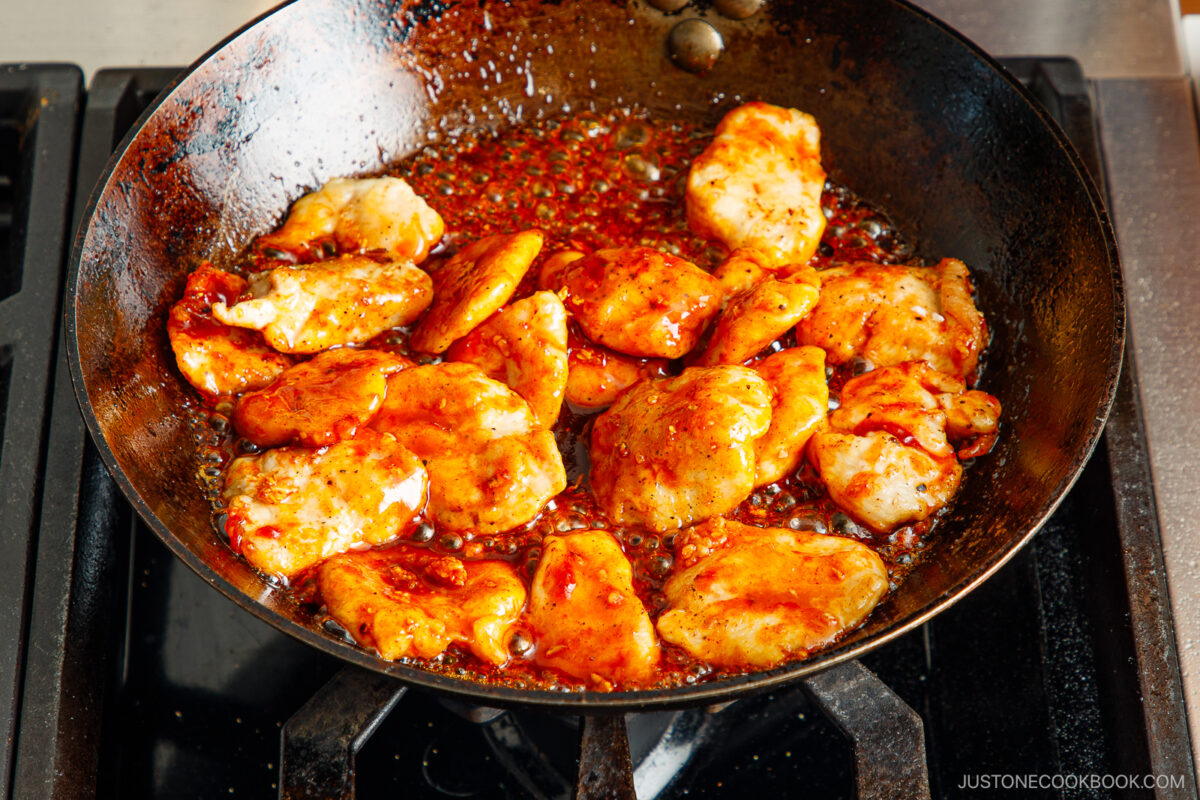
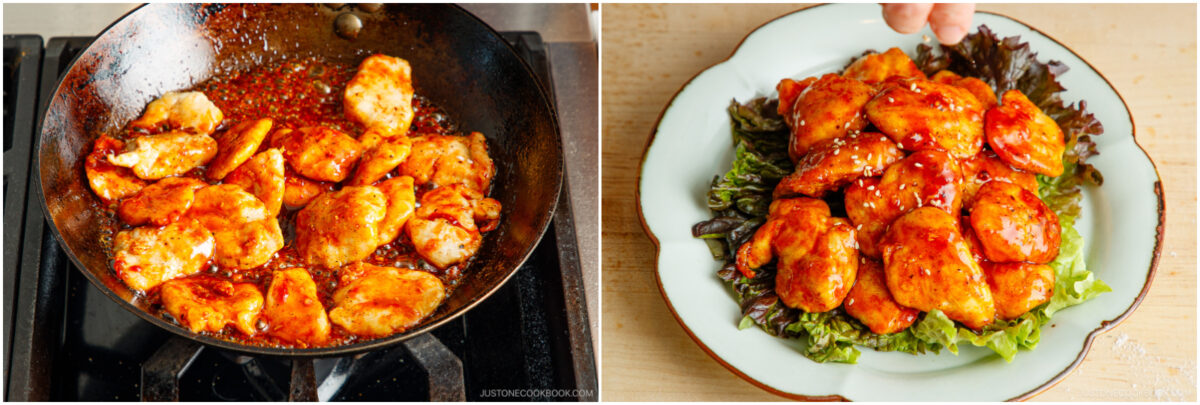
Step 5 – Add the sauce. Stir as you bring the sauce to a simmer. When it bubbles and the chicken is well coated, turn off the heat.
Assemble
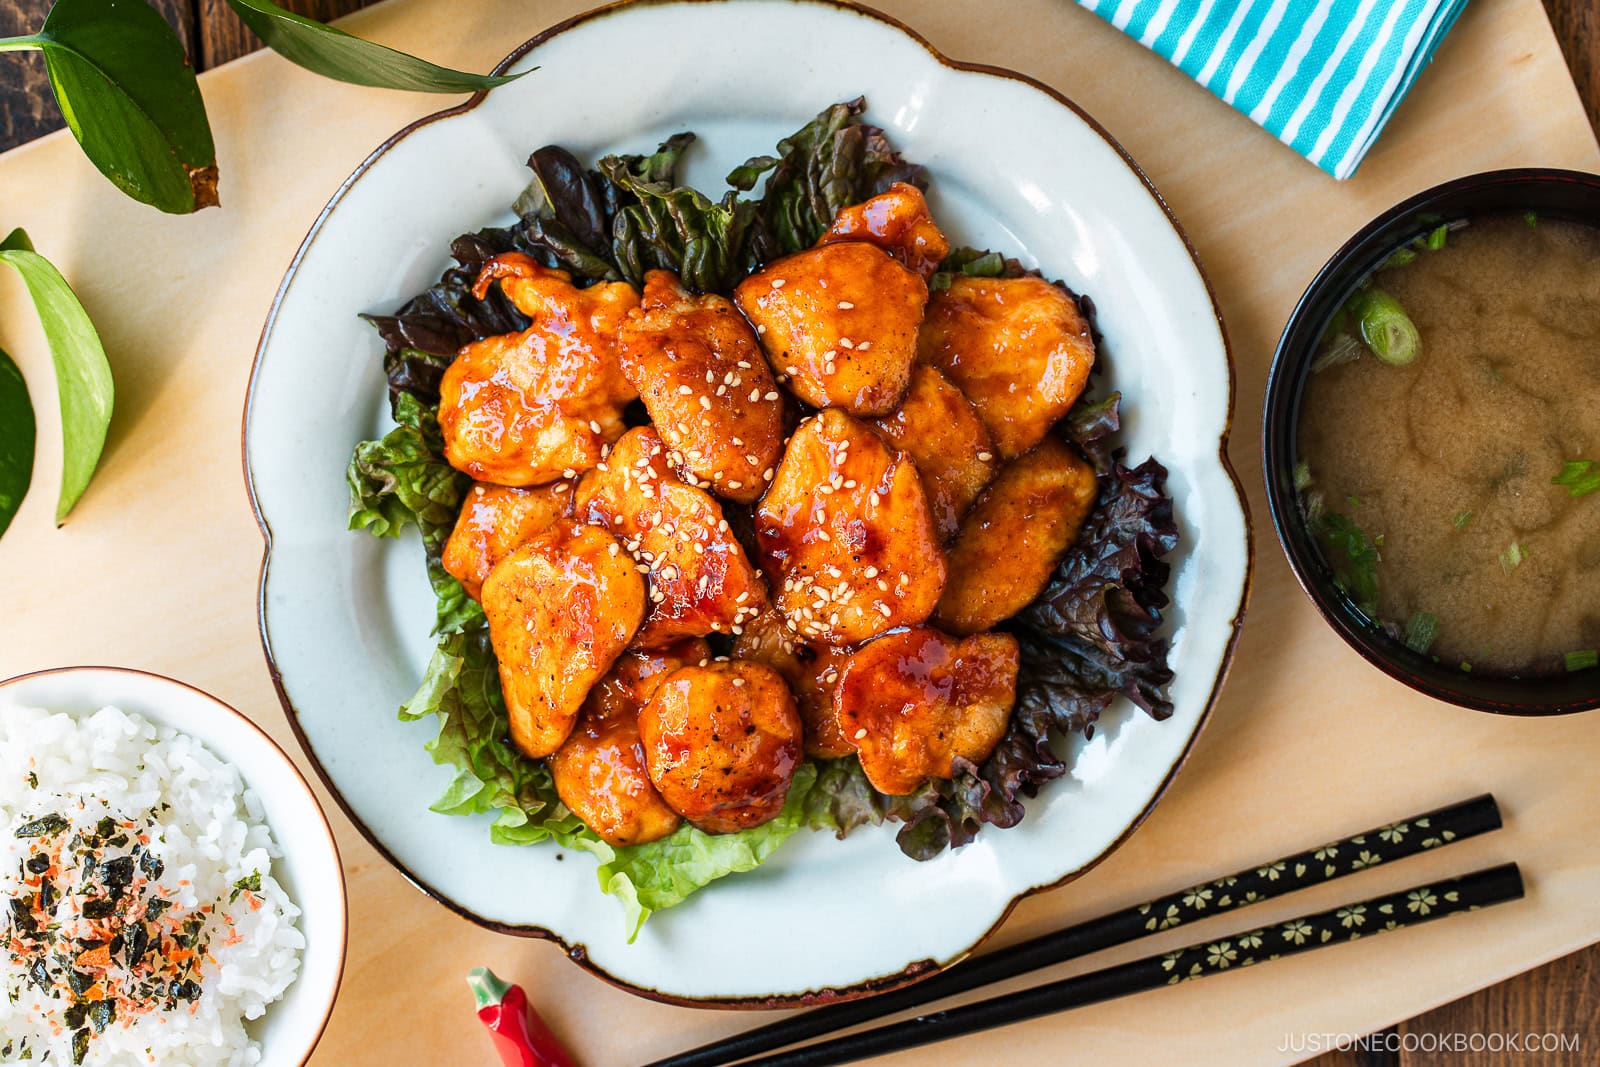
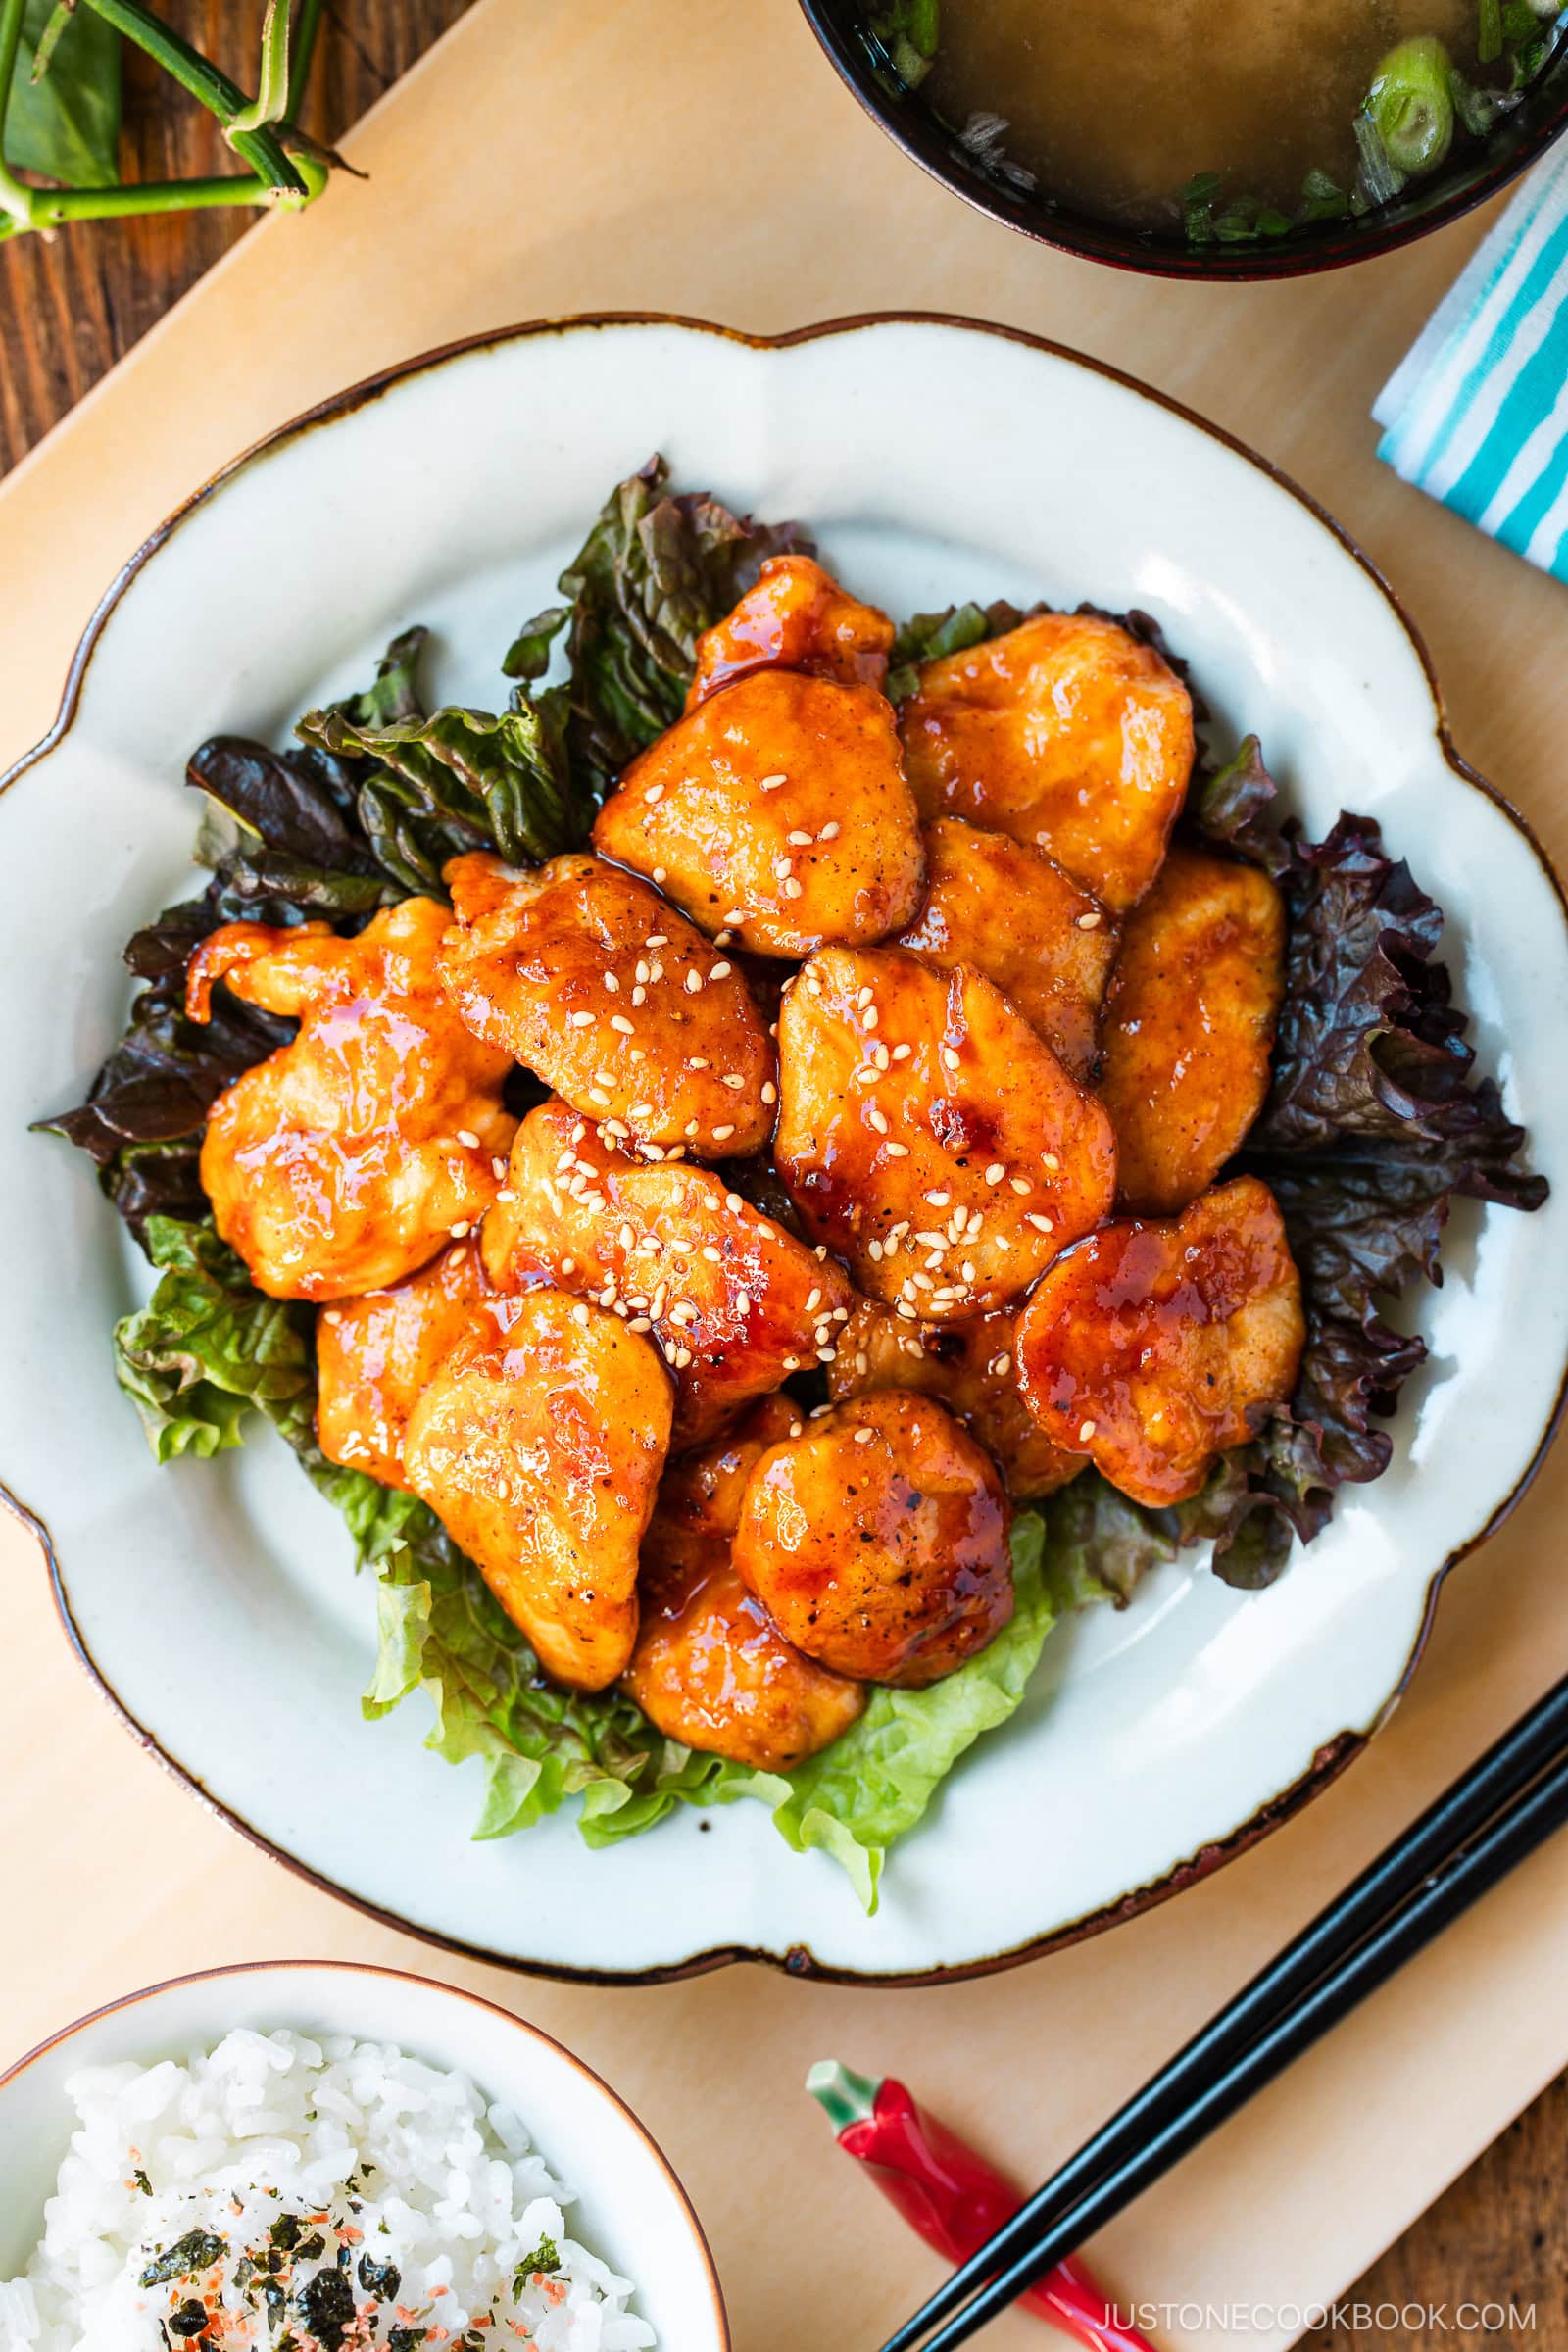
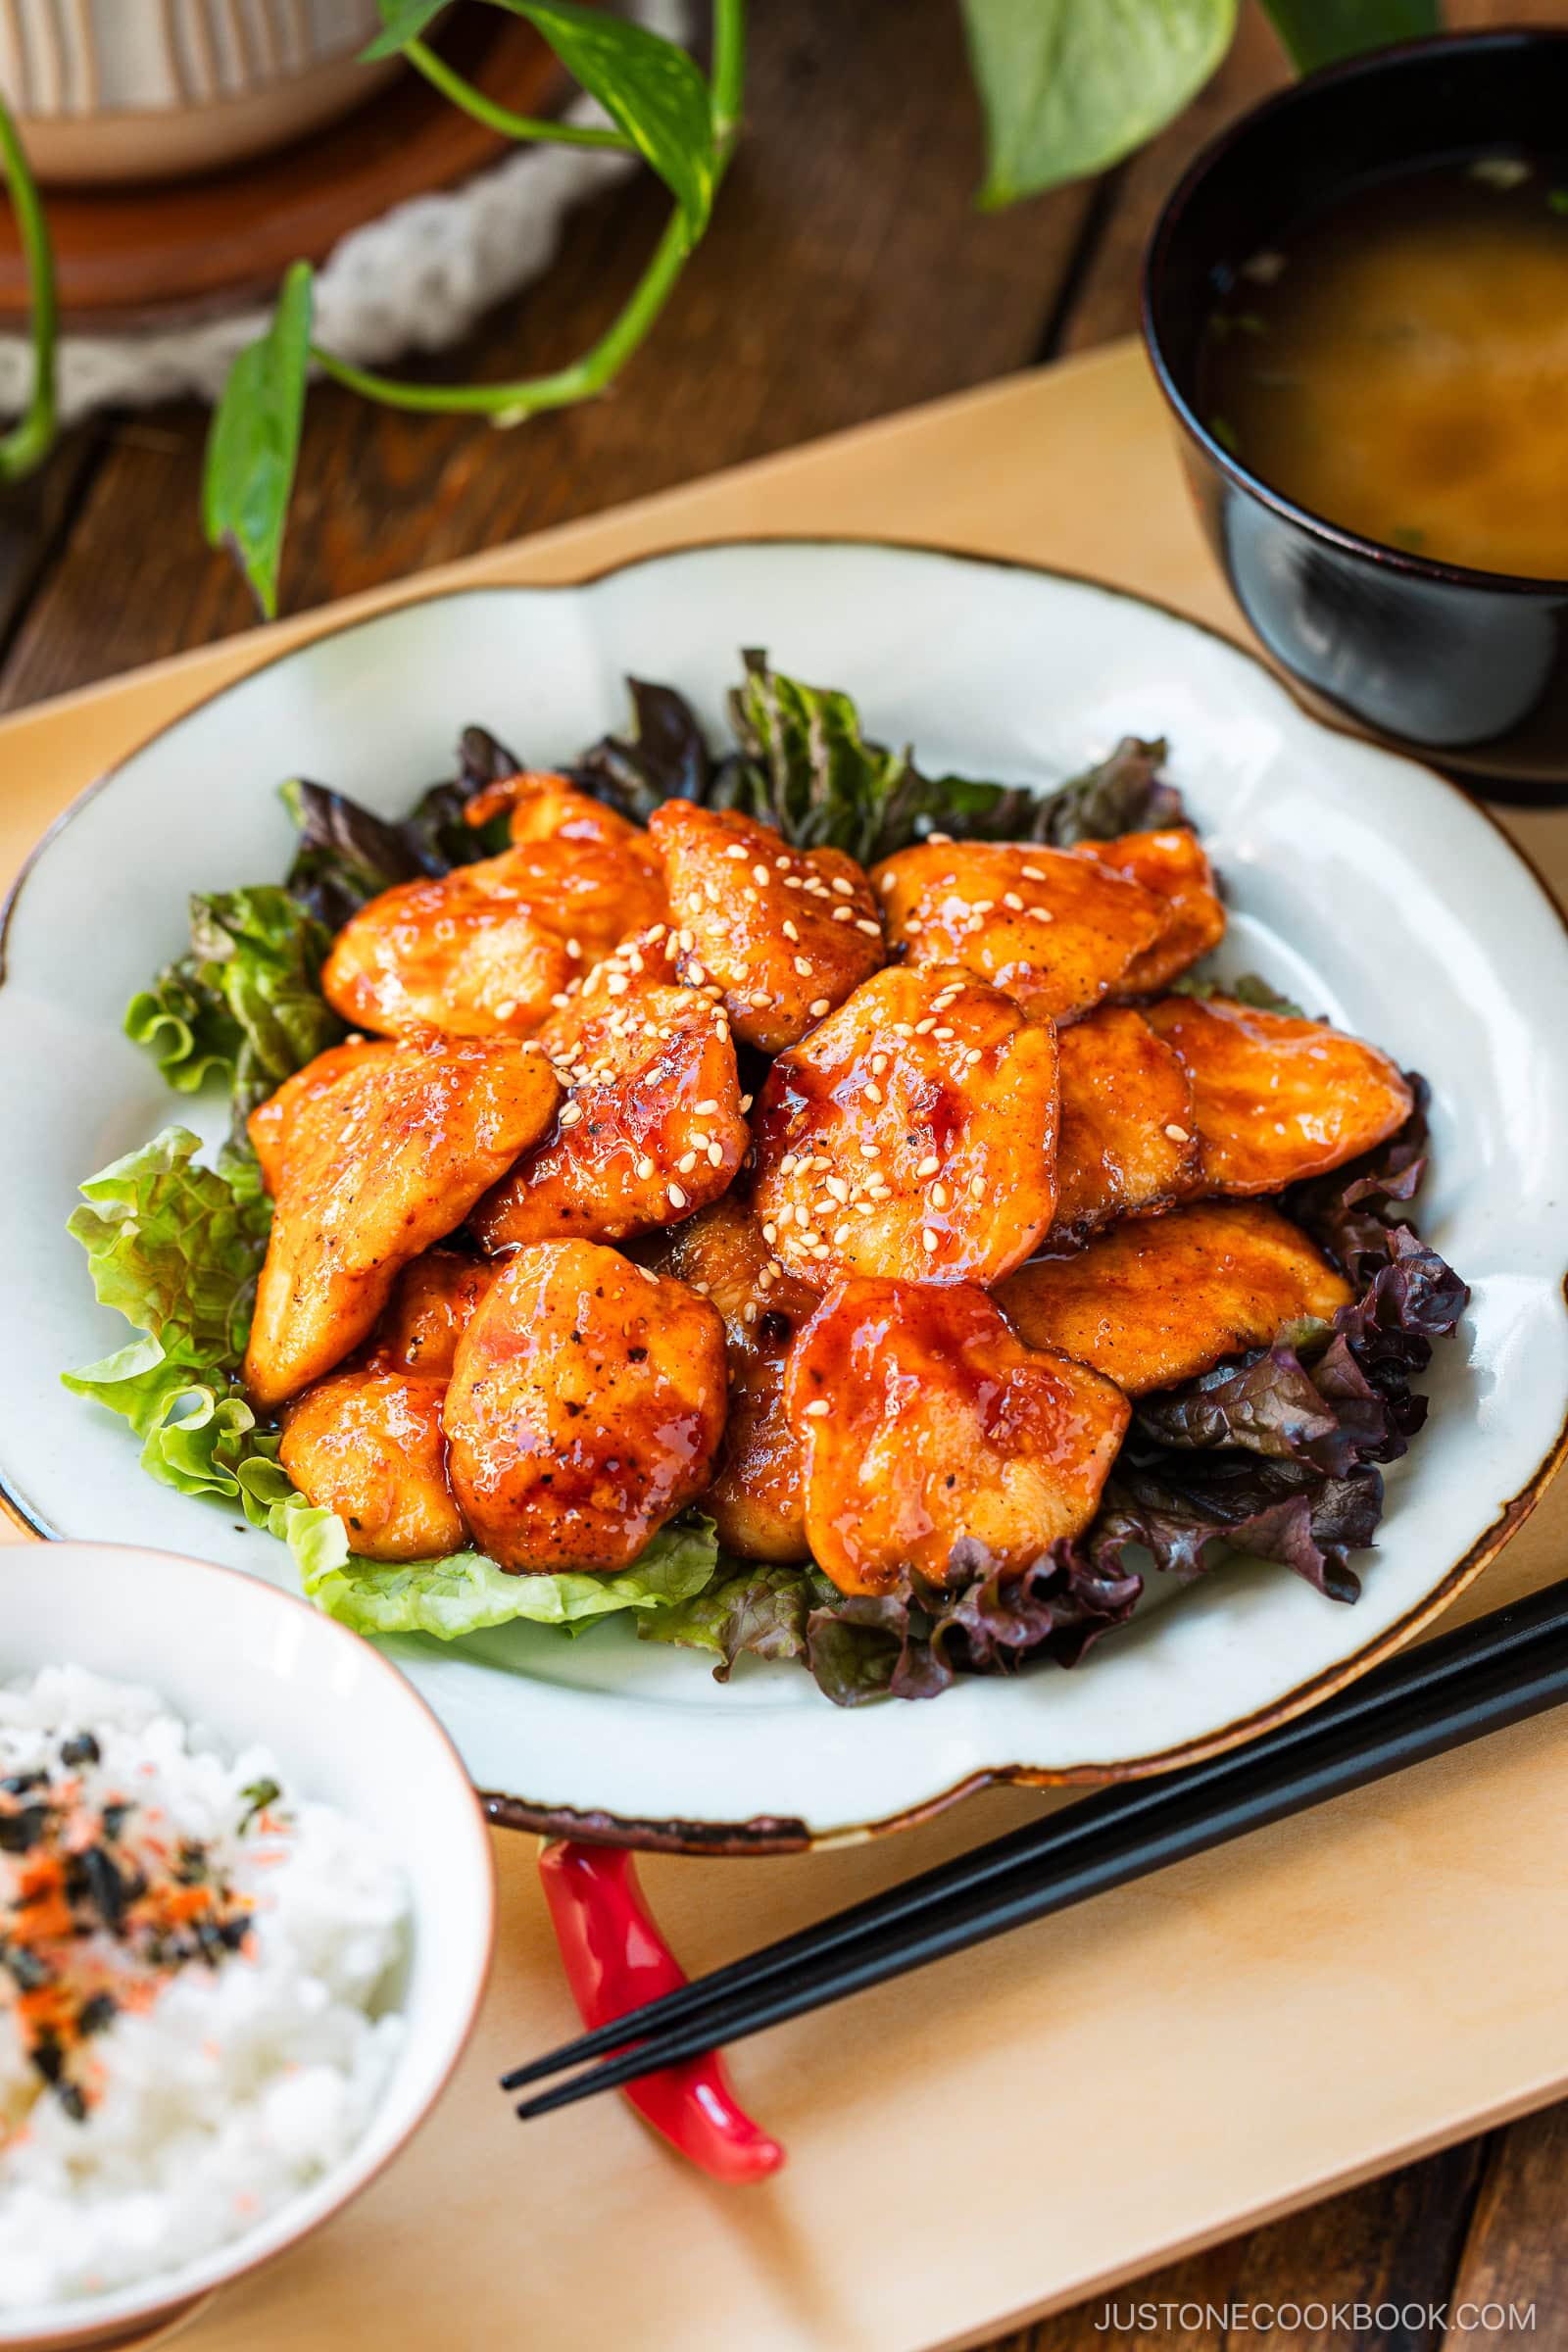
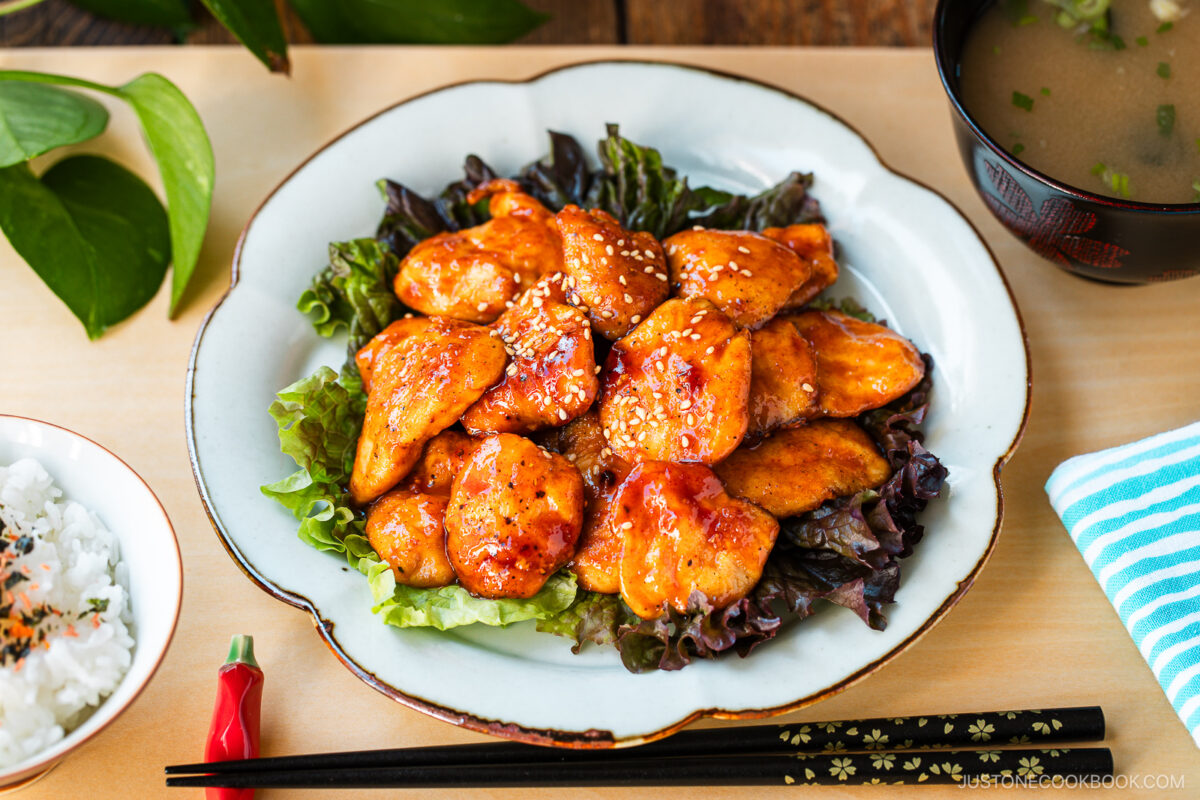
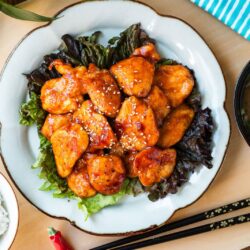
Step 6 – Plate and serve. Transfer to a serving dish; I used the Rinka Flower Salad Plate from JOC Goods. Garnish with sesame seeds and enjoy.
Nami’s Recipe Tips
- Cut the chicken into flat squares – Create thinner pieces of even thickness with an open surface area. I did this by tilting my knife back and slicing at an angle using the sogigiri Japanese cutting technique. This way, the pieces will cook evenly and at the same rate, so nothing overcooks.
- Dust lightly with potato starch – This locks in the juices and seasonings when searing. I shake everything in my favorite stainless prep tray for the perfect light coating. Make sure to dust off any excess that could ruin the chicken’s texture.
- Cook the chicken in batches – To avoid crowding the pan, I cook half the chicken first, then remove it and cook the remaining half. This helps the chicken sear evenly and develop a nice crust.
- Sear until nearly cooked through – The chicken breast will only cook briefly at the end when tossing with the sauce, so it should be mostly cooked when you’re done searing.
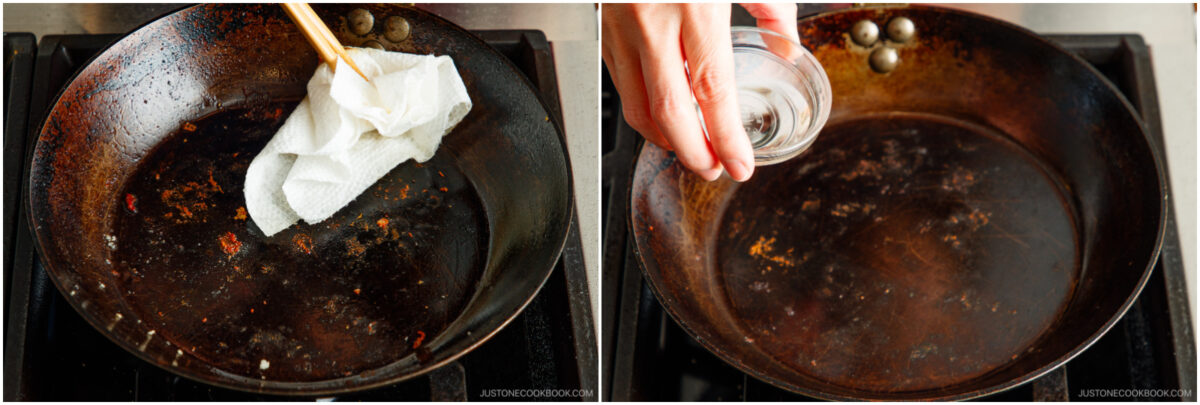
- Wipe the pan after searing – I like to clean off the food particles and grease with a paper towel before adding the sauce. This helps to keep it smooth and glossy.
- Add a splash of water to loosen the sauce – Unless you’re using a nonstick pan, the sauce can stick to the skillet. If this happens, I like to add a bit of water to loosen it. Aim for a light, glossy sauce that coats the chicken evenly.
Variations and Customizations
- Swap the protein. Use this sweet-spicy seasoning on stir-fried shrimp, thin-sliced pork, or tender sliced beef.
- Add vegetables. For extra crunch and fiber, add slivers of sweet red bell peppers, carrots, bean sprouts, mushrooms, or green cabbage.
- Use more aromatics. Try sliced onion, green onions/scallions, garlic chives (nira in Japanese), and even grated fresh ginger.
- Make it vegetarian. Sear cubes of firm tofu or thick mushrooms for a plant-based version.
- Drizzle with toasted sesame oil. Add a couple teaspoons of this flavorful oil toward the end of cooking to add a nutty note.
What to Serve with Honey Gochujang Chicken
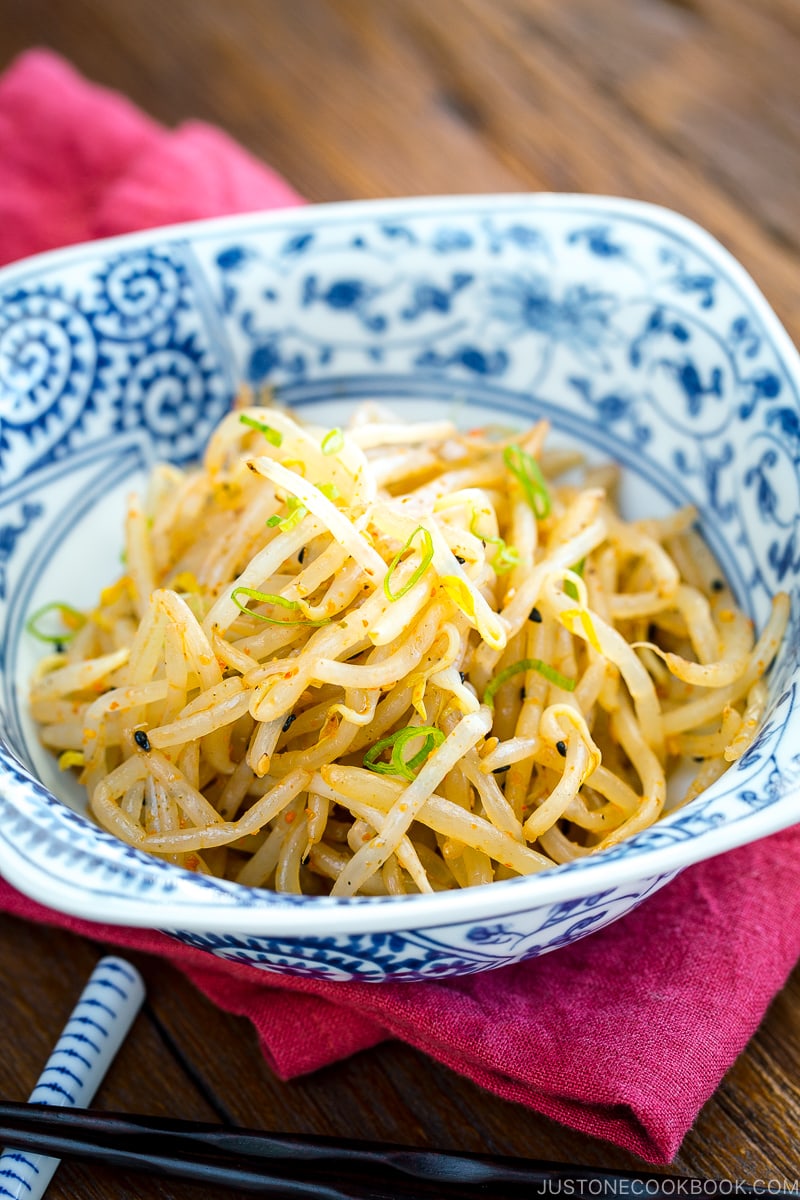
- With vegetable sides – I love serving this dish with refreshing Bean Sprout Salad.
- With soup – One of my go-to quick soups is Japanese Glass Noodle Soup.
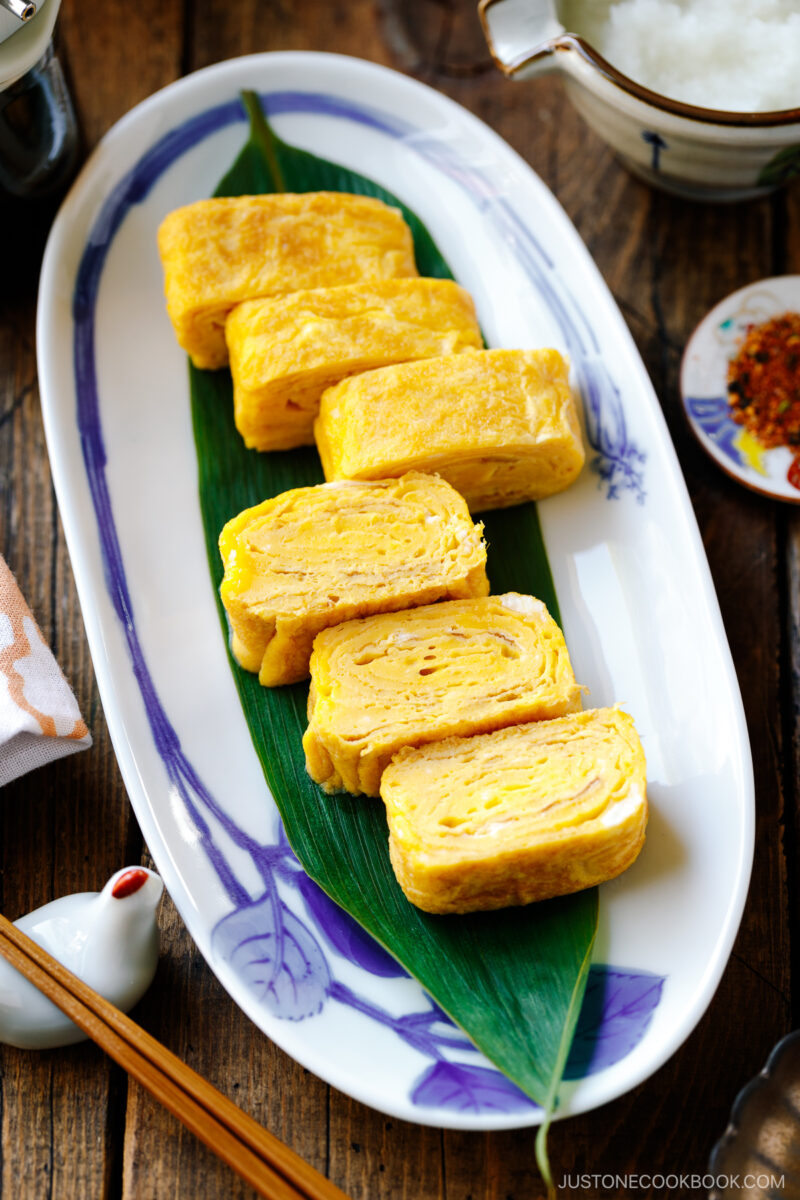
- With a side dish – It’s so easy to make my 3-Ingredient Simple Tamagoyaki.
- With pickles – Colorful and crunchy Asazuke (Japanese Lightly Pickled Vegetables) are ready in just one hour!

Storage Tips
To store: I recommend transferring the leftovers to an airtight container. You can store it in the fridge for up to 3 days or in the freezer for a month.
Frequently Asked Questions
We haven’t tested these cooking methods. However, you might try baking or air frying the chicken separately, then basting it with the honey gochujang sauce right before serving. Please let us know how it turns out!
Honey Gochujang Chicken
Ingredients
- 2 cloves garlic
- 1 boneless, skinless chicken breast (11–12 oz, 320–340 g)
- ¼ tsp Diamond Crystal kosher salt
- ⅛ tsp freshly ground black pepper
- 2 Tbsp potato starch or cornstarch
- 2 Tbsp neutral oil (divided; plus more, as needed)
- ½ tsp toasted white sesame seeds (for garnish)
For the Sauce
- 1 Tbsp gochujang (Korean chili paste)
- 1 Tbsp mirin
- 1 Tbsp honey
- 1 Tbsp soy sauce
Instructions
- Gather all the ingredients.
- To mix the sauce, add 1 Tbsp gochujang (Korean chili paste), 1 Tbsp mirin, 1 Tbsp honey, and 1 Tbsp soy sauce to a small bowl and set aside. Next, mince or crush 2 cloves garlic (I use a garlic press) and set aside.
- Slice 1 boneless, skinless chicken breast into 1½-inch (4 cm) squares of equal thickness. Sprinkle ¼ tsp Diamond Crystal kosher salt and ⅛ tsp freshly ground black pepper on both sides. Nami's Tip: I tilt my knife back and slice the chicken at an angle using the sogigiri Japanese cutting technique. This creates thinner, flatter pieces with an open surface area so the chicken pieces cook evenly and at the same rate in the frying pan.
- Transfer the chicken to a plate or shallow tray; I use my favorite stainless prep tray from JOC Goods. Dust the chicken all over with 2 Tbsp potato starch or cornstarch. I close the lid on the tray and shake everything together for the perfect light coating.
To Sear the Chicken
- Preheat a wok, frying pan, or saucepan (I used a 10¼" carbon steel pan) over medium heat. When it's hot, add 1 Tbsp neutral oil. Once the oil is hot, add half the chicken in a single layer, leaving space between each piece. Sear the first side for about 3 minutes. Nami's Tip: I cook in two batches to avoid overcrowding the pan. This helps the chicken sear evenly and develop a nice crust.
- Once the bottom develops a golden brown crust after about 3 minutes, flip to sear the other side for 2 minutes. Then, remove the chicken to a prep tray or plate. Nami's Tip: Make sure that the chicken is nearly cooked through at this stage. You will only cook it briefly at the end when tossing with the sauce.
- If you're using a carbon steel pan like me, add an extra 1 Tbsp neutral oil here (not included in the ingredients list; you won't need extra oil if you're using a nonstick pan.) Then, add the remaining half of the chicken to the pan.
- Sear the second batch on both sides for a total of 5 minutes, flipping over after the first 3 minutes. Remove from the pan.
To Add the Sauce
- Wipe off the charred food particles and excess grease from the pan with a paper towel. Then, add the reserved 1 Tbsp neutral oil.
- Add the garlic and sauté it lightly until fragrant and without burning it. Now, add the chicken back into the pan.

- Toss it with the garlic. Then, add the sauce and stir to coat the chicken well.
- Keep stirring as you bring the sauce to a simmer and the chicken is coated in a glossy sauce. Nami's Tip: If you're using a carbon steel pan like me, keep 2–4 Tbsp water handy to loosen the sauce if it sticks to the pan, as needed. If you're using a nonstick pan, you probably won't need it.Transfer it to a serving dish; I used the Rinka Flower Salad Plate from JOC Goods. Garnish with ½ tsp toasted white sesame seeds and enjoy.
To Store
- I recommend transferring the leftovers to an airtight container. You can store it in the fridge for up to 3 days or in the freezer for a month.
Nutrition
Did you make this recipe?
Tag @justonecookbook on Instagram so we can see your delicious creation!