

This post may contain affiliate links. Please read my disclosure policy.

What I’ve Learned Making Tamago Sando
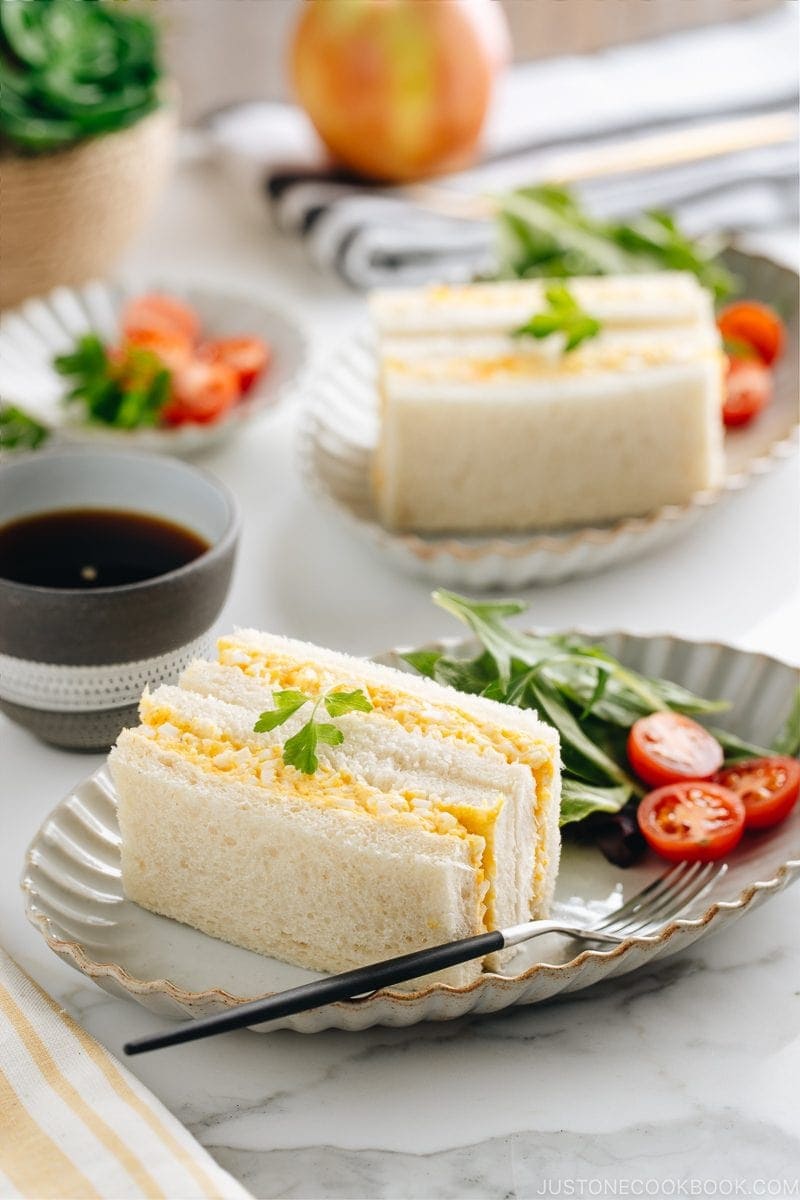
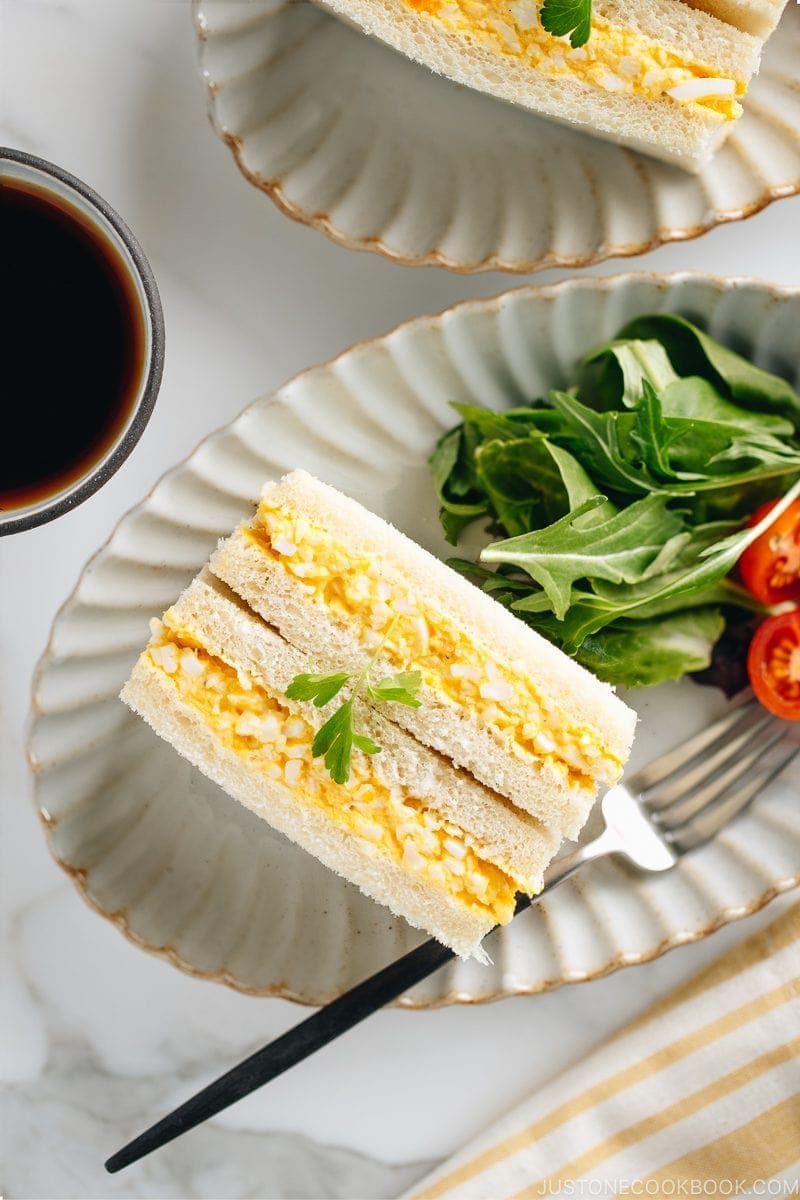
Tamago Sando (たまごサンド) is Japan’s egg sandwich: creamy egg filling on pillowy crustless Shokupan. I grew up eating these!
Worth having ready: Kewpie Japanese mayonnaise, shokupan (or brioche/soft white bread).
- Week-old eggs peel cleanly
- Boil 12 minutes, then iced water
- Fork-mash whole eggs; a splash of milk makes it creamy
- Season with salt, taste as you go; a pinch of sugar for konbini flavor
- Butter the bread so it doesn’t get soggy
- Compress 5 minutes before trimming crusts
So many readers tell me this recipe brings back the egg sandwiches they miss from 7-Eleven, Family Mart, and Lawson in Japan.
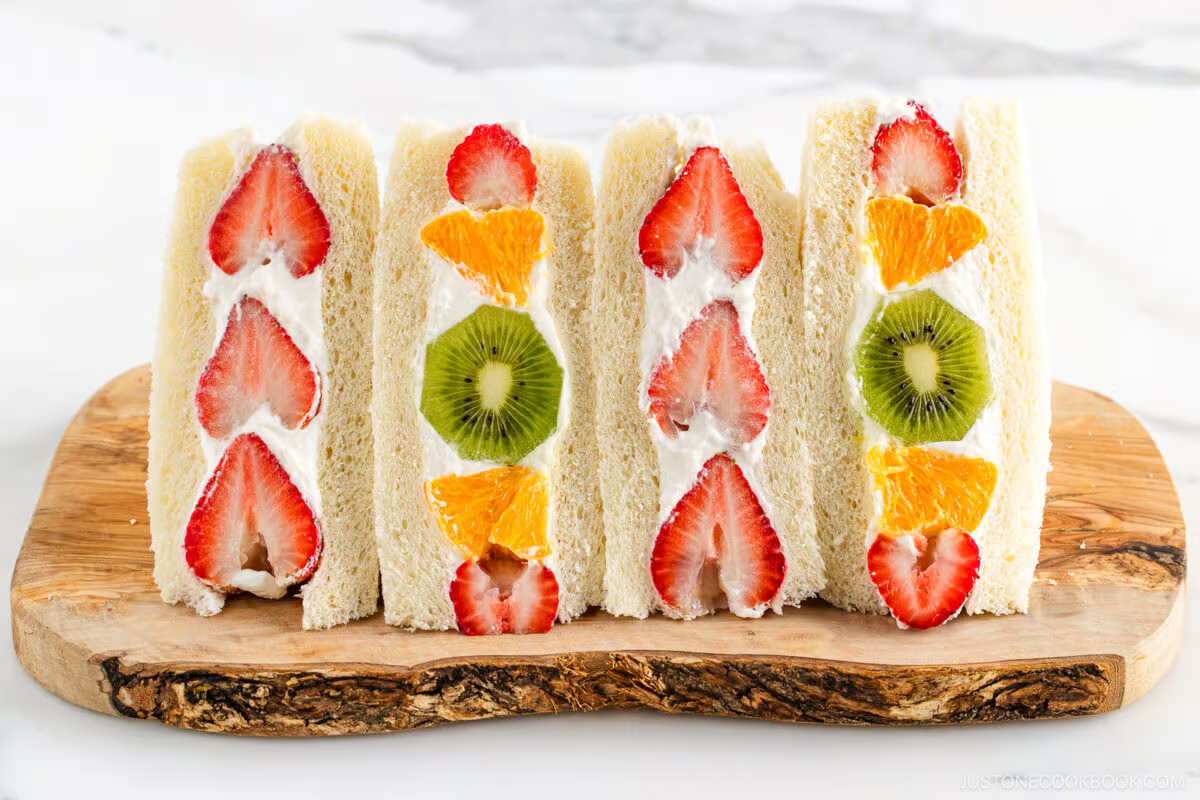
If you love Japanese sandwiches, try my Katsu Sando, Japanese Fruit Sandwich, and Wanpaku Sandwich recipes next.

What is Tamago Sando?
Japanese egg sandwich tamago (たまご) means eggs and sando is short for san-doh-itchi (サンドイッチ)—sandwich in Japanese. You probably heard of both words from Onsen Tamago, Tamagoyaki, Tamagotchi (the nostalgic toy!), and Katsu Sando or Wanpaku Sando from my blog.
The egg sandwich is pretty much a homey snack to the Japanese because we all grow up eating it. It is a modest, low-maintenance sort of food and you can get it even at convenience stores. Its international stardom took me by surprise, especially when Anthony Bourdain praised it on Twitter. Now, I see it on the menu of trendy cafes and restaurants in the U.S.
What’s the Difference between American and Japanese Egg Sandwich?
In comparison to American-style egg sandwiches, Japanese egg sandwich is a lot simpler. Usually just mashed boiled eggs between the bread. There is no cheese, no mustard, no onions or lettuce, no ham or bacon. It’s as pure as an egg salad sandwich can get. I actually do like the American-style egg salad sandwich too and I’d say both versions have their own unique flavors.

Key Ingredients for Japanese Egg Sandwich
So what’s all the fuss about the Japanese egg salad sandwich? You only need eight everyday ingredients: eggs, Kewpie mayonnaise, shokupan, salted butter, sugar, salt, pepper, and a splash of milk. I think you can say it stands out because of these characteristics:
1. Shokupan (Japanese Milk Bread)

Tamago sando always uses soft and pillowy Shokupan (Japanese Milk Bread). The sandwich bread is sweet, milky with a nice bounce, and the crust around the Pullman is completely removed so you get the perfect soft texture of a sandwich.
2. Kewpie Japanese Mayonnaise

And of course, the mayo. Tamago sando uses Japanese mayonnaise (with Kewpie mayonnaise being the most recognizable) which gives the egg filling an extra tang and creaminess. If needed, you can use American mayonnaise, but the flavor complexity can be quite different. Many Just One Cookbook readers told me that they won’t go back to American mayonnaise after trying Japanese mayo.
It’s worth grabbing a bottle of Japanese mayonnaise at your local Asian grocery stores (available on Amazon too). Otherwise, you can try my homemade Homemade Kewpie Mayonnaise recipe.
3. Eggs
Needless to say, eggs are the main ingredients in the egg salad sandwich, and the taste of eggs totally shines through. There is something about Japanese eggs. They are fresh and the yolk is almost orange, and they are so darn delicious. In the US, you can certainly procure some quality eggs from your local farmers’ market or good-quality free-range eggs.
If you are used to eating the 7-Eleven egg sandwich in Japan, this homemade recipe will make you very happy. It is good with coffee or tea, but even better if you enjoy it with a cup of royal milk tea.
How to Make Tamago Sando
- Boil the eggs for 12 minutes, then move them to iced water so they peel cleanly.
- Mash and season. Fork-mash the whole eggs into small, same-sized pieces, then mix in the seasonings, milk, and Kewpie mayo.
- Butter the bread and add the filling. The butter keeps the shokupan from getting soggy.
- Compress, trim, and slice. Rest the sandwiches between two plates for 5 minutes, then cut off the crusts for the classic look.
You’ll find the full measurements and step-by-step photos in the recipe card below.
Nami’s Recipe Tips for Tamago Sando
Here are a few cooking secrets I’ve learned over the years for the perfect egg sando every time.
- Use older eggs – I reach for quality eggs that have sat in the fridge about a week. The shells peel away cleanly instead of tearing the whites.
- Add milk – A splash of milk loosens the mashed yolks. It gives the filling a creamy, smooth texture that spreads evenly on the bread.
- Don’t be shy with salt – For a plain dish like this, salt does the heavy lifting. It brings out the egg flavor, so season and taste as you go.
- Add a pinch of sugar – I add a little sugar when I want the classic konbini flavor. Skip it if you prefer your filling savory.
- Don’t skip the butter – Butter works as a waterproof barrier on the shokupan. It keeps the slices dry instead of soggy.
More Japanese Sandwiches You’ll Love
- Japanese Fruit Sandwich (Fruit Sando)
- Japanese Sandwich: Mixed Sando
- Wanpaku Sandwich (The Ultimate Layered Sandwich)
- Katsu Sando (Pork Cutlet Sandwich)


Wish to learn more about Japanese cooking? Sign up for our free newsletter to receive cooking tips & recipe updates! And stay in touch with me on Facebook, Pinterest, YouTube, and Instagram.
Japanese Egg Sandwich (Tamago Sando)

Ingredients
For the Tamago Filling
- 3 large eggs (50 g each w/o shell) (preferably about a week old for easier peeling)
- 2 Tbsp Japanese Kewpie mayonnaise
- 2 tsp milk
- ¼ tsp sugar (for the classic konbini flavor; skip for a savory filling)
- ¼ tsp Diamond Crystal kosher salt
- ⅛ tsp freshly ground black pepper
For the Sandwich Assembly
- 4 slices shokupan (Japanese milk bread) (sandwich thickness from an 8-slice square loaf; you can make homemade Shokupan)
- salted butter
Instructions
- Gather all the ingredients.

To Make the Tamago Filling
- Boil the eggs: Put 3 large eggs (50 g each w/o shell) in a medium saucepan and add enough water to cover by 1 inch (2.5 cm). Bring to a boil on medium heat and cook for 12 minutes.

- Transfer the boiled eggs to iced water to stop the cooking. Let them cool completely. Peel the eggshells.

- Mash the eggs: Transfer the peeled eggs to a bowl. Mash the eggs with a fork, creating small, same-sized pieces of egg whites.

- Add seasoning: Add ¼ tsp sugar and ¼ tsp Diamond Crystal kosher salt to the eggs.

- Add ⅛ tsp freshly ground black pepper and 2 tsp milk.

- Mix with mayonnaise: Add 2 Tbsp Japanese Kewpie mayonnaise and mix very well. Taste and sprinkle more salt and pepper, if needed.

To Assemble the Sandwiches
- Spread butter on the bread: Set out 4 slices shokupan (Japanese milk bread). Spread salted butter on the bread slices. Spread the tamago filling on one slice of each sandwich.Nami's Tip: The butter is a moisture barrier that keeps the shokupan from getting soggy, so don't skip it.

- Compress the sandwiches: Put the other bread slice, buttered side down, on top of slice with the tamago filling. Place the sandwiches between two plates to compress slightly. Set aside for 5 minutes.

To Serve
- Trim the crusts: Cut the crusts off the bread with a sharp knife. Nami's Tip: Repurpose the crusts to make crunchy, buttery Shokupan Crust Rusks. Make the rusks with fresh crust strips or freeze the strips now and make the rusks later.

- Cut the sandwiches in half and serve.

To Store
- You can keep any leftovers in an airtight container and store them in the refrigerator for up to 2 days.
Nutrition
The nutrition facts shown are generated by an online calculator and are estimates only. Please consult a professional nutritionist for specific dietary needs.
Did you make this recipe?
Tag @justonecookbook on Instagram so we can see your delicious creation!
Editor’s Note: This post was originally published on April 1, 2019. It’s been republished with additional blog content on April 5, 2023.