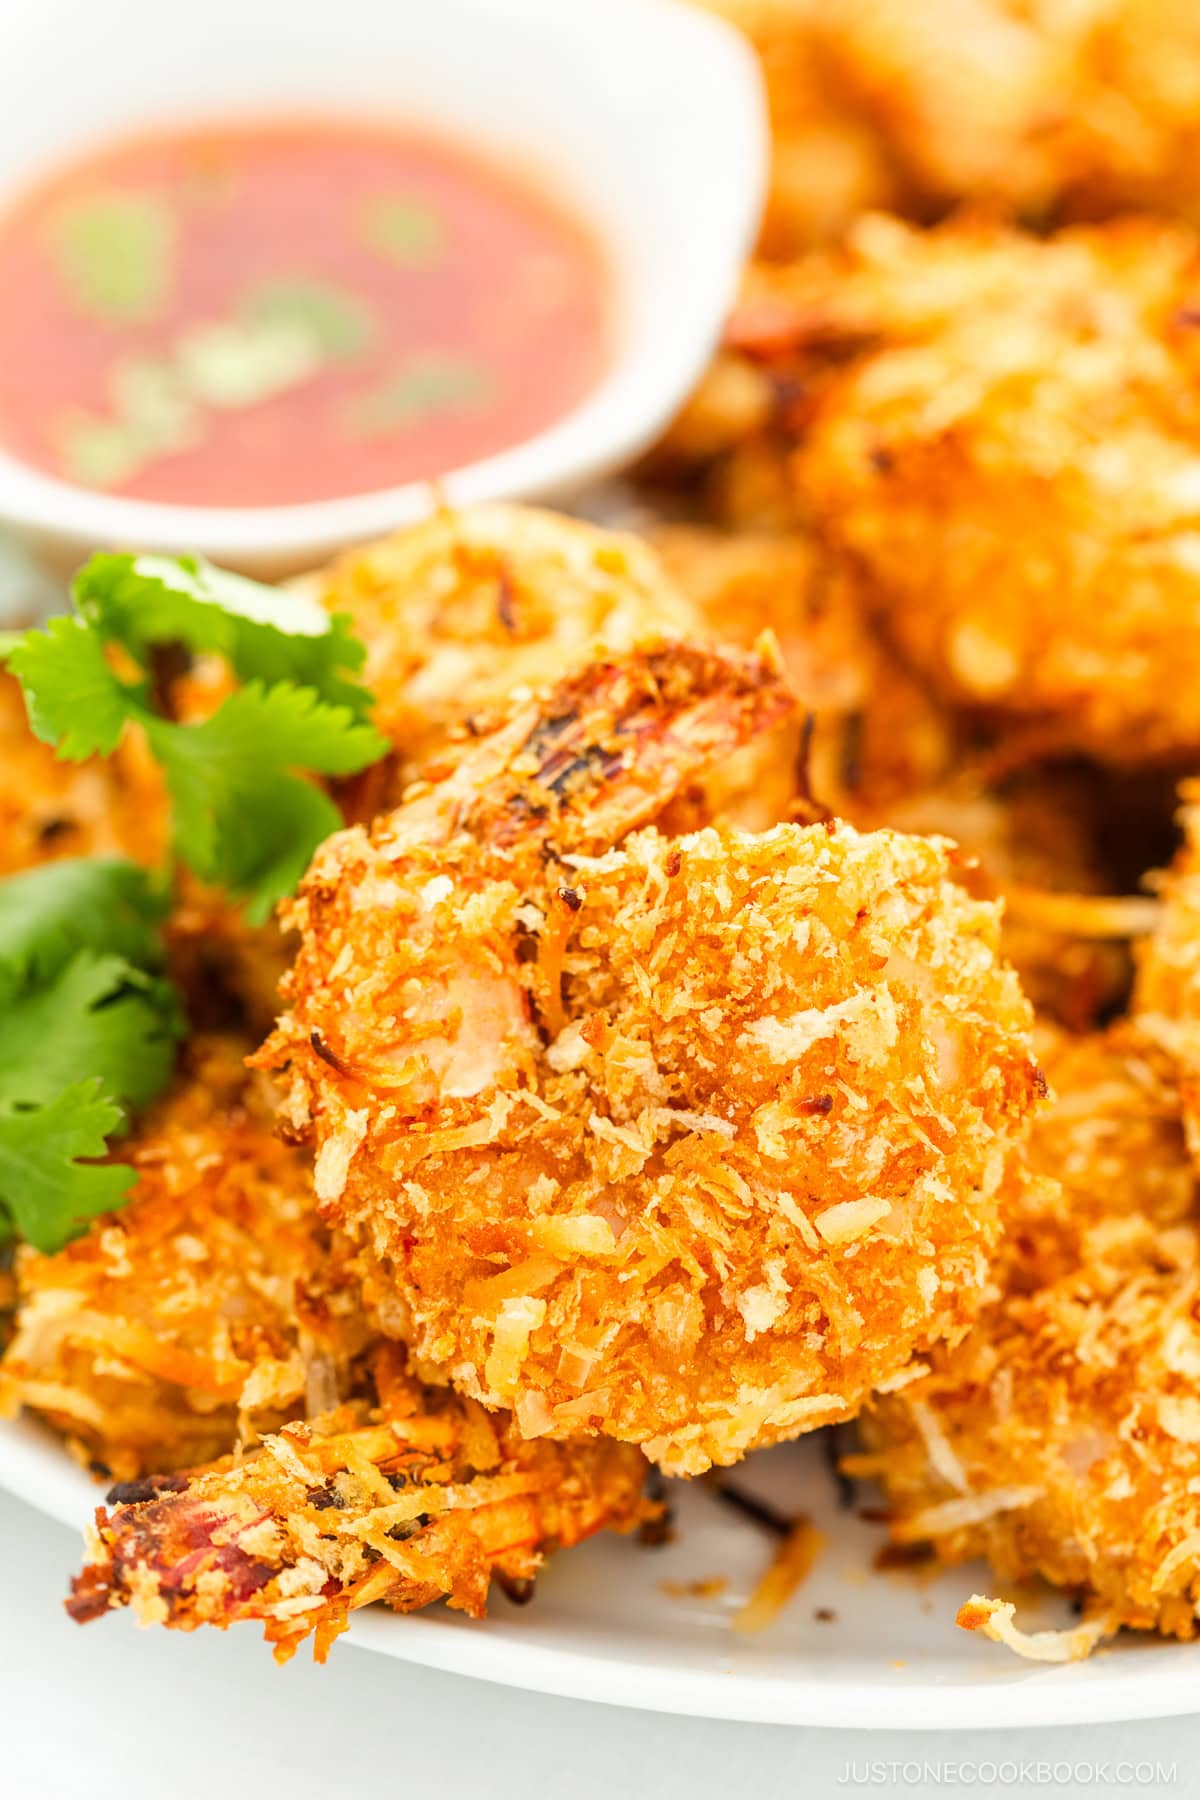
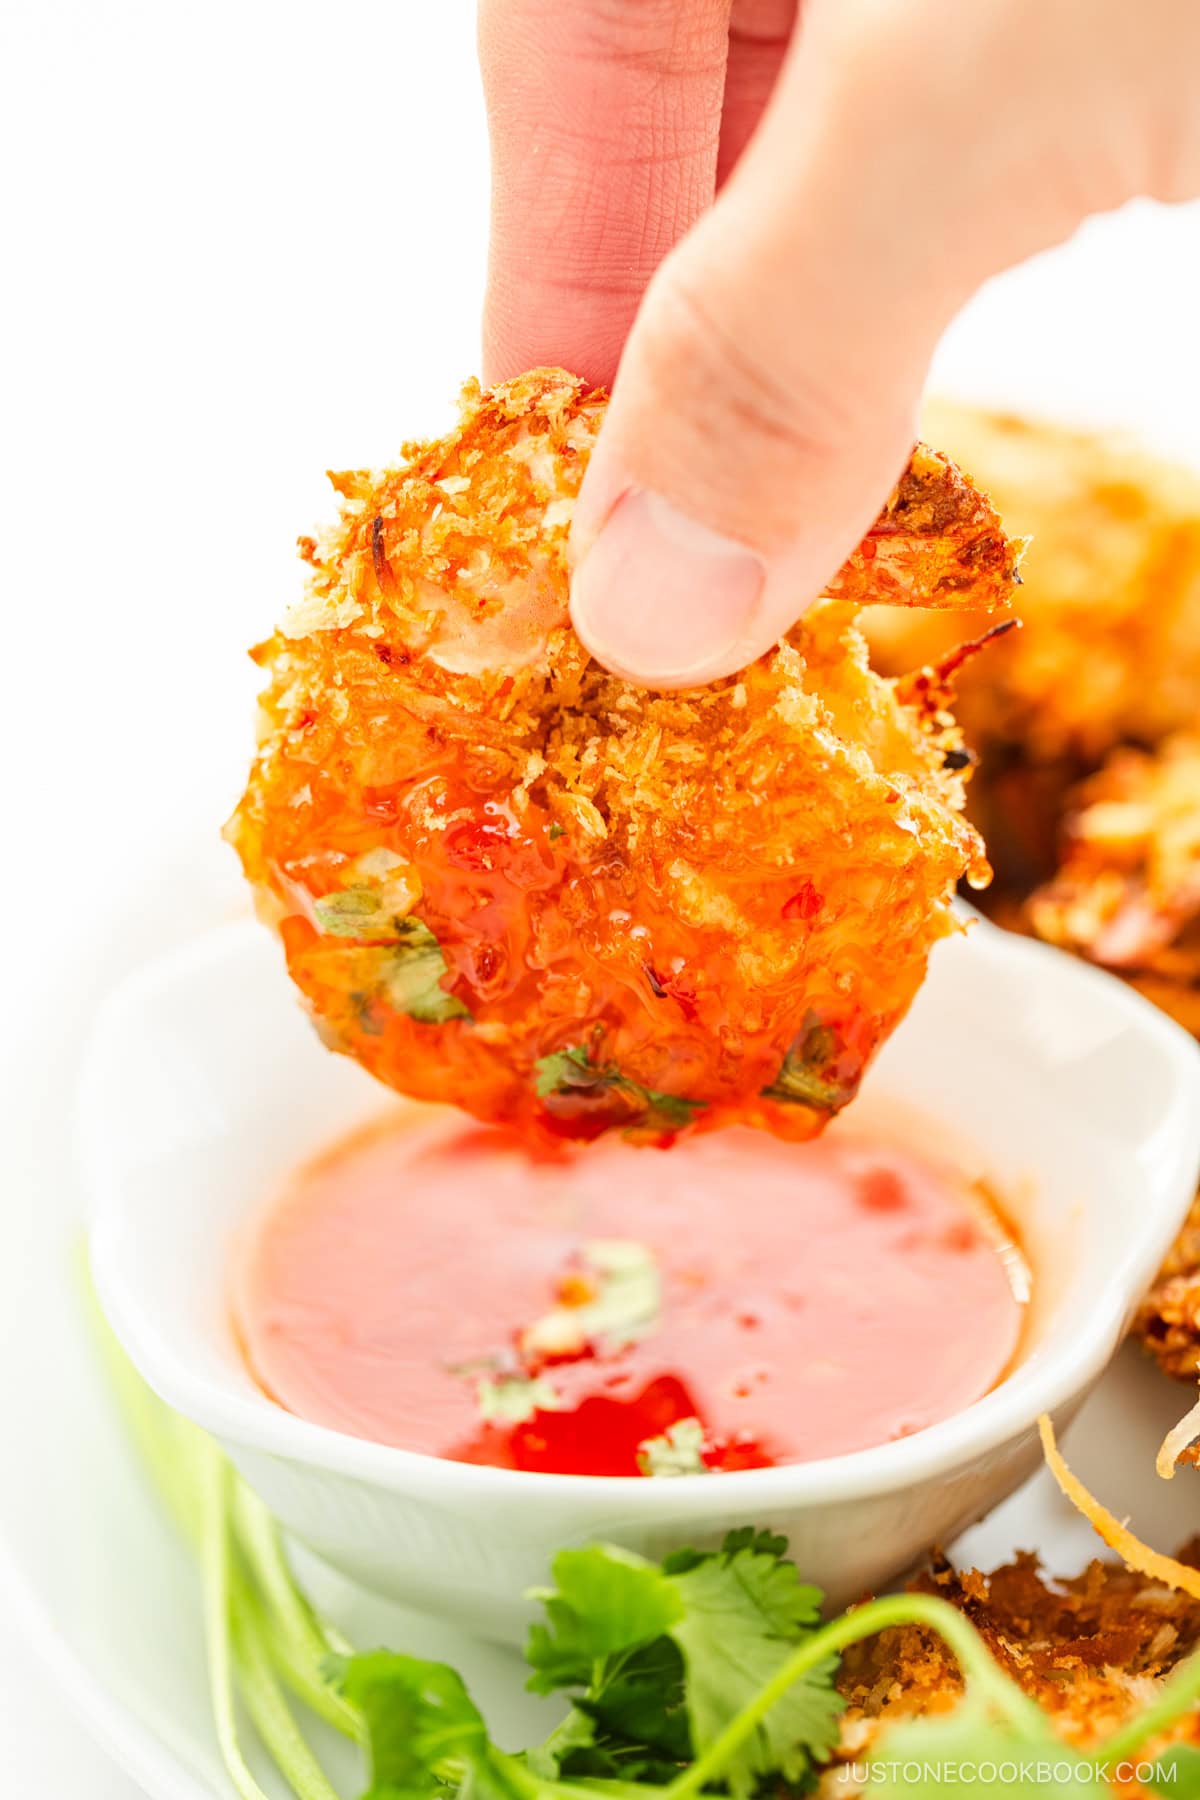
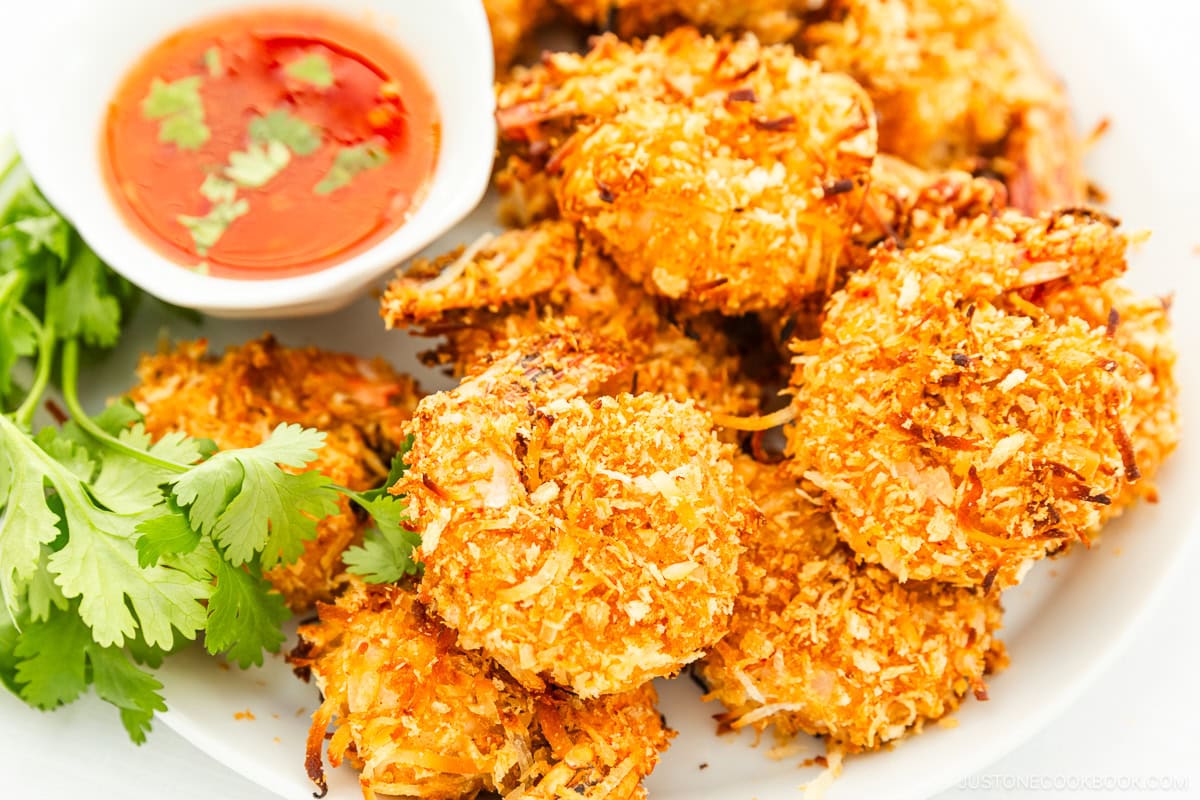
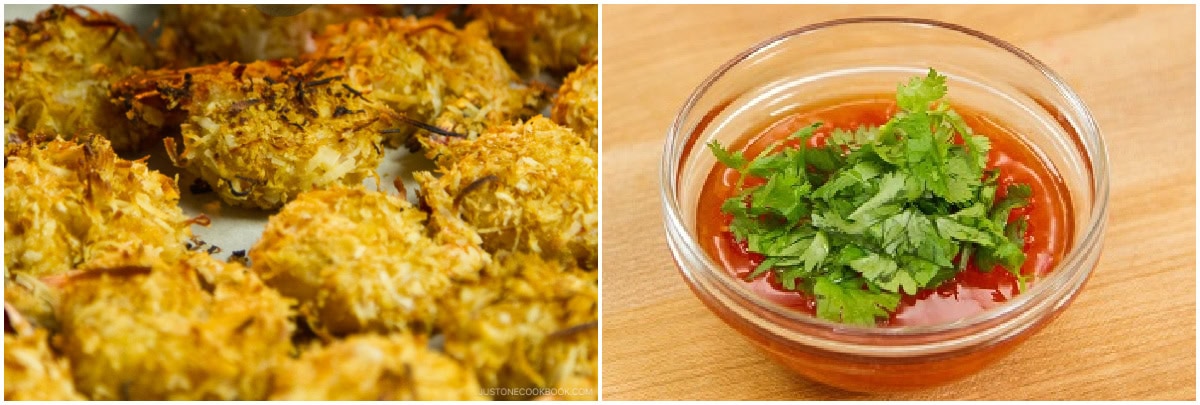
Succulent shrimp battered with a golden crunchy panko and coconut shell, these delicious Baked Coconut Shrimp could easily become your family’s favorite finger food. Don’t forget the Thai chili sauce for dipping!
If you are looking for an appetizer dish to make for a party, these crispy baked Coconut Shrimp with sweet chili sauce are one of the easiest shrimp recipes I can recommend. It takes only 20 minutes of prep time, and then you pop it into the oven to finish.
And the best part? These shrimp are baked, not deep-fried, making them a healthier alternative. The panko and shredded coconut coating bakes to a golden brown, giving you all the crispy goodness without the guilt.
Table of Contents
Why You Will Love This Recipe
- Less oily, lighter, and oh-so-crunchy! Using Panko breadcrumbs is the key. Bonus: no deep fryer is needed.
- The shrimp stay crispy after baking because I used the same “pre-toasted panko” technique as you may have seen in my Baked Tonkatsu, Crispy Baked Chicken, and Crispy Salmon recipes.
- You’ll get a crispy texture even after reheating. Unlike most deep-fried coconut shrimp, these baked morsels don’t get greasy and remain crunchy.
- A fun and crowd-pleasing item to bake for an impromptu gathering or even as a main course.
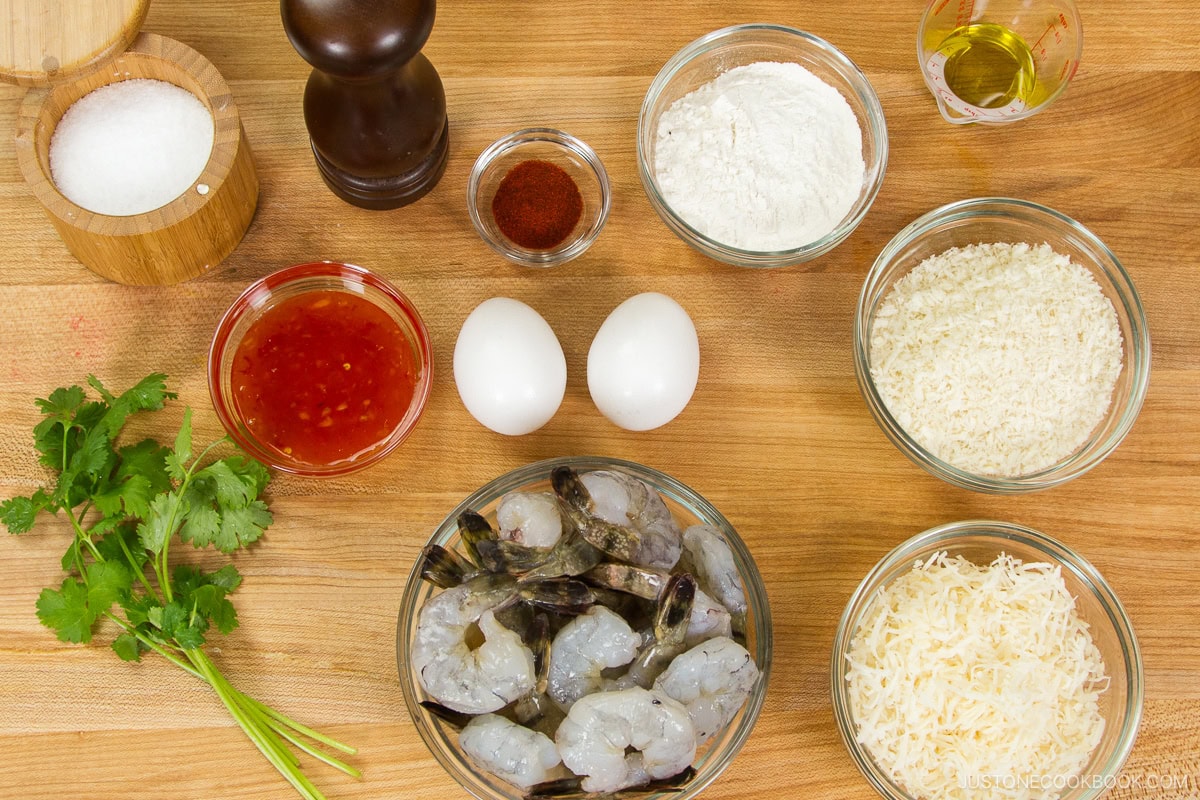
Ingredients You’ll Need
- Medium or Large Shrimp — They work perfectly for this recipe, and you will find about 22 medium/large shrimp per pound—a good number to work with! If they do not come already prepared, make sure to devein them.
- Olive oil — A bit of oil is needed to pre-toast the panko. Vegetable oil will work if it is all you have.
- Panko (Japanese bread crumbs) — These are so much lighter and crisper than run-of-the-mill breadcrumbs.
- Sweet shredded coconut — I like sweetened coconut for this recipe as it browns up much nicer, and the bit of extra sweetness makes it that much more irresistible.
- Flour — The shrimp gets pre-dredged in flour before the delicious coconut breading.
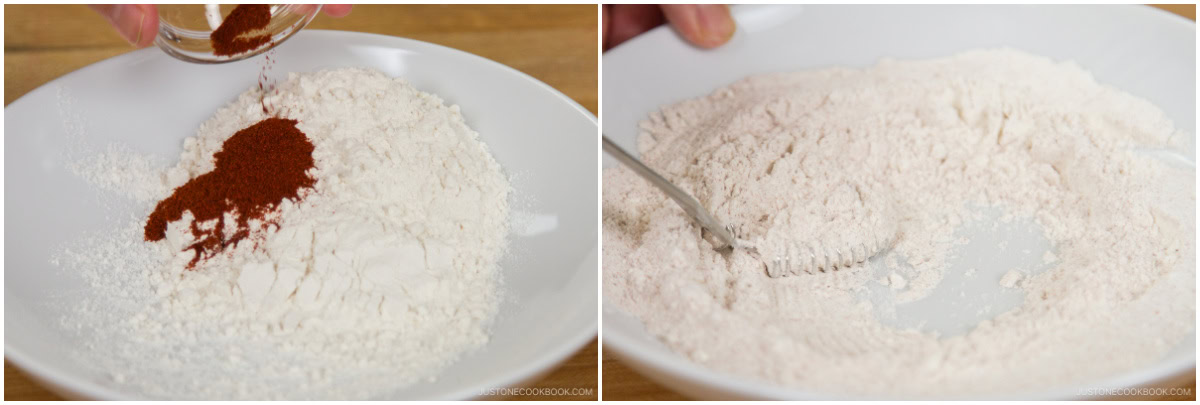
- Paprika — The addition of paprika adds to the nice golden finish.
- Sweet chili sauce — I cannot imagine a better dip for these shrimps. Of course, if sweet chili sauce isn’t your thing, that’s okay! I have provided some great dipping alternatives in the ‘tips’ section!
- Cilantro — This is the classic garnish for this dish. Just a few sprigs are needed to make the presentation pop. Leave out if you’re not a fan.
How to Make this recipe
- Preheat the oven.
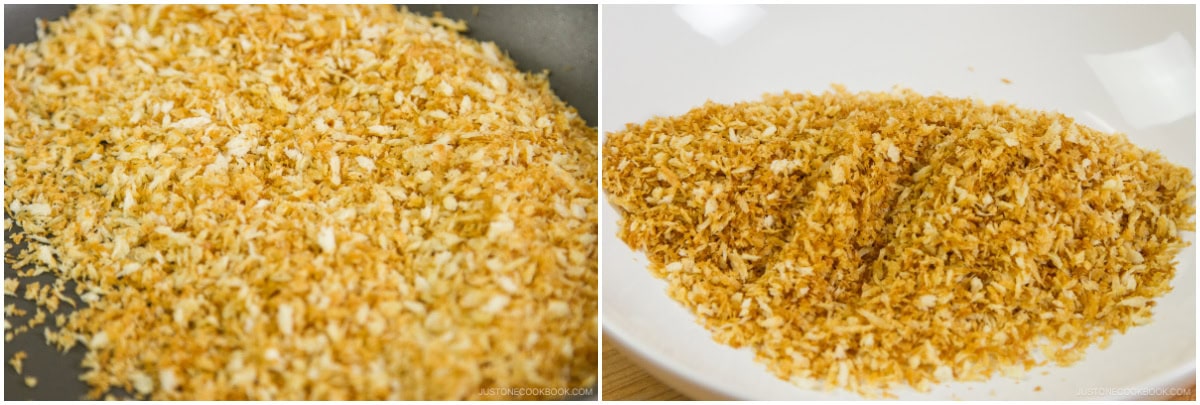
- Toast the panko in a frying pan until golden brown.
- Season the shrimp while the panko is cooling.
- Dip the shrimp in the flour mix, then the beaten egg, and finally, the panko/coconut mixture.
- Place on a baking sheet and bake until nice and crispy!
Recipe Tips
- Be sure to pat dry the shrimp before seasoning and dredging.
- Cooking for a bigger group? Because this recipe is quite simple to double (or even triple), that won’t be a problem.
- If you have extra time, make homemade sweet chili sauce yourself. I really like the homemade chili sauce I made for the Grilled Lemongrass Chicken recipe.
Ideas for Dipping Sauce
My family loves dipping them in Thai sweet chili sauce, but there are so many other dips that will work:
- Lime and yogurt dip. This makes a subtle, cooling dip. You can whip up your own using plain, unsweetened yogurt with freshly squeezed lime juice, lime zest, honey, a pinch of cayenne, salt, and pepper. Serve with lime wedges for garnish.
- Chutneys: An Indian mango or pineapple chutney will go amazingly with the shrimp, too.
What to Serve with Coconut Shrimp
Coconut shrimp make a fabulous snack or appetizer, but with a side dish, they could be an entree. There are tons of great options, but here are a few that I like:
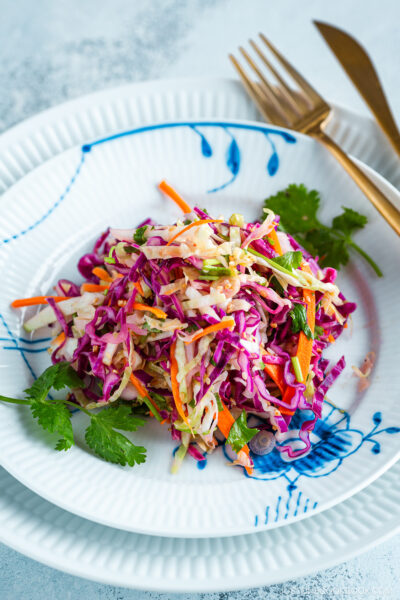
- Salad: Spinach Salad with Asian dressing, Salad with Carrot Ginger Dressing, Asian Cabbage Salad, or a traditional Caesar salad.
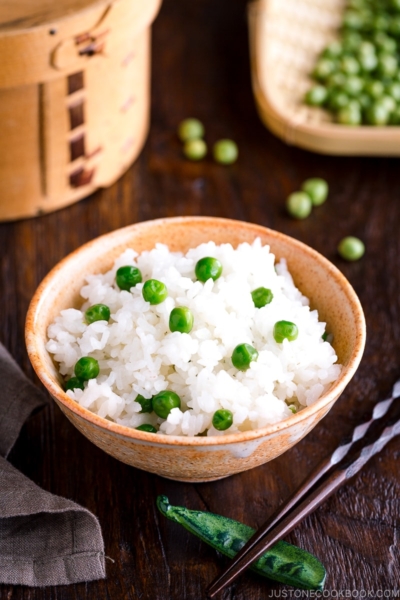
- Rice dishes: Sweet Corn Rice, Onigiri Rice Balls, or simple Fried Rice.
- Vegetable Sides: Yakitori-style Grilled Vegetables, Broccolini Gomaae (Sesame Dressing)
Storing and Reheating Coconut Shrimp
You can store the leftovers in an airtight container in the refrigerator for up to 2-3 days or in the freezer for a month. Using an oven or toaster oven to reheat the breaded shrimp will keep them crispy. Reheating in the microwave will not yield the same texture.
FAQ: Are Shrimps and Prawns the Same Thing?
Did you know that the shrimp and prawns are from completely different families? However, it is quite common for the names to be interchanged in the culinary world. In this recipe, it won’t matter if you used shrimp or prawns – bear in mind, though, that if the shrimp are really big, such as jumbo shrimp, you may want to increase the cooking time a bit. In that case, it would be good to still bake them at 400 for 15 minutes but then give them 5 minutes longer at 325.
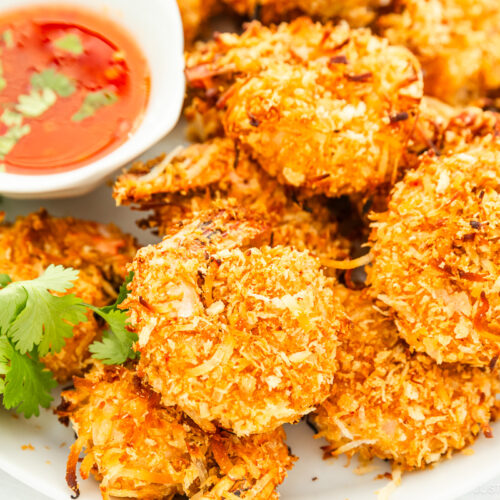
Coconut Shrimp
Video
Ingredients
- 1 lb shrimp (22 medium/large shrimp; peeled and deveined)
- 1 Tbsp extra virgin olive oil
- 1 cup panko (Japanese breadcrumbs)
- 1 cup sweetened shredded coconut
- ½ cup all-purpose flour (plain flour)
- 1 tsp paprika
- 2 large eggs (50 g each w/o shell)
- sweet chili sauce (to serve; for my homemade recipe, click here)
- 3 sprigs cilantro (coriander) (optional)
Instructions
- Gather all the ingredients. Adjust an oven rack to the middle position and preheat the oven to 400ºF (200ºC). For a convection oven, reduce cooking temperature by 25ºF (15ºC). Line a rimmed baking sheet with parchment paper.
- Combine the panko and oil in a frying pan. Gently stir or shake the pan to toast over medium heat until golden brown (about 2 minutes).
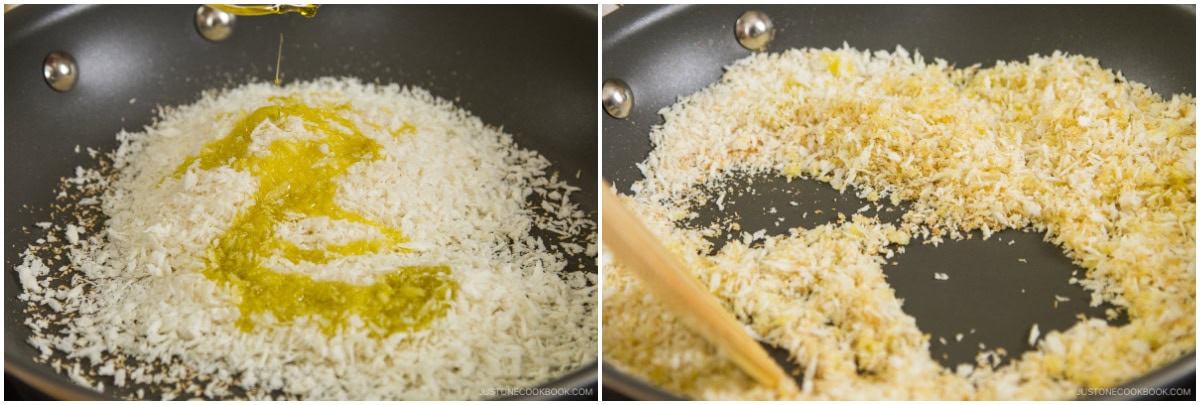
- When the panko is evenly toasted and golden, transfer it to a shallow dish and allow it to cool.
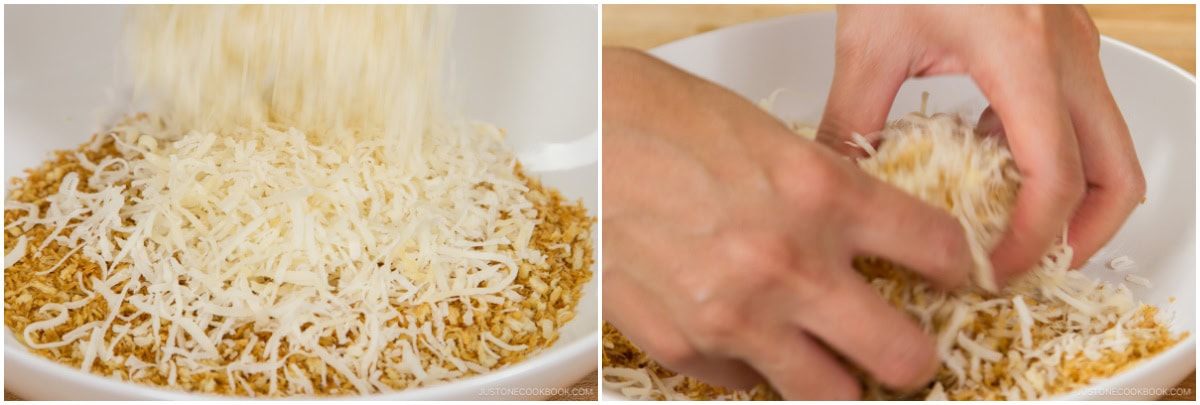
- Add the shredded coconut to the toasted panko and mix together.
- Add paprika to the flour and mix together.
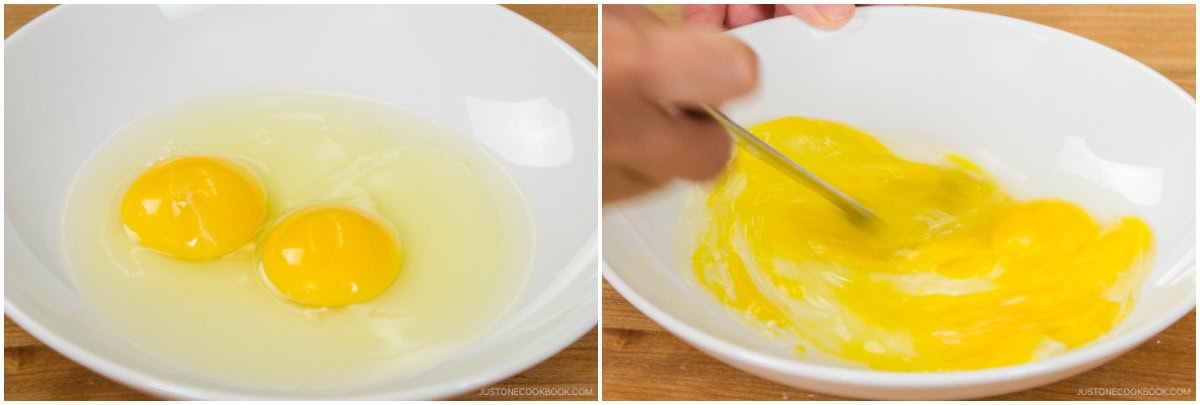
- Whisk eggs in a shallow bowl until foamy.
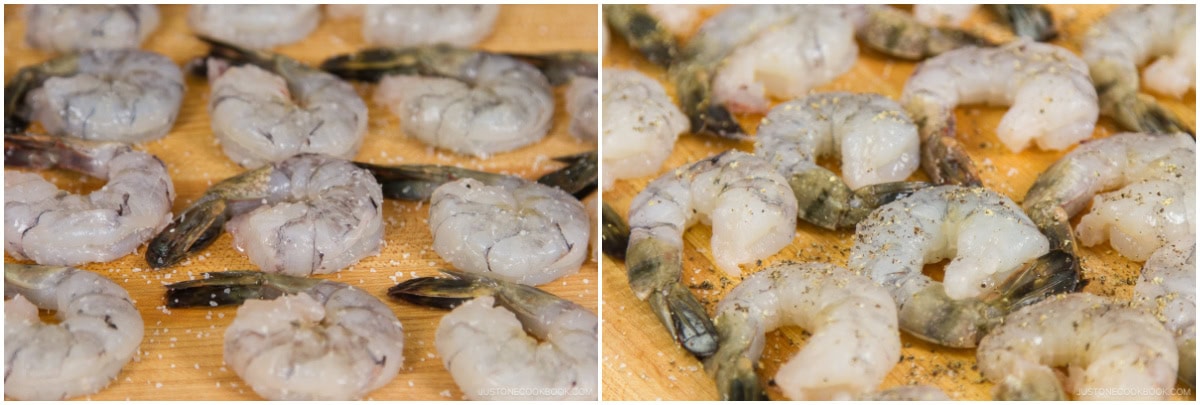
- Sprinkle salt and pepper on the shrimp.
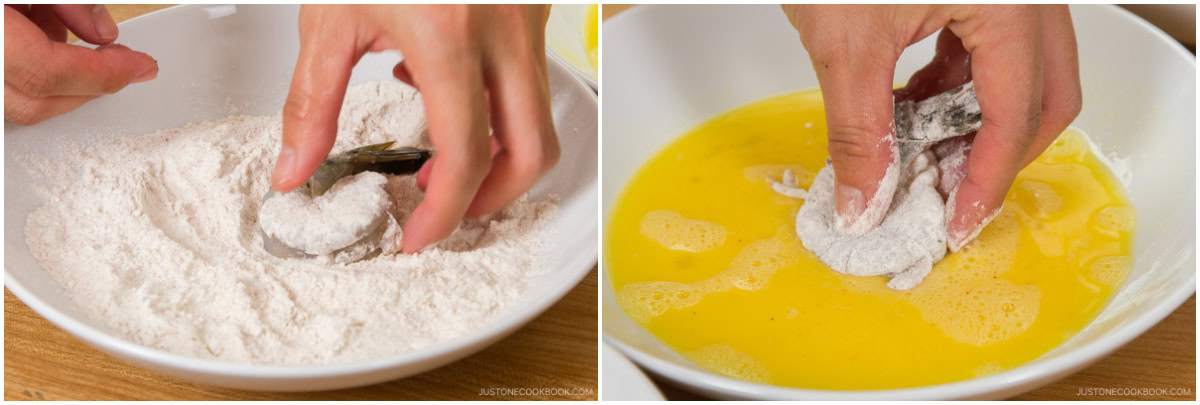
- Dredge each shrimp in the flour to coat completely, patting off the excess flour. Then dip into the beaten egg.
- Finally, coat the shrimp with the toasted panko/coconut mixture. Press the panko and coconut flake mixture on the shrimp to ensure they adhere. Place shrimp in a single layer on the prepared baking sheet.

- Bake at 400ºF (200ºC) until the coconut is golden and the shrimp are cooked through, about 15 to 17 minutes Flip once while baking. Add chopped cilantro to the sweet chili sauce and serve with the coconut shrimp.
To Store
- You can keep the leftovers in an airtight container and store in the refrigerator for up to 2-3 days and in the freezer for a month.


Hello! I’ve made this recipe several times now and always loved it. However I’ve made a mistake and bought shrimp that are already boiled (I was trying to buy them peeled, due to my joint issues it takes me hours and is why I don’t make this as often as I’d like…) What adjustments, if any, would you suggest? Perhaps less baking time? Thank you kindly
Hi Raven! Thank you very much for trying Nami’s recipe and for your kind feedback!
We are glad to hear you love this recipe!
If your boiled shrimp is frozen, you can try this recipe without defrosting the shrimp to avoid over-cooking the shrimp.
Another idea will be to shorten the baking time to 5 minutes or until the outer egg and the panko/coconut mixture cooks if you use boiled shrimp.
Of course, using uncooked fresh shrimp will have a better texture in this recipe, so you may want to use the boiled ones for other recipes like this one: https://www.justonecookbook.com/shrimp-salad-recipe/.
We hope this helps!