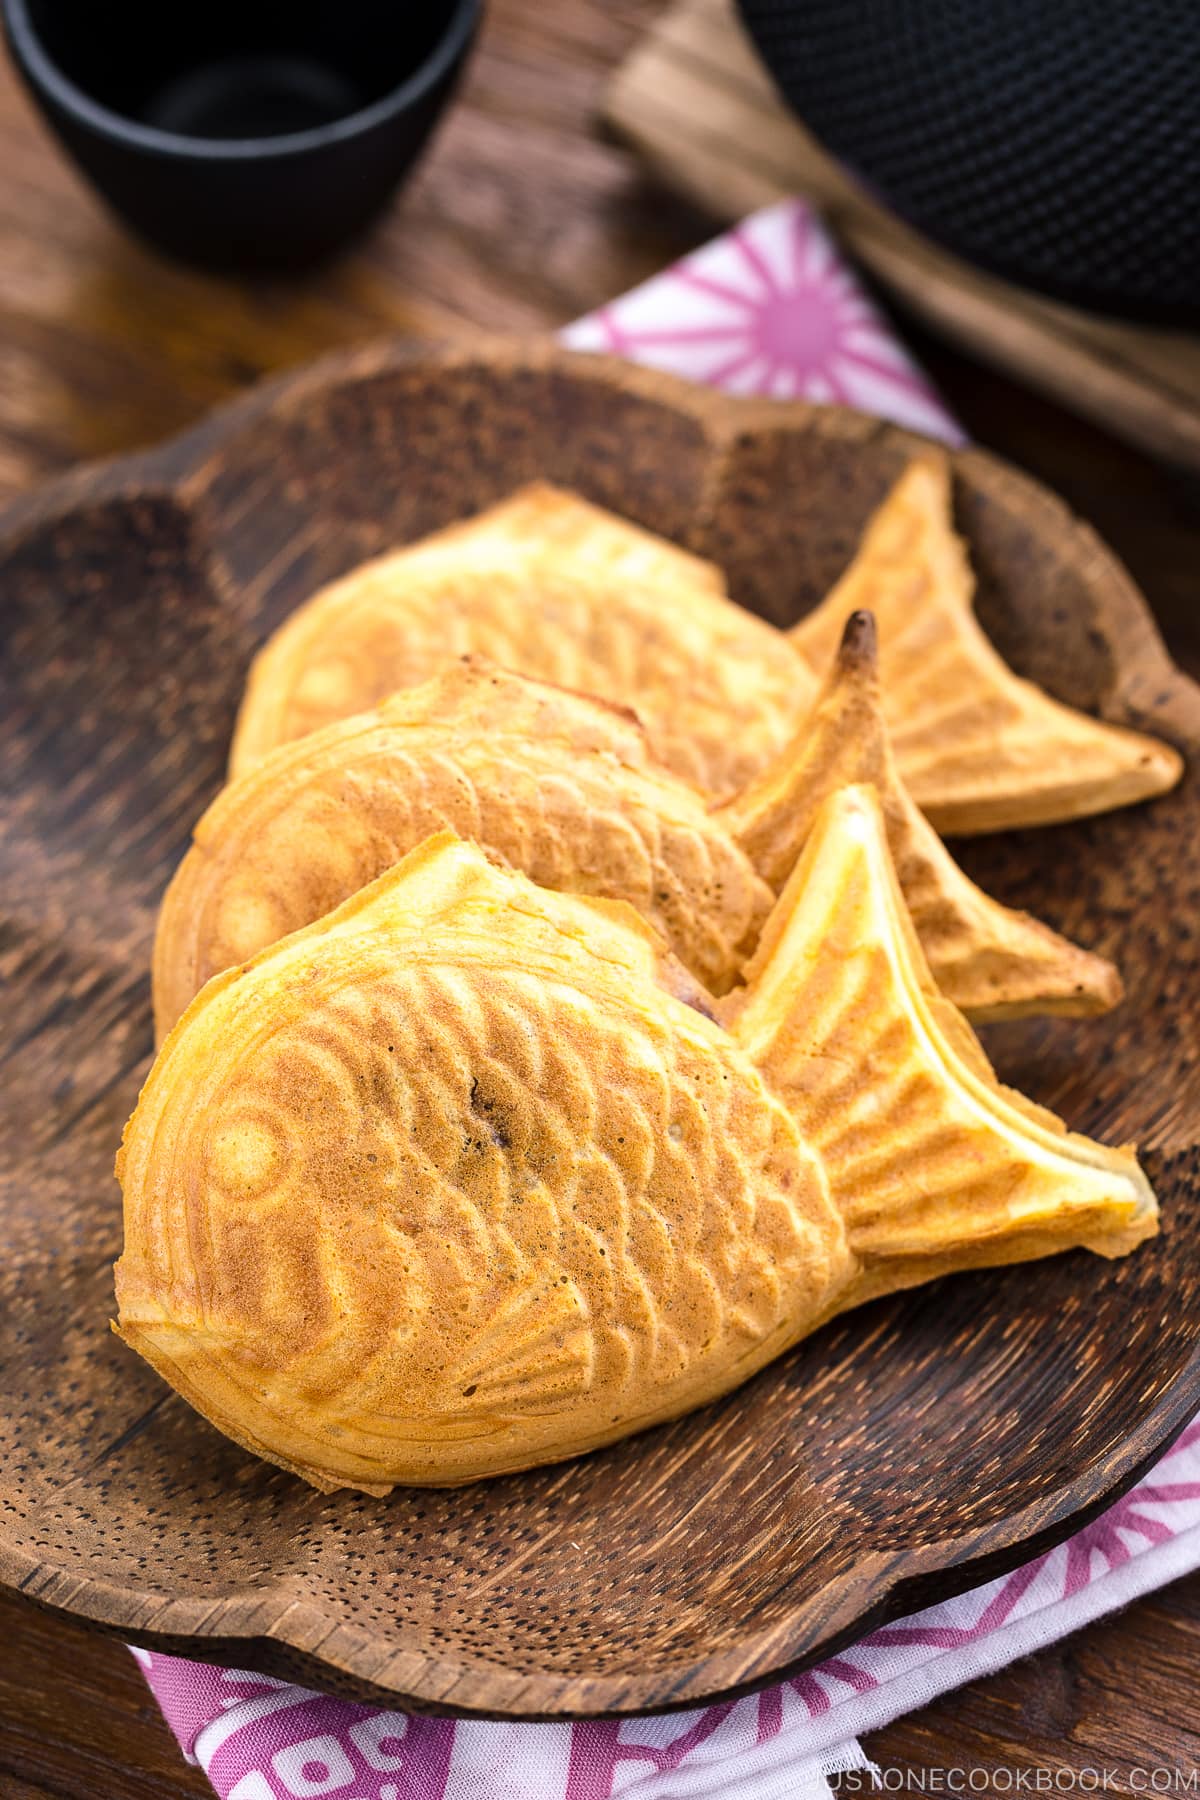
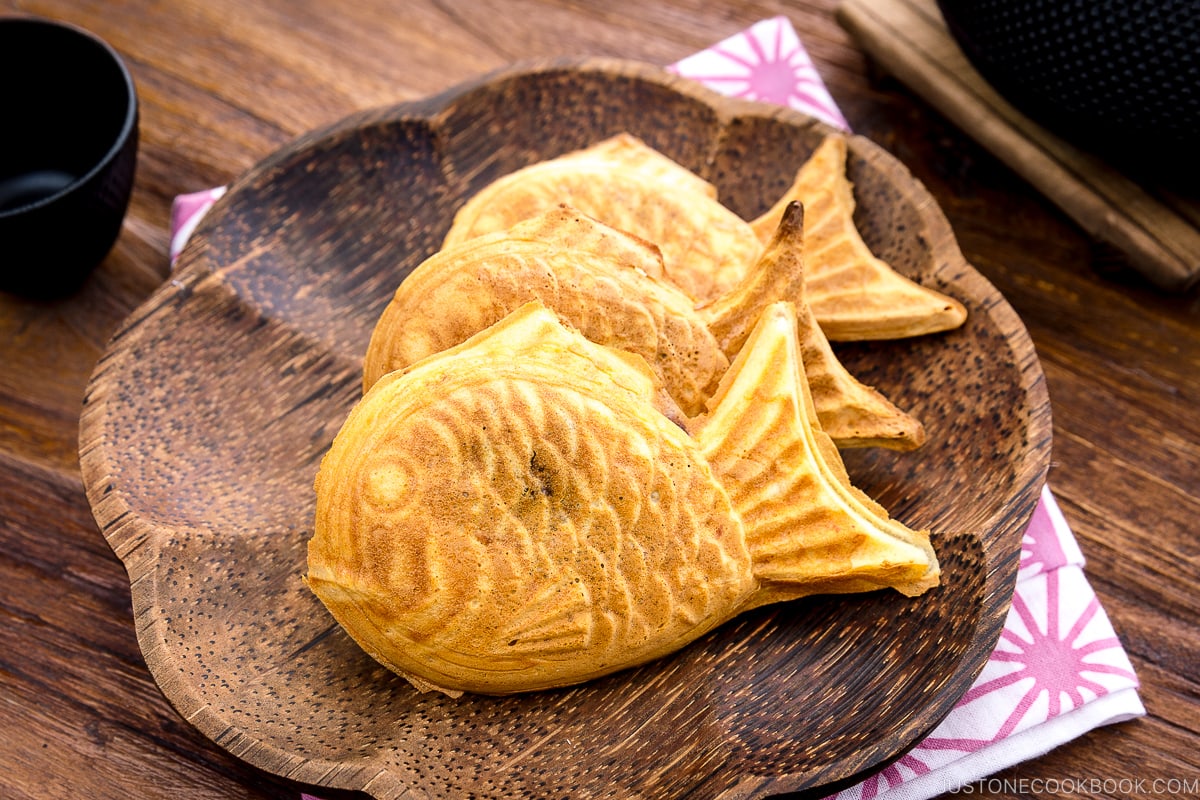
A classic street vendor snack in Japan, Taiyaki is a warm, fish-shaped cake with sweet red bean filling. This waffle-like Japanese treat is very popular at street fairs and festivals. In this recipe, I’ll show you how you can make fresh, hot Taiyaki at home.
What I miss most about Japanese summertime is the astonishing array of Japanese street foods offered by vendors at hundreds of festivals (matsuri) that take place across the country this time of year. There is endless of good eats to indulge in, but one of the must-try is the fish-shaped waffle-like snack called Taiyaki (鯛焼き).
Typically filled with sweet red bean paste, taiyaki are the stuff of childhood dreams! Just the thought of taiyaki would bring an intense craving and smile to my face!
Table of Contents
What is Taiyaki?
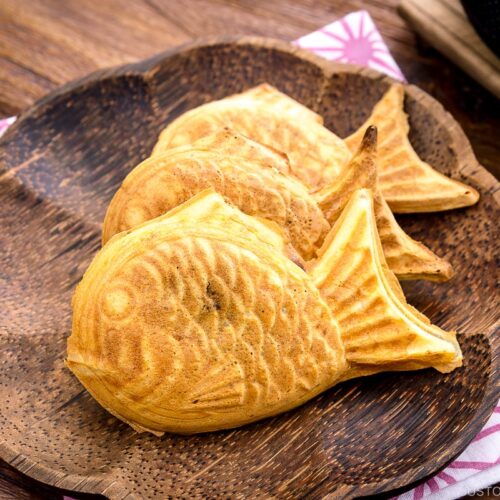
Easily recognizable by its whimsical fish-shaped, taiyaki (鯛焼き) is a waffle-style cake/snack filled with sweet red bean paste (anko), and sometimes with other fillings such as custard, chocolate, Nutella, or cheese.
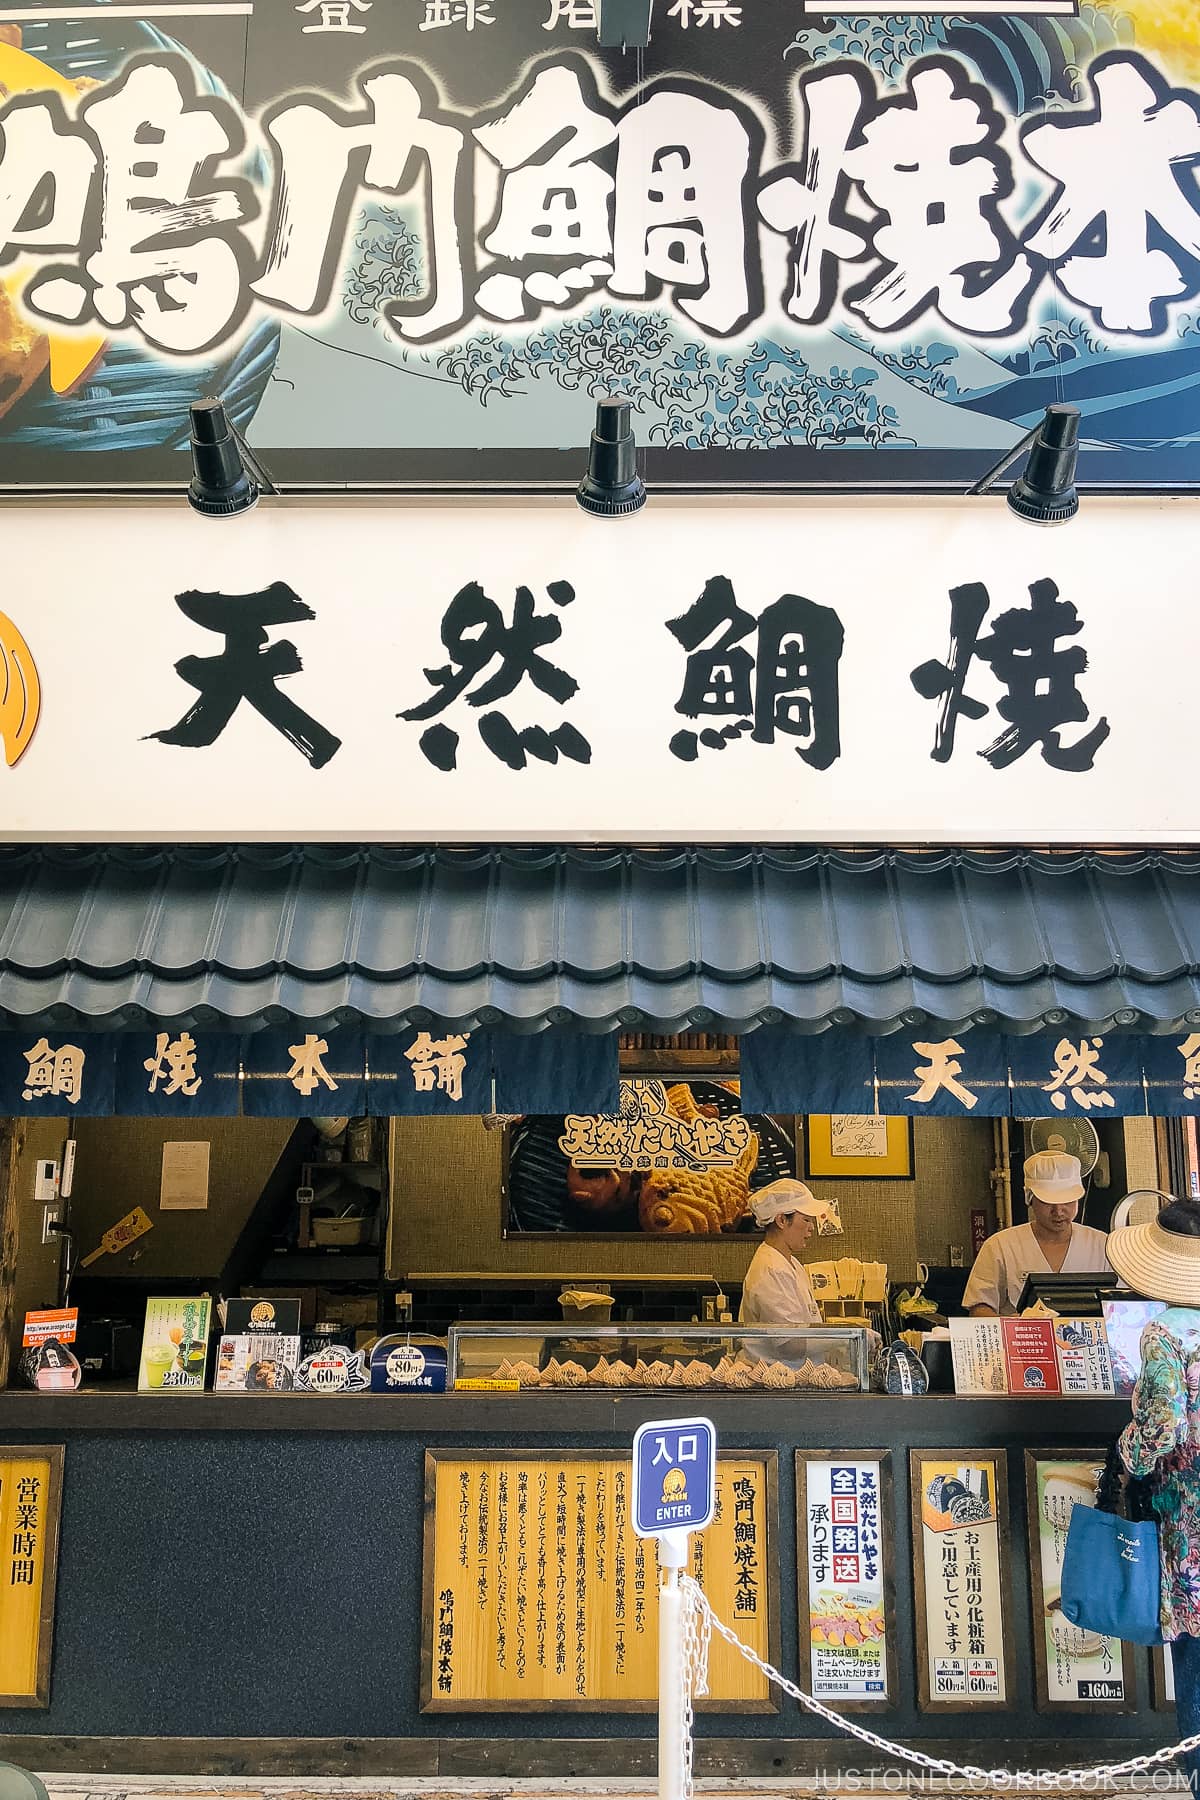
It is a quintessential food at Japanese street fairs and festivals and is made in a fish-shaped iron mold resembling tai (red sea bream). In Japan, you can also find taiyaki shops that specialize in making pastries.
Most recently, trendy shops across the world have reimagined this traditional treat. In Tokyo, there is croissant taiyaki, where they combine croissant dough with tasty fillings.
In the US, you can find Taiyaki NY, a specialty shop with a few locations in New York and a few other places that serve taiyaki as handheld ice cream cones and topped with soft-serve ice cream. You can customize your ice cream flavor—from matcha and black sesame swirl to chocolate—and finish with red bean filling, a wafer stick, and mini mochi. Each taiyaki cone is crafted to fill your Instagram feeds.
History of Taiyaki: Why is Taiyaki Shaped Like a Fish?
Tai means “sea bream” and yaki means “grilled/baked”. You can trace its origin back to the Edo Period over 300 years ago. Before taiyaki took its shape, taiyaki was first imagawayaki, a warm round-shaped cake that is filled with sweet red bean paste.
During the Meiji-era (1868 – 1912), tai (sea bream) was considered a highly prized fish and only eaten for special celebrations. The fish became the symbol of good luck in Japan’s way of life and culture. Some enterprising pastry makers decided to modify imagawayaki by refashioning the round-shaped cake into a brand new sea bream fish look. With that, taiyaki was born and it became a huge hit.
Childhood Memories of Taiyaki
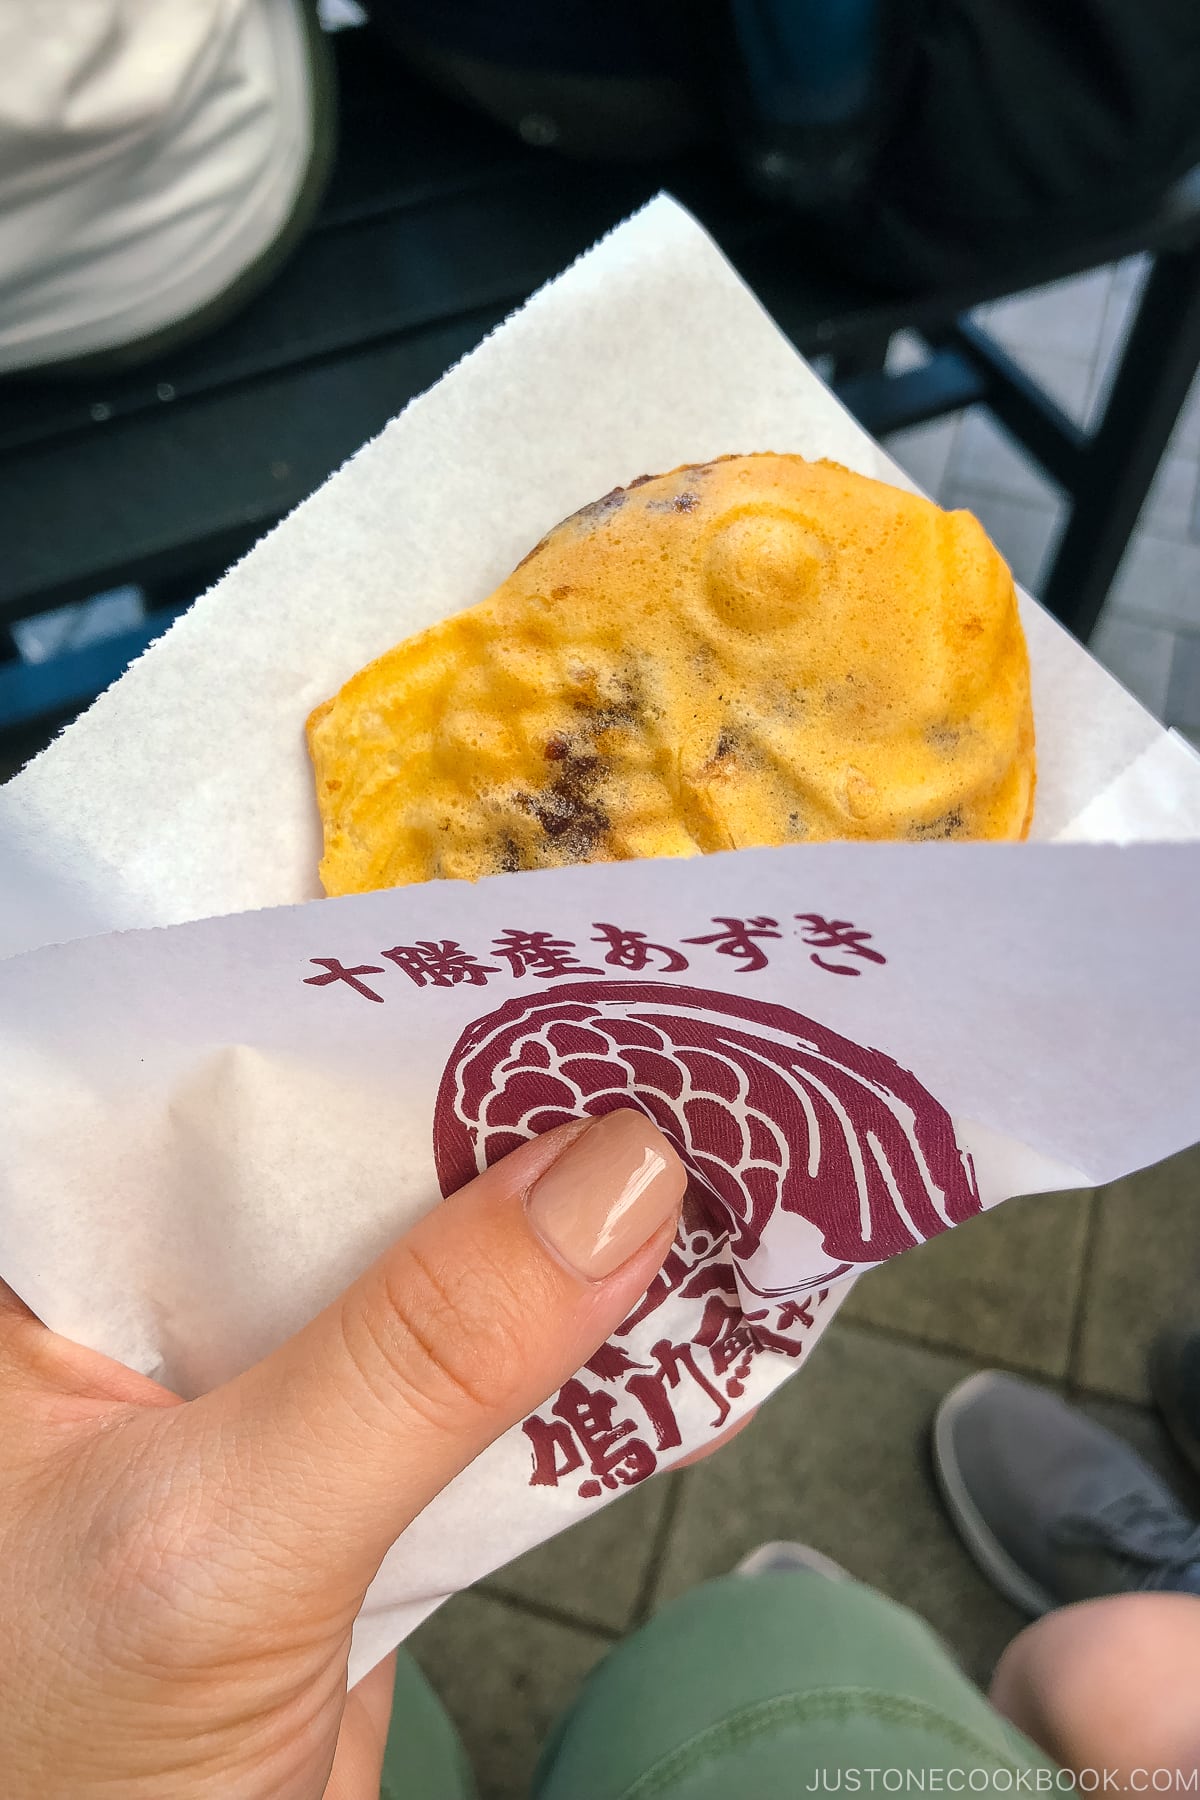
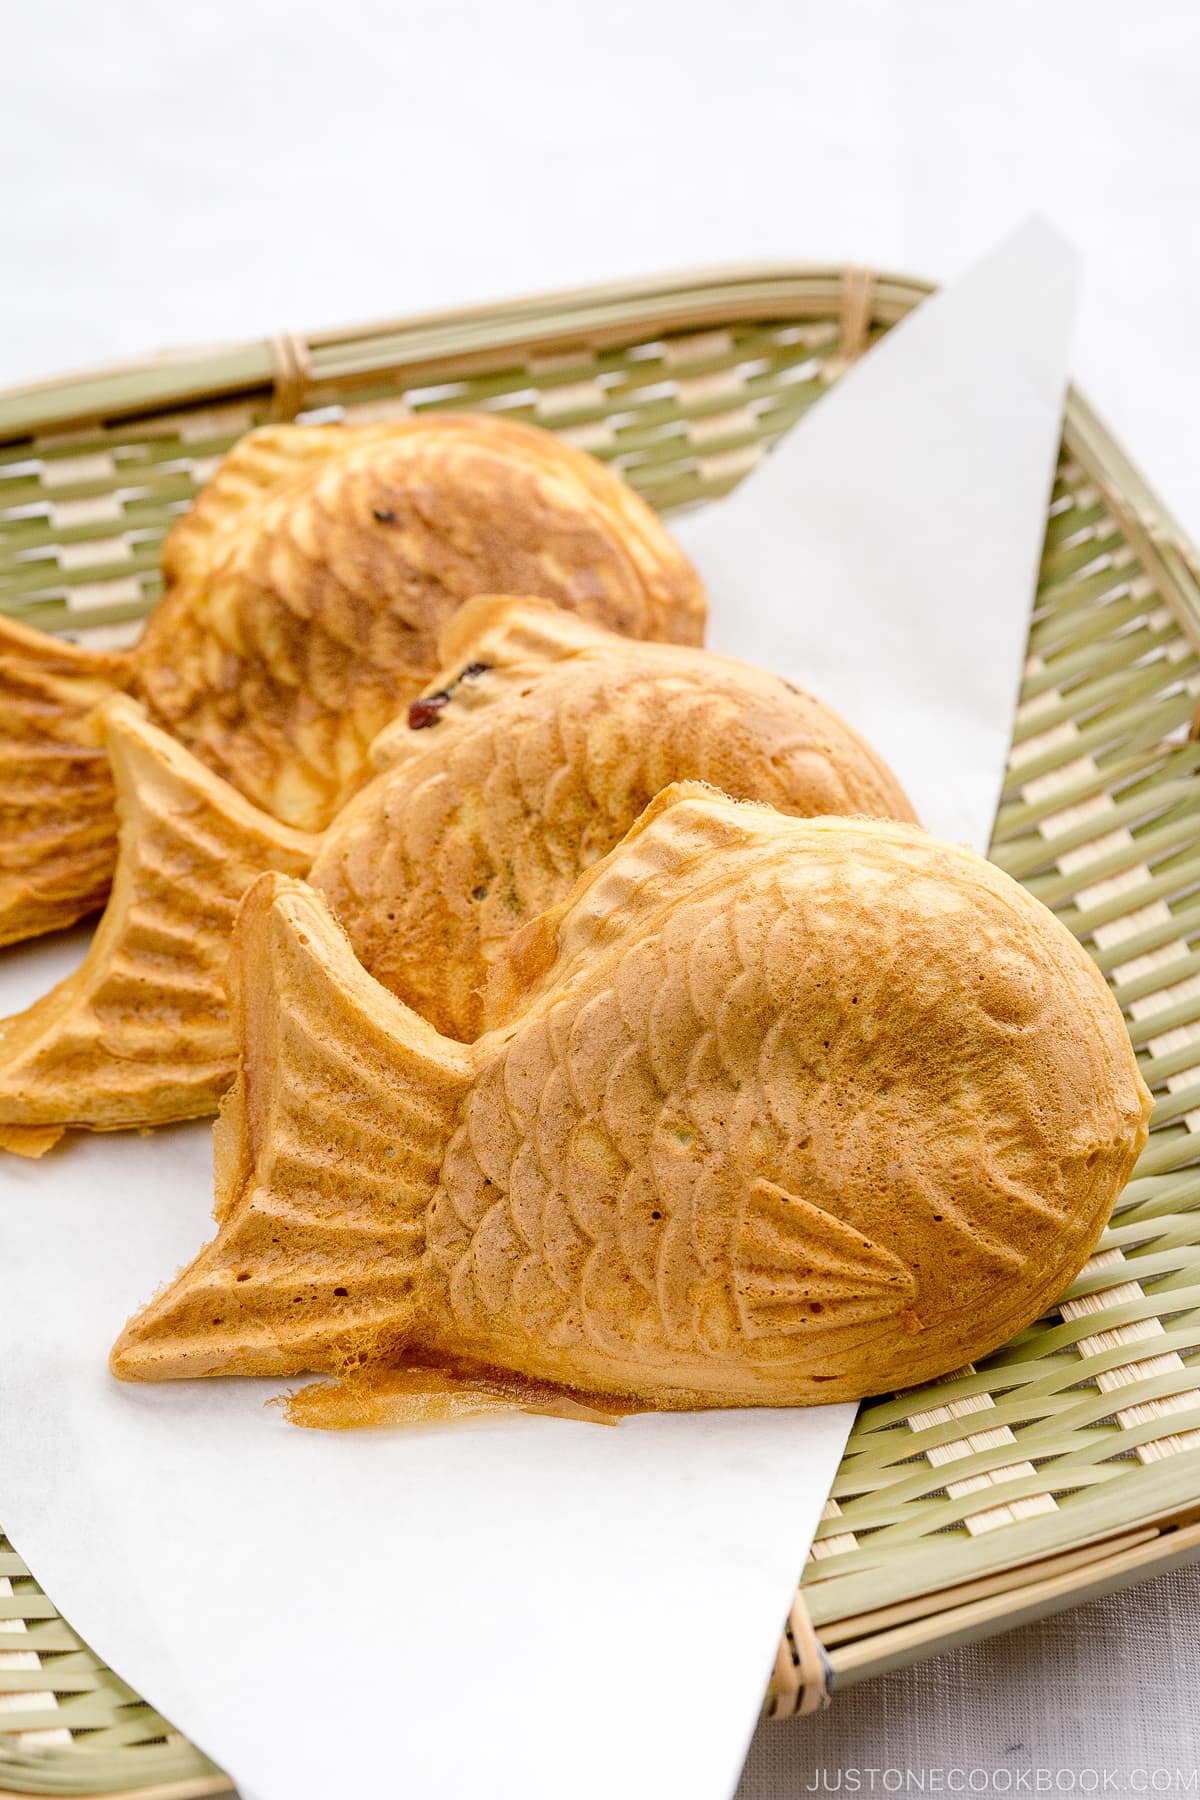
When taiyaki is freshly made, the crispy exterior surrounding the warm soft cake with anko filling is delectable. I would toss it between my hands to avoid getting burnt and slowly bite into the steaming hot cake. I usually start eating from the head side and the tail last (how about you?).
When I was young, I sometimes had to share a taiyaki with my younger brother and I always fought for the head side because taiyaki shops do not always fill the red bean paste all the way to the tail. I was always really disappointed when they don’t!
How to Make Taiyaki
The Ingredients You’ll Need
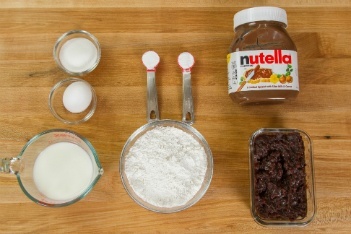
As you could see, we only need simple pantry ingredients to make this classic taiyaki recipe:
- Cake flour
- Baking powder & baking soda
- Egg
- Whole milk
- Sugar
- Filling: Red bean paste (anko) or others such as Nutella, chocolate, custard, etc)
- Neutral oil
When I don’t have time to make my homemade red bean paste, I buy and use a can of Ogura-An. The texture of the red bean paste is very smooth and easy to use.
The Cooking Steps
- Make the batter.
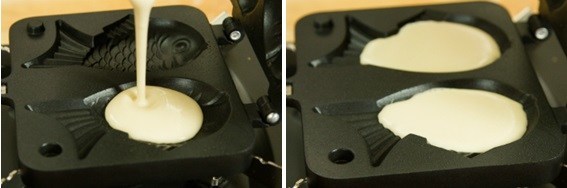
- Heat the taiyaki pan and pour the batter.
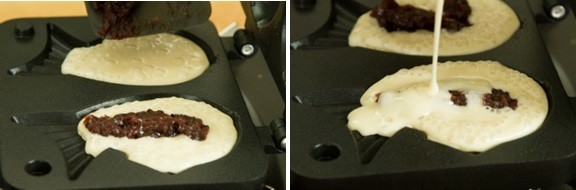
- Add the filling of your choice and cook!
Other Cooking Notes
Each taiyaki store and family has its own recipe and style for taiyaki, and my recipe leans toward cakey, fluffy pancake texture as my kids prefer it that way. I like mine to be on the crispy side like waffles. If you also like crispy texture, omit the egg and adjust the liquid amount for the batter.
Making taiyaki is very similar to a waffle making. The only extra touch is the filling. What kind of filling should we prepare? Let’s talk about that next.
Taiyaki Filling
Without a doubt, sweet red bean paste (Anko) is the most classic and popular choice of filling, but you can also find other sweet and savory options:
- Custard cream (recipe)
- Chocolate
- Nutella
- Cheese
- Sweet potato paste, and more!
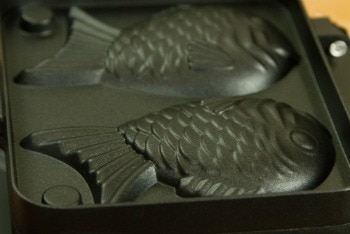
Special Tool: Taiyaki Pan
Taiyaki is not taiyaki without its iconic shape! Since I know I’d make it every summer as a tradition for my children (and myself), I decided to get the fish-shaped taiyaki pan from Amazon.
More Japanese Street Snacks You’ll Love
- Imagawayaki (Obanyaki)
- Manju
- Dorayaki (Japanese Red Bean Pancake)
- Baked Japanese Sweet Potatoes (Yaki Imo)
Wish to learn more about Japanese cooking? Sign up for our free newsletter to receive cooking tips & recipe updates! And stay in touch with me on Facebook, Pinterest, YouTube, and Instagram.
Taiyaki (Japanese Fish Shaped Waffle)
Video
Ingredients
- 1¼ cups cake flour (or make homemade cake flour; weigh your flour or use the “fluff and sprinkle“ method and level it off)
- 1 tsp baking powder
- 1 tsp baking soda
- 3 Tbsp sugar
- 1 large egg (50 g each w/o shell)
- ¾ cup whole milk (¾ cup + 4 tsp; adjust the amount of milk depending on the egg size)
- 8 Tbsp sweet red bean paste (anko) (or make my homemade Anko recipe; you can also use Nutella, custard, or your favorite filling)
- 1 Tbsp neutral oil (for greasing the grill)
Instructions
Before You Start…
- Please note that the batter requires a resting time of 1 hour. I highly encourage you to weigh your ingredients using a kitchen scale for this recipe. Click on the “Metric“ button at the top of the recipe to convert the ingredient measurements to metric. If you‘re using a cup measurement, please follow the “fluff and sprinkle“ method: Fluff your flour with a spoon, sprinkle the flour into your measuring cup, and level it off. Otherwise, you may scoop more flour than you need.
- Gather all the ingredients. You will also need a taiyaki maker. Please note that each brand of taiyaki maker comes with a different-sized mold. If you are making taiyaki for the first time, consider this a trial run for measuring the portion of ingredients you‘ll need for your particular taiyaki mold.

To Make the Batter
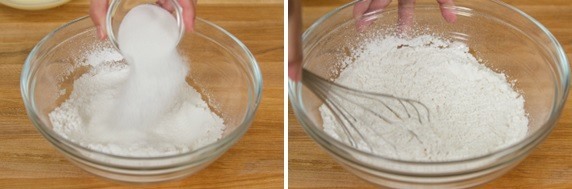
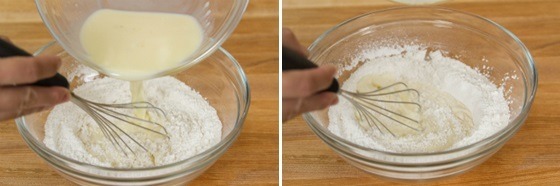
- Sift 1¼ cups cake flour, 1 tsp baking powder, and 1 tsp baking soda into a large bowl.

- Add 3 Tbsp sugar and whisk well to combine.

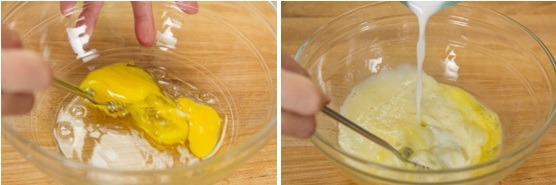
- In a medium bowl, whisk 1 large egg (50 g each w/o shell) and then add ¾ cup whole milk (¾ cup + 4 tsp). Combine well.

- Pour the wet ingredients into the dry ingredients and whisk well. Keep the batter in the refrigerator for at least one hour to rest and let the flour absorb the liquid. Tip: Whisking the batter creates gluten; by letting it rest, the batter will relax and become smooth.

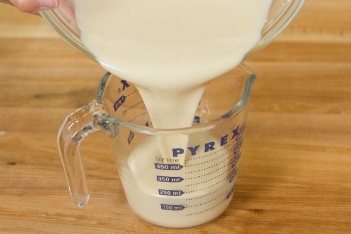
- Pour the batter into a measuring cup or jug. You should have about 1¼ cups.

To Cook the Taiyaki
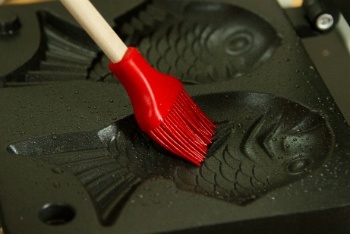
- Preheat the taiyaki maker over medium-low heat. When it‘s hot, grease the pan with some of the 1 Tbsp neutral oil using a brush.

- Fill the taiyaki pan mold about 60% full of batter.

- In the center of each mold, put about 1 Tbsp of the 8 Tbsp sweet red bean paste (anko) and pour more batter on top to cover it.

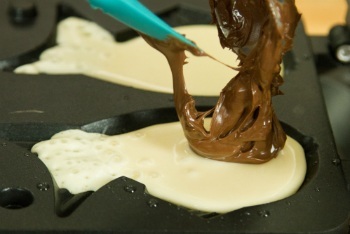
- Optional: You can also use Nutella as a filling.
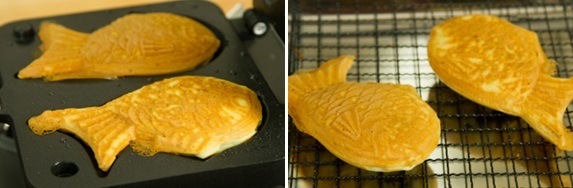
- Close the lid and immediately flip.
- Cook for 2 to 2½ minutes on that side. Then flip and cook for another 2 to 2½ minutes. Open and check to see if the taiyaki is golden brown. Remove from the pan and cool on a wire rack. Continue cooking the remaining taiyaki.

To Serve
- Serve warm. If the taiyaki get cold, you can toast them in the toaster oven or oven until they‘re crispy on the outside.

To Store
- You can keep the taiyaki in an airtight container and store in the refrigerator for up to 2 days or in the freezer for up to a month. To reheat, toast them in the toaster oven or oven until they‘re crispy on the outside.


These were a miss for me, unfortunately. The baking soda flavor was overpowering and despite the rest they were tough.
Hi Mia! Thank you for trying Nami’s recipe and for your feedback.
Nami has another Taiyaki recipe here, we hope you enjoy it.🙂
https://www.justonecookbook.com/crispy-taiyaki/
I made these today and put way too much in the mold! Came out super fluffy but all my filling was squeezed out. When they say 60% believe it. Thank you for the recipe
Hi Dani! Thank you for trying Nami’s recipe and sharing your experience with us.
We wish you success on your next attempt! 🤗
Tried this recipe, came out nice! 1 comment I got though is that there is a smell from the taiyaki batter. Is this from the cake flour? If yes, how can I omit this smell?
Hello, Kristin! Thank you so much for taking the time to read Nami’s post and try her recipe!
What kind of smell did you notice? It might be because of the kind of eggs. If you like, you may add some vanilla extract.
We hope this helps!
Made this taiyaki with your homemade anko 😊 Out of this world, as always. Love all your recipes so much!
Hi Shelli! Aww.🥰 We are so happy to hear that you enjoyed this recipe as well as Nami’s Anko recipe.
We appreciate your warm compliments regarding Nami’s recipe and your support.
Happy Cooking!
These came out so good! Though, I agree with another commenter that I would love to know how to get these taiyaki to be crispier. I also made the koshian anko to go inside here too and it was splendid! Thanks for helping me travel to Japan without leaving my kitchen!!
Hi Becki! Thank you very much for trying Nami’s recipe and for your feedback!
We will make sure to add a crispy version of this to Nami’s list!☺️
Hey Naomi…..Thank you so much for the taiyaki and anko recipes….I also used raspberry jam in some of the taiyaki….I preferred the taiyaki with anko better….It was fun to make and rather easy once you figure out the proportions….Will definitely make it again….Thank you again
Hi Gwen! Beautiful Taiyaki!😍Thank you very much for trying Nami’s recipe and sharing your experience with us!
Nami and JOC team are so happy to hear you enjoyed the Taiyaki recipe!