These Tuna Mayo Onigiri are sure to become your favorite grab-and-go food! They’re delicious, portable, and absolutely kid-friendly. I’ll show you two easy ways to make these Japanese rice balls for your bento lunch, snack, or picnic.
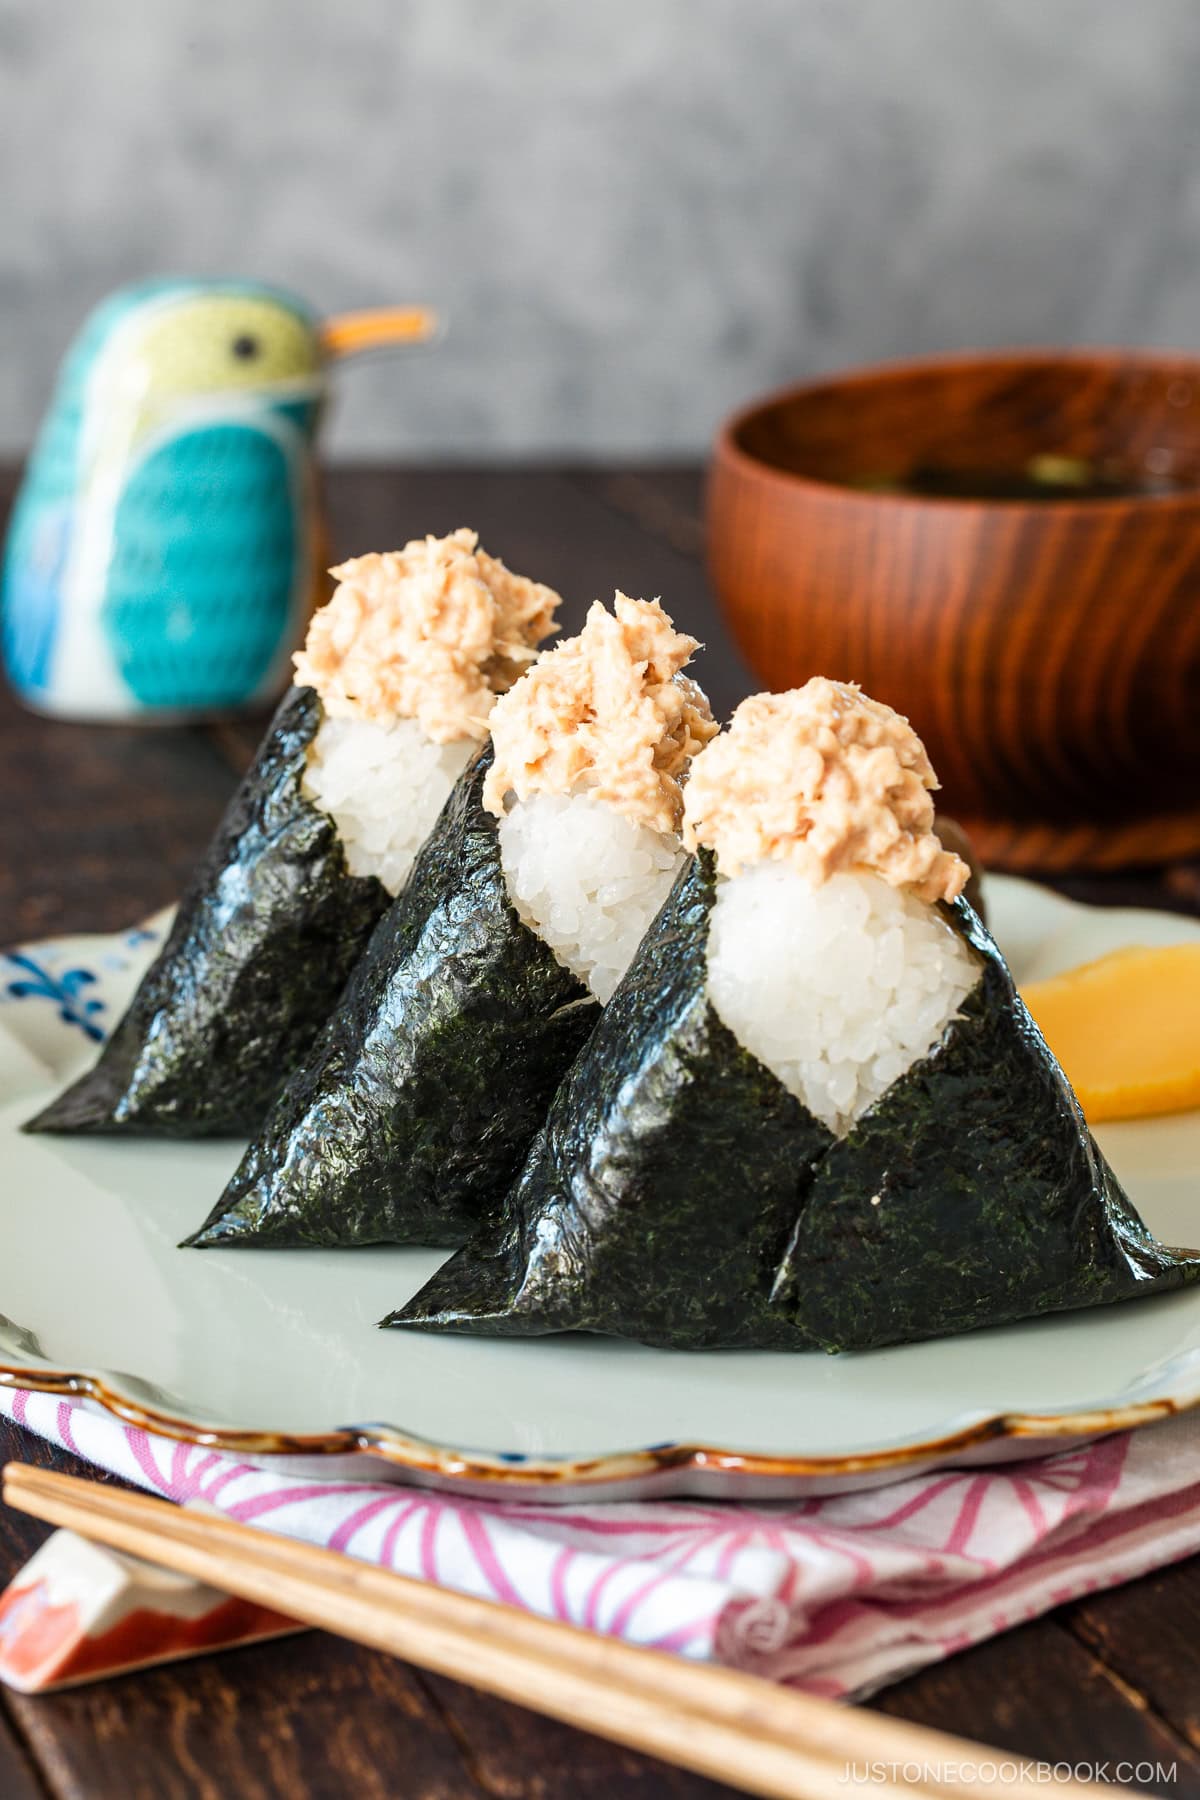
Growing up in Japan, I always had onigiri (those cutely shaped Japanese rice balls) packed in my bento lunches for school. Little did I know that my childhood favorite would become a mainstay lunch food around the world! Today, I’m excited to bring you a popular version: Tuna Mayo Onigiri.
If you love Japanese rice balls, try my Onigiri, Yaki Onigiri, or Spam Onigirazu next!
What is Onigiri?
Onigiri (おにぎり) is the original Japanese travel food. These portable and handheld rice balls have fed travelers on long journeys, warriors on the battlefield, and farmers in the fields since long before modern refrigeration. Also known as nigirimeshi (握り飯) or omusubi (おむすび), they were salted to keep the rice safe at room temperature and stuffed with sour or salty fillings as a natural preservative. These days, you’ll find this popular comfort food packed in bentos and picnics and stocked at Japan’s convenience stores and onigiri shops.
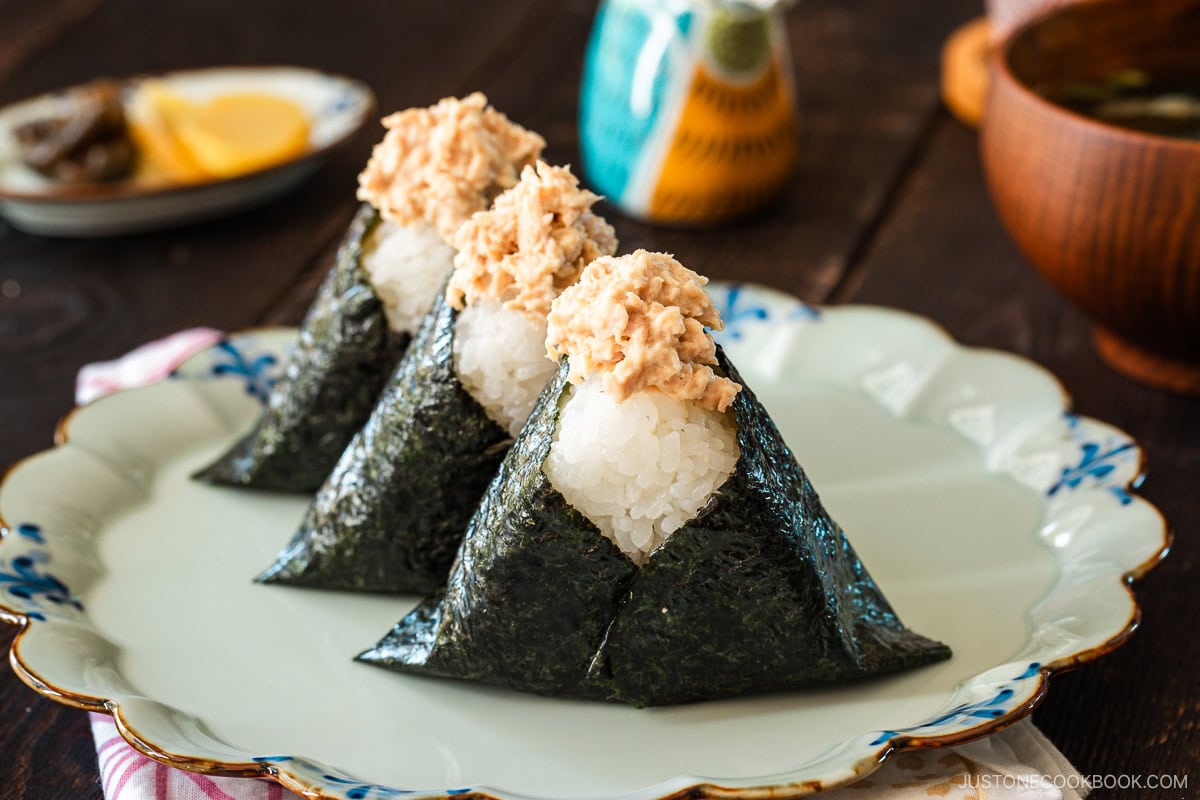
Table of Contents
Why I Love This Recipe
- Pantry-friendly ingredients – I always stock my pantry with canned tuna, Japanese rice, and nori so I’m ready to make these delicious onigiri at a moment’s notice.
- Two easy methods for shaping – I’ll show you how to use either an onigiri mold or plastic wrap for two mess-free options. You can find all my helpful tips in the instructions below.
- Delivers an energy boost – These rice balls are a neat package of carbs, lean protein, and Omega-3 fatty acids. They’ll provide a quick boost of energy anytime.
Ingredients for Tuna Mayo Onigiri
- Canned albacore tuna – packed in olive oil, preferably
- Japanese mayonnaise
- Soy sauce
- Japanese short-grain white rice
- Salt
- Sheet of nori seaweed – optional; you can eat the onigiri without the seaweed
Find the printable recipe with measurements below.
Jump to RecipeSubstitutions
- Japanese short-grain white rice: With its slightly sticky texture, cooked short-grain white rice holds together well to keep the onigiri’s shape. Unfortunately, there’s no good substitute. Please avoid jasmine or other types, as they will fall apart.
- Japanese mayonnaise: Made with egg yolks, Japanese mayo has a richer and sweeter flavor with a creamier texture than regular mayonnaise. If you don’t have it, you could try to make American mayo taste more like Japanese mayo, but it won’t be the same. In a pinch, I suggest whisking 2 Tbsp rice vinegar and 1 Tbsp sugar into 1 cup of American mayonnaise (I use Best Foods/Hellmann’s brand).
Key Kitchen Tools
- Onigiri mold – You can make many different onigiri shapes, but for this recipe, I used a triangular onigiri mold. If you don’t have one, you can use plastic wrap and a rice bowl, as shown in the recipe below.
How to Make Tuna Mayo Onigiri
Preparation
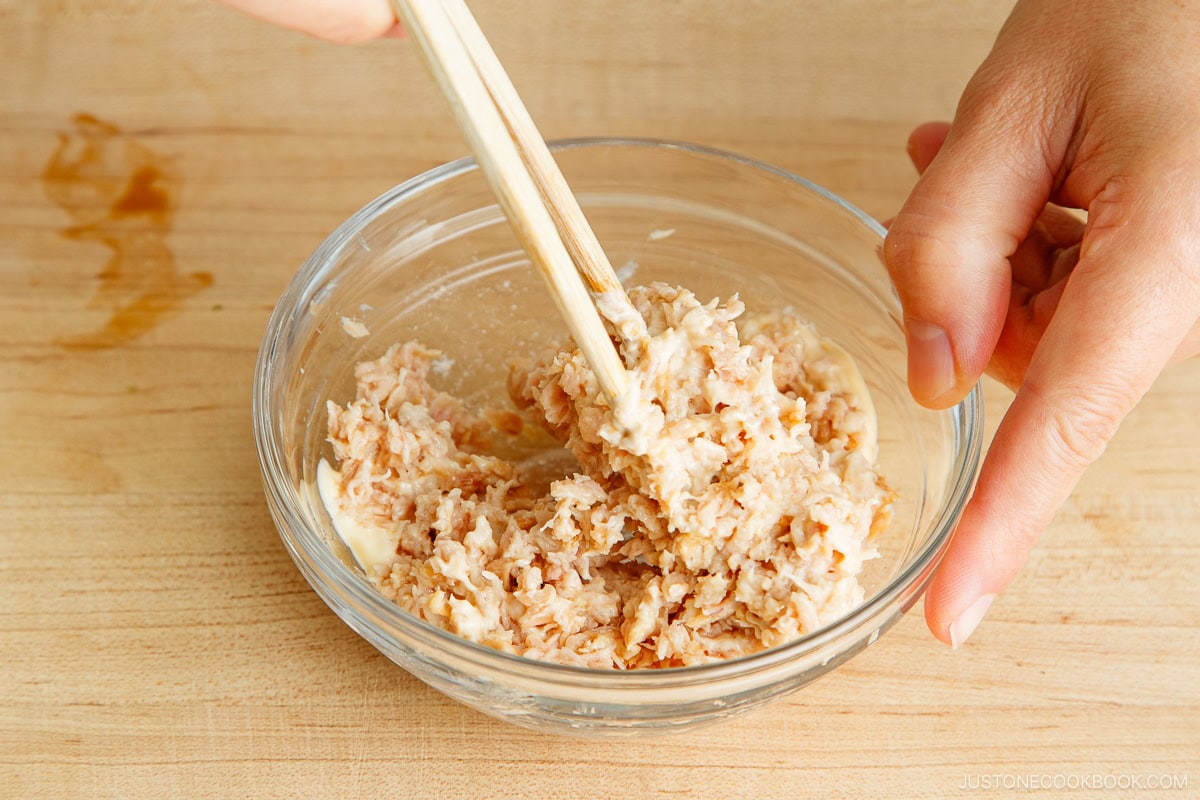
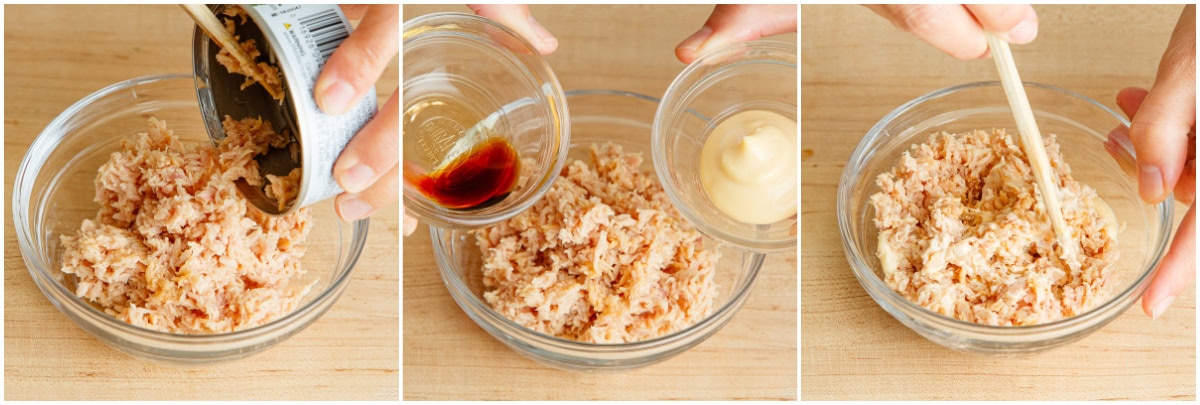
Step 1 – Make the tuna mayo filling. Mix the drained canned tuna, Japanese kewpie mayo, and a small splash of soy sauce together in a small bowl.
Assemble
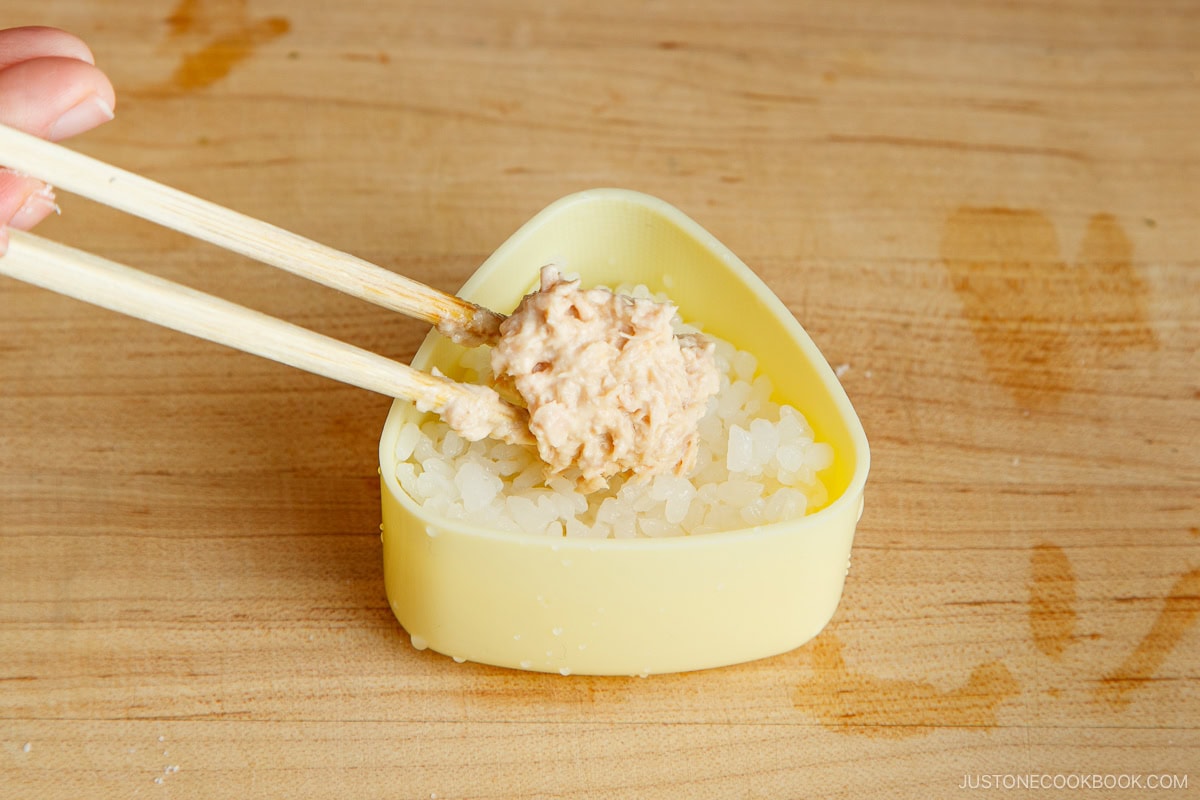
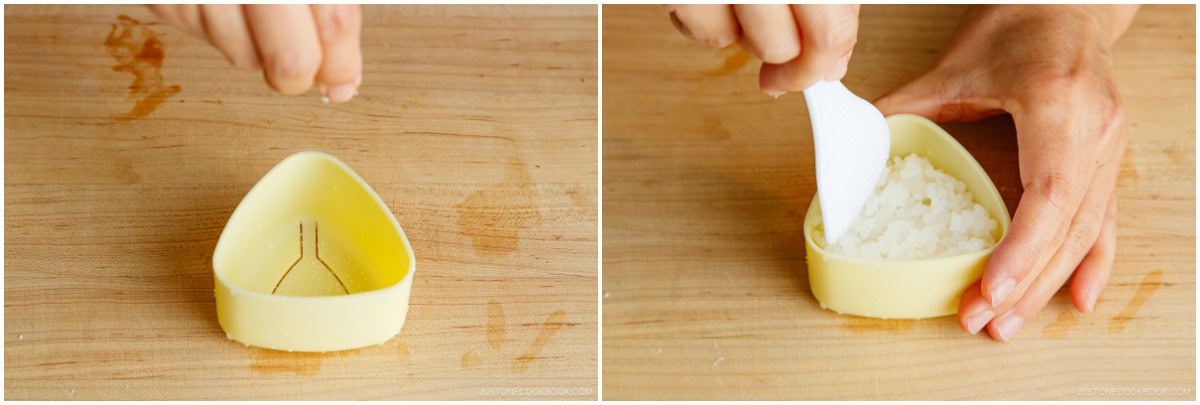
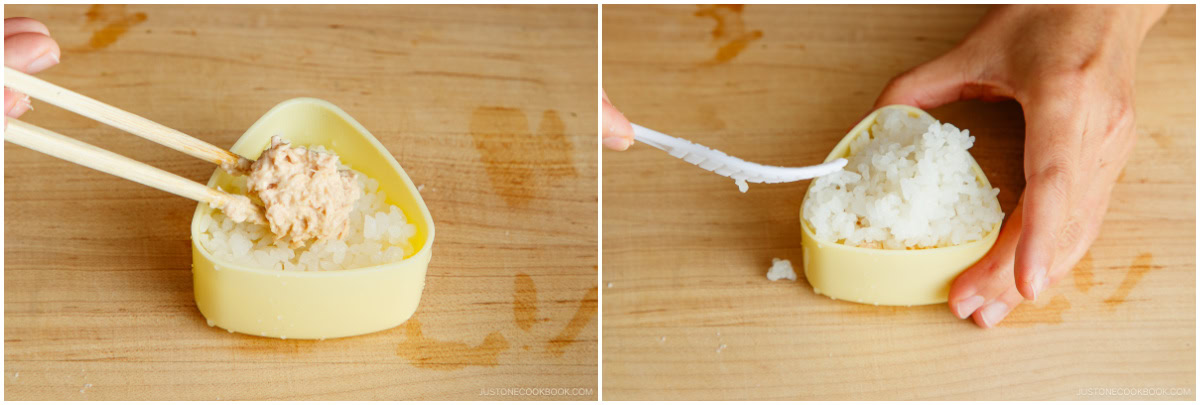
Step 2 – Fill the onigiri mold halfway with warm rice, then add some tuna mayo mixture. Before you do, first moisten the onigiri mold with water and sprinkle salt inside. If you don’t have a mold, use plastic wrap nestled in a rice bowl; see the recipe for my method.
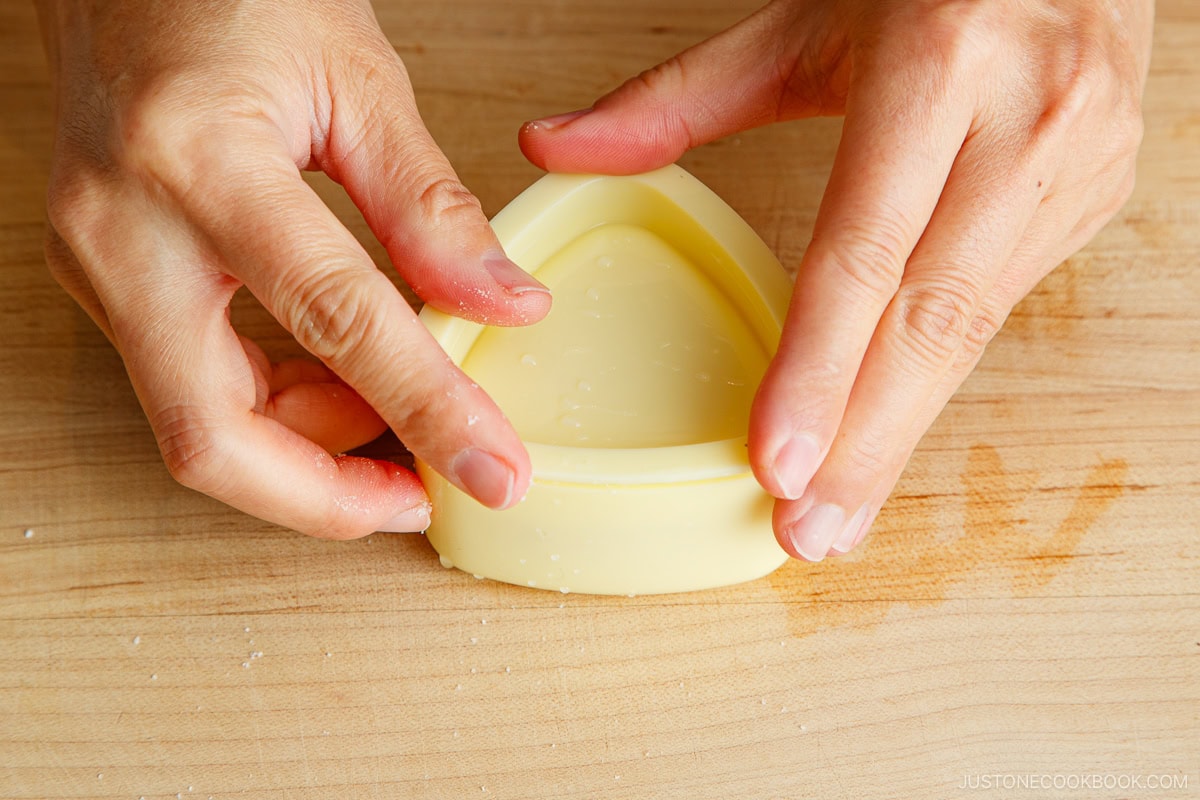
Step 3 – Add more rice and press down. Cover the tuna mayo with additional rice and fill the mold to the top. Sprinkle more salt, cover with the lid, and press down firmly to compress the rice.
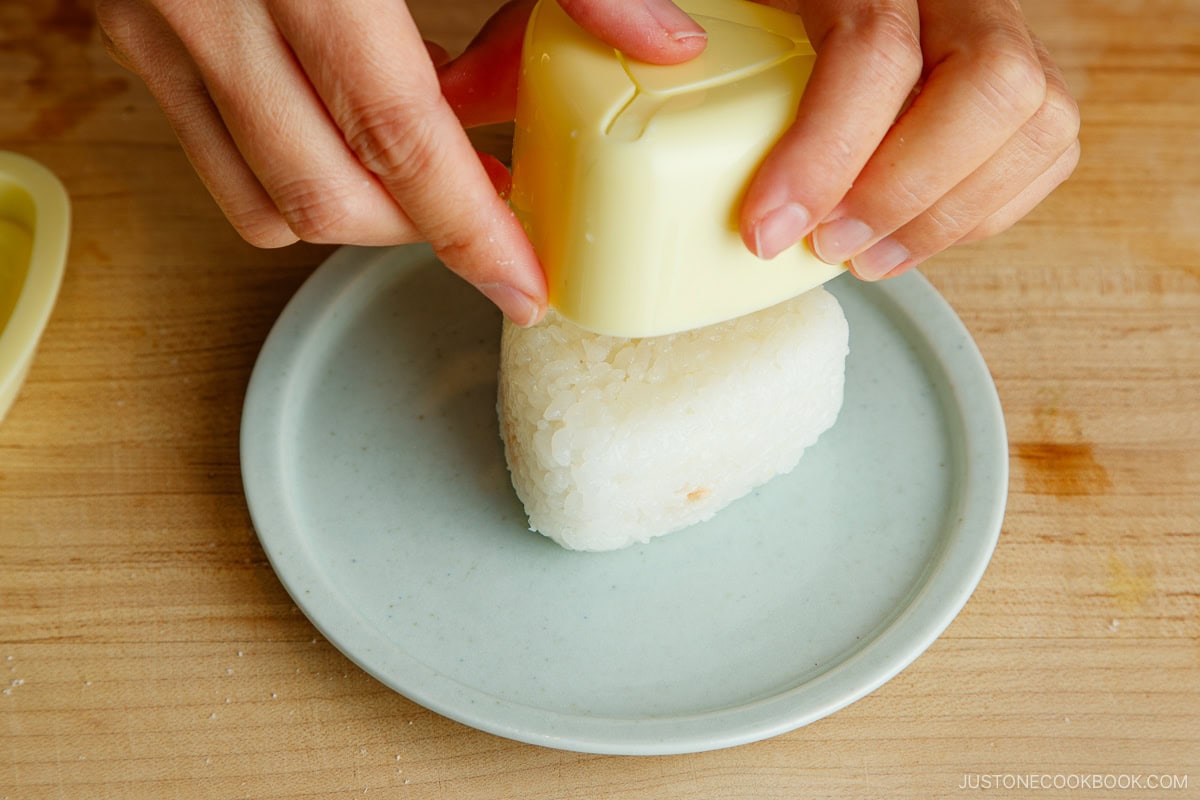
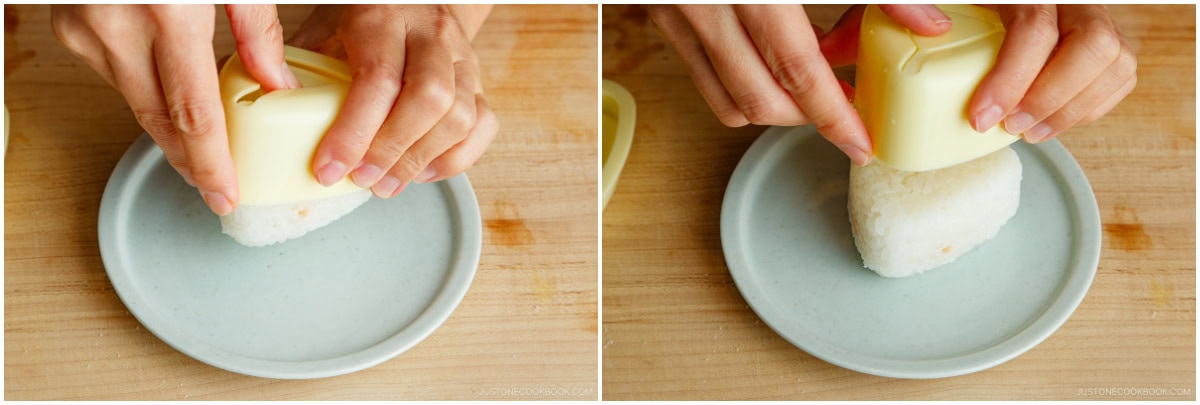
Step 4 – Release the onigiri from the mold. Invert it over a plate and push the “button” on the mold’s bottom to release the onigiri.
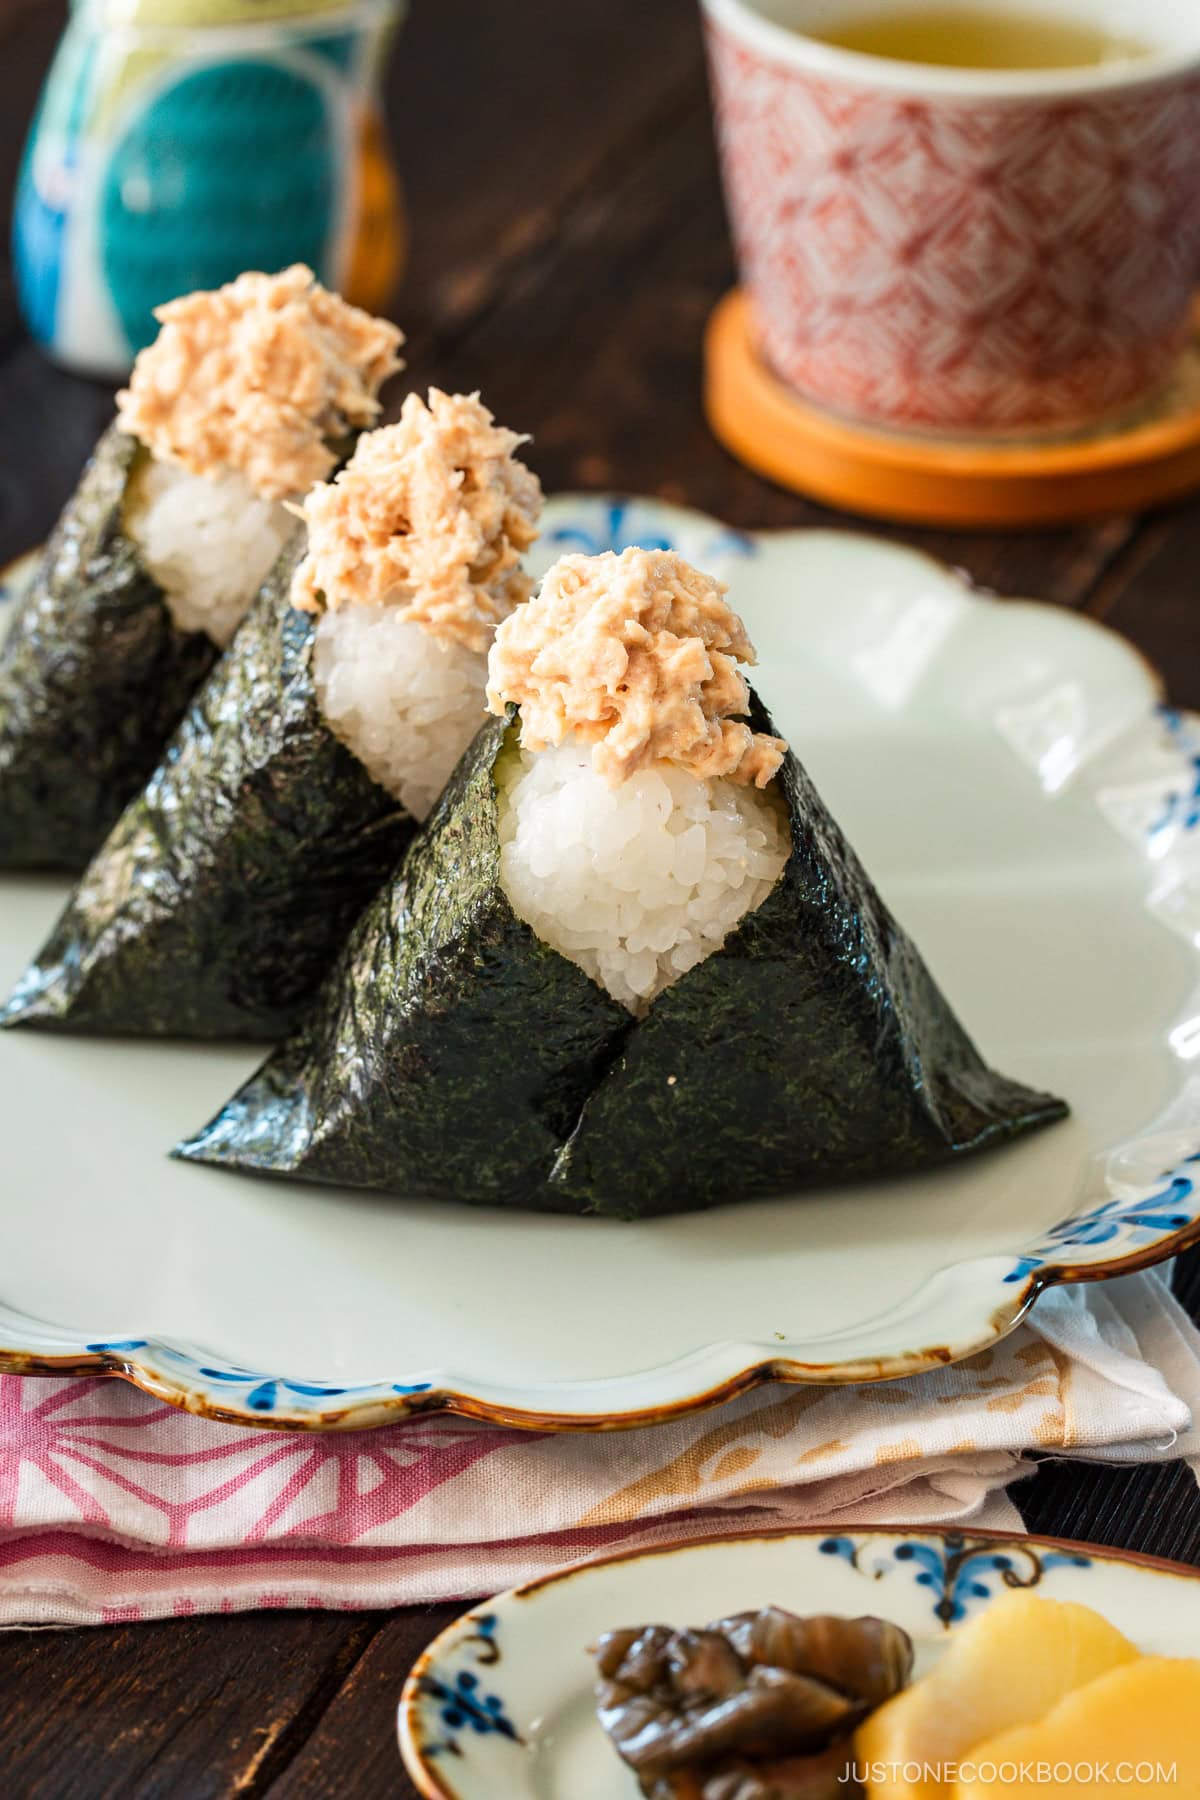
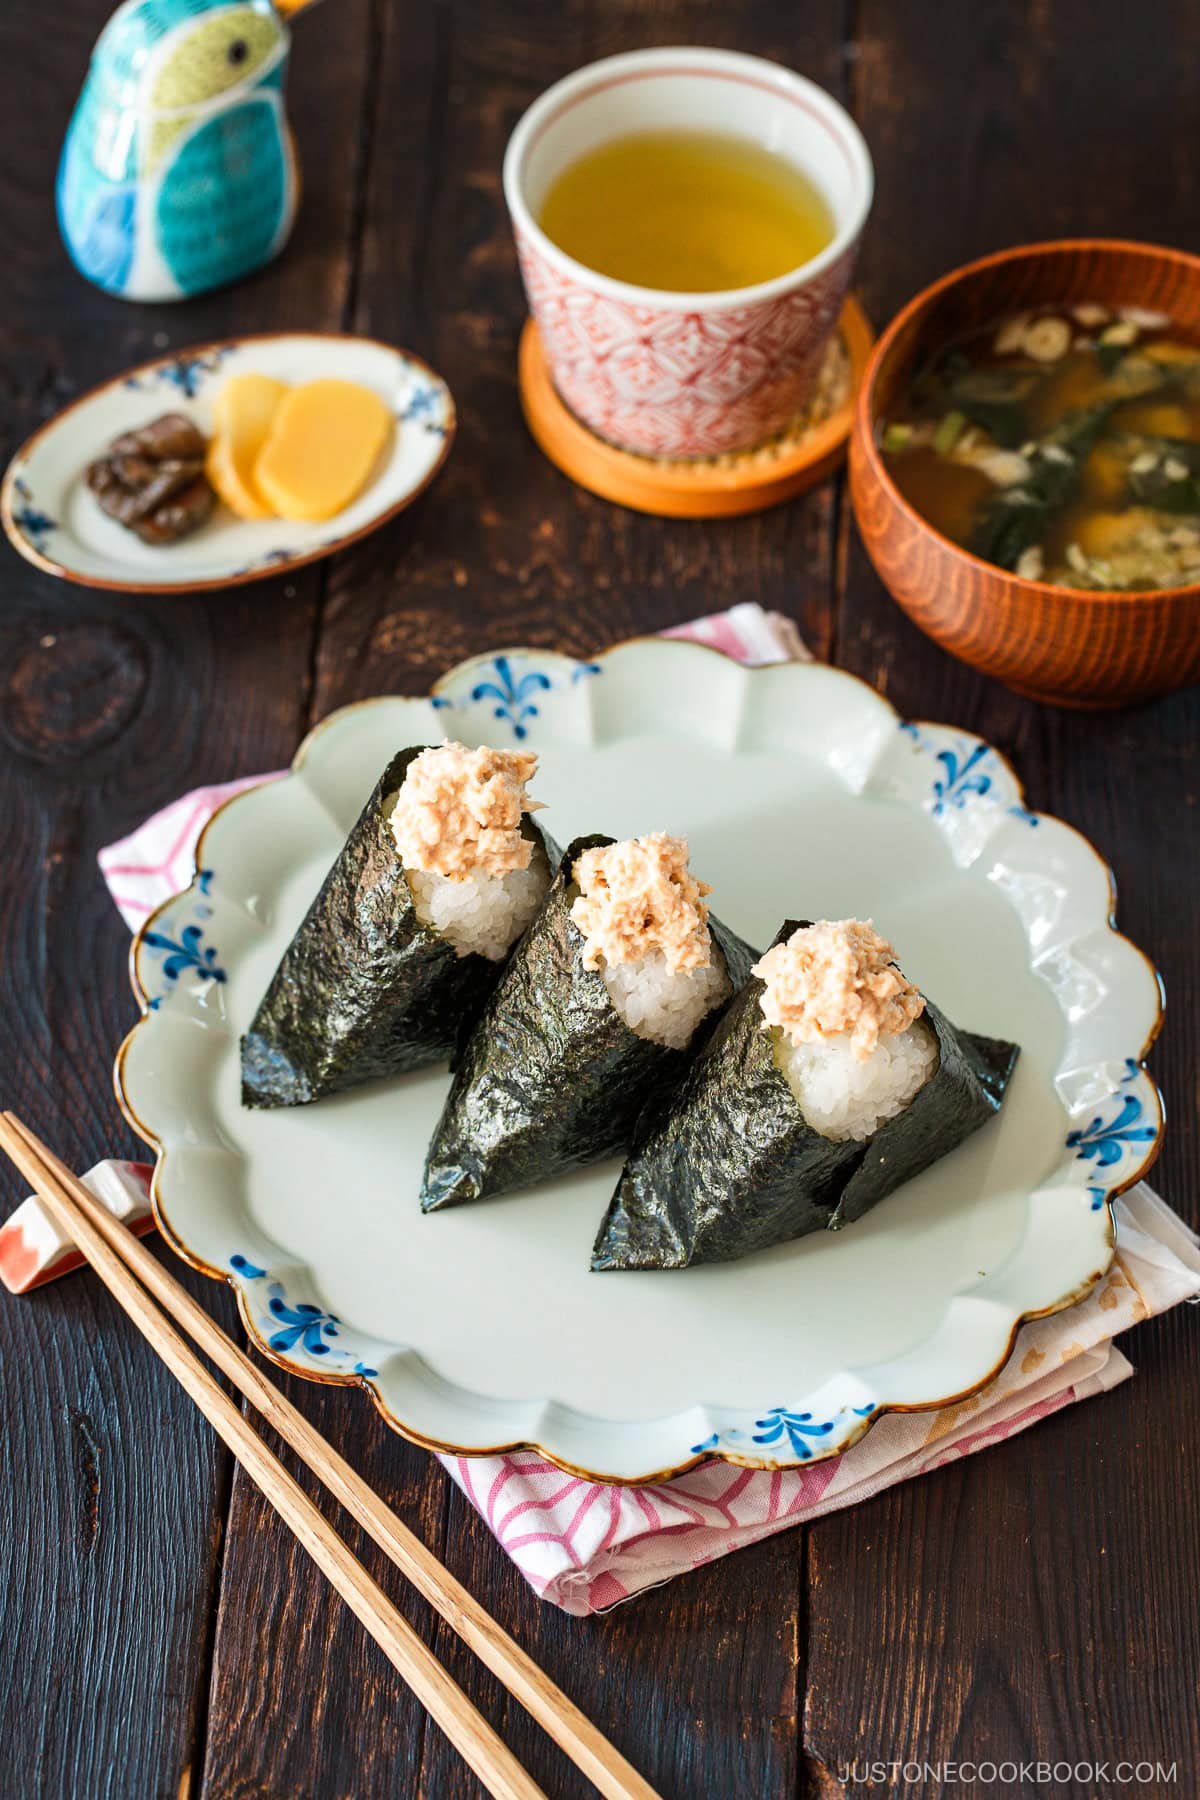
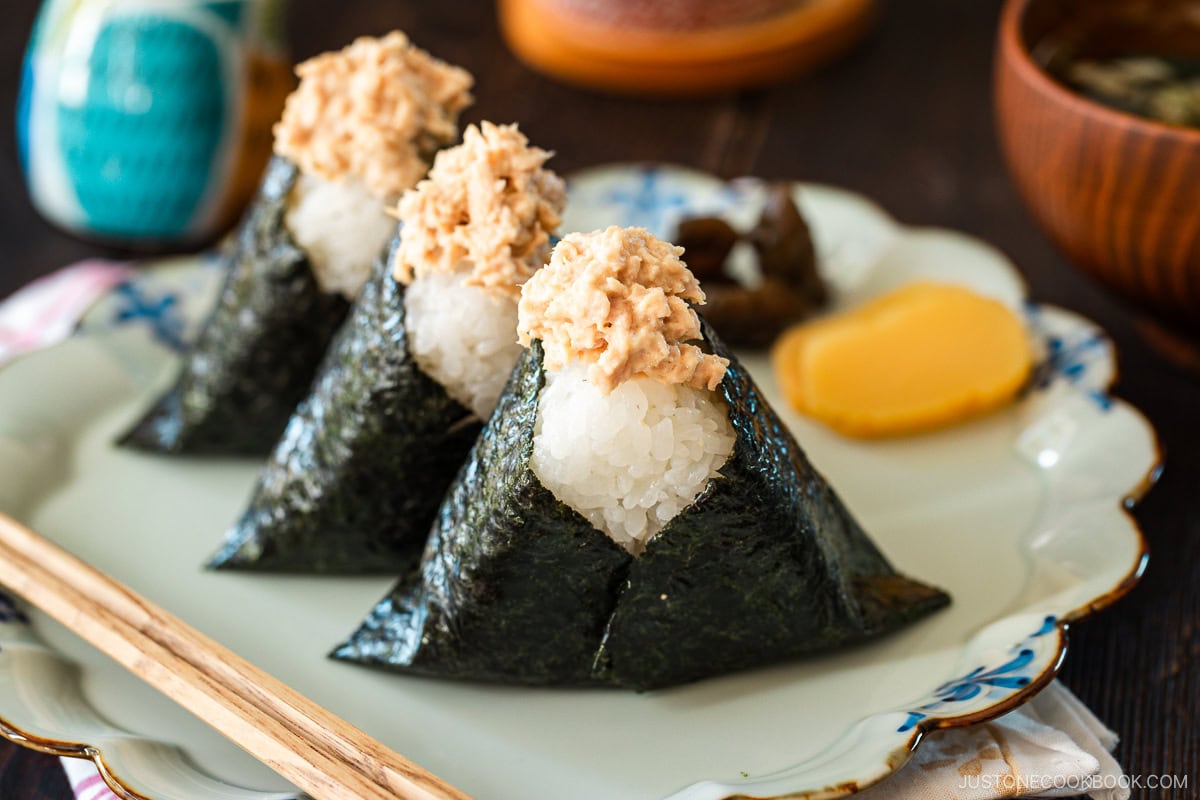
Step 5 – Wrap a nori sheet around it like a kimono. Leave the top corner of the onigiri unwrapped and add a dollop of tuna mayo to it. Serve immediately or pack into a bento or picnic box.
Nami’s Recipe Tips
- Use hot, freshly cooked rice. You must use warm rice when making onigiri, and freshly cooked rice gives the best texture. I like to transfer the hot rice from the rice cooker to a large bowl, tray, or sushi oke (hangiri) and let it cool slightly before handling.
- Moisten the mold to prevent sticking. Set up a bowl of water at your work station. Dunk the mold and lid in the water, then shake off the excess. You can also wet them under running water.
- Sprinkle salt to keep the rice safe. Salting preserves the rice longer. This is especially important if you’re packing them for bento or a picnic. Be sure to keep the onigiri cool with ice packs in an insulated bag and consume within 6 hours.
- Avoid overfilling the onigiri. I suggest using 1 tsp of filling per rice ball. Any more than that and the onigiri might not hold together.
- Wrap the nori right before you serve if you like it crispy. Keep the nori in an airtight bag or container so it doesn’t get stale in the meantime. Some shops sell onigiri that has nori wrapped around it already so the seaweed absorbs moisture. We enjoy both styles, so it’s up to your preference.
Variations and Customization
- Make it spicy. Try spicy tuna onigiri by adding sriracha to the tuna mixture.
- Change up the filling. Try one of the many popular onigiri fillings like Japanese Salted Salmon, okaka (soy sauce-flavored bonito flakes), Umeboshi, shio kombu, and karashi mentaiko, to name just a few. I’ve also used leftover Japanese fried chicken and shrimp tempura to fill my onigiri!
- Change the wrap. Try wrapping the outside of the onigiri with shiso (perilla) leaves or sprinkle it with furikake (Japanese rice seasoning).
- Use mixed rice. Instead of plain steamed rice, you can also use Takikomi Gohan (mixed rice) or Corn Rice.
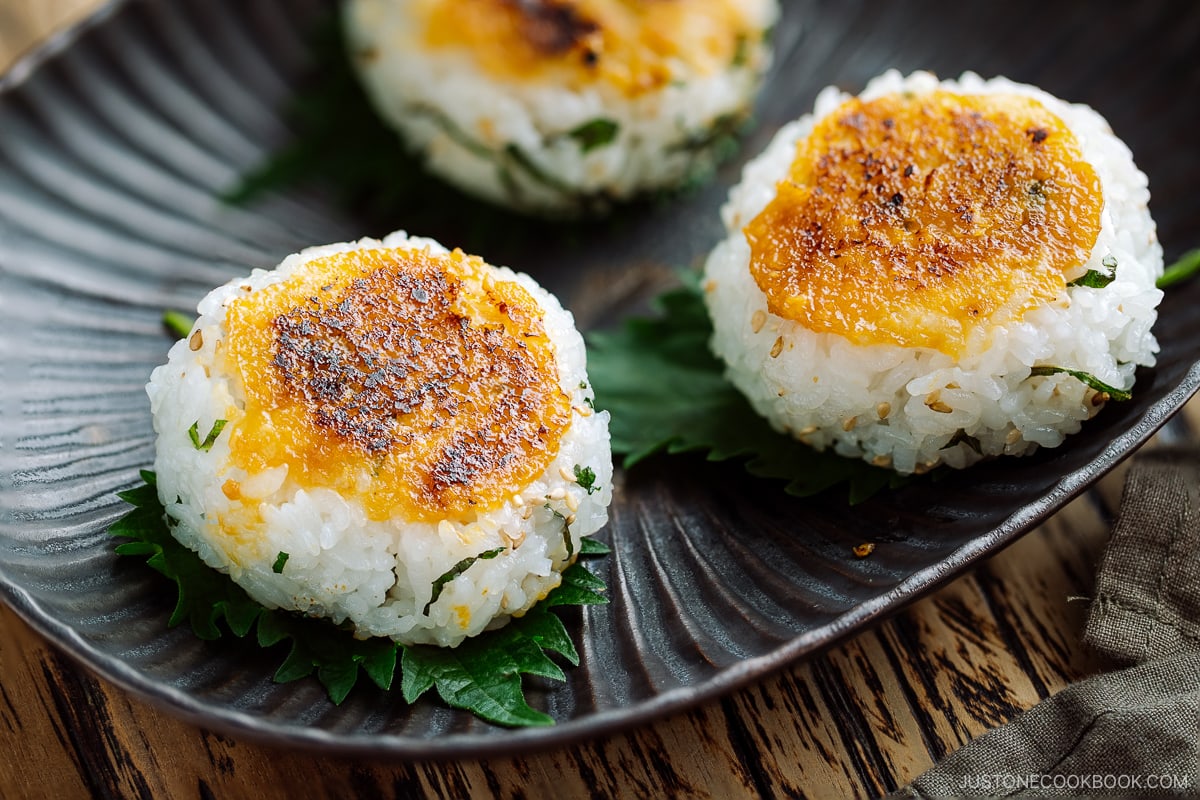
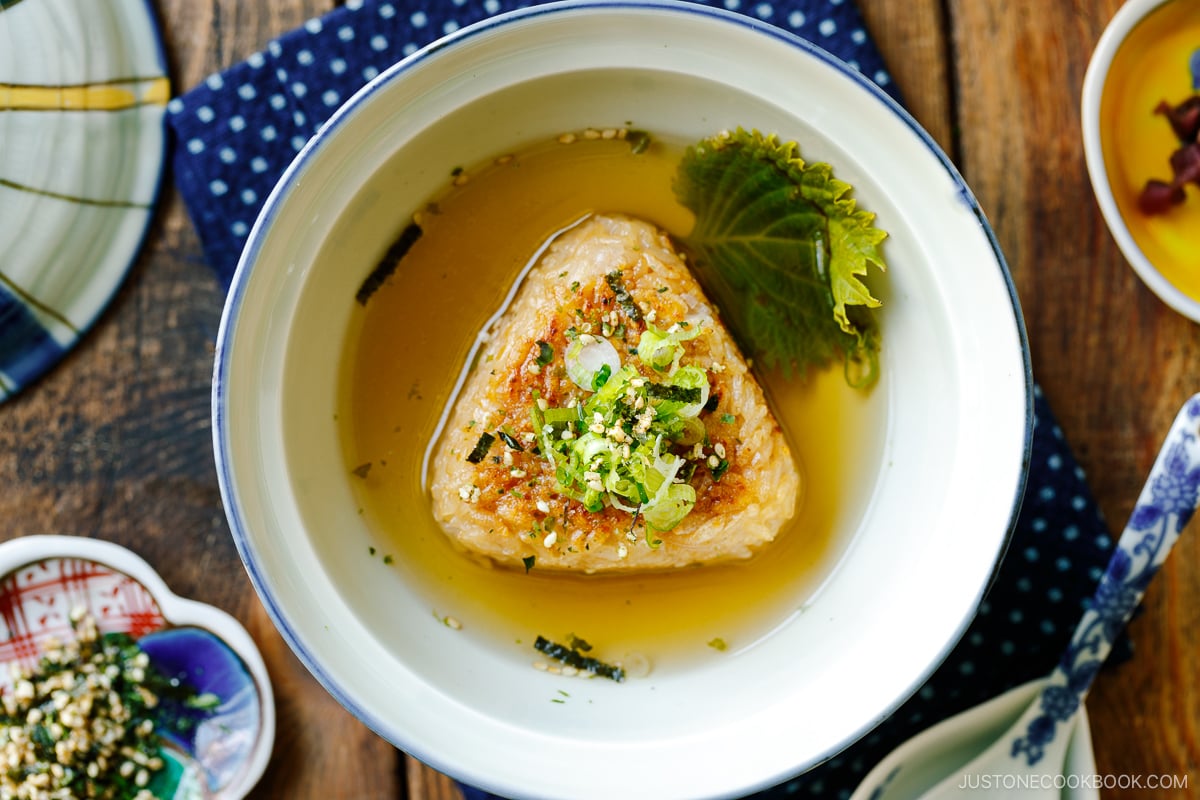
- Grill it to make yaki onigiri. Grill it in a frying pan and baste it with soy sauce or miso to make grilled rice balls. It’ll be delicious to serve as is. Miso Yaki Onigiri is my favorite! Or you can place it in a bowl and pour tea to make Yaki Onigiri Chazuke.
What to Serve with Tuna Mayo Onigiri
Tuna Mayo Onigiri is delicious either warm or at room temperature. Try serving it with these other recipes that also work beautifully at room temperature:
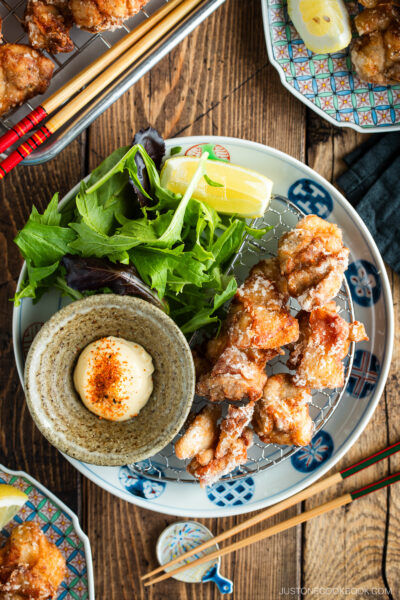
- With a protein – Chicken Karaage or Ginger Pork
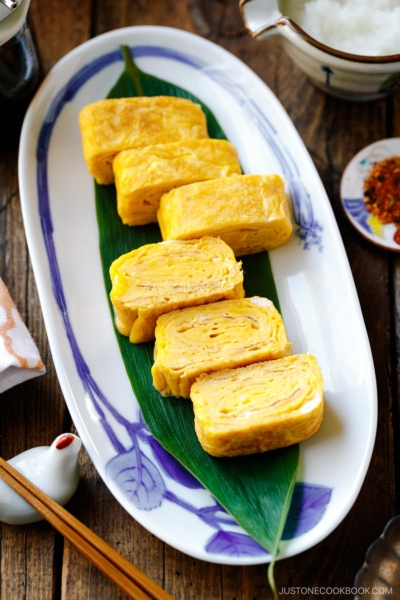
- With Japanese rolled omelette – Tamagoyaki with optional nori inside
- With a vegetable salad – Japanese Spinach Salad with Sesame Dressing
Storage Tips
- To store: To pack the onigiri for bento or a picnic, keep it cool with ice packs in an insulated bag and consume it within 6 hours. Onigiri becomes hard when refrigerated, as the cold air dries out the rice. I don’t recommend making onigiri too far in advance. However, if you need to, my trick is to wrap the onigiri in thick kitchen towels before placing it in the fridge. This keeps the onigiri cool and safe without making it too cold.
Frequently Asked Questions
If you prefer crispy nori, wrap it immediately before serving your onigiri. Keep it in an airtight bag or container in the meantime to keep it from getting stale.
I don’t recommend making onigiri too far in advance. You’ll have to store it in the refrigerator overnight, and the fridge’s cold air will dry out the rice and make it hard. However, if you need to, you could wrap the onigiri in thick kitchen towels before placing it in the fridge. This keeps the onigiri cool and safe without making it too cold.
You can enjoy onigiri warm or at room temperature, so they’re perfect in your lunchbox or as a portable snack on the go. As I mentioned earlier, rice gets dry and hard in the fridge. I suggest warming it in the microwave for a few seconds or leaving it out at room temperature for 15 minutes before you enjoy it.
This is likely due to the type of rice you used. It’s essential to use Japanese short-grain white rice, which has just the right level of stickiness to hold the onigiri together. While glutinous rice (what people call “sticky rice”) isn’t used for onigiri, short-grain Japanese rice provides the ideal texture. Also, be sure to soak the rice for 20–30 minutes before cooking, so it absorbs enough moisture. Short-grain rice has a plumper shape than other types, which means it needs a bit more time to fully hydrate to its core.
Yes, you can. They are actually the same thing! Japanese short-grain white rice is often labeled “sushi rice” for marketing purposes outside of Japan, even though it’s most often used in everyday meals to make onigiri rice balls, donburi rice bowls, omurice, and other typical Japanese dishes.
More Onigiri Recipes
- Tenmusu (Shrimp Tempura Rice Balls)
- Salmon and Shio Kombu Onigiri
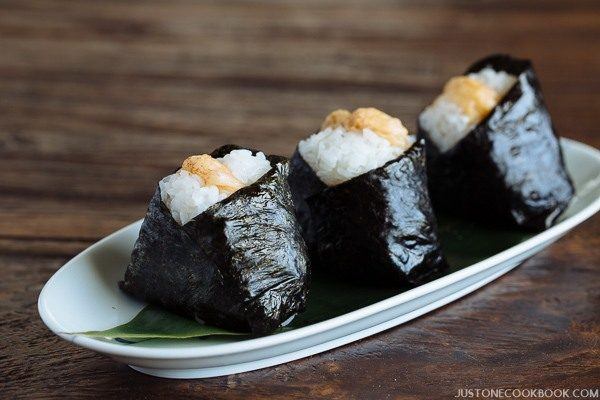
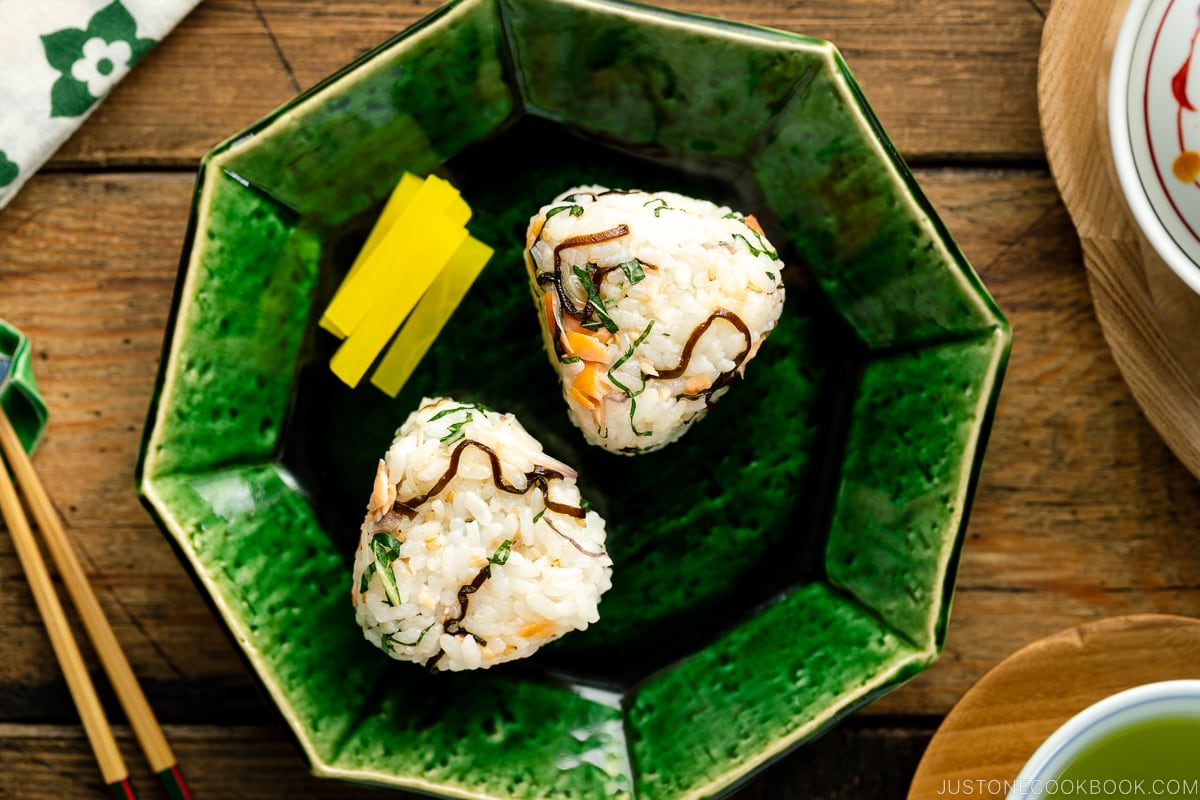
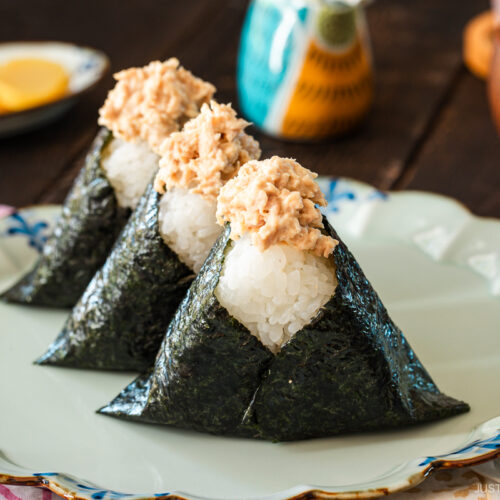
Tuna Mayo Onigiri
Ingredients
- ½ (5-ounce) can albacore tuna (preferably packed in olive oil) (2.8 oz, 80 g)
- 1 Tbsp Japanese Kewpie mayonnaise (store-bought or see How To Make Japanese Mayonnaise)
- ¼ tsp soy sauce
For the Onigiri
- ½ tsp Diamond Crystal kosher salt
- 2¼ cups cooked Japanese short-grain rice (hot and freshly cooked, made from 1 rice cooker cup or 150 g of uncooked rice)
- 1 sheet nori (dried laver seaweed) (cut into thirds)
Instructions
- Gather all the ingredients. For making onigiri, please use hot, freshly cooked Japanese short-grain rice. See how to cook it with a rice cooker, pot over the stove, Instant Pot, or donabe.
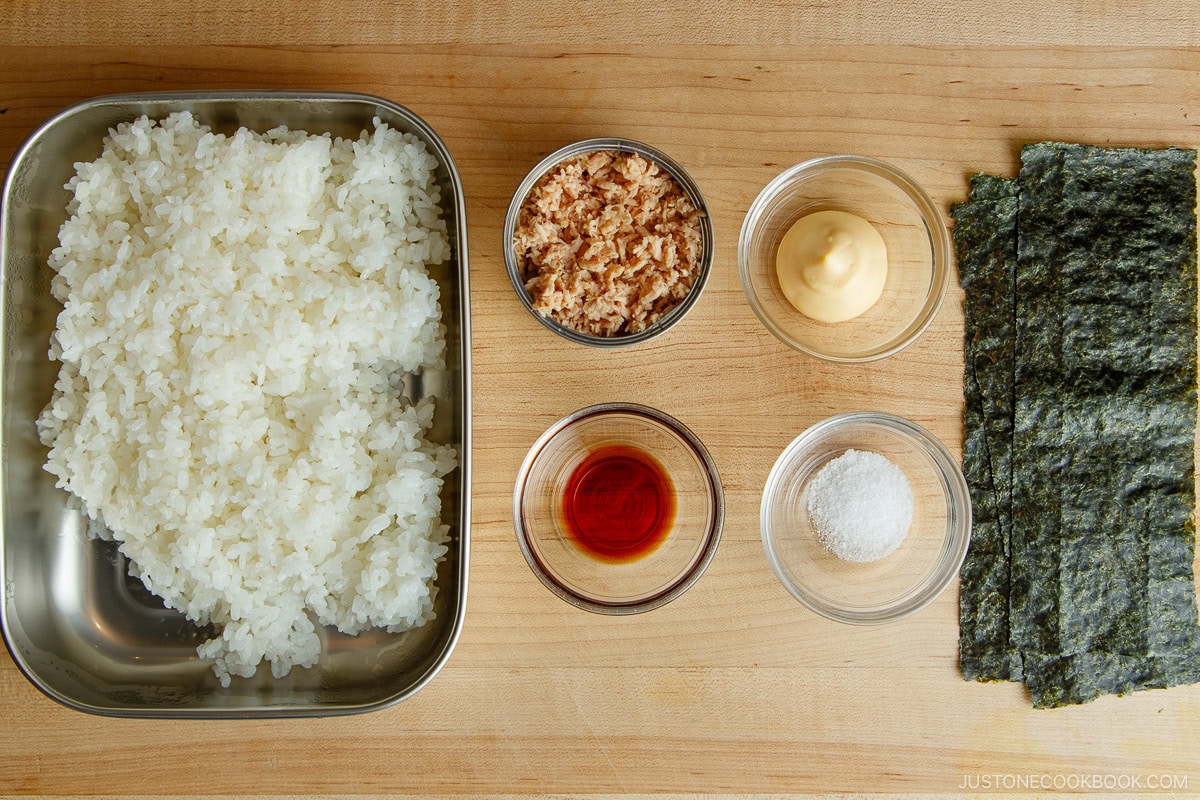
- To make the tuna salad, drain ½ (5-ounce) can albacore tuna (preferably packed in olive oil). Transfer to a bowl and break up the tuna chunks into small flakes. Add 1 Tbsp Japanese Kewpie mayonnaise and ¼ tsp soy sauce Mix well to combine.
To Shape the Onigiri
- Let the freshly cooked 2¼ cups cooked Japanese short-grain rice cool slightly in a large bowl or tray so it's easier to handle. The rice should be hot or warm when making onigiri.
Method 1: Using an Onigiri Mold
- To keep the rice from sticking to it, wet an onigiri mold and lid in a bowl of water and shake off the excess water. Sprinkle salt in the moistened mold. Fill it halfway with rice, making sure to tuck the rice into the corners.
- To the center, add a spoonful of tuna mayo filling (about 1–2 tsp). Add more rice to cover the tuna mayo and fill the mold to the top edge.
- Sprinkle the top of the rice with a bit more salt. Cover with the lid and push down firmly. You should feel a slight resistance as you compress the rice; if not, add a bit more.
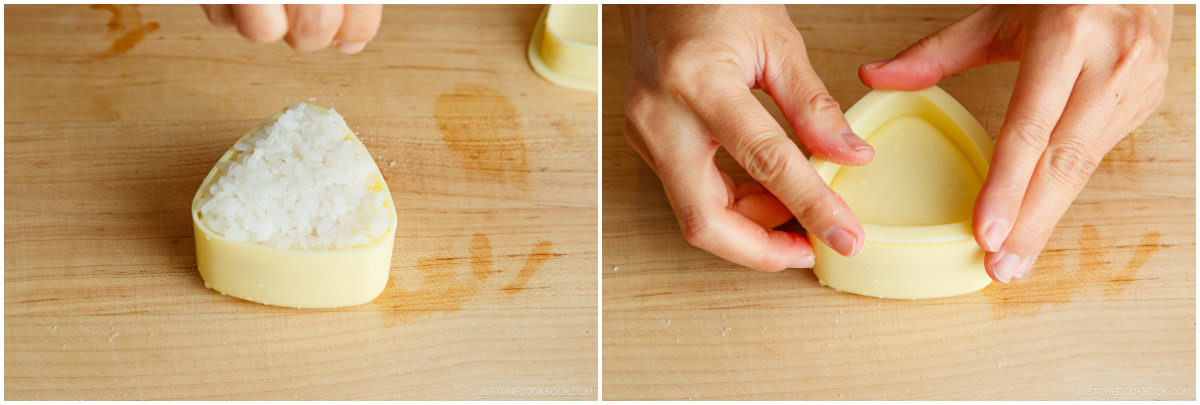
- Remove the lid, flip the mold over, and push the “button” to release the rice ball onto a plate. Repeat to make the remaining onigiri. Tip: Dip your fingers in water before touching the onigiri to keep the rice from sticking to them.
Method 2: Using Plastic Wrap
- Place a piece of plastic wrap in a rice bowl or any small bowl and sprinkle it with Diamond Crystal kosher salt. Add about ⅓ cup rice. Tip: Salting the rice helps to preserve it longer.
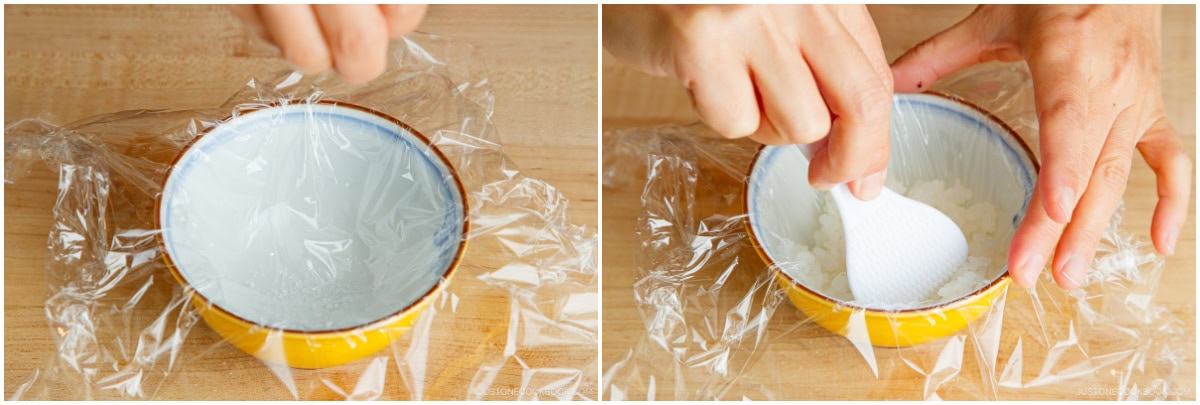
- Create a small indentation in the center of the rice, then add a spoonful of tuna mayo, about 1–2 tsp. Add another ⅓ cup rice on top to cover the tuna mayo completely.
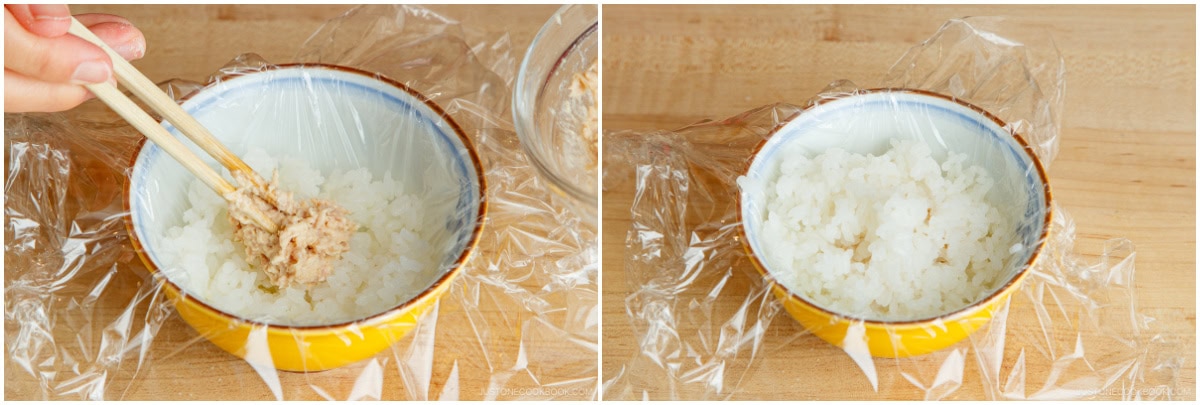
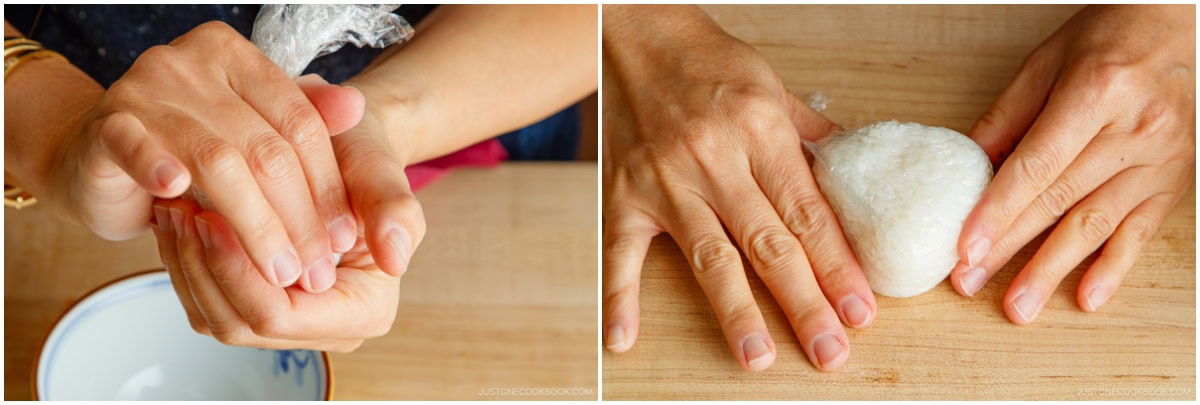
- Sprinkle the rice with more salt. Gather the corners of the plastic wrap and twist the plastic to tighten it around the rice.
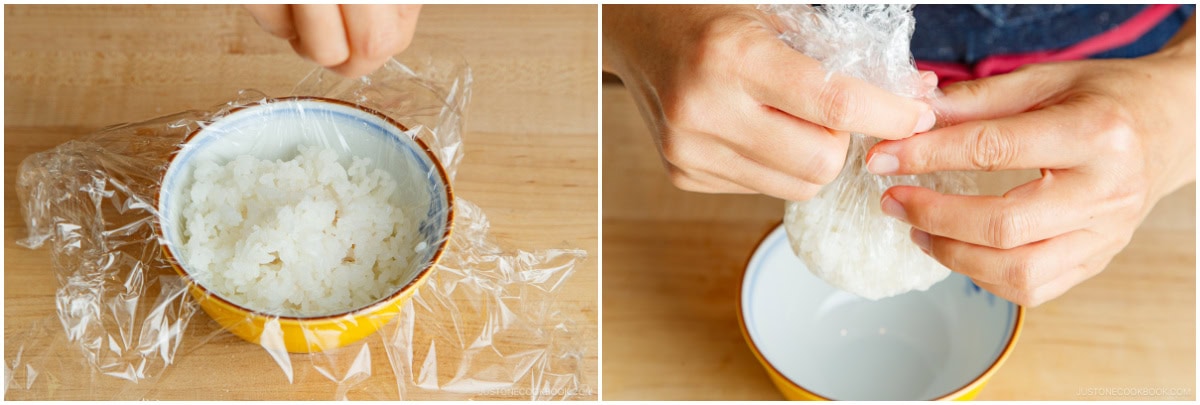
- Gently press the rice with your top hand in a "mountain" shape to form a triangle corner. At the same time, gently squeeze with your bottom hand to flatten either side. Rotate and press 2–3 more times to form the other triangle corners. Tip: Press firmly enough so the onigiri doesn’t fall apart, but don’t squeeze too tightly. Try to keep the rice ball as airy as possible.
To Wrap with Nori
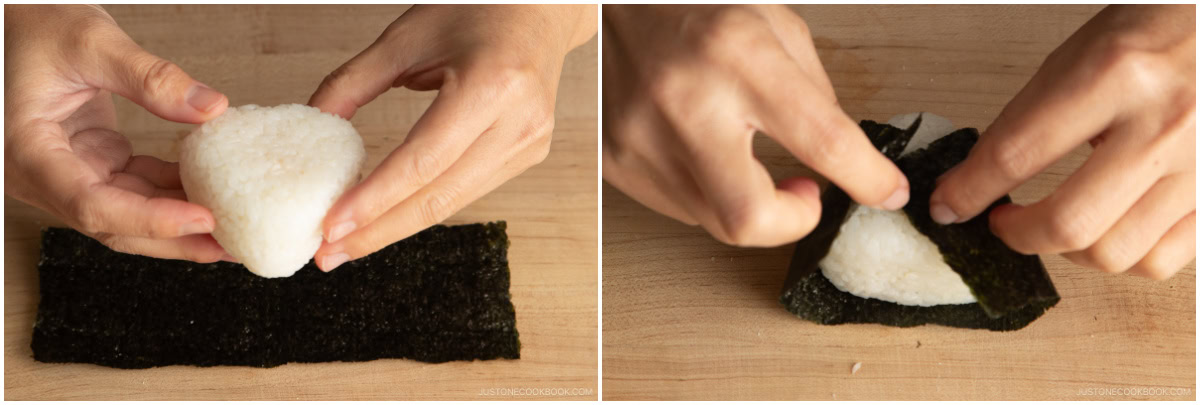
- Cut 1 sheet nori (dried laver seaweed) into thirds. Wrap the onigiri from both sides with a strip of nori seaweed, leaving the top corner exposed. If you like crispy nori, then wait to wrap the onigiri right before serving; keep the nori in an airtight container or bag so it does not get stale in the meantime.
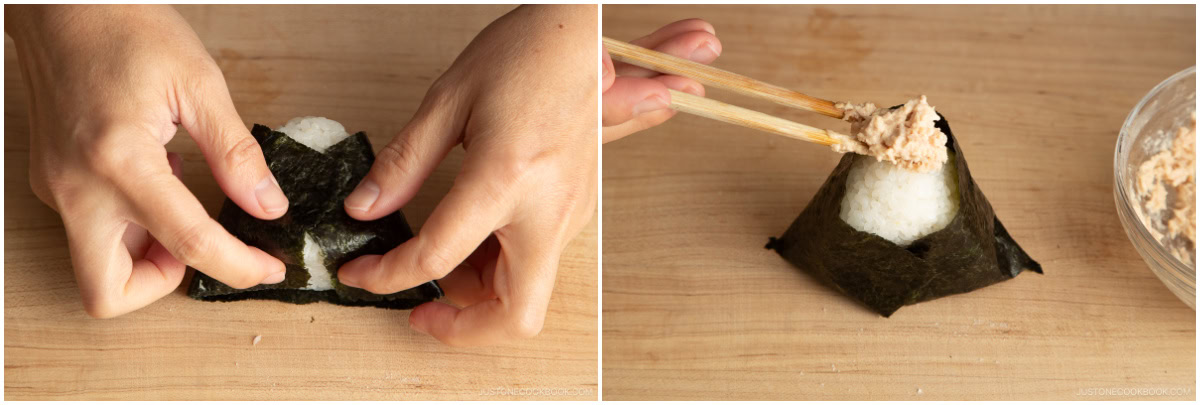
- Tuck the nori under the bottom of the onigiri. Place a dollop of tuna mayo filling on the top corner. Serve warm or at room temperature.
To Store
- If you‘d like to take onigiri for your lunch, keep it cool in an insulated bag with ice packs and consume within 6 hours. Onigiri gets hard when you refrigerate it and the cold air dries out the rice. So, I don‘t recommend making it too far ahead of time. But if you really need to, my trick is to wrap the onigiri with thick kitchen towels and store it in the fridge. The onigiri will be cool and safe but should not get cold and dry.


does making 3 of them use all of the tuna salad in the recipe ?
Hello, Sara. Thank you for trying Nami’s recipe.
It depends on how much you include in each Onigiri. But with 2 teaspoons inside the Onigiri, you will have enough of the Tuna mixture. Hope this helps!
I am so glad I have found your page!
Hello Cristina! Thank you for checking out Just One Cookbook and trying Nami’s recipe!
We hope you continue to enjoy discovering new dishes from our website. Happy cooking!🤗
Where can I buy onigiri mould?
Hi Elly! I just linked in the recipe card as well. Here it is: https://amzn.to/3AFykMp