Miso soup is one of those simple joys in life—comforting, nourishing, and incredibly easy to make. We enjoy it daily for breakfast, lunch, or dinner.
Once you master the basics, you can customize it to your taste. This guide will show you how to make authentic miso soup at home—better than any restaurant or instant version!
If you love miso soups, try my Easy Miso Soup, Vegan Miso Soup, and Tonjiru recipes next!
What is Miso Soup?
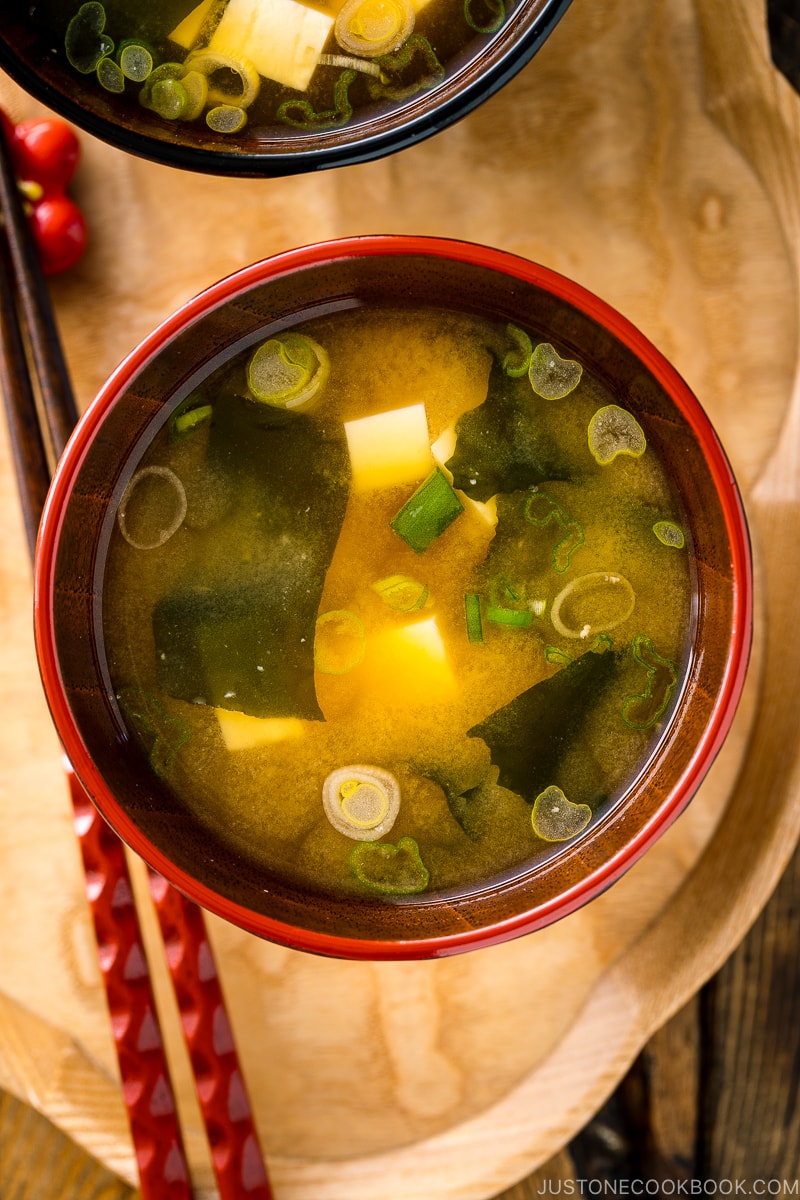
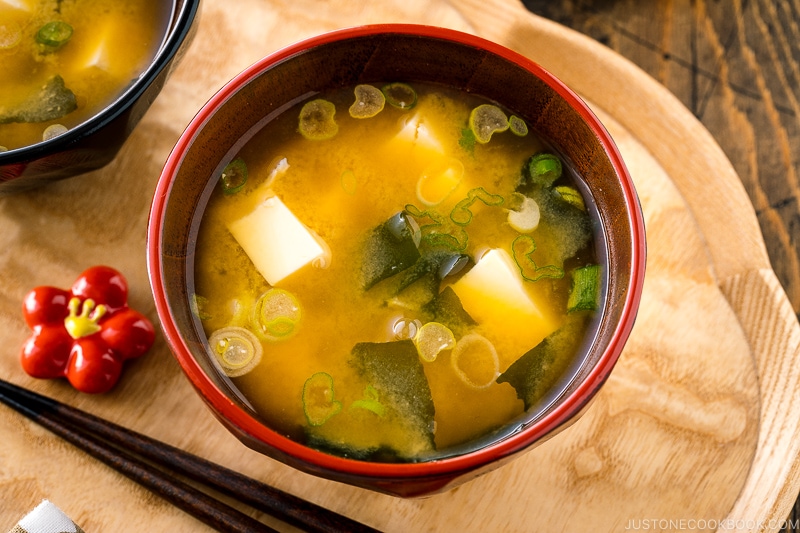
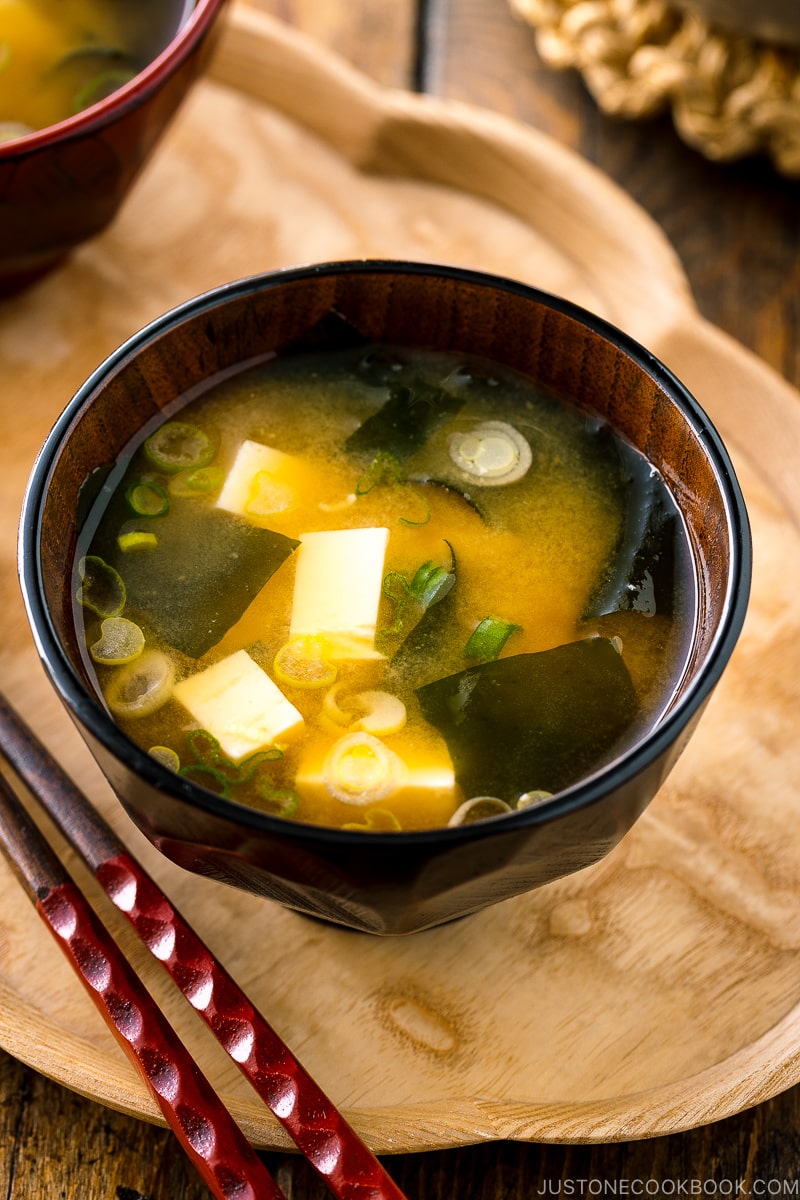
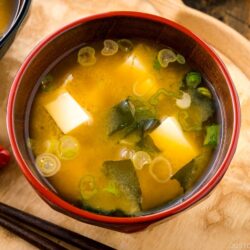
Miso soup (味噌汁, miso shiru) is a traditional Japanese soup made from a miso paste mixed into dashi (Japanese soup stock). It often includes ingredients like tofu, seaweed, green onions, and vegetables, with variations depending on the region and season. A staple in Japanese cuisine, miso soup is enjoyed as a side dish with meals, offering a comforting umami flavor and numerous health benefits.

5 Key Tips for Making the Best Miso Soup
- You can make a big batch of dashi and store it in the refrigerator for 3–5 days for convenience.
- Add miso right before serving for the best fragrance and taste!
- Bring dashi to a slow boil, then turn off the heat when adding miso. This temperature ensures the best aroma and flavor of miso soup. When it’s time to serve, the soup will be at an ideal drinking temperature.
- Use 1 tablespoon of miso per bowl (200ml), and adjust the taste.
- Never bring miso soup to a full boil, as this will diminish its flavor and aroma.
Ingredients for Homemade Miso Soup
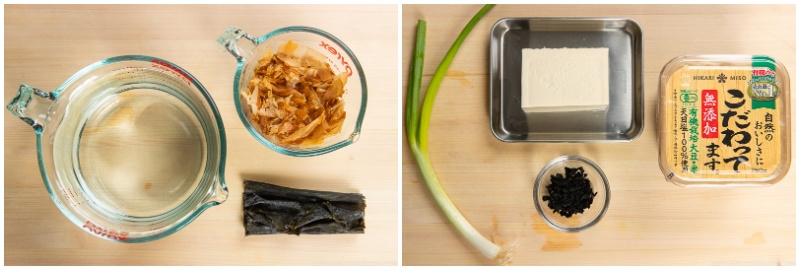
Let’s master the classic version with tofu and wakame seaweed. The ingredients include:
- Dashi (Japanese soup stock) — The heart of authentic miso soup. We’ll dive into it below!
- Miso paste
- Tofu (silken or medium-firm, cut into cubes)
- Dried wakame seaweed
- Green onions (chopped)
How to Make Homemade Miso Soup
Making miso soup is easy when you break it down into three simple steps:
- Make dashi (Japanese soup stock) – 5 minutes (quick) or 20 minutes (homemade)
- Add miso – 2 minutes
- Add tofu and wakame, then serve – 3 minutes
Once you’ve mastered this basic recipe, you can easily customize your miso soup with different ingredients for endless variations.
Step 1: Make Dashi
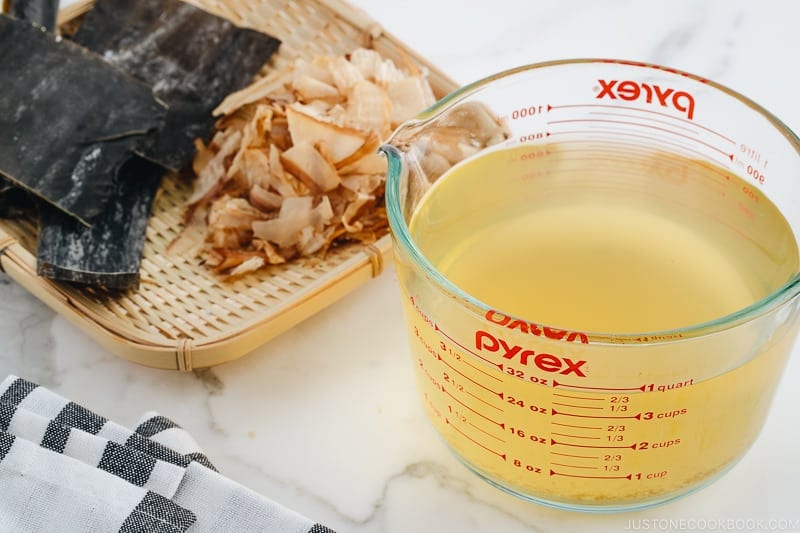
What is Dashi?
Dashi (だし, 出汁) is a fundamental Japanese soup stock and the backbone of many Japanese dishes. It’s incredibly quick and easy to prepare, making it an essential component of authentic miso soup. Unlike chicken or vegetable stock, dashi provides the signature umami flavor that defines true Japanese cuisine—without it, it’s simply not miso soup.
5 Types of Dashi
I recommend starting with the most common dashi, Awase Dashi (#1) or Vegan Dashi (#6)!
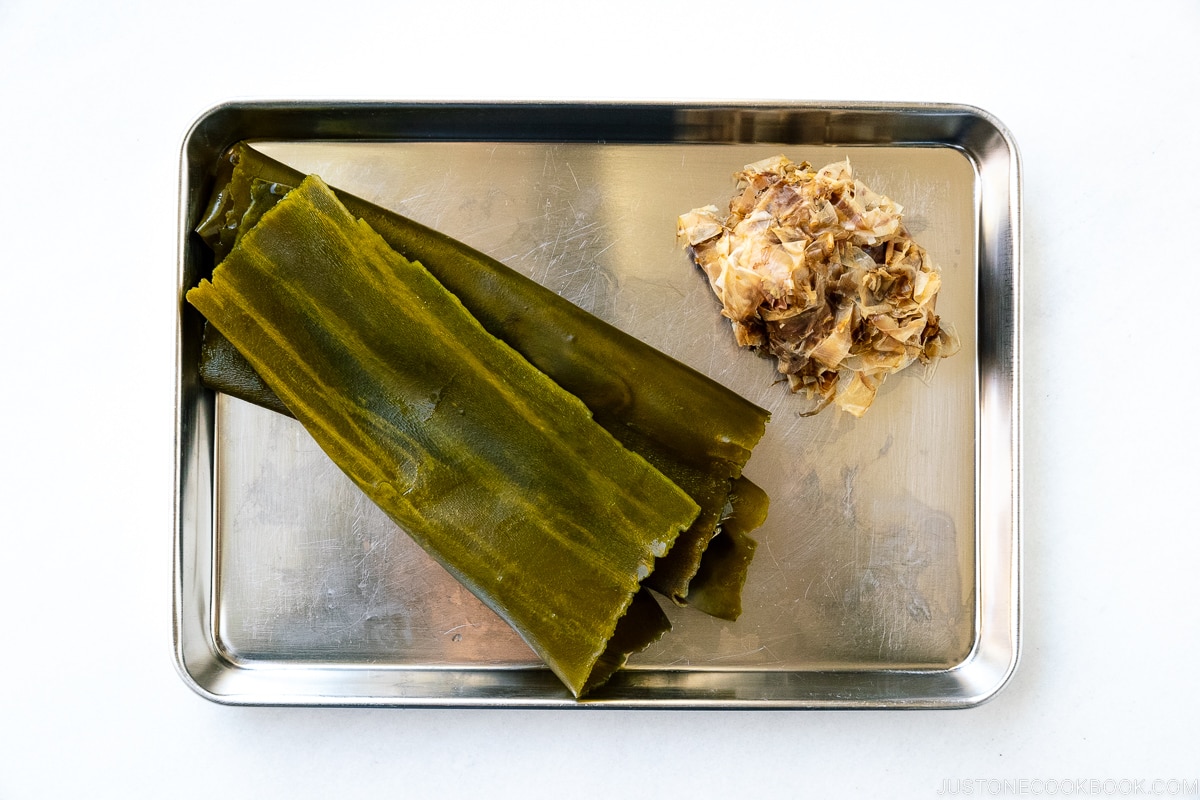
- Awase Dashi — Made with kombu (dried kelp) and katsuobushi (dried bonito flakes)
- Kombu Dashi — Made with kombu; plant-based, subtle flavor
- Katsuo Dashi — Made with katsuobushi; strong flavor
- Iriko Dashi — Made with dried anchovies; strong flavor
- Shiitake Dashi — Made with dried shiitake mushrooms; plant-based; strong flavor
- Vegan Dashi — Made with kombu and dried shiitake mushrooms; plant-based
3 Ways to Make Dashi
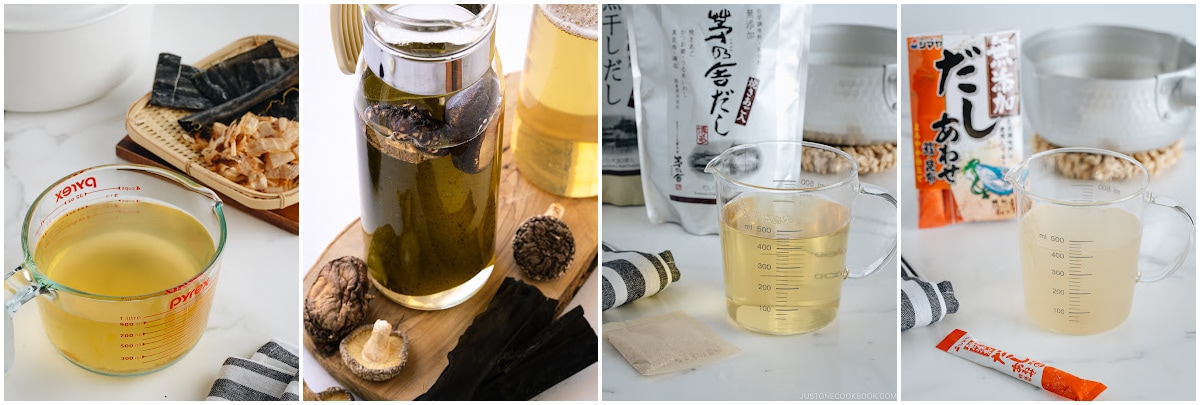
Each method has its balance of flavor and convenience.
- Homemade dashi (20 mins | best flavor & quality) — To make Awase Dashi, soak kombu in cold water, heat it just below boiling, then add bonito flakes and let it steep briefly before straining. For Kombu Dashi or Vegan Dashi, a cold brew method works best—soak the kombu in the water ahead of time for a naturally deep flavor before steeping briefly.
- Dashi packet (5 mins | best shortcut) — This is my go-to shortcut when I’m short on time. Just like brewing tea, you steep the packet in hot water for a couple of minutes, and you’re left with a flavorful broth that’s surprisingly close to homemade.
- Dashi powder (3 mins | fastest, but least flavorful) — These granules are the quickest method. Just dissolve them in hot water, and you’re done. While convenient, the flavor tends to be weaker and fades quickly, so I only use this when I have no other options.
Pro Tip: Dashi is a staple in Japanese cooking, adding a deep umami flavor to many dishes. Make a big batch and store it in the refrigerator for 3–5 days or freeze it for up to two weeks. With dashi ready to go, you can whip up a comforting bowl of miso soup in under 5 minutes!
Step 2: Add Miso Paste
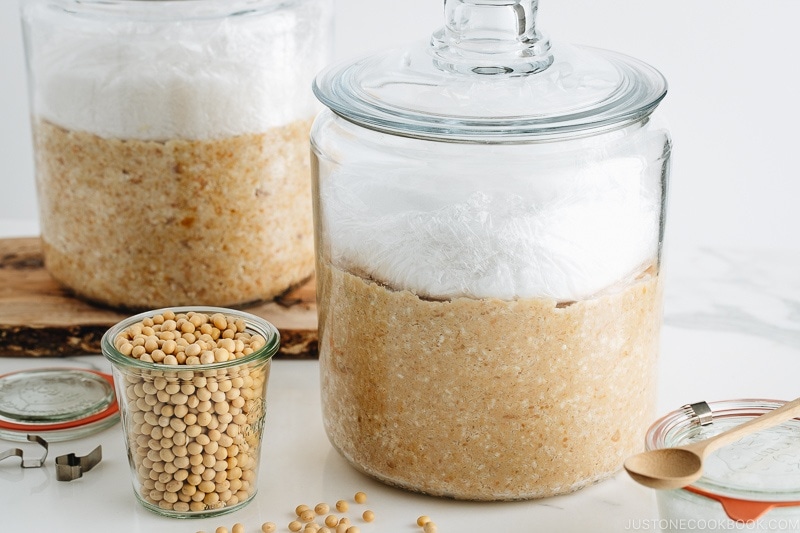
What is Miso?
Miso (味噌) or fermented soybean paste is made from soybeans, grains (steamed rice or barley), salt, and koji culture (麹, a fermentation starter).
Types of Miso
There are many types of miso available, each with its own unique flavor. In the U.S., grocery stores typically categorize miso by color: white miso (shiro miso) for a mild, slightly sweet taste, red miso (aka miso) for a deeper, bolder flavor, and yellow miso (awase miso or mixed miso) as a balanced option. Want to dive deeper? Check out our detailed guide on miso!
Miso varies in saltiness and flavor, so there’s no “right” miso for miso soup. Adjust the amount to taste, or blend two or three types for more complexity. If you have a high-quality miso, enjoy its unique flavor on its own!
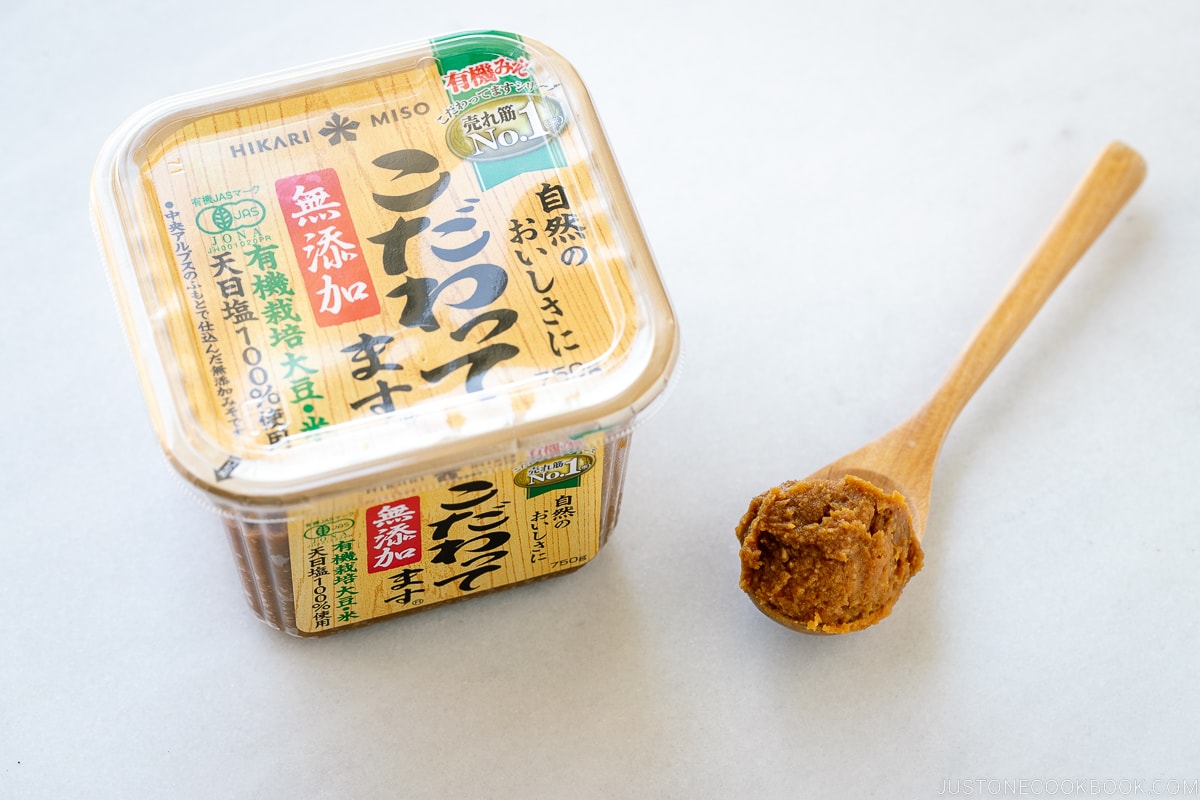
- My favorite miso is this Kodawattemasu from Hikari Miso (organic slow-aged red koji miso). It has a more rounded character that goes well with any ingredients.
- If you want to make miso from scratch, check out my How to Make Homemade Miso post.
- Dashi-included miso (だし入り味噌) may be convenient, but it lacks the health benefits of fresh miso. Manufacturers add additives and sterilize them to preserve quality, which stops the action of beneficial yeasts. For better taste and health benefits, it’s best to use traditional miso and prepare your own dashi.
How much miso paste should I add to the soup?
- In Japan, the general rule of thumb is to add one tablespoon (18 g) of miso paste per miso soup bowl (200 ml).
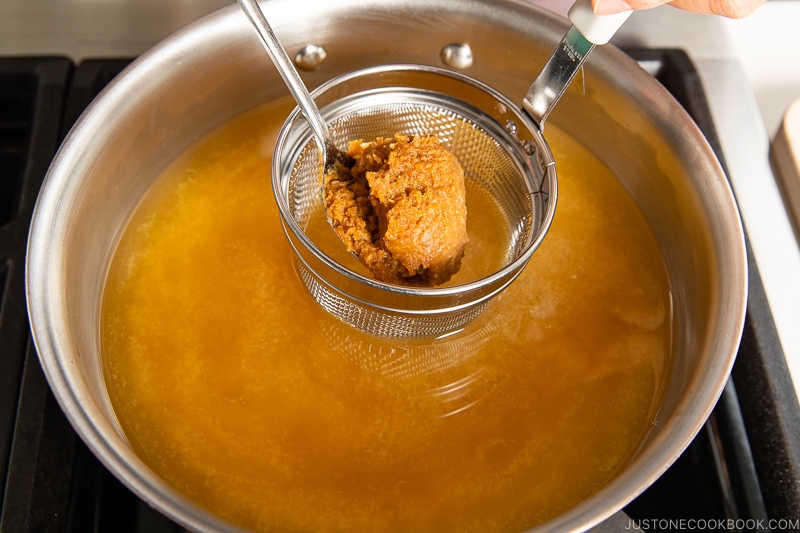
When you add miso paste, turn off the heat before adding miso paste to avoid accidentally boiling the soup.

Always dissolve the miso paste in a ladle or separate bowl—never add it directly to the soup—to avoid big clumps left in the soup. Other kitchen tools I like:
- Miso Muddler – one side measures 2 Tbsp and the other 1 Tbsp
- Fine-mesh strainer
When do you add miso paste?
- Add miso paste to dashi right before serving to preserve its best flavor and aroma. Miso will lose its fragrance if reheated multiple times.
- Before adding the miso, bring the dashi to a slow boil, around 205°F (96°C). This is an ideal temperature for releasing the most fragrant notes of the miso soup. By the time you’re ready to enjoy it, the soup will be at a perfect drinking temperature of 167°F (75°C).
Step 3: Add Tofu to the Soup
To avoid breaking the tofu, always add it after dissolving the miso paste. This helps keep the tofu intact and ensures a smoother texture in your soup. Since tofu doesn’t require cooking, you just need to warm it up.
- Silken or medium tofu? In Japan, silken tofu (kinugoshi tofu 絹ごし豆腐) is slightly more popular than medium tofu (momen tofu 木綿豆腐), but both tofu are common in miso soup. Silken tofu adds a custardy texture while medium tofu is spongier.
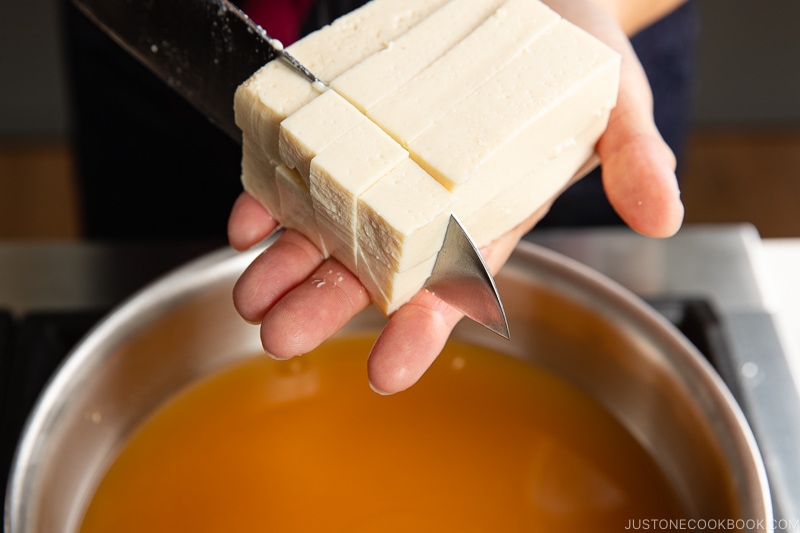
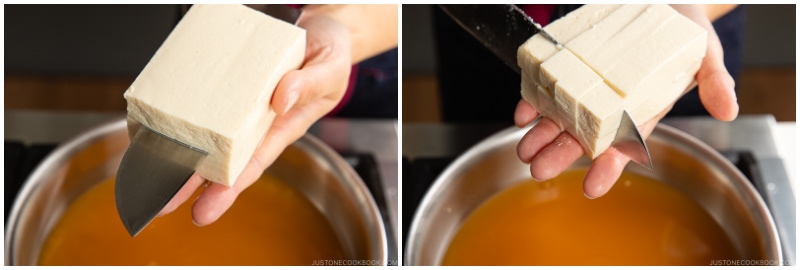
- In Japan, it’s common to cut tofu on your palm, as seen in dramas and anime. If you’re new to it, use a cutting board for safety. For miso soup, cut tofu into ½-inch (1.3 cm) cubes.
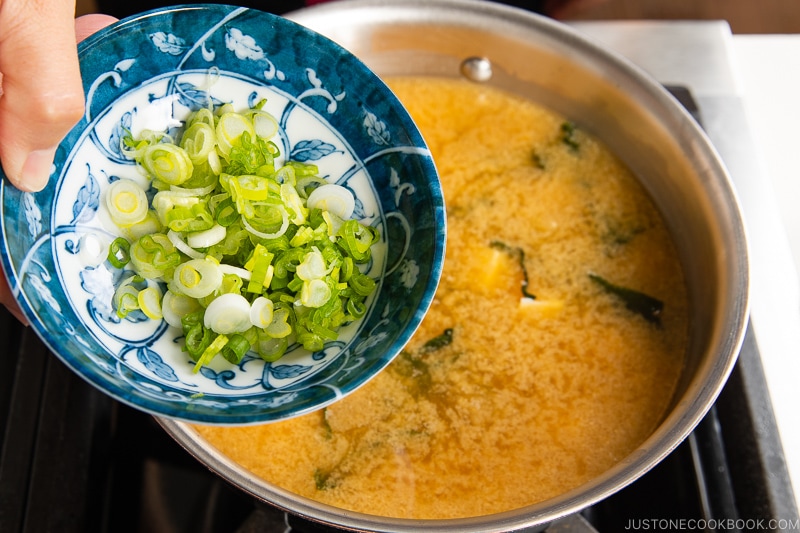
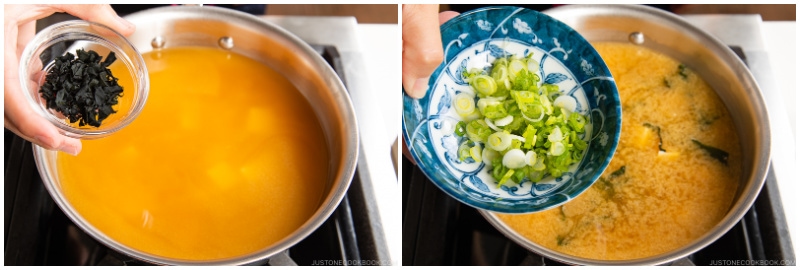
Along with tofu, add dried wakame and green onions at the same time.
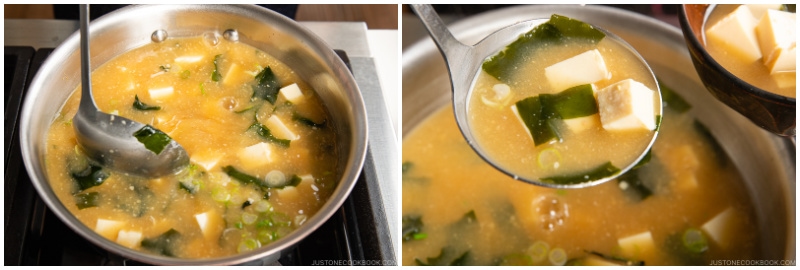
Serve miso soup immediately while it’s warm. By the time you are ready to enjoy it, the soup will be at a perfect drinking temperature of 167°F (75°C).
Reheating Tips
If your miso soup cools down, gently reheat it to a simmer (around 190°F/88°C), but never let it boil. Boiling diminishes its delicate flavor and aroma.
When reheating leftover miso soup, stir in about 1 tablespoon (18 g) of miso to refresh its aroma. If needed, adjust the consistency by adding more dashi or water.
How About Miso’s Probiotics?
A common misconception is that boiling miso soup destroys its probiotics. In reality, probiotics die at temperatures above 140°F (60°C), but the main reason to avoid boiling is to preserve miso’s delicate flavor and aroma.
In Japan, miso soup is valued not just for probiotics but also for its protein, fiber, and minerals, which remain intact despite heat. To maximize probiotics, use miso in salad dressings, dips, or sauces instead.
Storage Tips
While it’s best to enjoy miso soup right away for the freshest taste and aroma, leftovers can be stored with a few precautions:
- Let miso soup cool to room temperature (within 4 hours; longer could cause spoilage) before refrigerating. You can store it in the refrigerator for up to 3–4 days.
- Miso soup can also be frozen for up to 2 weeks, but remove tofu before freezing, as its texture will change upon reheating.
- For reheating, follow the tips mentioned earlier.
How to Make a Big Batch
To store miso soup for later use, it’s best to refrigerate the soup without adding the miso. When you’re ready to serve, simply add the miso paste to the portion you plan to consume. This helps preserve the soup’s freshness and flavor.
How to Add More Ingredients
This is a bit more advanced topic, but I’d like to give a quick introduction to it here.
Adding Root Vegetables
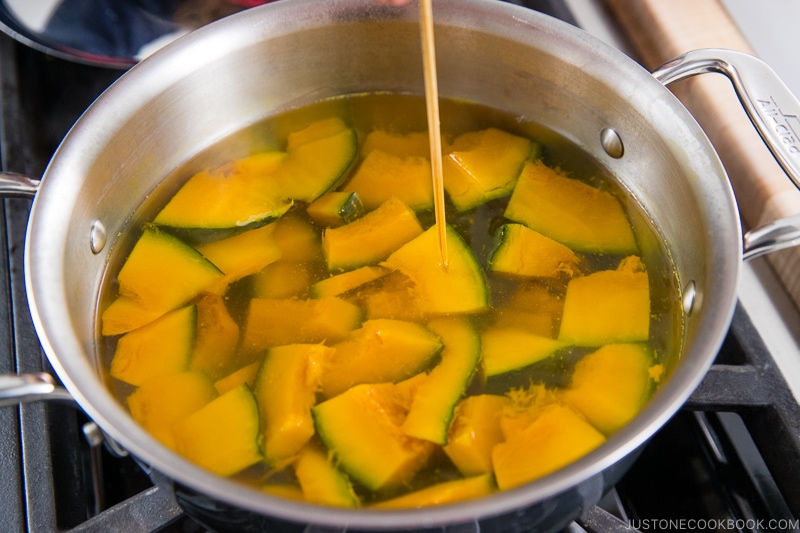
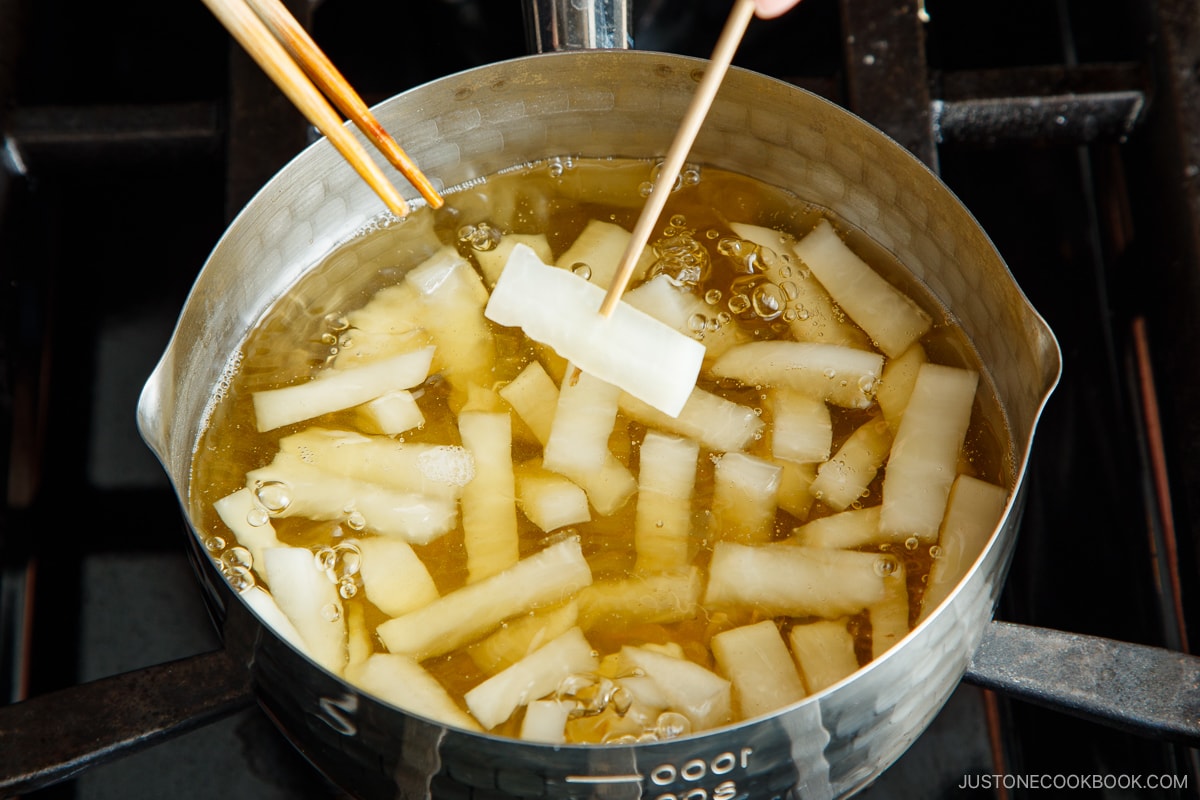
- Place them in cold dashi and cook until they become tender, approximately 10-15 minutes, depending on the vegetable’s density and cut sizes.
Adding Leafy Vegetables or Mushrooms
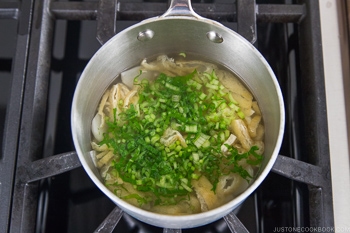
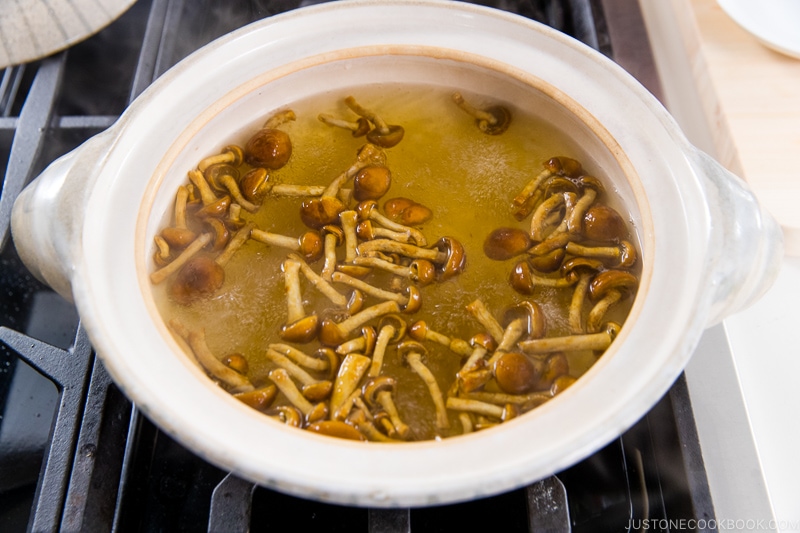
- Add them to simmering dashi (with or without other cooked ingredients) and cook for a few minutes.
For miso soup with seasonal ingredients, check out my Just One Cookbook Miso Soup Recipes.
Ingredients
For the Dashi (makes a scant 4 cups)
- 4 cups water
- 1 piece kombu (dried kelp) (⅓ oz, 10 g per piece; 4 x 4 inches or 10 x 10 cm)
- 1 cup katsuobushi (dried bonito flakes) (packed; I used a loosely packed 3 cups in the video for stronger flavor)
For the Miso Soup
- 7 oz soft/silken tofu (kinugoshi dofu)
- 4 Tbsp miso (use 1 Tbsp, 18 g for every 1 cup, 240 ml of dashi)
- 1 Tbsp dried wakame seaweed
- 1 green onion/scallion
Instructions
- Before we start… If you want to make miso soup in less than 10 minutes, follow my Easy Miso Soup recipe, using a dashi packet or powder.In this recipe, I make Awase Dashi from scratch with kombu and katsuobushi.For vegan/vegetarian, make the Kombu Dashi I showed below, or make Vegan Dashi with kombu and dried shiitake mushrooms.
- Gather all the ingredients.
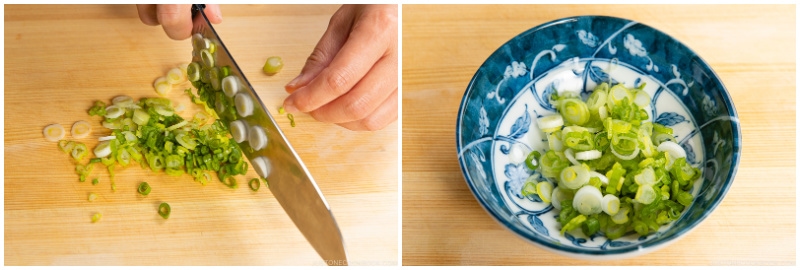
- Cut 1 green onion/scallion into thin rounds.
To Make the Dashi (can make in advance)
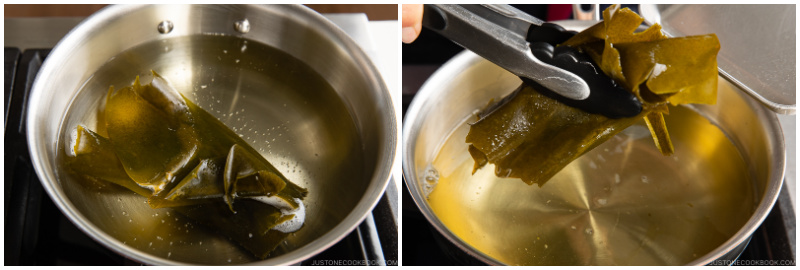
- Add 4 cups water and 1 piece kombu (dried kelp) to a medium saucepan. If you have time, soak the kombu in water for 30 minutes. NEVER wash kombu and do not remove the white substance—that’s umami! These days, it‘s pretty clean, so just make sure there are no dirt particles.

- SLOWLY bring it to a boil (about 10 minutes) on medium-low heat so you can extract as much umami from the kombu as possible. Right before the stock boils, remove the kombu and set it aside for another use. (If you leave the kombu, it gets slimy and yields a bitter taste.) Now, what you have is Kombu Dashi. If you’re vegetarian/vegan, use this kombu dashi for your miso soup.
- If you‘re not vegetarian/vegan, add 1 cup katsuobushi (dried bonito flakes) to the kombu dashi and bring it back to a boil again. Once the dashi is boiling, reduce the heat, simmer for just 30 seconds.
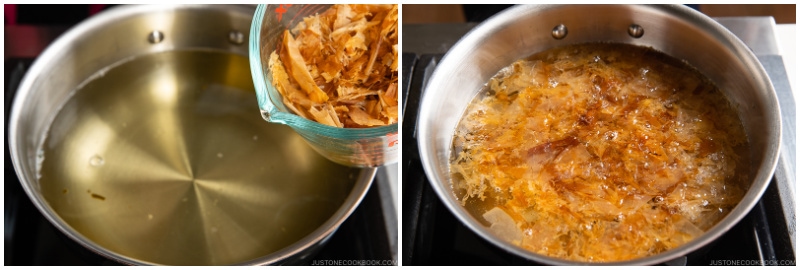
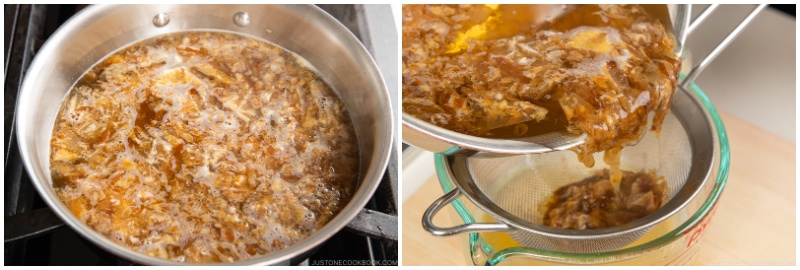
- Turn off the heat and let the katsuobushi sink to the bottom, about 10 minutes. Then, strain through a fine-mesh sieve.
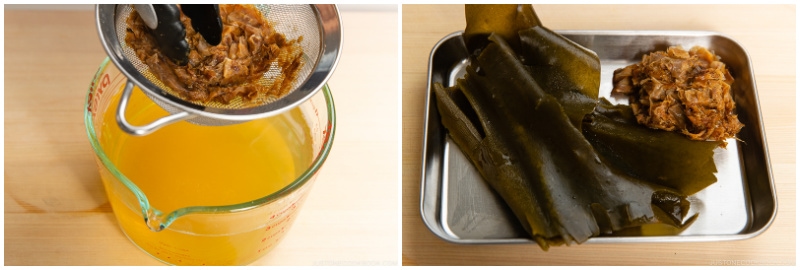
- Now you have roughly 4 cups of Awase Dashi. You can store the dashi in the refrigerator for up to 3–5 days and in the freezer for up to 2 weeks. Reserve the spent katsuobushi and repurpose it; see the suggested recipes that follow at the end of the instructions.
To Make the Miso Soup
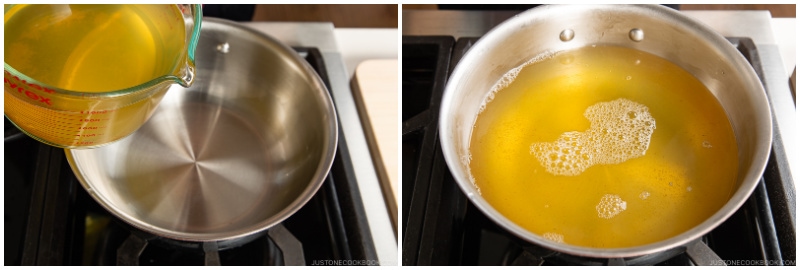
- Add the dashi to the saucepan. If you are using dashi from the refrigerator, bring it to a slow boil (205°F/96°C) over medium heat and turn off the heat.
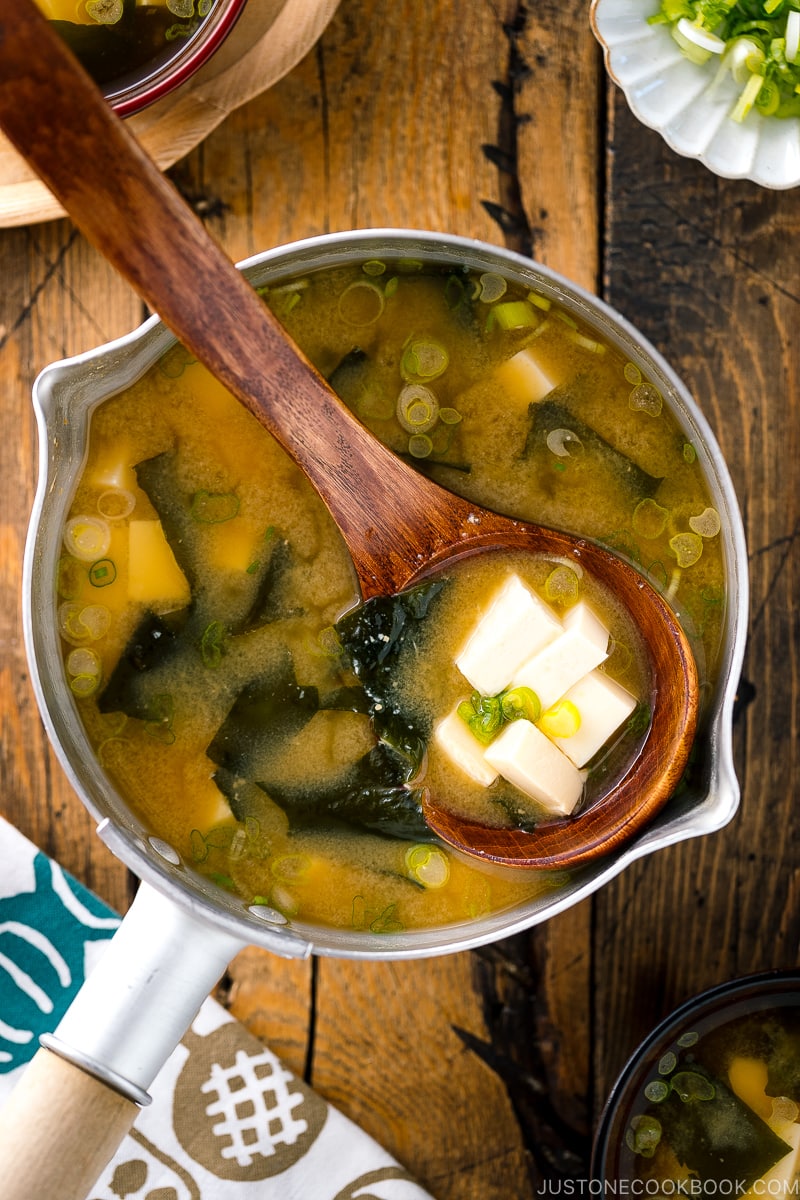
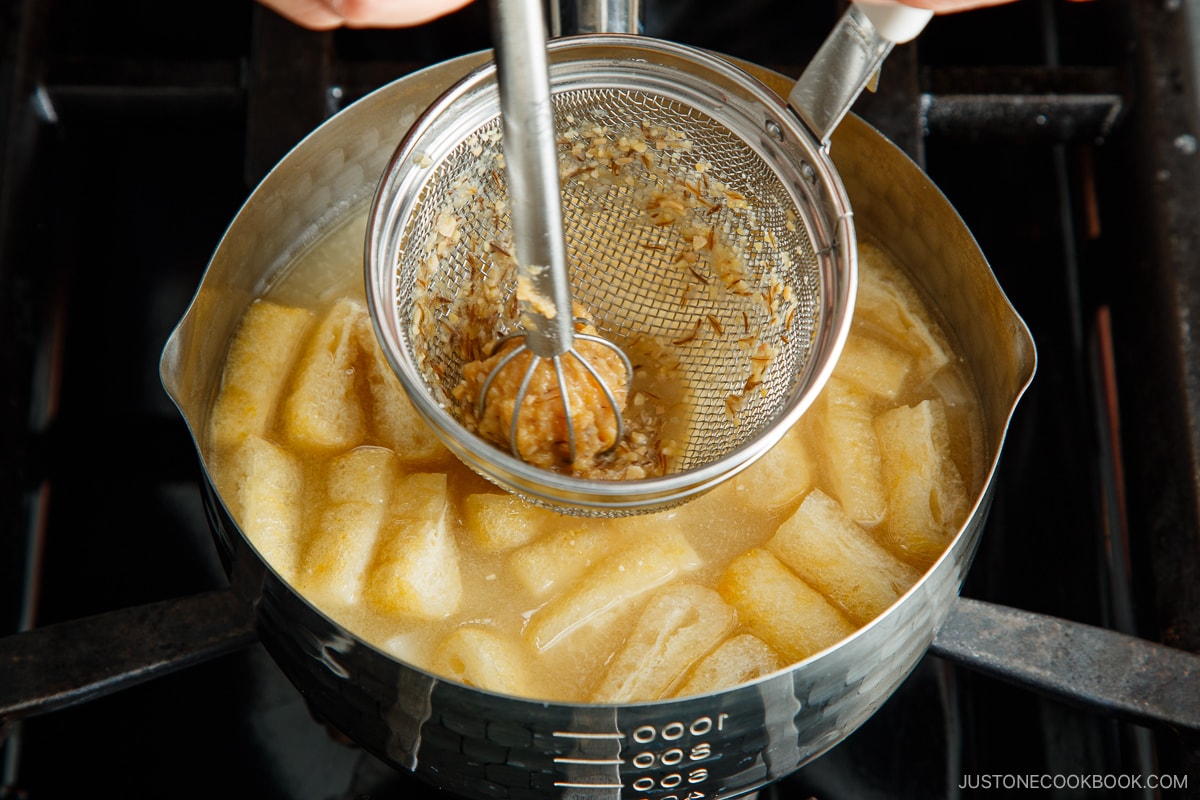
- Add 4 Tbsp miso. Put the miso in a ladle, slowly add the dashi into the ladle, and stir with chopsticks to dissolve completely. Here, I‘m using a miso muddler. If you accidentally add too much miso, dilute the miso soup with dashi (or water).
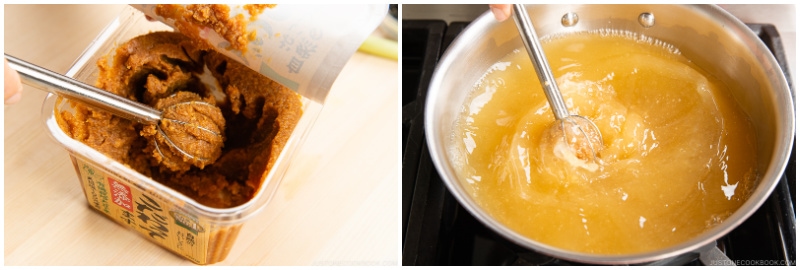
- Here, I‘m using a fine-mesh miso strainer, which helps you dissolve the miso faster. After dissolving the miso in the strainer, you may see rice koji (especially when it‘s koji miso). It‘s up to you if you want to include it in the miso soup or discard it (personal preference).

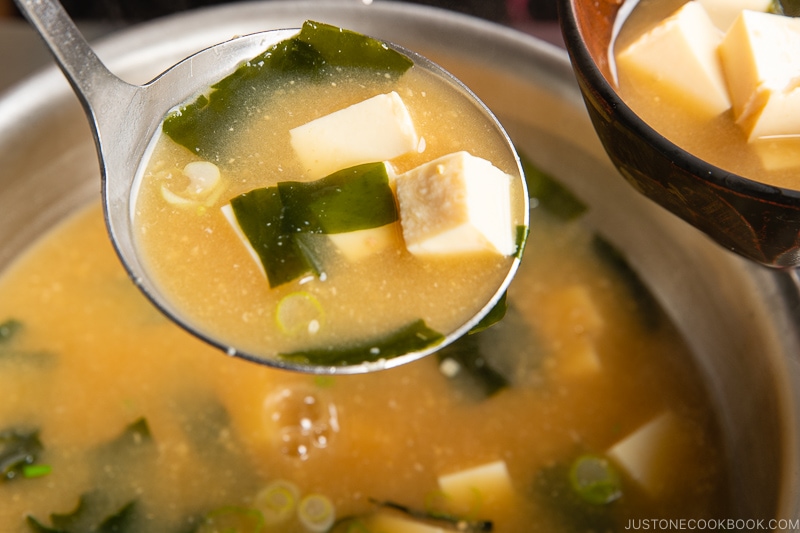
- Cut 7 oz soft/silken tofu (kinugoshi dofu) into ½-inch (1.3 cm) cubes and add to the miso soup. Tip: Add the tofu after the miso is completely dissolved; otherwise, you might break the tofu when stirring in the miso. Note: It is very common to cut tofu on your palm in Japan. However, I recommend using a cutting board if you have never done this.
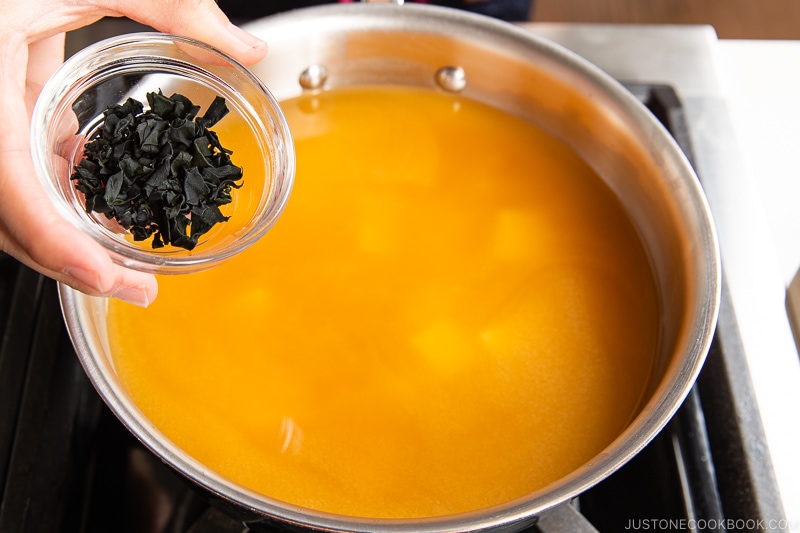
- Add 1 Tbsp dried wakame seaweed and the chopped green onions to the pot right before serving to keep their fresh fragrance and color. Tip: If you worry about salt intake, I recommend rehydrating the dried wakame in a separate bowl of water to get rid of the saltiness, instead of rehydrating it in the soup itself. If reheating, warm up the miso soup until it is just hot. NEVER BOIL miso soup because it loses flavor and aroma.
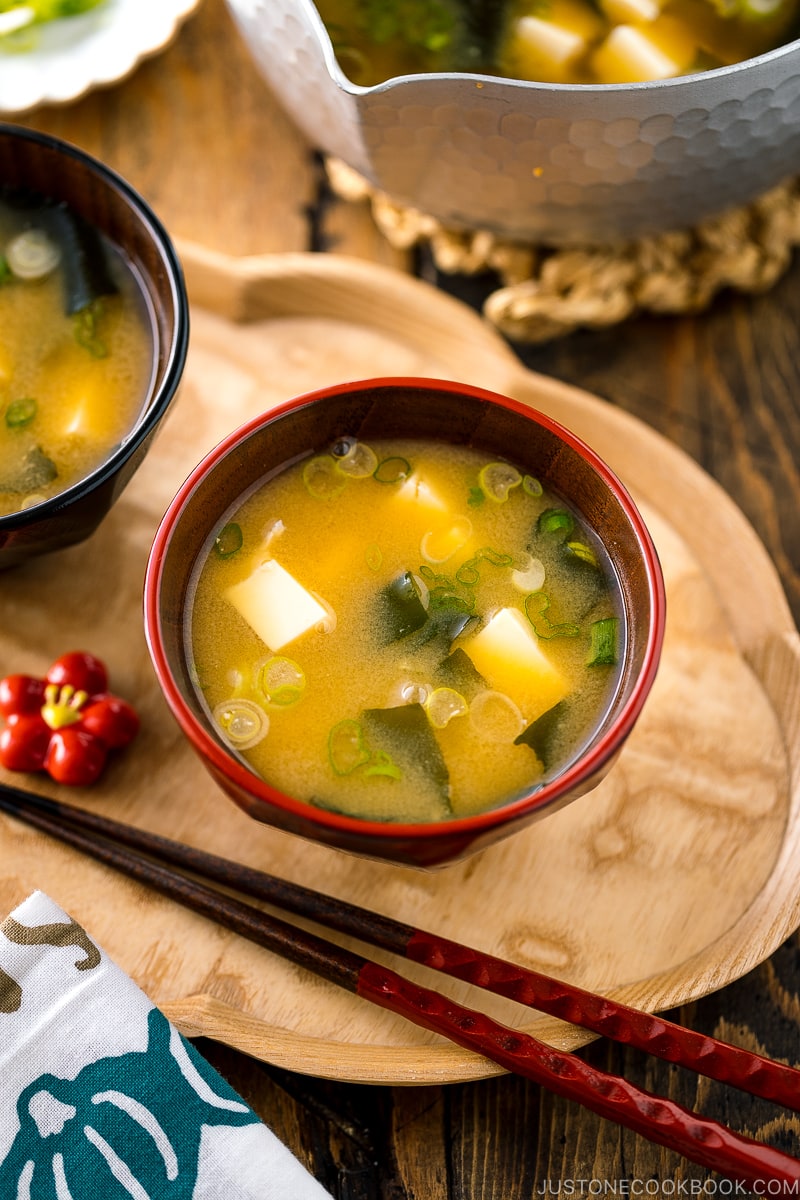
To Serve
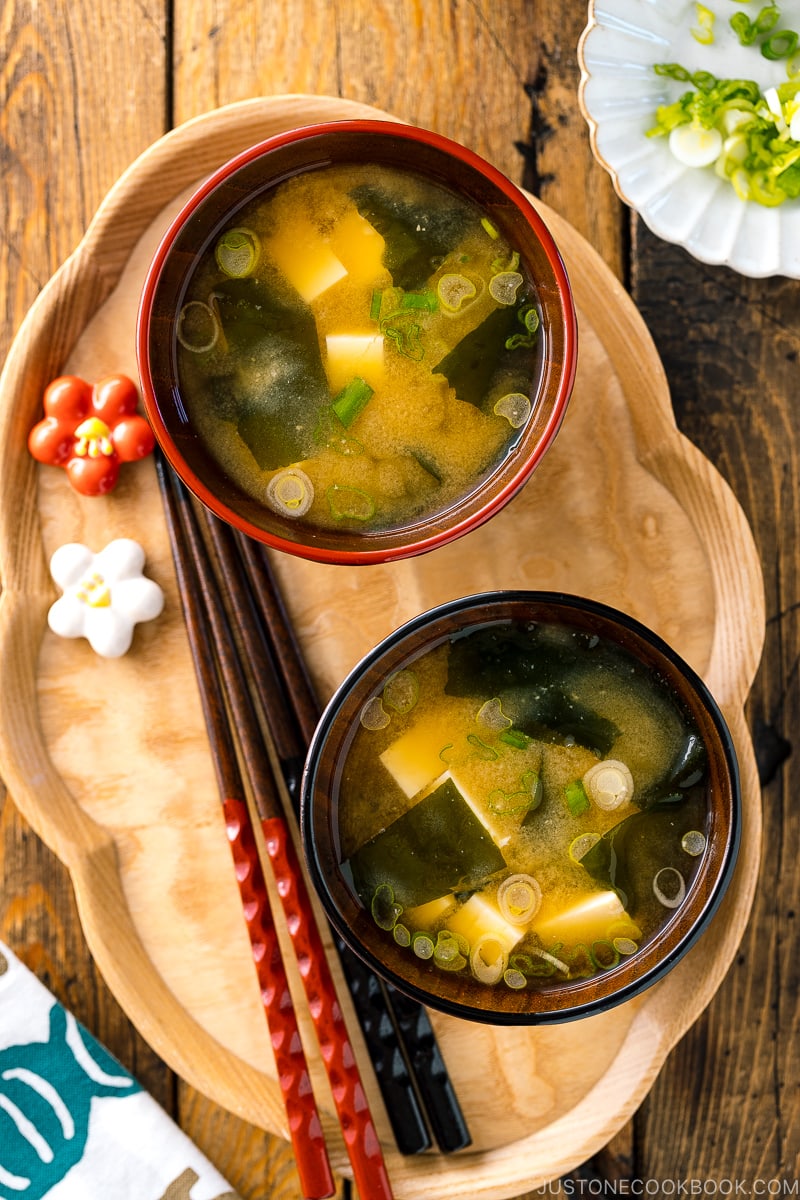
- Serve immediately. Place on the right side of the table setting; you can read about this in my post Ichiju Sansai (One Soup Three Dishes).
To Store
- In general, it‘s best to consume all the miso soup right away because it will lose its aroma and taste as time passes. Let your miso soup cool to room temperature (up to 4 hours; any longer and it will spoil) and then refrigerate. Keep for up to 2 days in the refrigerator. If you want to make a big batch to store for later, it‘s best to refrigerate the soup without adding the miso. When ready to use, add the miso only for the portion you need. You can freeze miso soup for up to 2 weeks. However, you have to remove the tofu before freezing as the texture will change.
To Reheat the Miso Soup
- Heat the miso soup in a pot over medium heat, but do not boil. Miso loses its nutrients, flavor, and aroma at high temperatures.
What to do with the spent katsuobushi and kombu?
- Save the spent kombu and katsuobushi in an airtight container and store it in the refrigerator for a week or in the freezer for up to a month.
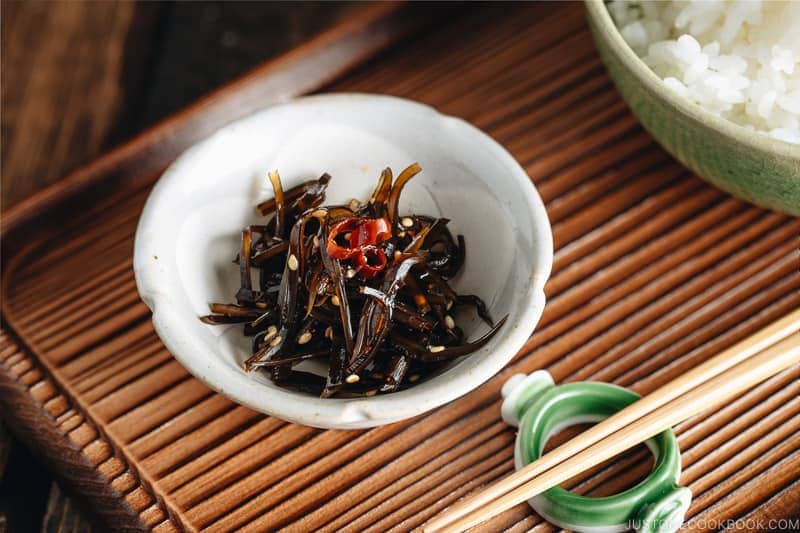
- With the spent kombu, you can make Simmered Kombu (Kombu Tsukudani).
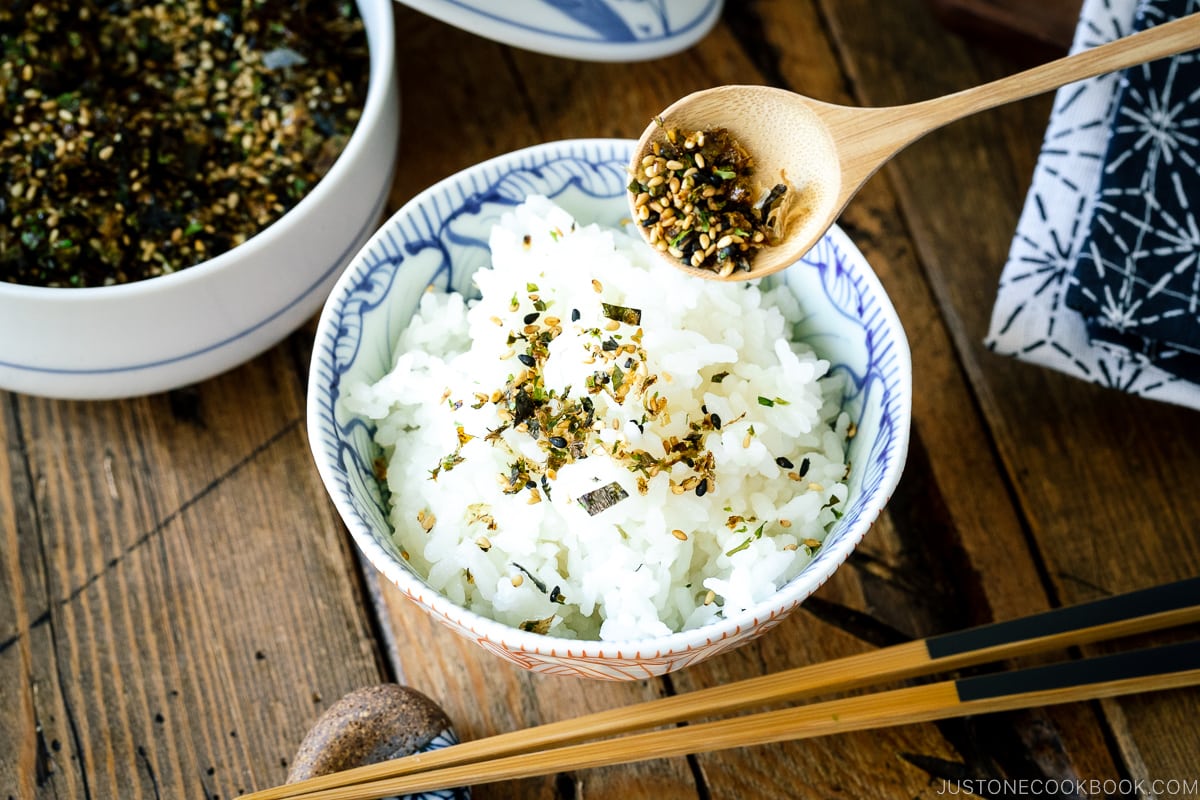
- You can also make Homemade Furikake (Rice Seasoning).
Nutrition
Did you make this recipe?
Tag @justonecookbook on Instagram so we can see your delicious creation!
Editor’s Note: The post was originally published on Mar 3, 2011. The recipe was revised and updated on June 7, 2022. The post was updated with new images, a new video, and more helpful content on February 2, 2024.