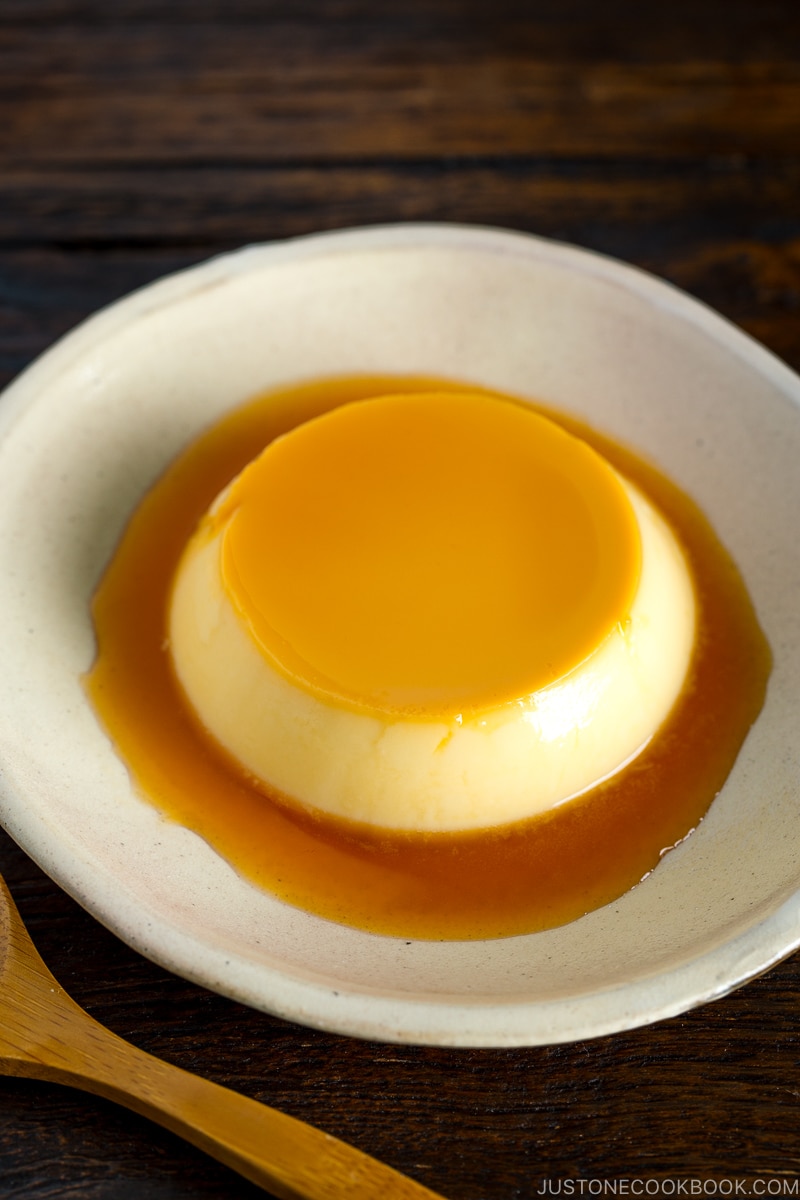
My simple No-Bake Purin (Custard Pudding) recipe is silky, creamy, and rich in caramel flavor. This variation on the popular Japanese chilled dessert is easy to make at home using gelatin and my tips for a foolproof caramel sauce.
Growing up in Japan, three O’clock meant Oyatsu no Jikan, which means “time for snack” in Japanese. I ran home every day after school and looked forward to the day’s oyatsu (snack) that my mom prepared.
Once in a while, she would surprise my brother and me with our favorite No Bake Purin (ゼラチンプリン). It’s a popular chilled dessert in Japan and I’m excited to share this easy homemade recipe with you.
What is Japanese Purin?
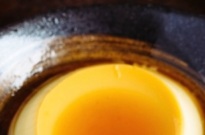
It is a custard dessert with a layer of soft caramel on top. As it’s enjoyed throughout the world, you may call this dessert custard pudding, crème caramel, caramel custard, flan, or a different name in your language.
Normally the custard, the mixture of sugar, eggs, and milk (and sometimes heavy cream), is baked in the oven in a bain-marie [ban mah-REE] (hot water bath) before being chilled.
In Japan, we have 3 types:
- Yaki Purin (焼きプリン) – Baked in a bain-marie (water bath) in the oven. A hot water bath allows this delicate dessert to cook more evenly and gently, preventing cracking, curdles, or small bubbles around the edges.
- Mushi Purin (蒸しプリン) – Cooked on a stovetop in a steamer or in a bain-marie in a pot.
- Gelatin Purin (ゼラチンプリン) – aka No Bake Purin; Not baked or cooked on a stovetop; a custard is solidified with gelatin! The majority of packaged purin you can get at supermarkets are mostly made this way. Have you tried the popular Pucchin Purin (プッチンプリン) by Glico?
You can find my recipe for the #1 and #2 methods here.
I also want to mention that Japanese Purin is sometimes called “custard pudding” (カスタードプリン) in Japan, especially when emphasizing the custard component and comparing with other types below:

What is No-Bake Purin?
Japanese “Purin” that you can purchase at supermarkets and convenience stores in Japan is all made with gelatin. We sometimes call this type of purin Gelatin Purin (ゼラチンプリン). They are not baked or steamed. If you’re a big fan of those packaged Japanese custard puddings like Pucchin Purin (プッチンプリン), today’s recipe is for you!
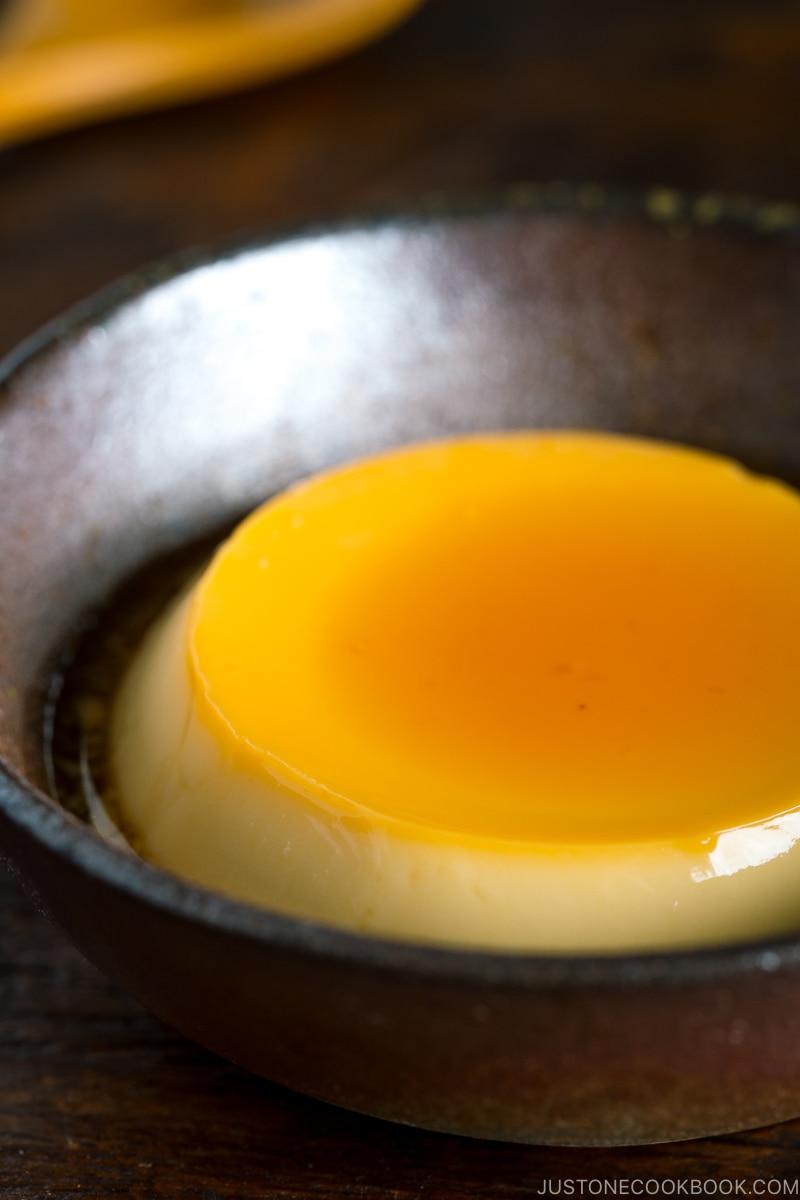
The texture of Gelatin Purin is similar to gelatin desserts like panna cotta, French dessert Bavarian Cream, or Bavaria (ババロア). It’s silky smooth and slightly firm, with a gentle wobble.
The best part about Gelatin Purin is that you can enjoy the silky panna cotta texture with rich custard flavors, just like creme caramel or flan.
This delicious dessert is a simple recipe, but it requires some techniques for the following important steps in the recipe.
- The caramel sauce has to have the right consistency so that when you invert the ramekin, the caramel sauce pours down nicely over the Purin.
- Gelatin has to be bloomed correctly so that the texture of Purin comes out perfectly.
- The custard mixture needs to be cooked to the correct temperature before being chilled.
I apologize for my lengthy recipe but I hope my tips are helpful. Please read the entire recipe at least once before trying to make the recipe.
This post was originally shared in 2011 and it was my guest post shared on my friend Jill’s blog Mad About Macarons’ Egg Yolk Recipes series. Jill makes amazing macarons and she published her macaron cookbooks (Mad about Macarons! and Teatime in Paris!).
With the leftover egg whites from this recipe, you can make Jill’s macarons! I hope you enjoy making this No-Bake Purin recipe.
Wish to learn more about Japanese cooking? Sign up for our free newsletter to receive cooking tips & recipe updates! And stay in touch with me on Facebook, Pinterest, YouTube, and Instagram.
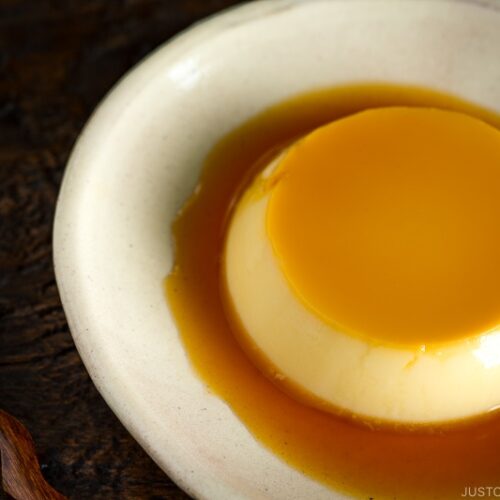
No-Bake Purin (Custard Pudding)
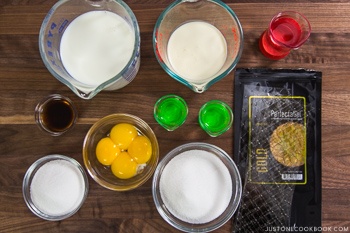
Ingredients
For the Caramel Sauce
- 2 Tbsp boiling water
- ⅔ cup sugar
- 2 Tbsp water
For the Custard
- 4 gelatin sheets (0.35 oz, 10 g; I love using PerfectaGel Gold gelatin sheets; or use 1 pouch (7 g, about 2½ tsp) Knox gelatin powder)
- ¼ cup water
- 4 large egg yolks
- 80 g sugar (⅓ cup + 1 Tbsp)
- 1¾ cups whole milk (divided)
- ½ cup heavy (whipping) cream
- 2 tsp pure vanilla extract
Instructions
- Before You Start: Please note that this recipe requires a chilling time of 2–3 hours. Now, gather all the ingredients. You will also need 8 ramekins that are 4 oz (½ cup, 120 ml) each.

To Make the Caramel Sauce
- Prepare some boiling water (you‘ll need only 2 Tbsp) and a cold damp towel (for Step 4).
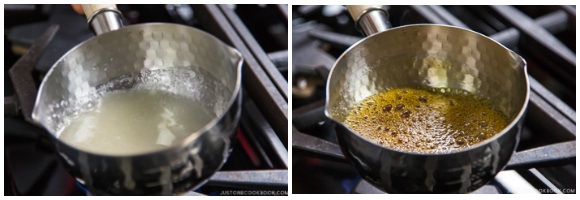
- Combine ⅔ cup sugar and 2 Tbsp water in a heavy-bottomed small saucepan over medium heat. Gently shake the saucepan to evenly distribute the sugar, then do not touch until the mixture starts to turn golden brown on the edges of the pan. When the sugar starts to caramelize, you will see lots of small bubbles. Swirl and tilt the pot to blend the dark-colored and light-colored sugars but do not use a utensil because it will crystallize the sugar. Soon, the bubbles will become larger as the sugar mixture caramelizes more and turns an amber color (like a darker honey color), about 5–6 minutes.

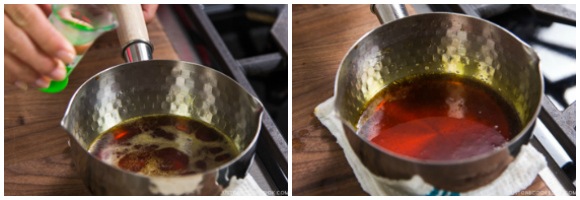
- Immediately remove from the heat and set the saucepan on a cold, damp folded towel. Add 2 Tbsp boiling water. It will create a huge splash, so please be careful. You can shield with a lid or wear oven mitts to protect your hands. Swirl the saucepan to combine. This will slightly thin out the caramel sauce and ensure that it doesn’t become too thick in the ramekins.
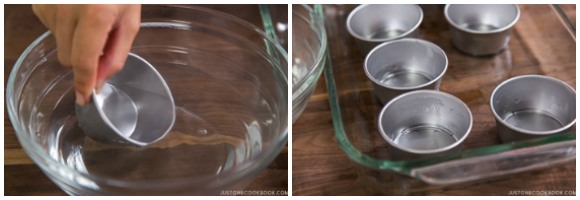
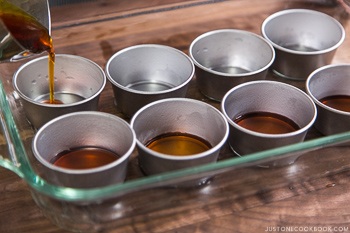
- Briefly dip the ramekins in hot water to warm up. This will prevent the caramel from solidifying (just shake off the excess water; no need to dry).
- While the caramel is still hot, pour the caramel from the pot into the 8 ramekins, evenly dividing the sauce. Set aside and let the caramel thicken naturally (which is why the caramel will not mix with the custard mixture later).
To Prepare the Gelatin
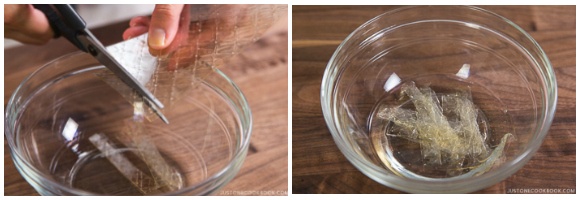
- Cut 4 gelatin sheets into thin, ½ inch (1.3 cm) strips. Place them in a heat-resistant glass bowl that‘s wider than the opening of your saucepan (to use in a double boiler later). Add ¼ cup water and set aside for 5–6 minutes until the gelatin “blooms“ or expands.
- If you’re using powdered gelatin, combine 3 tsp (10 g) gelatin powder and ¼ cup water and let stand for 1 minute. Then, microwave on High for 30–40 seconds and stir. Now, it’s ready to use.
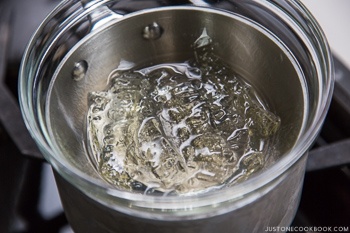
- Once the gelatin sheets bloom, bring 1 inch (2.5 cm) of water to a simmer in a saucepan. Set the bowl with the gelatin on top of the saucepan to create a double boiler. Steam will immediately warm up the bowl and start to dissolve the gelatin. Once completely dissolved, turn off the heat and set it aside. Tip: If somehow you take a long time to finish the next steps and the gelatin sets solid before you can add it to the custard mixture, you will need to melt the gelatin into a liquid again over the double boiler.
To Make the Custard Mixture
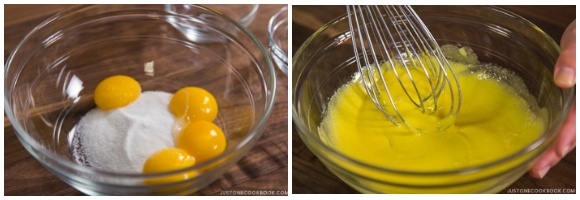
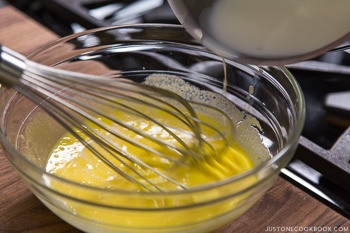
- In a large mixing bowl, whisk together 4 large egg yolks and 80 g sugar (⅓ cup + 1 Tbsp) until pale and creamy.
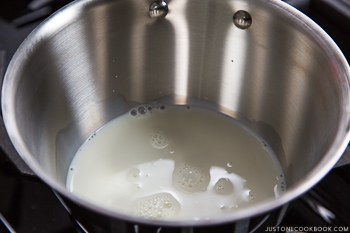
- In a medium saucepan, heat half of the milk (200 ml or ⅚ cup) over medium heat until warm to the touch. (Keep the remaining milk to use later.)
- Now, temper the egg mixture. Slowly add the warm milk, a little at a time, whisking constantly.
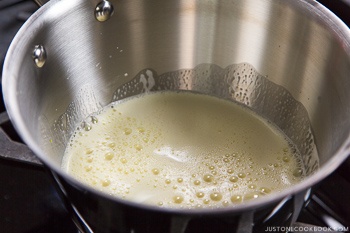
- Pour the mixture back into the saucepan. Cook over medium-low heat, stirring constantly at all times; otherwise, the mixture will burn on the bottom. Cook until the mixture coats the back of a spoon with a thin film and reaches 160ºF (71ºC). You‘ll also see small bubbles start to form at the edges of the pan.
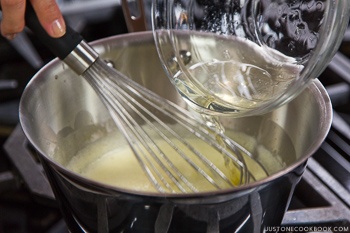
- Add in the liquid gelatin mixture and mix well. Remove from the heat.
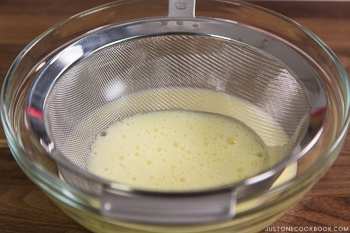
- Strain the custard mixture through a fine-mesh strainer into a clean bowl.
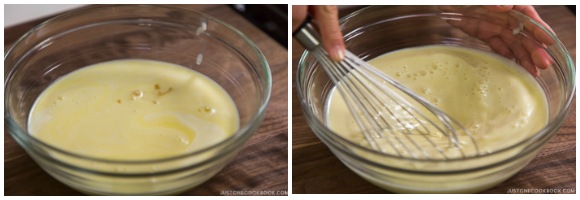
- Add the rest of the milk (200 ml or ⅚ cup), ½ cup heavy (whipping) cream, and 2 tsp pure vanilla extract and whisk all together. We’re adding them at the end to help the mixture cool down.
To Chill
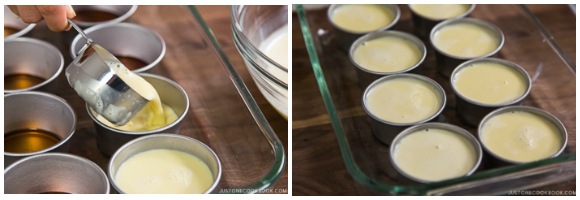
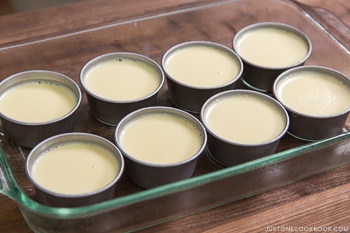
- Divide and pour the custard into the 8 ramekins. Using a long-stemmed utility lighter (candle lighter), burn off the bubbles on the surface of the custard by quickly touching them with the flame. You could also pop them with a toothpick or scoop them off with a spoon, but those are both time-consuming methods. Cover with plastic wrap and chill in the refrigerator for 2–3 hours or up to 3 days. The caramel on the bottom will become thinner after the moisture from the custard transfers to the caramel.
To Serve
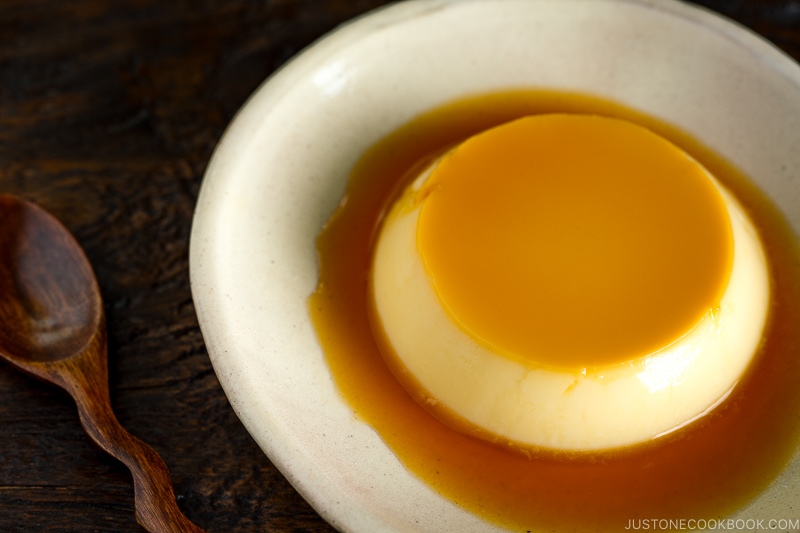
- To loosen the custard, run a small, sharp knife or toothpick around the edge of each ramekin. Quickly invert each custard with caramel sauce onto a plate. If it doesn’t release right away, gently shake the ramekin a few times to help loosen it.
To Store
- Store in the refrigerator for up to 2–3 days. Consume sooner as the quality degrades over time.
Nutrition
Editor’s Note: The original post was shared on June 10, 2011. The post is updated with new content, images, and video in September 2016.


I’ve been wanting to try this dessert for so long but we don’t have oven to do so. So this recipe is a saving grace. If you follow the procedures properly, you’re in for a treat. I really love how it turned out, even my siblings love it.
I’ve been in love with your recipes since then. I also really like the fact that your recipes have detailed procedures unlike other cooking tutorials. I will also be trying to make other dishes when I have the opportunity!
Hi, Ashe! Aww. Nami and all of us at JOC are happy to hear you like Nami’s recipes and instructions! It meant a lot to us.
Thank you so much for trying her recipes and providing such great reviews!
Happy cooking!
Hi Nami, Thank you for this wonderful recipe! Great that I don’t have to go out to buy it anymore. I’ve made this about 6 times now, and it’s been loved by everyone who tried it. However, still having one problem – some caramel thickens at the bottom of the pot and cannot be poured out. Tried a little higher heat, added a bit more boiling water at the end, but still unable to pour all of it into the cups. Wht else could I try? Thank you!
Hello, Marsha. Thank you for trying Nami’s recipe!
When the caramel is overcooked, it thickens. So, when the mixture has an even color and has turned an amber color (like a darker honey color), remove it from the heat. If it continues to thicken at the bottom, you can add more hot water.
We hope these pointers help you on your next attempt and make things easier for you.🙂
Would using a soft silicone mould instead of ramekin work? I’m trying to make the pudding into a specific shape.
Hi Frankie! It should work. Thank you for trying Nami’s recipe! 😊
I was wondering if there was a specific amount of time when it came to the egg part, is the salmonella supposed to be killed by the time it reaches 70C?
Hello, Jenna! Thank you so much for taking the time to read Nami’s post and try her recipe.
When the temperature reaches 160ºF (71ºC), the egg should be safe.🙂
For further information, please check out the following link from the US Department of Health and Human Services.
https://www.foodsafety.gov/food-safety-charts/safe-minimum-internal-temperatures
This recipe is so good! I have made it 4 times now, all with gelatin powder, and it turns out great. The caramel on the other hand, I still struggle with, but that is totally on me and my finicky burner. Thank you for a delicious recipe that tastes just like home!
Hi Mary! We are so happy to hear you enjoyed Nami’s recipe!
We hope your next attempt at making a perfect caramel sauce goes better. Please let us know if you need assistance determining the cause of the issue. We are always here to assist you.
Happy cooking!