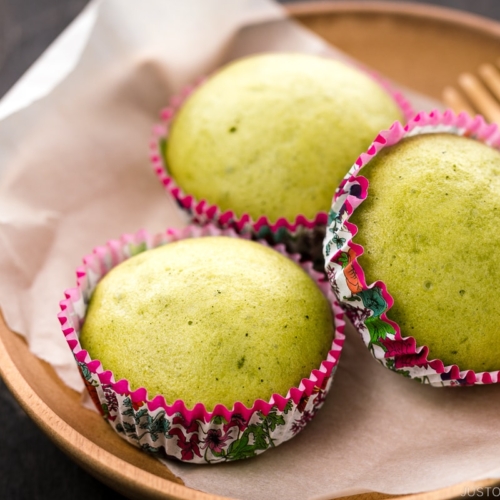
This Matcha Steamed Cake (Mushi Pan) is light and fluffy with an aromatic green tea flavor. These individual Japanese cakes are so easy to steam in a frying pan for the perfect breakfast or snack. Less than 20 minutes to make!
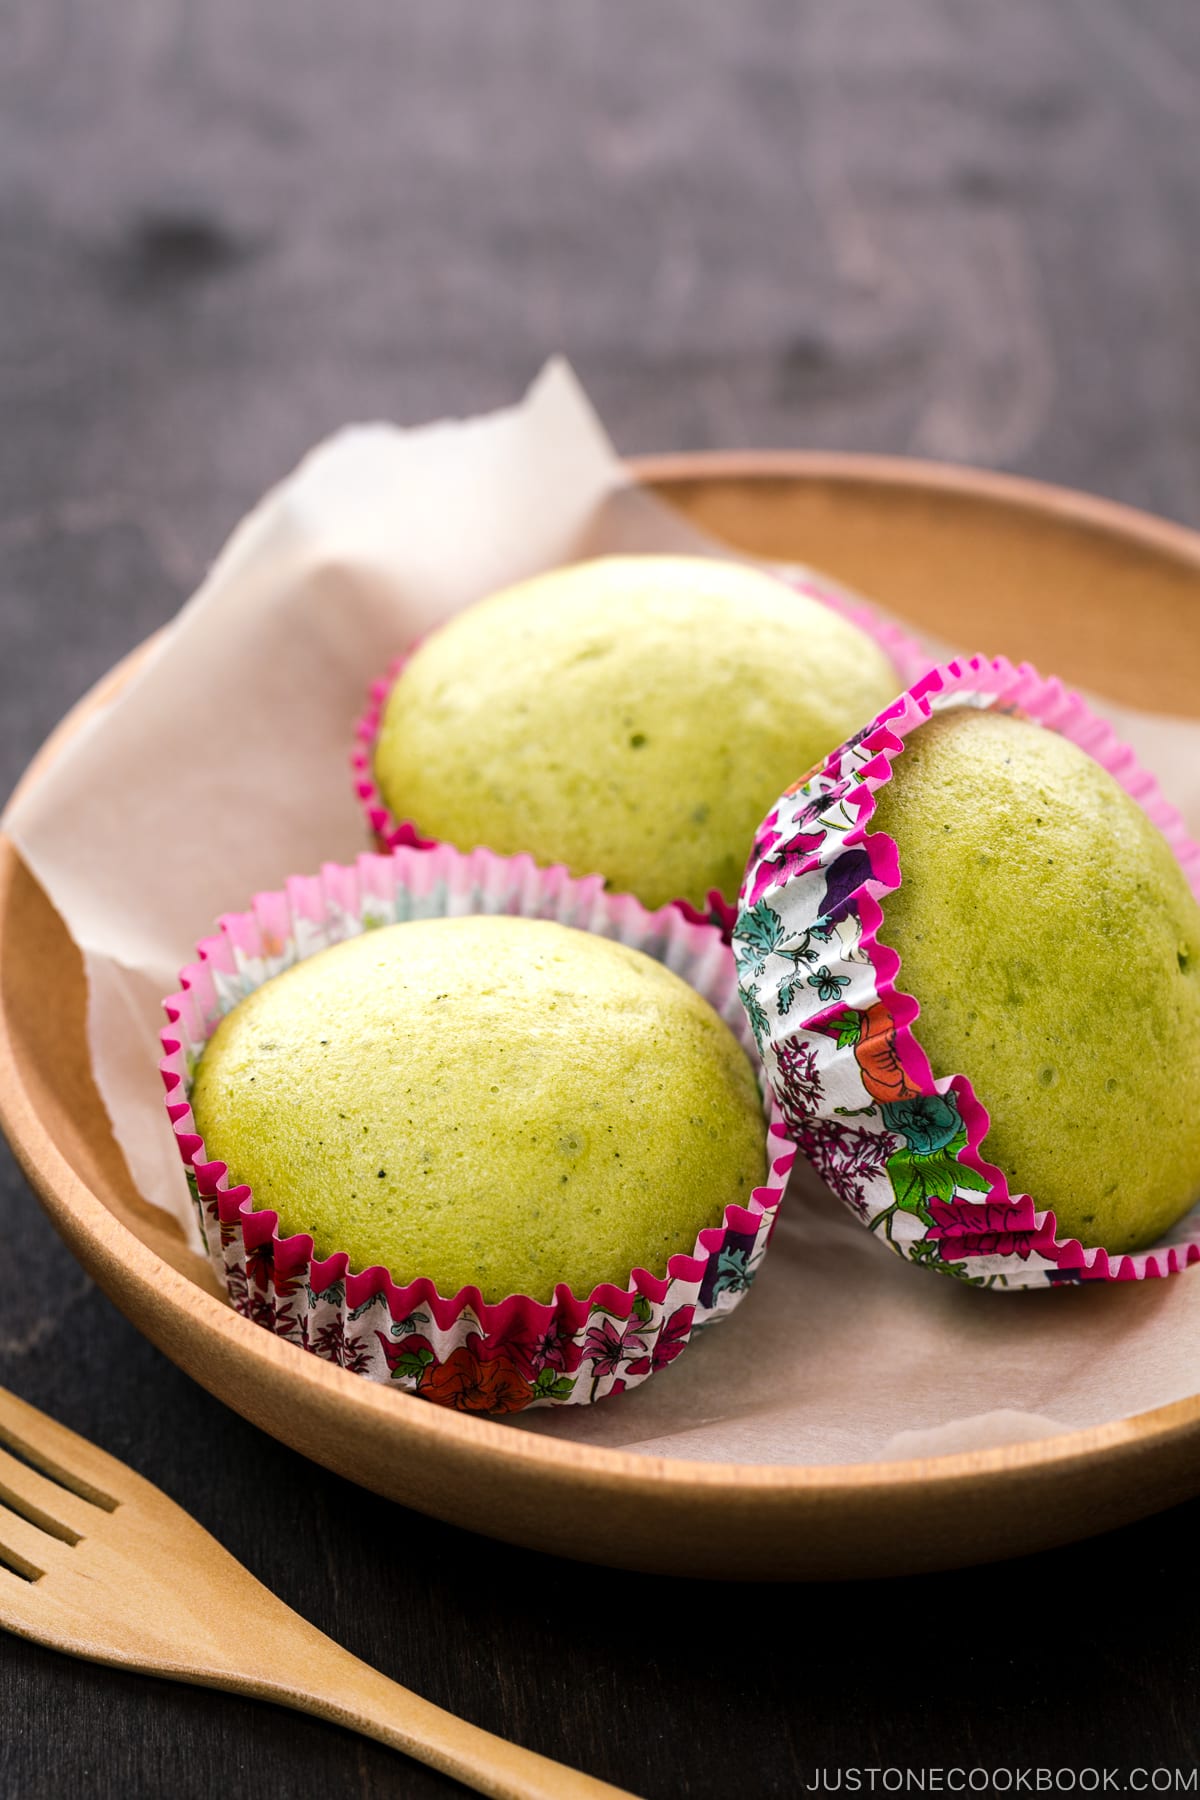
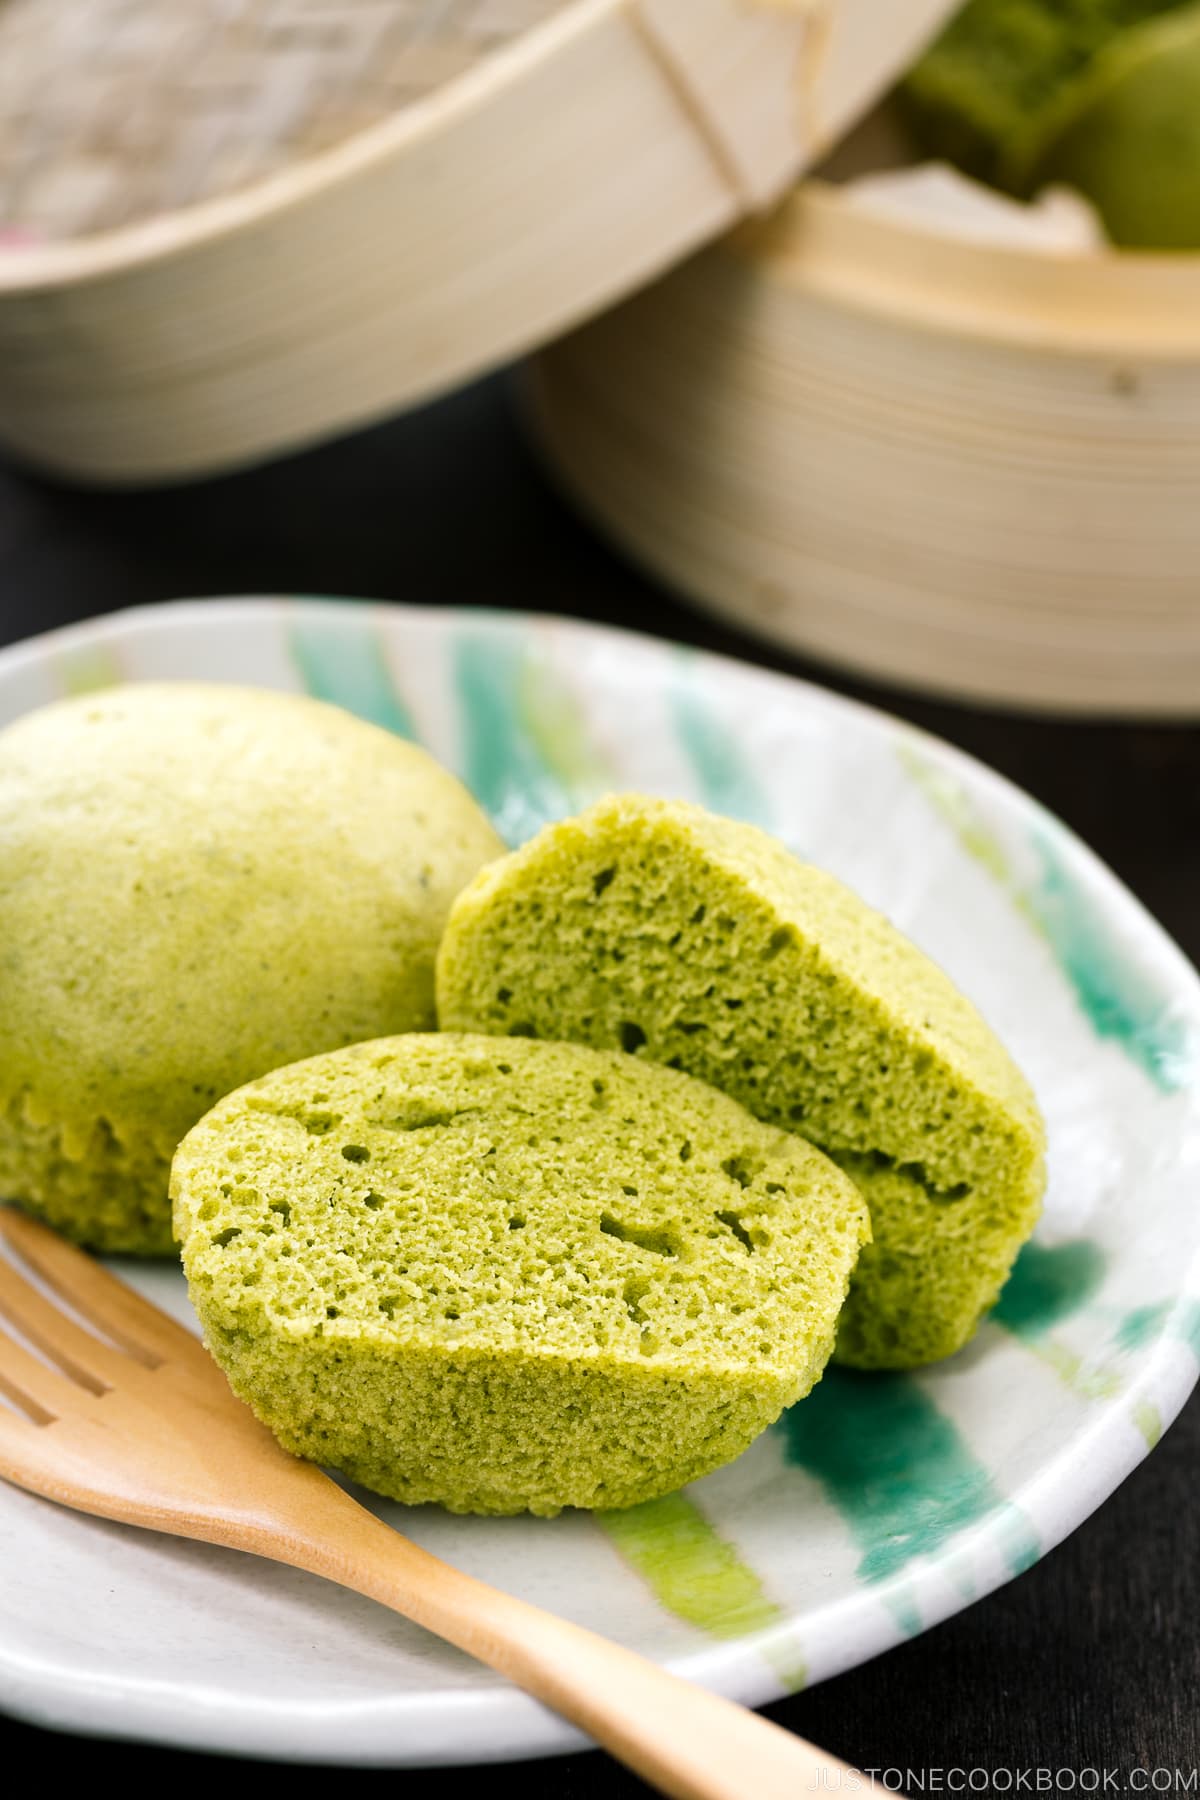
Steamed Cake or we call it Mushi Pan (蒸しパン) is a light, fluffy, and soft cake. As the name suggests, it is steamed instead of baked, and it takes less than 20 minutes to prepare from the beginning to the end. I shared another version two years ago and that steamed cake recipe has been one of the most popular recipes, especially among readers from Asia.
Since then, I’ve kept experimenting with the ingredients and came up with this recipe that I enjoy and have been using for a while. To make the steamed cake moister, I added honey and used yogurt instead of milk. I love the changes I made and I hope you give this updated version a try if you tried other steam cake recipes before. Let me know what you think!
What Does Matcha Taste Like?
It’s a bit difficult to describe. It has a unique rich bitter taste as well as sweetness. When matcha is used in recipes, the flavor becomes subtler. If you are a matcha fan, you might be interested in my other matcha recipes like Green Tea Ice Cream, Green Tea Cookies, and Green Tea Crème Brûlée.
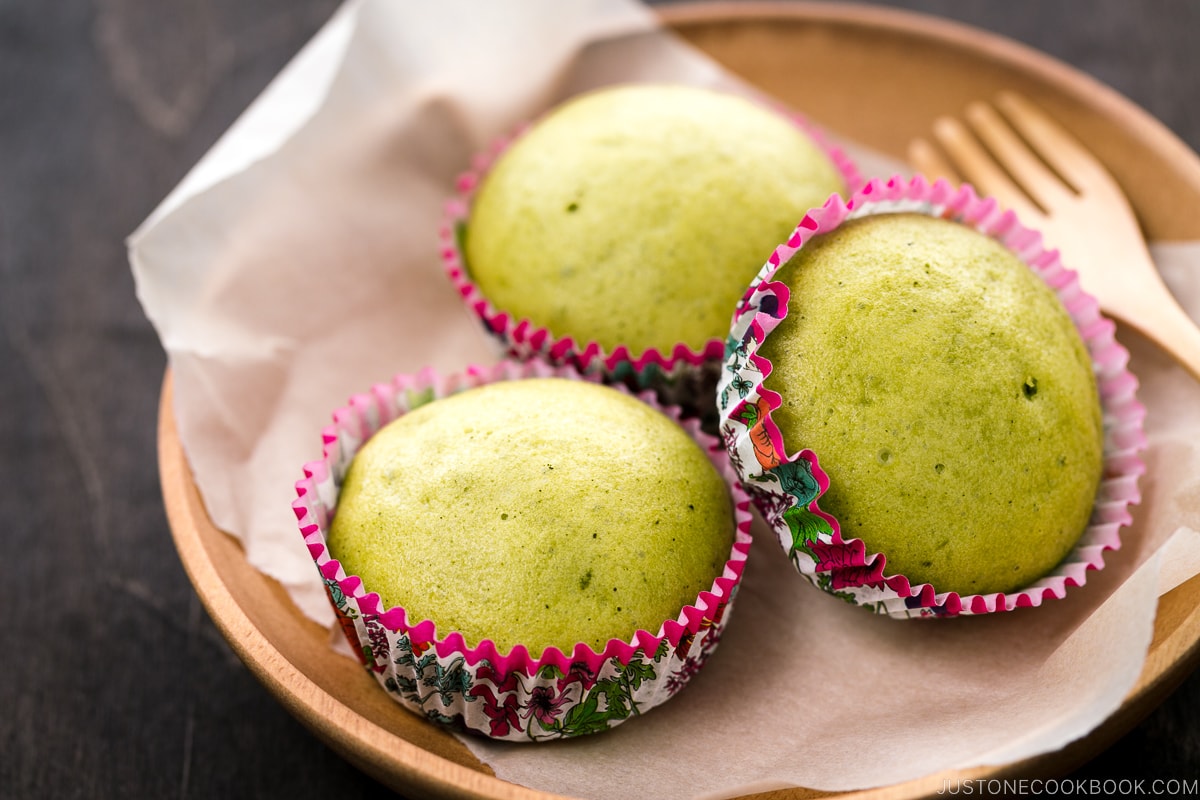
This simple and quick steamed cake recipe is perfect for an after-school snack or when you have sudden guests. Hope you enjoy “steaming” these little cakes! Itadakimasu!

Creative Matcha Steamed Cake
JOC reader Angel tried this recipe and made these absolutely gorgeous steamed cakes that I want to share with you.
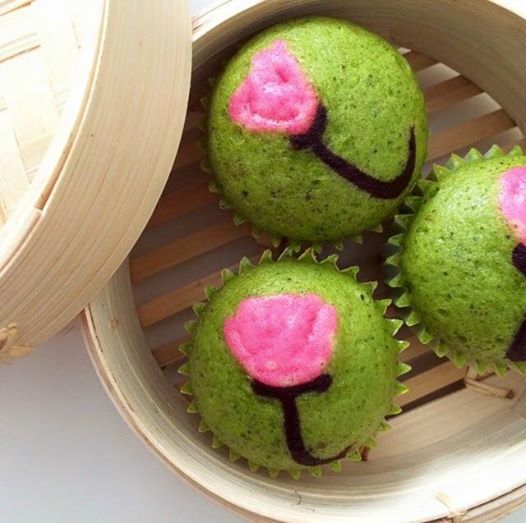
When I asked her how she made them, she agreed to share her tutorial with us! Here’s her tutorial:
- Just before adding matcha powder, portion out 2 tsp. of plain batter for pink color and 1.5 tsp. of batter for brown color into two bowls.
- Add 1 tsp. of sifted flour into 2 tsp. batter and mix well and add in some pink food color.
- Add ¾ tsp of cocoa powder to 1.5 tsp. of plain batter and mix well.
- Transfer both batters into piping bags.
- Add matcha powder to the rest of the plain batter and mix well.
- Filled matcha batter into cupcake liners and drop the liners on the countertop a few times to remove air bubbles before pipe pattern on the cakes as desired.
Note:
- The batter should be slightly thicker yet able to pipe.
- Add in a little bit more batter if it’s too thick or flour if it’s too thin. It should be at the right consistency as pipe design may sink while steaming if the batter is too watery.
Wish to learn more about Japanese cooking? Sign up for our free newsletter to receive cooking tips & recipe updates! And stay in touch with me on Facebook, Pinterest, YouTube, and Instagram.
Matcha Steamed Cake
Ingredients
- 1 large egg (50 g each w/o shell)
- 1 Tbsp neutral oil
- 1 Tbsp honey
- 3 Tbsp plain yogurt
- 1½ Tbsp sugar
- ½ cup all-purpose flour (plain flour)
- 1 tsp baking powder
- 1 tsp matcha (green tea powder)
For the Garnish (Optional)
- sweet red bean paste (anko) (you can make my homemade Anko recipe)
Instructions
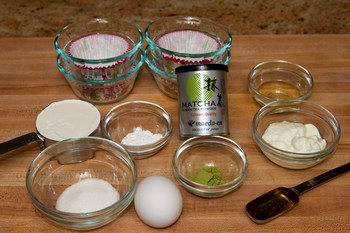
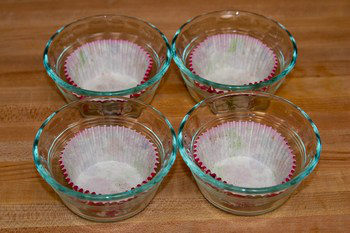
- Gather all the ingredients. I use 6 oz Pyrex glass ramekins (custard cups).

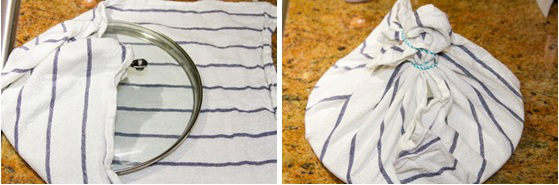
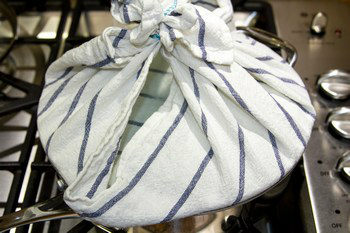
- Wrap a frying pan lid with a kitchen towel. This will prevent condensation from falling onto the cakes while steaming.

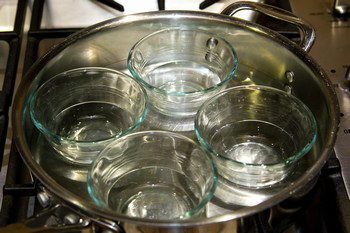
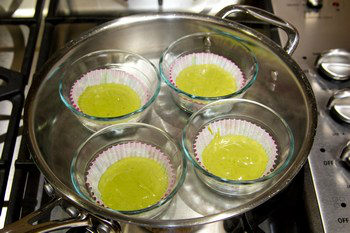
- Place 4 empty ramekins in a frying pan and pour enough water into the pan to go halfway up the exterior sides of the ramekins. Take out the ramekins, cover the pan with a lid, and bring the water to a boil.
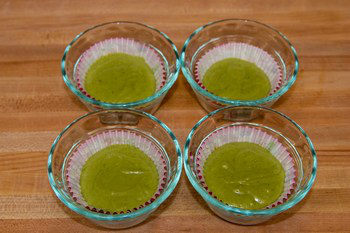
- Meanwhile, place a cupcake liner inside each ramekin.
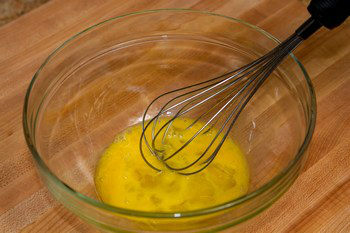
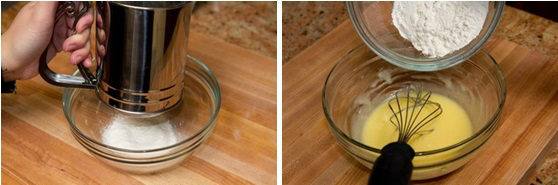
- In a medium bowl, add 1 large egg (50 g each w/o shell) and 1 Tbsp neutral oil and whisk well.
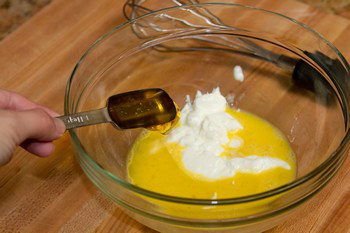
- Add 1 Tbsp honey and 3 Tbsp plain yogurt. Mix well.
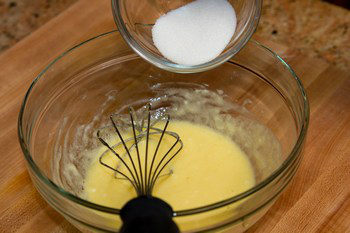
- Add 1½ Tbsp sugar and mix thoroughly.
- Sift ½ cup all-purpose flour (plain flour) and 1 tsp baking powder together. Then, add it to the egg mixture.

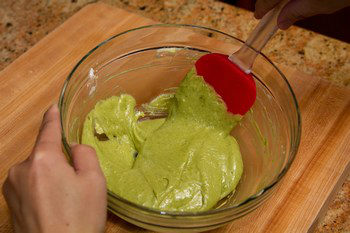
- Sift 1 tsp matcha (green tea powder) and fold until the matcha powder is well incorporated into the batter.
- Divide and pour the batter evenly into the lined ramekins.
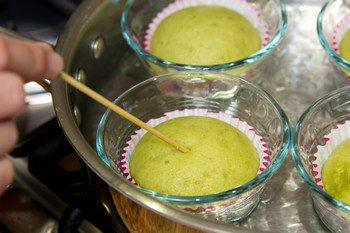
- When the water starts to boil, place the filled ramekins inside the pan.
- Cover with the lid and steam over medium-low heat for 12–14 minutes.
- To test if the steamed cake is ready, insert a skewer in the center of the cake and see if it comes out clean (no wet batter). Do not overcook as the cakes will become hard. When done, remove the ramekins from the pan and serve with sweet red bean paste (anko).
To Store
- I recommended enjoying it immediately or on the same day since the steamed cake gets harder. You can re-steam them before serving (I don‘t recommend microwaving).


I finally had a chance to make these today! They were great! I used almond flour instead of wheat flour, and soy milk instead of yogurt. I also used melted butter instead of the oil. And I put half the batter into the cupcake liner, then a spoonful of tsubuan, then more batter on top. They were so yummy and I’m going to make them again tomorrow. I just have to tweak it a tiny bit and not add any of the tsubuan liquid.
Hi Abigail! I’m glad to hear yours came out well! And thanks so much for sharing the substitute info with us. 🙂
do you think puréed bananas would achieve the same end game as yogurt?
Hi Luis! I am afraid the texture gets dense, than fluffy. I haven’t tried to switch the ingredients, but if you give it a try, I’d love to hear your feedback. 🙂
I just made those cakes this morning ^^. Instead of regular paper cups, I used silicon cupcake liners, and it turned down really well. But it still remained a lot of mini holes on the top of the cake, I think may be I was over-mixed it or I forgot to tap it to remove the air?? Anyway, The texture is very smooth and fluffy. I and my friends are really enjoy it. Thank you for creating and sharing this recipe! Happy new year and wish you all the best! and I hope that you will continuing inspire readers with many wonderful Japanese recipes! Domo arigato!
Hi Alyssa! I think if you have tapped the silicon liners before steaming, probably air pockets weren’t there. 🙂 I’m happy to hear you and your friends enjoyed this recipe! Thank you very much for following my blog!
Looks so yummy. I love Japanese bread and dessert.
Would you consider doing Japanese white bread (Hokkaido Milk Bread)? I found few recipes online but done by non-Japanese (no offense) but I want authentic Japanese bread. 🙂
My daughter loves it and eat it everyday, so I want to make it at home with organic ingredients. (I live 5 min away from Mitsuwa so I can get them easily in the store)
I made spicy tuna roll the other day and my husband loved it! Thank you-
Hi Jina! I’m planning to work on my bread making skills. 😀 Once I figure out good recipes to share I will! 🙂 I’m so happy to hear your husband enjoyed the spicy tuna roll! Yay! Happy New Year to you and your family! xo
Hi, this recipe looks really interesting! Just wondering what would be the best way to keep the cakes fresh for 1-2 days? In the fridge in an airtight container? Or can I leave it out at room temperature? Thanks!
Hi Jenny! Honestly, it’s best when you eat it immediately because it’s “steamed”. It gets hard soon, after a few hours. But if you re-steam it, it will be soft again. Keep in the fridge. I personally don’t keep it, so I actually don’t know how it will be. It’s just like Chinese steamed buns, so I think it’ll be okay after you re-steam it… Sorry I wish I could tell you exact answer… Hope this helps. 🙂
Konnichiwa Nami-san! Can I request for baked matcha cake & cupcake recipes? Or can I use this recipe and bake it instead of steam it? I make a lot of fondant birthday cakes and I have tried a lot of recipes on the net but nothing really worked for me. I used canola oil based recipe once and it turned out so brown (batter was green before baked). Other recipes were just not soft & moist enough (I have tried using buttermilk instead of milk). I hope you could give me some suggestions. Arigatou ne~
Konnichiwa, Winny! Thank you for your request. I have green tea chiffon cake on my blog if you are interested. It’s REALLY delicious and easy to make! Hope you enjoy this recipe. 🙂
I was making them for a long time and they were great, suddenly they started to coming out darker and harder, loosing a lot of a their’s softness and flavour. I don’t know what to do! I love them and miss them… Please, help me.
Hi Mei! Oh no! It’s really hard to know what started to go wrong as I’m not there seeing how you prepare, what products you use, what utensils you use, etc…. Wonder if it’s green tea? If everything is the same, maybe ingredients you have are older? Since you mentioned “flavor”, I thought it might be from losing the “freshness” of the ingredients. Wish I can help more!
Is it possible to change the canola oil to olive oil ?
Hi Ethan! I wouldn’t recommend, but instead I’d use vegetable oil or grapeseed oil. 🙂
These look amazing and I would love to try and share with my family! Although some of them are not as fond of green tea as I am. Can you please advise what flavour I can replace it with and how do you do it? E.g. Taro?
Hi Karen! Sure you can add taro, and my favorite one is Japanese sweet potatoes (Satsumaimo). I have another post of Steamed Cake recipe with chocolate and corn here:
https://www.justonecookbook.com/recipes/steamed-cake/
Hope you enjoy making steamed cake! 🙂
Oiishi Green Tea Steamed cake.. Yummy
Thank you Zen! 🙂
Hi Nami, first thanks for the recipe. I’ve made the chocolate one and it turned out nicely. I’m wondering for this one, if I want to have the red bean paste as a filling, do you have any suggestion on how to do that? Thanks again.
Hi Cyw! I’m happy to hear you enjoyed the chocolate steamed cake! When you pour the green tea batter, drop the anko (red bean paste) in the middle. I am too lazy and I actually use anko as “butter” and spread on the steamed cake to eat it. 🙂
Hi Nami, I made it with the red bean paste and it turned out well 🙂
I put the picture of it here if you’d like to take a look. Unfortunately I am pretty bad at taking pictures.
http://afoodiewannabe.blogspot.com/2014/08/just-one-cookbook-recipes.html
Hi there,
thanks for the recipe! I will be attempting to make these after I make a batch of the red bean paste (which is delicious just on it’s own ^^) and I was wondering if these cakes can be made in a normal metal steamer but your reply to the previous comment answered my question 🙂 can’t wait to taste these little cuties.
Thanks!
Hi Sofia! You’re welcome! I hope you enjoy this recipe! Yes, I agree – I can just eat the red bean paste alone, too! 🙂
love all your food, especially the matcha stuff. i thought i let you know. THANK YOU!!! xxx
Thank you so much for your kind words! Me too I love matcha food! 🙂
Do you have the recipe for Japanese Purple Sweet Potato Steamed Cake?
Hi Sally! I don’t have the recipe, but i can see how delicious it can be! 🙂 Try including the chopped/cubed sweet potatoes in the simple batter (I think it’s great with green tea batter too!). 🙂
Dear Nami,
I made this matcha steamed cake last night. I love it. Very moist yet light and Matcha’s flavored. I used the Zojirushi Rice Cooker to make my cake. Came out delicious! Thank you Nami.
Hi Quyen! What a great way to make this recipe with the rice cooker! So happy to hear you enjoyed it! 🙂