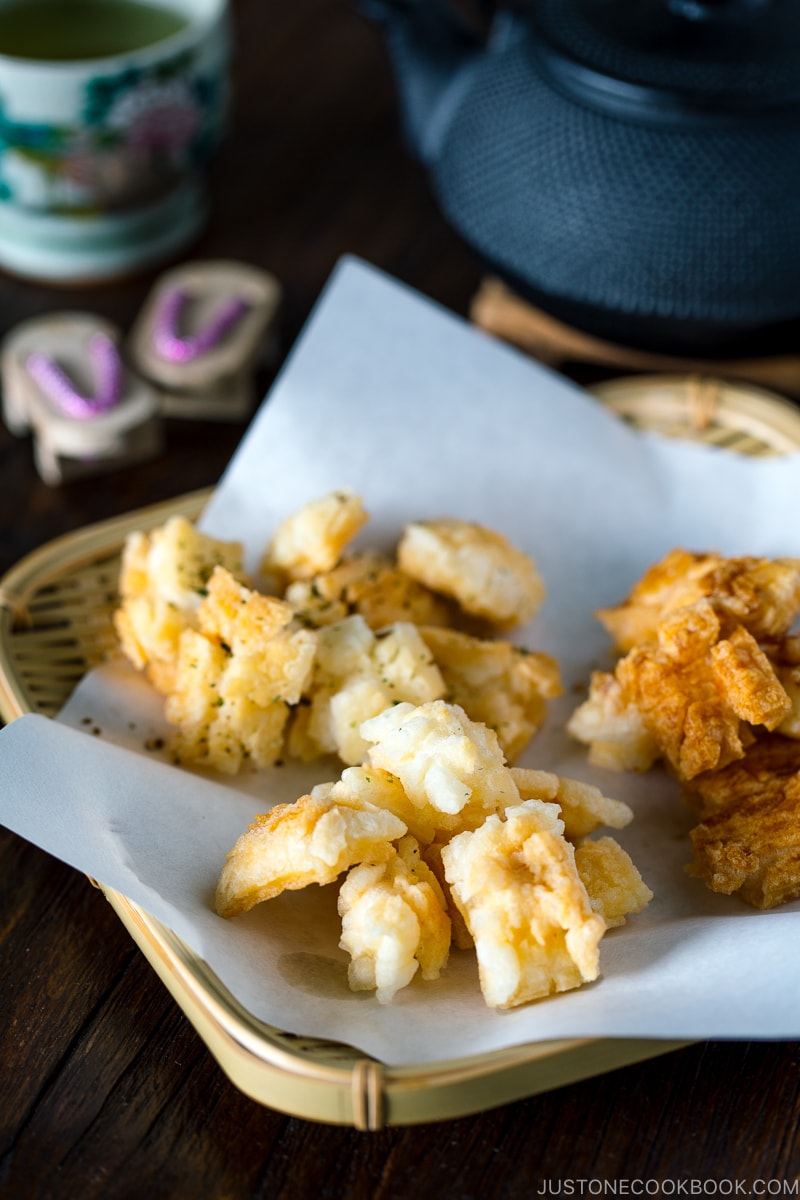
Let’s make fresh Kakimochi at home with this Japanese Rice Cracker recipe. Flavored with salt, soy sauce, or furikake seasoning, this crunchy and savory snack really hits the spot. Perfect to enjoy with a cup of hot green tea.
The Japanese New Year celebration was over a few months ago. If you still have leftover rice cakes in your pantry or freezer and you’re not sure what to do with them, here’s a great solution. I’ll show you a quick and easy homemade rice cracker recipe.
If you are an all-year-round mochi eater like me, don’t forget to check out my favorite mochi recipes at the end of this post!
Homemade Rice Cracker Recipe
Rice crackers are a common snack in Asia where rice is the key staple food. In Japan, there are two types of rice crackers: Senbei and Okaki.
Senbei vs. Okaki
Senbei (煎餅) or Osenbei (お煎餅) are rice crackers made of rice (うるち米). The origin of senbei is actually China. The Chinese rice crackers that were brought to Japan during Heian Period (789-1185) were made with flour (technically “flour crackers”). However, the Japanese loved rice so much that they started making crackers with rice instead. That’s how senbei started to become popular in Japan.
Okaki (おかき) are rice crackers made of sweet rice/glutinous rice (もち米). We call smaller size okaki Arare (あられ). Just like senbei, okaki has been around since Heian Period. People didn’t want to toss the mochi used for New Year’s decoration (Kagami Mochi), so they scraped the mochi into smaller pieces with their hands, dried them, and deep-fried them to enjoy the leftover mochi. You might notice that I said, “scraped the mochi with my hands.” Why hands, you might ask? In Samurai’s house, using cutlery at the beginning of the new year was considered bad luck, so people used their hands to scrape the big mochi into smaller pieces, instead of using a knife.
Different Sizes, Shapes & Flavors for Rice Crackers
Rice crackers come in various sizes, shapes (squares, rectangular, round, ball), and flavors (usually savory but sometimes sweet). There are several ways to make them: you can bake, grill (traditionally over charcoal), or deep-fry.
Kakimochi (かき餅) – Japanese Rice Cracker Recipe
For today’s rice cracker recipe, we will use mochi (sweet rice/glutinous rice); therefore, this is a type of Okaki instead of Senbei. This particular Okaki is called Kakimochi (かき餅) in Japanese.
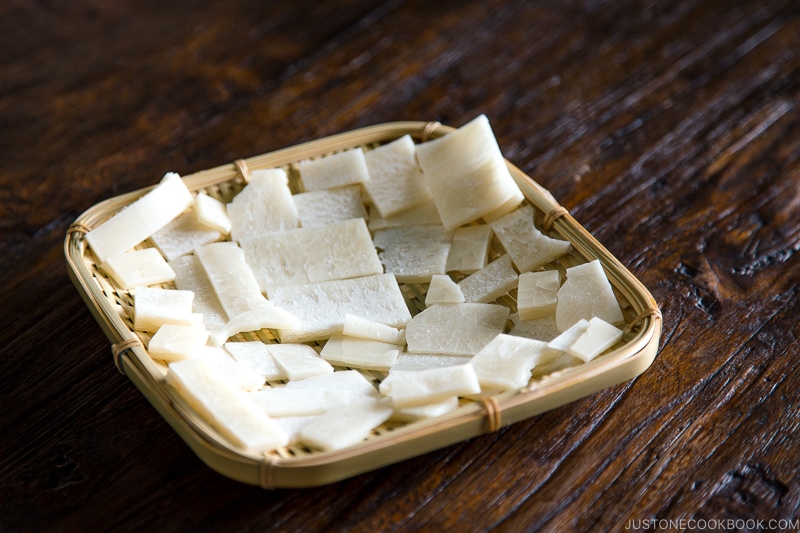
The process to make Kakimochi at home is very easy. You just need to cut mochi into thin slices, air-dry them completely until the moisture is removed, then break into small pieces and deep-fry them.
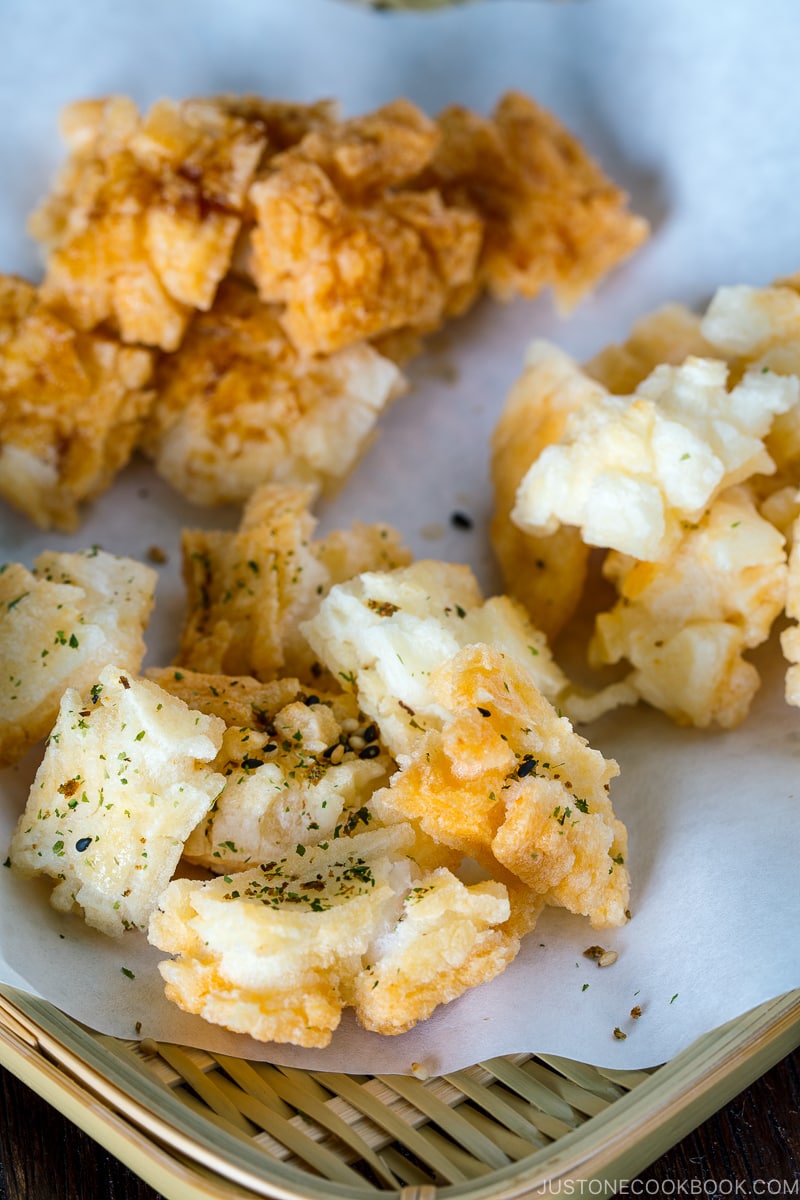
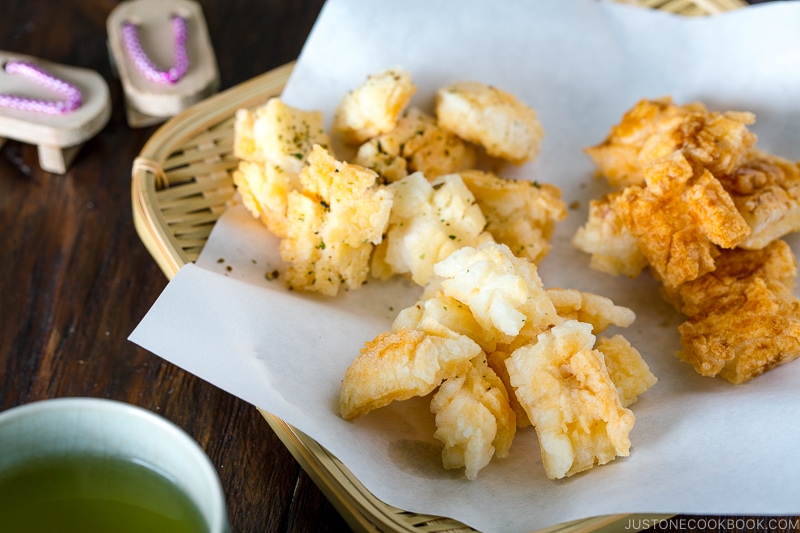
The dried mochi pieces will puff up like popcorn while deep-frying in oil. Immediately after frying, season Kakimochi with your favorite flavors: salt, soy sauce, Furikake, Shichimi Togarashi, or even curry powder!
Although Kakimochi can be purchased easily at grocery stores in Japan, homemade ones are still the best! They are light and super crunchy. I like to enjoy them with green tea for my afternoon snack when I crave something savory. With their adorable shapes, I think these rice crackers make a fun snack for parties too.
I hope you enjoy making this homemade rice cracker recipe. If you try it, don’t forget to share your picture on Instagram, Facebook, or Twitter with #JustOneCookbook. Thank you so much for reading, and till next time!
Other Recipes Using Japanese Rice Cake
Wish to learn more about Japanese cooking? Sign up for our free newsletter to receive cooking tips & recipe updates! And stay in touch with me on Facebook, Pinterest, YouTube, and Instagram.

Homemade Rice Crackers (Kakimochi)
Ingredients
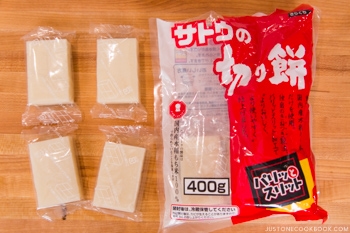
- 4 Japanese rice cakes (mochi) (I use dried rectangular rice cakes called kirimochi)
- neutral oil
For the Seasoning Options
- Diamond Crystal kosher salt (I used Himalayan Pink Salt)
- furikake (rice seasoning) (you can make homemade Japanese Rice Seasoning)
- soy sauce
Instructions
- Gather all the ingredients.

To Dry the Mochi (7–10 Days Before Frying)
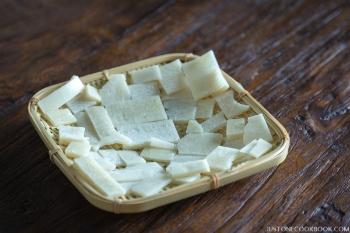
- Use a knife to cut 4 Japanese rice cakes (mochi) into small pieces about ⅛ inch (3 mm) thick. If your mochi is dried and hard, cut it with the heel of your knife; wedge the knife edge into the mochi and use your non-dominant hand to push the blade down to cut through. Next, lay the mochi pieces in a single layer on a flat tray or wire rack. Here, I use a Japanese bamboo strainer called bonzaru.

- Air-dry them with good ventilation for at least one week. As mochi pieces dehydrate, they might break into smaller pieces, so try not to touch them. The mochi pieces will harden and look cracked and flaky on the surface,
- Another option: I haven‘t tried this method, but I‘ve read that you can bake the mochi pieces at 400ºF (200ºC) for 15 minutes instead of air-drying them. For a convection oven, reduce the cooking temperature by 25ºF (15ºC). You can lightly brush them with oil and season with salt (so the salt will stick to the mochi pieces).

To Fry the Rice Crackers
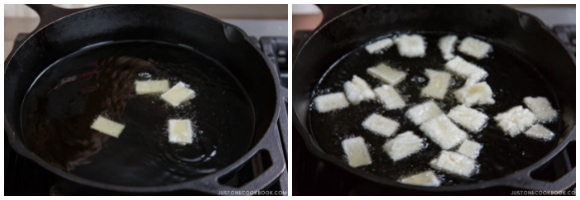
- In a frying pan (I use a cast iron skillet), add neutral oil to a depth of ¾ inch (2 cm). Turn the heat to medium and heat the oil to 340ºF (170ºC); I recommend an instant-read cooking thermometer to monitor the temperature. When it's hot enough, add just a few mochi pieces at first. If small bubbles start to appear around the mochi, then add more pieces in a single layer, leaving space between them so they can pop and expand. Do not overcrowd the skillet. Tip: If you‘re new to deep-frying, see my post How to Deep-Fry Food at Home for helpful tips.
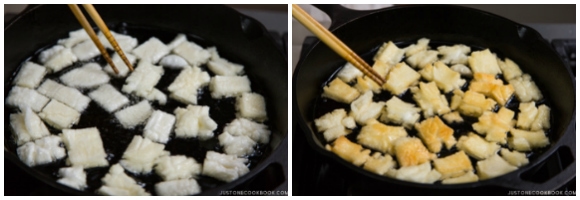
- The mochi pieces will turn white and start to puff up. Turn over each piece and fry until puffed and lightly golden brown. Then, increase the heat so the oil is 350ºF (180ºC) and fry until the mochi pieces are golden brown.
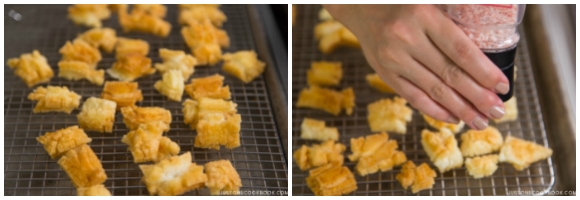
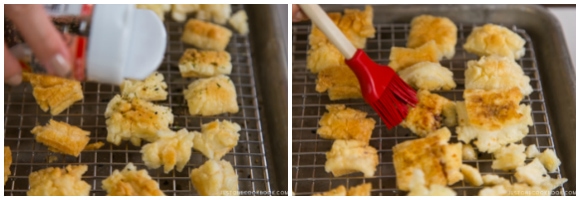
- Remove the kakimochi from the oil and place on a wire rack or a plate lined with paper towels. While they are hot, season with Diamond Crystal kosher salt.
- Optionally, you can sprinkle them with furikake (rice seasoning) or brush soy sauce on top, reducing the amount of salt if you use soy sauce.
To Serve and Store
- Enjoy the Kakimochi immediately. It‘s best to consume them on the same day. Once cooled, you can also put them in an airtight container and store them at room temperature for a few days.


I make a rough version by scraping half-burned rice off the bottom of the pot and deep fry it. Very crunchy.
Hi Maki! Mochi is made of glutinous rice, and different from regular rice. The crispiness is similar though, but the elastic texture only comes from glutinous rice. 🙂
I’m Nisei and I’ve missed my mom’s kakimochi and last had some over 30 years ago. She always had some dried commercial varieties (multi-colored strips in pink, light green, yellow or white in a rectangular form) in her cupboard when I as a child from my parents’ numerous trips home to Meguro, Tokyo. I’ve always wanted to make my own at home but alas live in a part of rural Canada where finding pre-made mochi almost impossible to find. Do you know if there are any mail order retail outlets where I might be able to find and purchase mochi or kakimochi?
Hi Jiro! Recently I collected information about Japanese grocery stores around the world from JOC readers.
https://www.justonecookbook.com/japanese-grocery-stores-around-the-world/
There are many Japanese stores in Canada and I wonder if you can find any of these stores that have also online shop?
Amazon sells it in the US: http://amzn.to/2by0oEB
I hope you get to make homemade ones one day…. they are delicious!
That Amazon item is kirimochi, I think. It’s not dried. You should be able to make fried rice cakes with them by following the above recipe.
Yes, it’s kirimochi that I’m using, and they are mochi cut into rectangular/circle shape.
I made this the other day (without the soy) and my husband said it was EXACTLY how his mother used to make it. Makes me feel good that I can recreate (thanks to you) all of his Japanese favorites.
Hi Yvette! I’m so happy to hear that! Thanks so much for your kind feedback! 🙂
I just made a batch of these. Baked and fried. So good! Both were delicious, although the fried were a little more delicious… I am going to try to bake another batch and brush with oil. The first baked batch I put in the toaster oven naked. We have a mochitsuki every year and always have leftover mochi. I just found a dozen in my freezer and tried this. I did not let them dry out for a week so I may also try that. Thank you for the great recipe!!!
Hi Denise! I’m so happy to hear you like these crackers! Yeah, fried ones are my favorite too, it’s hard to beat that crispy puffed up crackers when you take out from the oil. 🙂
I’m so jealous of your mochitsuki every year. I don’t know any Japanese friends who has kine and usu (maybe because they are like me who came from Japan and didn’t grow up here). As a mochi lover, I used to love going to a mochitsuki festival in the neighborhood (again, it’s not common for people to own kine and usu in Japan anymore). I miss so much…
Yes, dry until they are flaky and no more moisture. It’ll become smaller pieces, but it tastes so much better. 🙂
We have been making kakimochi for30 years or more. Our parents would use the last batch when making mochi, add goma,brown sugar,baking soda,and pound it in. Would cut it thin day dry it. Fry in oil and put sugar on it. Very good but we don’t know the right proportion of ingredients . Maybe some of your readers have made this before. The problem we have is that when the mochi dries, it breaks up into little pieces. Before it used to be in big pieces when fried. Wander if the machine mochi is different texture than the old style of usu pounding we are located in western NE
Hi Fred! How wonderful that you’re making kakimochi! Nowadays, no one owns own usu and kine at home. It’s so great to hear that you keep the tradition going, even outside of Japan! Such a beautiful tradition to keep going! It does gets flaky. Your sesame kind sounds delicious!
I made these with some leftover mochi I had in the fridge and they were brilliant, salty sweet and crispy. I think my oil might have been too hot and they burnt a little though, and I will dry them out longer next time. Thanks for the lovely ideas!
Hi Christina! I’m so glad you tried this recipe! Some of my batch was left out in the house for over 1 month… got dusty a little bit LOL but clean up and it was used nicely! Longer is better, just make sure no moisture inside the mochi so it’ll puff up nicely. 🙂 Thank you for your kind feedback! xo
I made these and they were delicious! I used kirimochi and baked them. I have to admit I did not wait a week, too impatient! They were great warm, and crispy. If I wanted to make them for guests spur of the moment without waiting to dry, would they come out ok?
Hi Julie! LOL! Thanks to your impatience, we got to know that we can use oven to bake them to dry!!!
Wait, did you just bake for “drying” purpose, or you skipped the deep frying and baked instead?
Honestly, you can keep drying for more than a week. I dried for 2 months before (it’s not humid here so I could just leave them on a counter) and used them every time before eating. That should work. 🙂
So happy that you tried! Thank you for letting me know!
Sorry to be unclear Nami. I did air dry just as you instructed, but for only 3 or 4 days instead of a week. Then I used your alternative method to bake them instead of deep frying. Thank you!
Awesome! So happy to hear you did the baked version! Easier and healthier. 🙂
Hi Nami-
Was wondering if you could use a dehydrator instead of leaving the mochi out for a week. I worry where I live because of humidity the mochi will start to mold?
Thanks!! Love your recipes!
– terri
Hi Terri! Sure, you can! It’s awesome you have one! If you live in humid environment, it’s possible. Someone above just mentioned that it gets moldy in 3 days. Thank you for reading my blog! 🙂
I love your receipes !!
Thank you so much, Aurelie!
Doesn’t the mochi get moldy after being left out to air dry? My mochi gets moldy after 3-4 days. Maybe the humid weather in Hawaii makes a difference.
Hi Hana! That’s highly possible. I live in California and it’s pretty dry all year around. I haven’t seen my mochi got moldy before. Make sure the air goes through when you dry too. The best scenario would be dry in the sun (with air going through) (but be careful not to crack) and get it dry as soon as possible.
All your recipes look so good!
Thank you for sharing.
Hi Lynne! Thank you so much for your kind words! 🙂
Hi Nami!
Mochi never goes to waste in my house because my older daughter’s breakfast of choice is isobe mochi. When I first married my husband he asked me to make kakimochi for him and I tried from scratch, using sticky rice. It was the first and last attempt but with mochi it must be a lot easier! Would it be possible to dry the mochi in the microwave or oven rather than wait a week after cutting?
Hi Tamryn! My house too! If I see a small portion, it sure goes to my Oshiruko or Ozenzai (red bean soup)! 😀
I haven’t tried drying mochi in a microwave, but doesn’t it cook mochi instead, instead of dehydrating? We don’t want to cook mochi here. 🙂
Can I do this with homemade mochi that is made in my Tiger Mochi maker?
Hi Davilyn! You mean fresh mochi made with tiger mochi maker? Sure! Any mochi will work, BUT you have to dry it for 1 week (minimum, depending on thickness) to get rid of moisture. So most people make this snack with leftover mochi. 🙂
I love mochi and I love okaki but never thought of making okaki from mochi! I am going to try this. Aren’t the mochi hard to slice? Thank you Nami.
I use a japanese cleaver – the ones for stir fry veggies
Hi Julie! Okaki is made from Mochi and Senbei is made from Rice (like regular steamed rice). 🙂
Kiri Mochi is not hard to slice. Homemade mochi that’s been outside.. maybe. 🙂
Hi Davilyn! I don’t own a cleaver (I always want one!), but I use a sharp chef knife to cut and it’s pretty easy. 🙂
Looking for a recipe for Chimaki I thought I had asked for this one before but maybe it got lost
Hi Donna! I remember I read your email last week. I’m so sorry I haven’t had a chance to respond yet. I’m about 2 weeks behind in my email response. I’ll write you back as soon as I can!